1. Introduction
This manual provides essential instructions for the safe operation, setup, and maintenance of your CUIPPWRJ Chimera7 Pro V2 HD 7.5-inch 6S BNF RC Drone. Please read this manual thoroughly before operating the drone to ensure proper function and to prevent damage or injury.
2. Safety Information
- Always operate the drone in open areas, away from people, animals, and obstacles.
- Ensure all propellers are securely attached and undamaged before each flight.
- Maintain a safe distance from the drone during operation, especially during takeoff and landing.
- Do not operate the drone in adverse weather conditions such as strong winds, rain, or snow.
- Keep batteries away from heat sources and charge them using only approved chargers.
- Familiarize yourself with local regulations regarding drone operation.
- This product is not a toy. Adult supervision is required for users under 18 years of age.
3. Package Contents
Verify that all items are present in your package:
- 1 x Chimera7 Pro V2 HD Drone
- 1 x Anti-slip Pad
- 2 x 7-inch Propeller Pairs (Total 4 propellers)
- 2 x Battery Straps
- 1 x Screw Bag
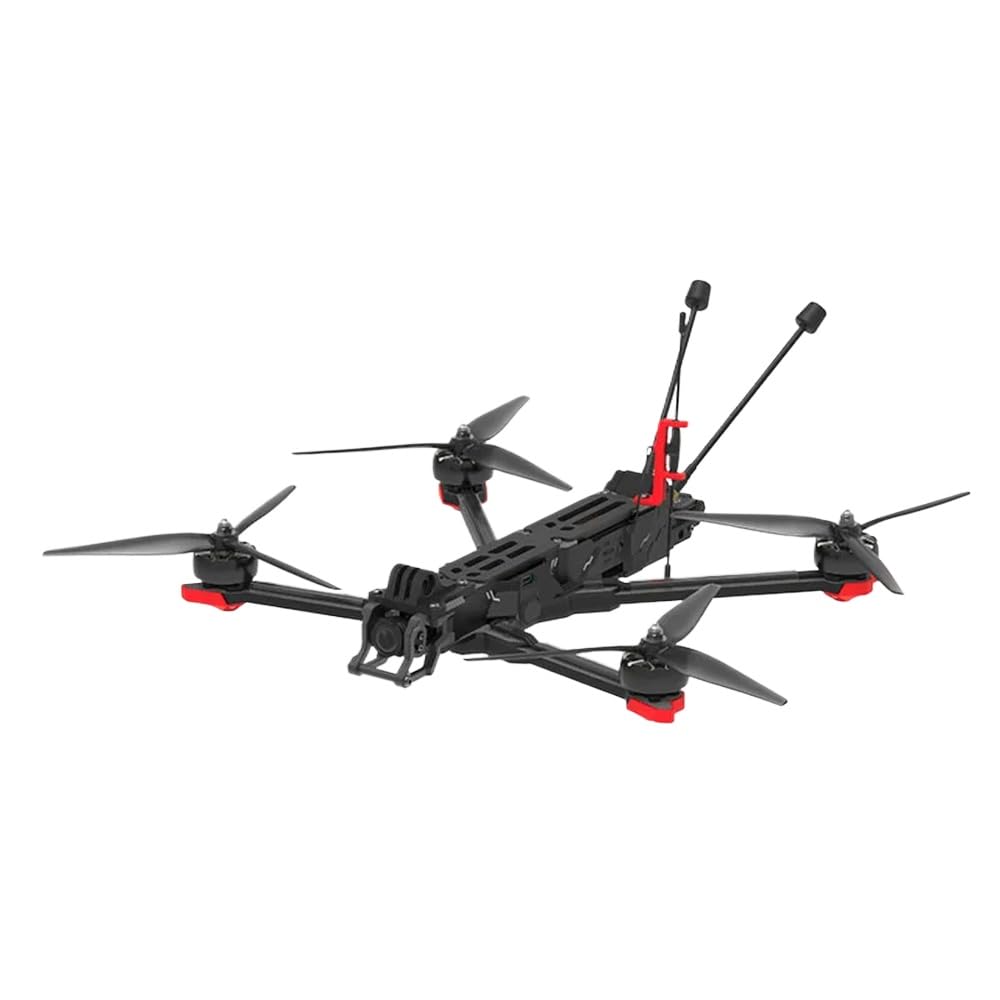
Image 1: Chimera7 Pro V2 HD Drone with its primary components and accessories.
4. Product Overview
The Chimera7 Pro V2 is a 7.5-inch long-range FPV drone designed for enhanced stability and performance. It features a robust build and advanced electronics for a reliable flight experience.
- Flight Controller (FC): BLITZ F722 Flight Controller for precise control.
- Electronic Speed Controller (ESC): BLITZ E55 4-IN-1 2-6S 55A ESC for efficient power management.
- Video Transmission: O3 Air Unit for crystal-clear video and immersive footage.
- Motors: XING2 2809 motors providing ample power.
- Propellers: 7.5X3.7X3 propellers optimized for efficiency and thrust.
- GNSS: Integrated GPS+SBAS+Galileo+QZSS+Glonass for improved navigation and positioning.
- Receiver: Equipped with ELRS 2.4GHz RX for reliable radio link.
5. Setup
5.1 Propeller Installation
- Identify the correct rotation direction for each propeller (CW and CCW).
- Align the propeller with the motor shaft and secure it using the provided screws.
- Ensure all propellers are firmly attached and can spin freely without obstruction.
5.2 Battery Connection
- Use a compatible 6S LiPo battery.
- Secure the battery to the drone's battery pad using the provided straps.
- Connect the battery's XT60 connector to the drone's power input.
- Ensure the battery is securely fastened and cannot shift during flight.
5.3 Binding the ELRS 2.4GHz Receiver
To establish communication between your radio transmitter and the drone, you must bind the ELRS 2.4GHz receiver:
- Power on your radio transmitter and ensure it is configured for ELRS 2.4GHz.
- Connect the drone's battery. The receiver's LED should flash slowly.
- Initiate the binding process on your radio transmitter (refer to your transmitter's manual for specific instructions).
- The receiver's LED on the drone should turn solid once binding is successful.
- If binding fails, repeat the process. Ensure the transmitter and receiver are in close proximity during binding.
5.4 Pre-Flight Checks
- Verify battery charge level on both drone and transmitter.
- Inspect all propellers for damage and ensure they are securely attached.
- Check for any loose wires or components.
- Confirm that the drone's flight mode switch on your transmitter is set to a safe mode (e.g., ARM disabled).
- Perform a range check of your radio link before flying.
6. Operating Instructions
6.1 Basic Flight Controls
Familiarize yourself with the standard FPV flight controls:
- Throttle: Controls altitude (typically left stick, vertical axis).
- Yaw: Controls rotation around the vertical axis (typically left stick, horizontal axis).
- Pitch: Controls forward/backward movement (typically right stick, vertical axis).
- Roll: Controls left/right movement (typically right stick, horizontal axis).
Always start with slow, controlled movements until you are comfortable with the drone's response.
6.2 GPS Functionality
The integrated GNSS module (GPS+SBAS+Galileo+QZSS+Glonass) provides accurate positioning for features such as Return-to-Home (RTH) and position hold. Ensure the drone acquires a sufficient number of satellites before takeoff for optimal GPS performance.
- GPS Lock: Wait for the GPS indicator on your OSD (On-Screen Display) or flight controller LED to confirm a GPS lock before arming.
- Return-to-Home (RTH): Activate RTH via your transmitter switch. The drone will ascend to a preset altitude, fly back to its takeoff point, and land automatically. Ensure a clear landing area.
6.3 O3 Air Unit Operation
The O3 Air Unit provides high-definition digital video transmission. Refer to the O3 Air Unit's dedicated manual for detailed instructions on channel selection, recording, and advanced settings.
- Power On: Ensure the O3 Air Unit powers on with the drone.
- Goggles Pairing: Pair your compatible FPV goggles with the O3 Air Unit as per the O3 Air Unit's instructions.
- Recording: The O3 Air Unit supports onboard video recording. Ensure a microSD card is inserted and formatted correctly.
7. Maintenance
7.1 Post-Flight Inspection
- Inspect propellers for any cracks, bends, or nicks. Replace damaged propellers immediately.
- Check motor bells for debris (grass, dirt, etc.) and clean if necessary.
- Examine the frame for any structural damage.
- Ensure all screws are tight.
- Disconnect the battery after each flight and store it safely.
7.2 Cleaning
Gently clean the drone with a soft, dry cloth. Avoid using liquids or solvents that could damage electronic components.
7.3 Firmware Updates
Periodically check the manufacturer's website for firmware updates for the flight controller, ESCs, O3 Air Unit, and ELRS receiver. Keeping firmware updated ensures optimal performance and access to new features. Follow the specific instructions provided with each firmware update.
8. Troubleshooting
| Problem | Possible Cause | Solution |
|---|---|---|
| Drone does not arm. | Throttle too high, disarm switch not set, low battery, no radio link, pre-arm checks failed. | Ensure throttle is at minimum, check disarm switch, charge battery, re-bind receiver, check OSD for pre-arm warnings. |
| No video feed from O3 Air Unit. | O3 Air Unit not powered, goggles not paired, antenna issues, incorrect channel. | Verify O3 Air Unit is powered, re-pair goggles, check antenna connections, ensure correct channel is selected. |
| Drone drifts during flight. | Uncalibrated accelerometer, unbalanced propellers, strong wind. | Calibrate accelerometer in Betaflight/INAV, inspect and replace unbalanced propellers, avoid flying in strong winds. |
| GPS not locking. | Poor satellite visibility, GPS module interference, faulty module. | Move to an open area, ensure no nearby electronic interference, check GPS module connection. |
9. Specifications
| Feature | Detail |
|---|---|
| Product Name | Chimera7 Pro V2 |
| Model Number | CUIPPWRJ123 |
| Flight Controller (FC) | BLITZ F722 Flight Controller |
| Electronic Speed Controller (ESC) | BLITZ E55 4-IN-1 2-6S 55A ESC |
| Video Transmission | O3 Air Unit |
| Frame Wheelbase | 327mm |
| Motors | XING2 2809 motors |
| Propellers | 7.5X3.7X3 (7.5-inch) |
| Weight | 695±5g |
| Dimensions (L×W×H) | 270x199x34mm |
| Operating Temperature Range | -10° to 40° C |
| Antennas | Dual Antennas |
| GNSS | GPS+SBAS+Galileo+QZSS+Glonass |
| Receiver | ELRS 2.4GHz RX |
10. Warranty and Support
Specific warranty details for the CUIPPWRJ Chimera7 Pro V2 HD Drone are not provided in this manual. For warranty claims, technical support, or service inquiries, please contact the manufacturer or your point of purchase directly. Keep your proof of purchase for any warranty-related requests.
Manufacturer: CUIPPWRJ


