
1. Introduction
This manual provides instructions for the safe and effective operation, maintenance, and troubleshooting of your BRONC X2 Wireless Tattoo Pen Machine. Please read this manual thoroughly before using the device.
2. Safety Information
For external use only.
Always follow standard hygiene and safety protocols for tattooing. This includes using sterile needles, gloves, and proper sanitation procedures. Consult with a professional if you are unsure about any safety aspect.
3. Package Contents
Verify that all items are present in the package:
- BRONC X2 Wireless Pen
- RCA Adapter
- Battery Charger
- Type-C Charging Cable
- User Specification Guide (this document)
4. Product Overview
The BRONC X2 Wireless Tattoo Pen Machine is designed for professional tattoo artists, offering adjustable stroke lengths and versatile power options.

Figure 1: BRONC X2 Wireless Tattoo Pen Machine (Black model shown).
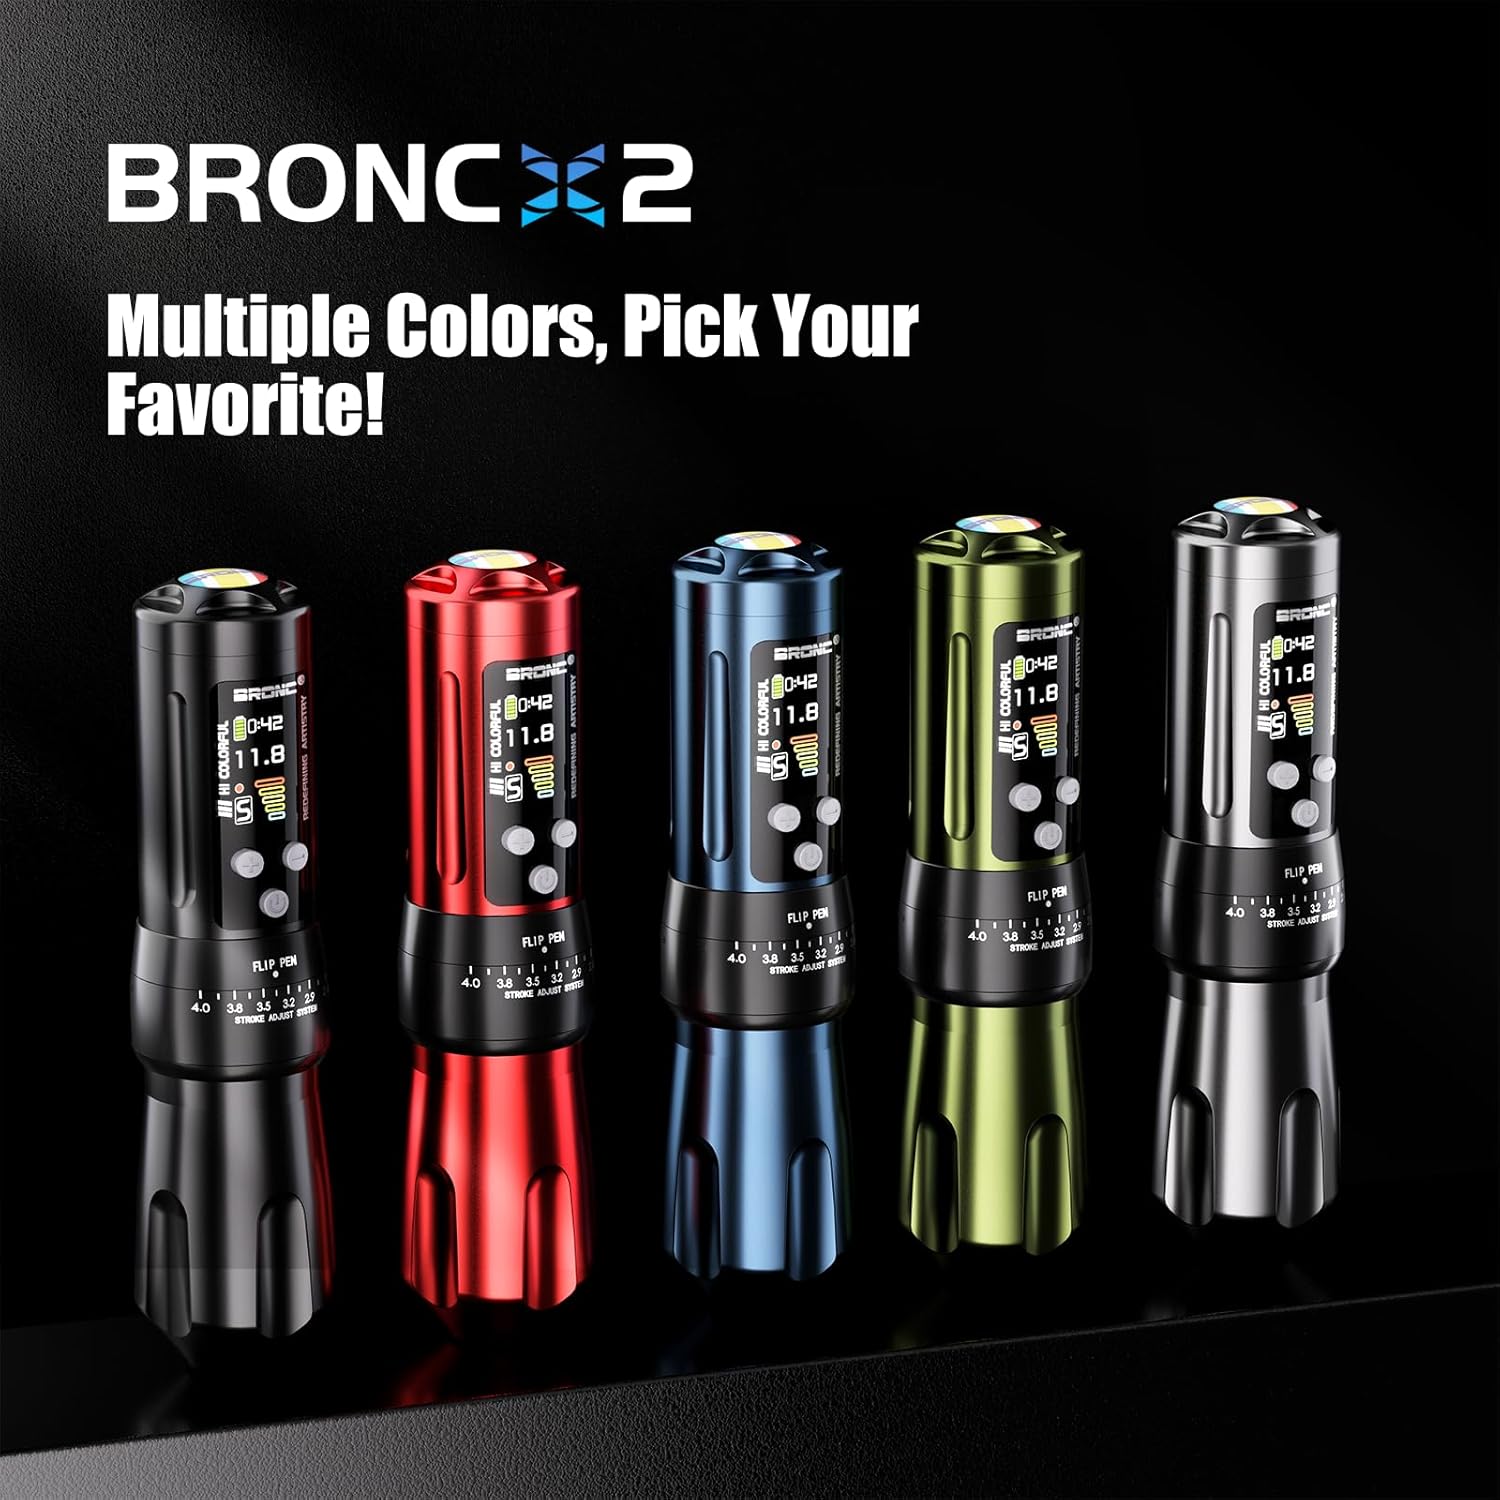
Figure 2: Overview of BRONC X2 features including dimensions and battery specifications.
5. Setup
5.1 Charging the Battery
- Connect the Type-C charging cable to the battery charger.
- Plug the charger into a suitable power source.
- Insert the battery into the charger. The battery typically takes 2 to 2.5 hours to fully charge.

Figure 3: Battery charging and performance details. A full charge provides 7 to 9 hours of working time.
5.2 Attaching the RCA Adapter (Optional)
For corded operation, or if the battery is depleted, attach the RCA adapter:
- Remove the battery from the pen.
- Screw the RCA adapter onto the pen body.
- Connect an RCA cable from your power supply to the adapter.
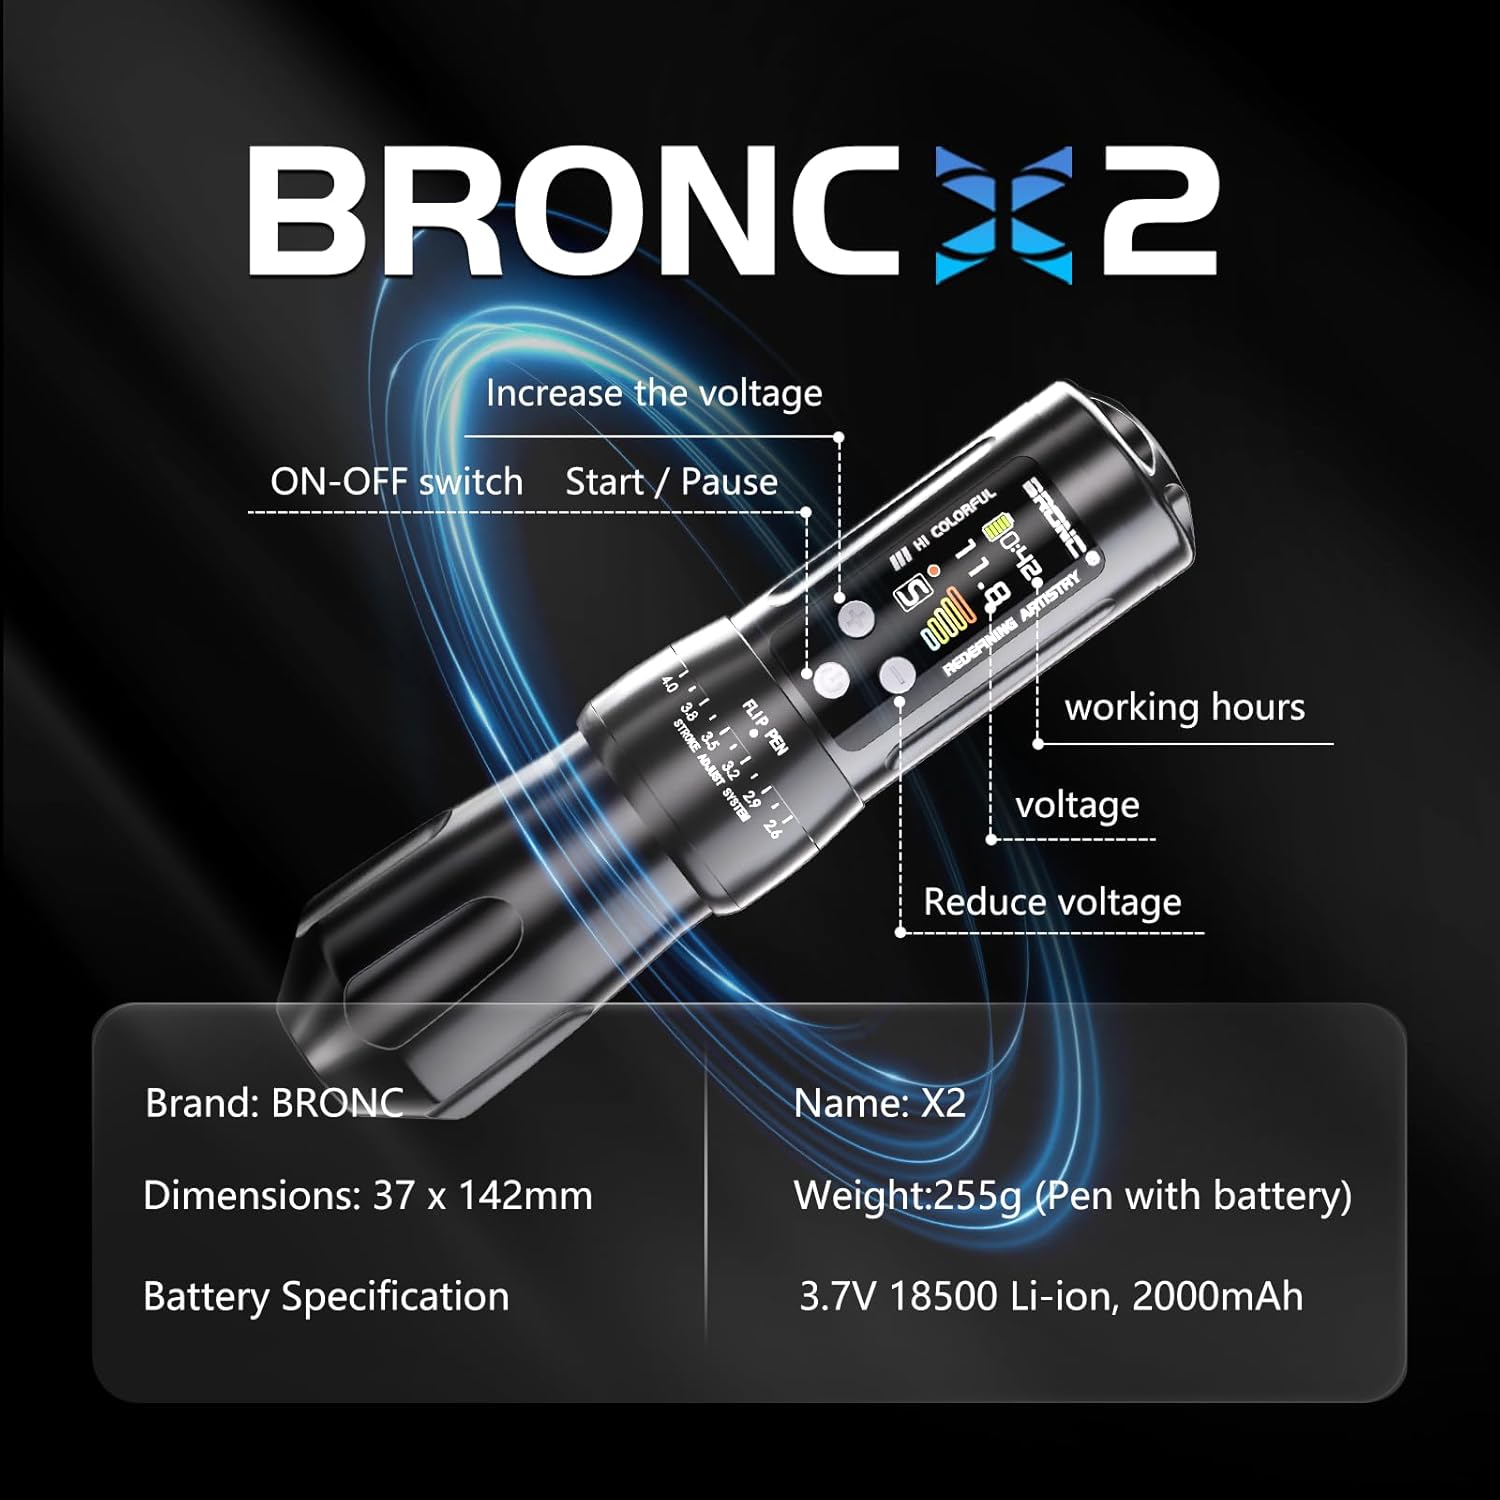
Figure 4: The RCA adapter allows for continuous operation when the battery is not in use or needs charging.
5.3 Inserting a Cartridge Needle
- Ensure the machine is powered off.
- Carefully insert a sterile cartridge needle into the front opening of the pen. Twist gently to secure it.
- Ensure the needle is seated correctly and does not wobble.
6. Operating Instructions
6.1 Powering On/Off and Voltage Adjustment
The BRONC X2 features an HD LCD display for clear visibility of settings.

Figure 5: The HD LCD display shows voltage, working hours, and battery status. It is protected by 3D tempered glass.
- To power on, press and hold the power button (usually the central button).
- To adjust voltage, use the '+' and '-' buttons. The operating voltage range is 4V to 12V.
- To power off, press and hold the power button again.
Video 1: Quick and Easy Setup Guide for the BRONC X2 Wireless Tattoo Pen. This video demonstrates basic setup and operation, including power on/off and voltage adjustment.
Video 2: Features Overview of the BRONC X2 Wireless Tattoo Pen. This video highlights key functionalities and display information.
6.2 Adjusting Stroke Length
The BRONC X2 offers 6 adjustable stroke lengths:
- 2.6mm: Best for fine lining, soft shading, and detail work.
- 2.9mm: Balanced for lining and soft shading. Good for small to medium tattoos.
- 3.2mm: Versatile for lining and color packing. Great for bold lines and solid colors.
- 3.5mm: All-around for lines, shading, and packing. Works well for various tattoo styles.
- 3.8mm: Stronger hit for bold lines and colors. Great for large areas and tribal tattoos.
- 4.0mm: Deep penetration for heavy packing and bold lines. Great for large tattoos.

Figure 6: The stroke adjustment system allows selection from 2.6mm to 4.0mm.
To adjust the stroke length, rotate the designated part of the pen body (refer to Figure 6) until the desired stroke length is indicated.
6.3 Adjusting Needle Depth
The needle depth can be adjusted from 0 to 4.5mm by rotating the grip of the pen. Rotate clockwise to extend the needle and counter-clockwise to retract it.
7. Maintenance
7.1 Cleaning
Regular cleaning is essential for hygiene and device longevity:
- Always disconnect the power source (remove battery or RCA cable) before cleaning.
- Wipe the exterior of the machine with a clean, damp cloth and a mild, non-abrasive disinfectant.
- Do not immerse the machine in liquid. The device is not water resistant.
- Ensure no liquids enter the internal components.
7.2 Battery Care
- Store the battery in a cool, dry place when not in use.
- Avoid overcharging or completely draining the battery to prolong its lifespan.
- If the machine will not be used for an extended period, charge the battery to approximately 50% before storage.
8. Troubleshooting
| Problem | Possible Cause | Solution |
|---|---|---|
| Machine does not turn on. | Low battery or no power. | Charge the battery or connect via RCA adapter to a power supply. Ensure the power button is pressed and held. |
| Inconsistent operation or power fluctuations. | Loose connections, low battery, or motor issue. | Check battery connection or RCA cable. Ensure battery is fully charged. If issues persist, contact support. The device has built-in Overcurrent Protection (OCP). |
| Needle not moving correctly. | Improperly seated cartridge needle or incorrect stroke/depth setting. | Re-seat the cartridge needle. Verify stroke length and needle depth settings. |
| Display is dim or unreadable. | Environmental lighting or display settings. | The HD LCD display is designed for high transparency. Adjust ambient lighting. If the issue persists, contact support. |
The BRONC X2 features a Jump Start function for certain cartridges and built-in Overcurrent Protection (OCP) to safeguard the motor.
9. Specifications
| Feature | Detail |
|---|---|
| Model Number | RTM-1003-120 |
| Battery Capacity | 2,000mAh (1 Lithium Ion battery included) |
| Charging Time | 2 to 2.5 hours (via Type-C) |
| Working Time | 7 to 9 hours on a single charge |
| Adjustable Stroke Lengths | 2.6mm, 2.9mm, 3.2mm, 3.5mm, 3.8mm, 4.0mm |
| Adjustable Needle Depth | 0 to 4.5mm |
| Motor | High-speed DC Swiss motor |
| Max Operating Speed | 11,000 RPM at 12V |
| Operating Voltage Range | 4V to 12V |
| Protection Features | Overcurrent Protection (OCP), Jump Start feature |
| Display | HD LCD with 3D tempered glass (8.0 Mohs hardness) |
| Weight | 255 Grams (8.99 ounces) |
| Dimensions | 7.24 x 4.33 x 2.52 inches (Package) |
| Water Resistance | Not Water Resistant |
10. Warranty and Support
For warranty information and technical support, please contact the manufacturer, BRONC, or the retailer from whom you purchased the product. Retain your proof of purchase for warranty claims.
You can visit the official BRONC store for more information: BRONC Store on Amazon
