
1. Introduction
This manual provides essential information for the installation, maintenance, and troubleshooting of your GAEWBBH Ice Cream Machine Spare Parts. These components are designed to be compatible with certain VEVOR and YKF Soft Serve Ice Cream Makers. Please read this manual carefully before attempting any installation or replacement to ensure proper function and longevity of your ice cream machine.
2. Product Overview
The GAEWBBH Ice Cream Machine Spare Parts set includes various silicone seal rings and tube components essential for the proper operation of compatible soft serve ice cream machines. These parts are made from durable silicone material.

Image 1: GAEWBBH Ice Cream Machine Spare Parts. This image displays the various silicone seal rings and tube components included in the replacement set.
2.1 Package Contents
- 1 Set of Ice Cream Makers Silicone Seal Rings Tube Components
3. Compatibility Information
IMPORTANT: There are many different ice cream machine models on the market. These spare parts are specifically designed to be compatible with certain VEVOR Components and YKF Soft Serve Ice Cream Makers. Before purchasing or installing, it is crucial to verify the compatibility with your specific ice cream machine model. Incorrect parts may lead to improper function or damage.
If you have not already done so, please contact the seller with your ice cream machine's type or model number to confirm compatibility before proceeding with installation.
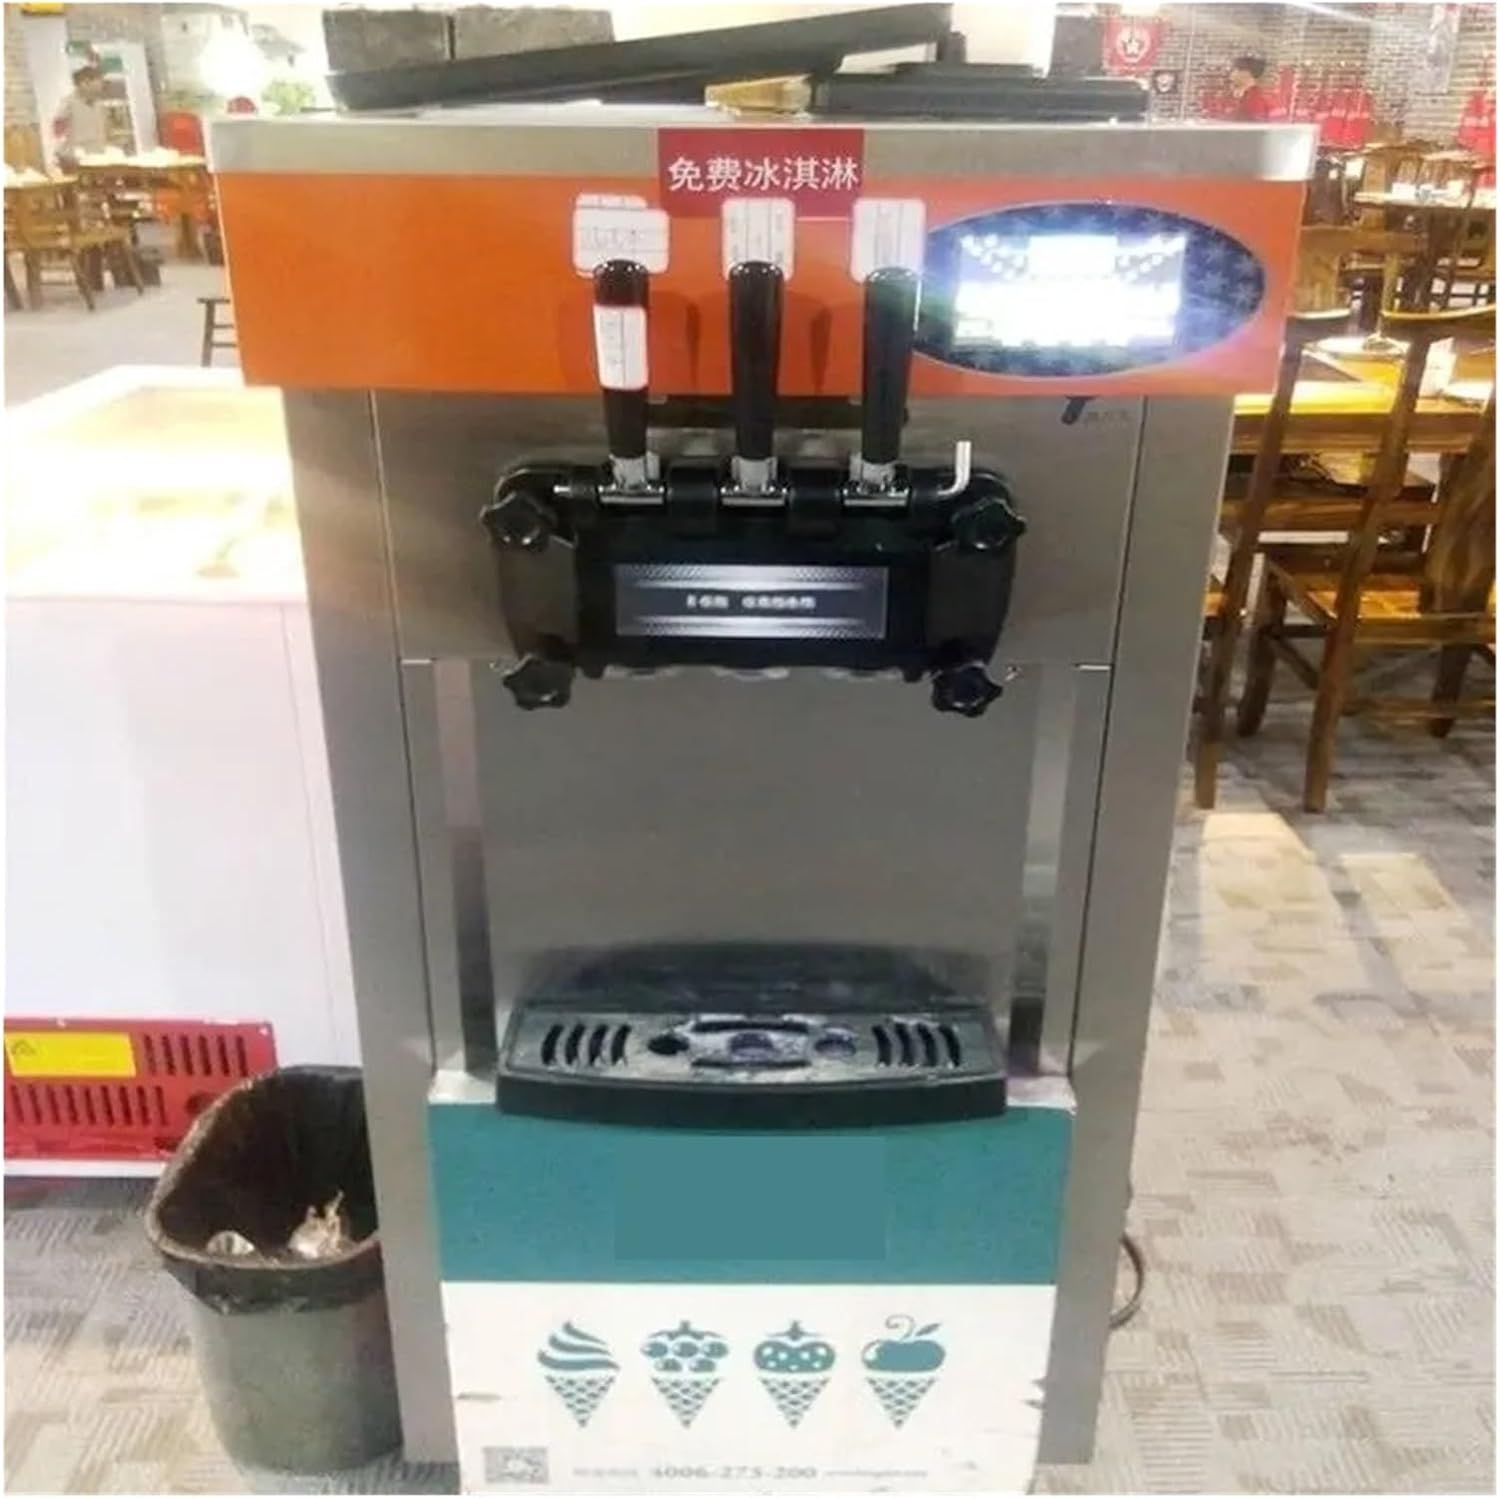
Image 2: Example of a soft serve ice cream machine. This image provides a visual reference for the type of equipment these spare parts are designed for.
4. Installation and Setup
Installation of these spare parts typically involves replacing worn or damaged silicone seals and tube components within your ice cream machine. Due to the variety of machine designs, specific installation steps may vary. Always refer to your ice cream machine's original instruction manual for detailed disassembly and reassembly procedures.
4.1 General Guidelines
- Safety First: Always unplug the ice cream machine from the power source before beginning any maintenance or installation.
- Disassembly: Carefully disassemble the relevant sections of your ice cream machine where the parts need to be replaced. Pay attention to the order of components.
- Part Replacement: Remove the old, worn-out silicone rings and tube components. Clean the areas thoroughly.
- New Part Installation: Install the new GAEWBBH spare parts, ensuring they fit snugly and are correctly oriented. Silicone parts often require a small amount of food-grade lubricant (e.g., silicone grease) to seat properly and prevent tearing.
- Reassembly: Reassemble the machine, ensuring all components are securely fastened.
- Testing: After reassembly, perform a test run with water (if applicable) to check for leaks or improper function before using with ice cream mix.
5. Operating Instructions
These spare parts do not have direct operating instructions as they are components of a larger machine. Their proper installation ensures the ice cream machine operates as intended. Once installed, operate your ice cream machine according to its original manufacturer's instructions.
Ensure that all seals are correctly seated before operating the machine to prevent leaks and maintain optimal performance.
6. Maintenance
Proper maintenance of these silicone components is crucial for the hygiene and longevity of your ice cream machine.
6.1 Cleaning
- Regularly remove and clean all silicone seals and tube components according to your ice cream machine's cleaning schedule.
- Wash parts with warm, soapy water and a soft brush. Rinse thoroughly with clean water.
- Sanitize parts as recommended by your ice cream machine manufacturer.
- Allow parts to air dry completely before reinstallation to prevent bacterial growth.
6.2 Inspection and Replacement
- Periodically inspect silicone parts for signs of wear, cracking, tearing, or discoloration.
- Worn or damaged seals can lead to leaks, reduced machine efficiency, and potential hygiene issues. Replace them promptly.
- Store spare parts in a clean, dry place away from direct sunlight and extreme temperatures.
7. Troubleshooting
If you encounter issues after installing the spare parts, consider the following:
- Leaks:
- Ensure all silicone seals are correctly seated and not twisted or pinched.
- Verify that the correct size and type of seal was used for each location.
- Check for any damage to the new seals that might have occurred during installation.
- Machine Not Functioning Correctly:
- Double-check that all components were reassembled correctly according to your machine's manual.
- Ensure no parts were left out or installed in the wrong orientation.
- Confirm that the parts are indeed compatible with your specific ice cream machine model.
- Parts Do Not Fit:
- This is a strong indication of incompatibility. Refer to Section 3: Compatibility Information.
- Do not force parts into place, as this can cause damage to both the parts and your machine.
- Contact the seller immediately if the parts do not fit your machine.
For issues beyond these basic troubleshooting steps, consult your ice cream machine's original service manual or contact a qualified technician.
8. Specifications
| Attribute | Detail |
|---|---|
| Product Name | Ice Cream Makers Silicone Seal Rings Tube Components |
| Brand | GAEWBBH |
| Model Number | vhugbu |
| Material | Silicone |
| Package Contains | 1 Set |
| Item Weight | 50 Grams |
9. Warranty and Support
Specific warranty information for these spare parts is not provided in the product details. For any warranty inquiries, product support, or to confirm compatibility, please contact the seller directly through the platform where the purchase was made.
It is recommended to retain your purchase receipt for any potential warranty claims.