
1. Introduction
The Tecaki Mini Portable Projector (Model X3) is a compact and versatile device designed for a wide range of projection needs, from home cinema to outdoor entertainment. Featuring 1080P HD resolution, two-way Bluetooth 5.2 connectivity, a 180° rotatable mount, and automatic keystone correction, this projector offers a flexible and high-quality viewing experience. Its eye-caring LED technology and enhanced cooling system ensure comfortable and reliable performance. This manual provides detailed instructions for setting up, operating, maintaining, and troubleshooting your projector.
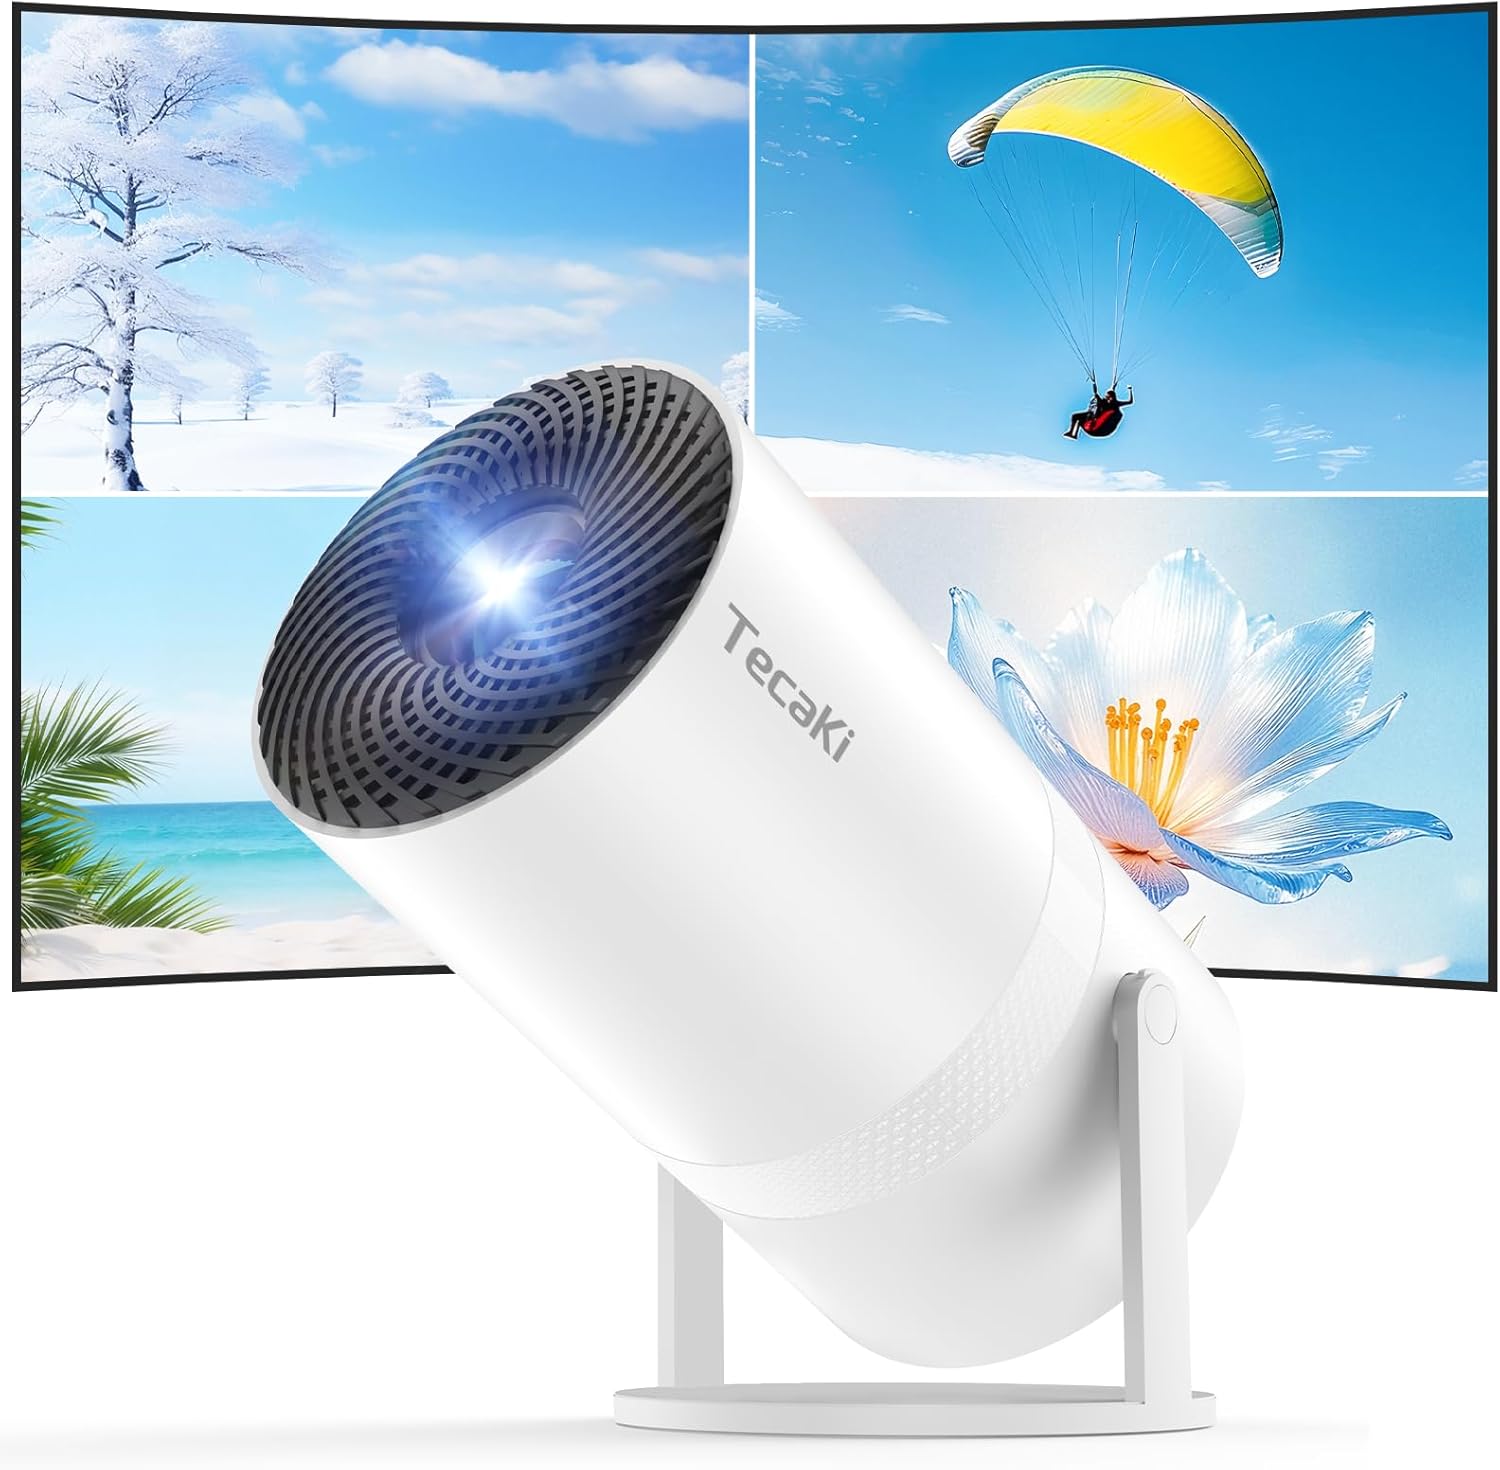
Figure 1.1: The Tecaki Mini Portable Projector showcasing its compact design and versatile projection capabilities.
2. What's in the Box
Upon unboxing your Tecaki Mini Portable Projector, please ensure all the following items are present:
- Mini Portable Projector
- HDMI Cable
- Power Cord
- Remote Control
- Cleaning Kit
- User Manual (this document)
- Warranty Card
3. Key Features
The Tecaki Mini Portable Projector is equipped with several advanced features to enhance your viewing experience:
- Full HD 1080P Support: Experience vivid, crystal-clear visuals with native 1080P resolution support, delivering sharp and detailed images.
- 180° Rotatable Mount & Freestyle Projection: The integrated rotatable mount allows for flexible projection on walls, floors, or ceilings, adapting to various viewing angles from 0° to 180°.
- Auto Keystone Correction & Manual Focus: The advanced auto keystone correction automatically adjusts the image for distortion-free projection, even at an angle. Manual focus allows for fine-tuning sharpness, and the zoom feature adjusts image size from 75% to 100% without moving the projector.
- Two-Way Bluetooth 5.2 Connectivity: Equipped with advanced Bluetooth 5.2 technology for seamless wireless audio transmission. Note that Bluetooth is for audio output only and cannot transmit images or video. It supports connecting to Bluetooth speakers or headphones for enhanced sound, and mobile devices for audio streaming.
- Eye-Caring LED Technology & Enhanced Cooling: The projector features LED light technology designed to be gentle on the eyes for comfortable viewing. A built-in cooling system prevents overheating, extending the projector's lifespan and ensuring consistent performance.
- Compact and Portable Design: Lightweight and easy to carry, making it ideal for on-the-go entertainment, whether for camping, backyard movie nights, or presentations.
- Timer Shutdown Function: The projector can be set to auto-shut down after a specified period (up to 4 hours), saving energy and ensuring uninterrupted sleep.

Figure 3.1: Visual representation of the projector's core features, including 1080P resolution and portability.

Figure 3.2: The projector's 180° rotation capability enables versatile projection onto different surfaces.
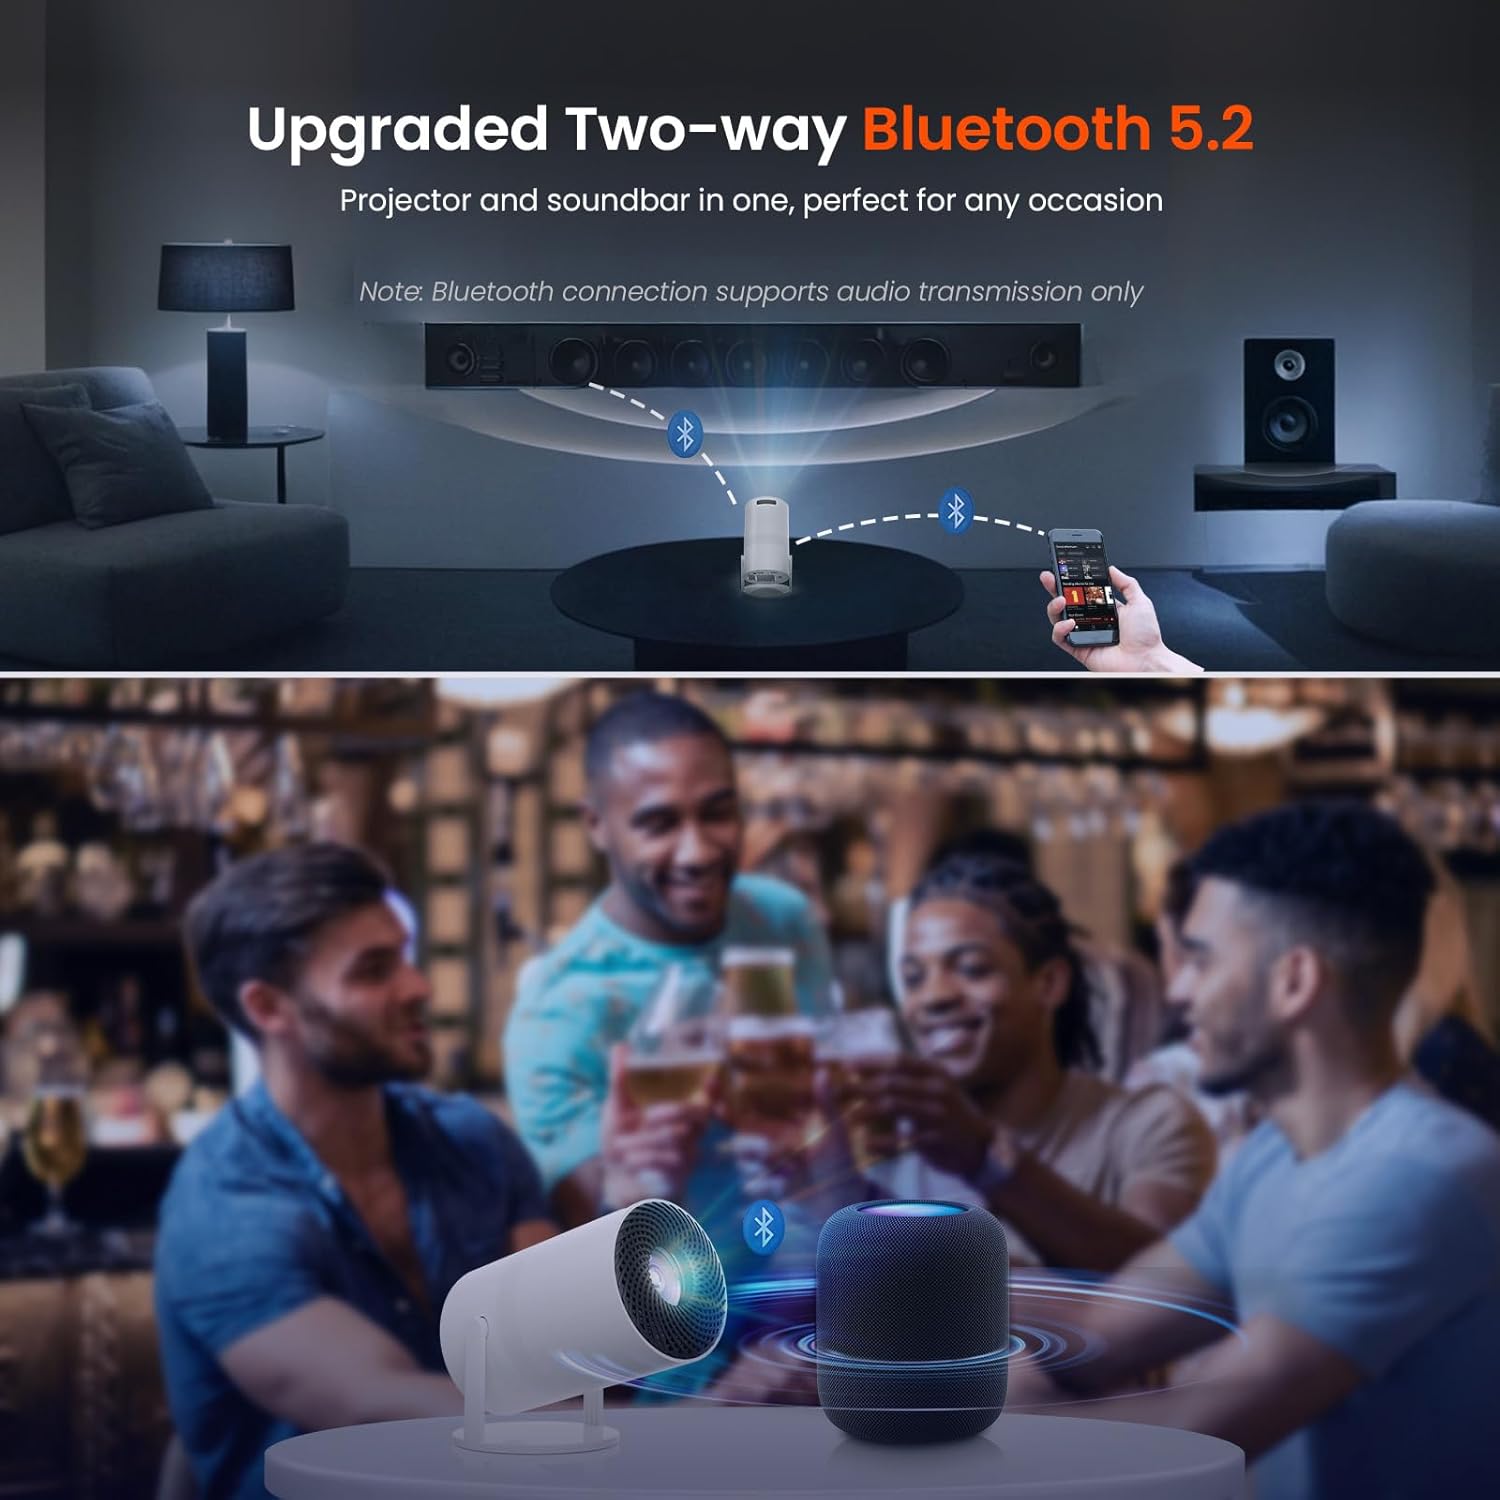
Figure 3.3: Illustration of the two-way Bluetooth 5.2 audio connectivity, allowing connection to external speakers or use as a Bluetooth speaker.

Figure 3.4: The upgraded cooling system ensures optimal performance and longevity of the projector.

Figure 3.5: Despite its compact size, the projector can create a large screen experience up to 200 inches.

Figure 3.6: The timer shutdown feature allows for automatic power-off after a set duration.
4. Setup Guide
Follow these steps for initial setup of your Tecaki Mini Portable Projector:
- Placement: Choose a flat, stable surface for the projector. Utilize the 180° rotatable mount to adjust the projection angle as needed (e.g., wall, ceiling, floor).
- Power Connection: Connect the provided power cord to the projector's power input port and then to a standard electrical outlet.
- Power On: Press the power button on the projector or the remote control to turn on the device.
- Initial Focus Adjustment: Upon startup, the projector will perform auto keystone correction. For optimal clarity, manually adjust the focus ring on the projector lens until the image appears sharp.
- Source Selection: Once powered on, select your desired input source (e.g., HDMI, USB, Bluetooth) using the projector's interface or remote control.
5. Operating Instructions
5.1 Power On/Off
- To Power On: Press the power button on the projector or the remote control.
- To Power Off: Press the power button again. A confirmation prompt may appear; select 'Power Off'.
5.2 Input Source Selection
Use the 'Source' button on the remote control or navigate through the projector's menu to select the desired input:
- HDMI: For connecting laptops, gaming consoles, streaming sticks, etc.
- USB: For playing media from USB drives.
- Bluetooth: For audio output to external Bluetooth speakers/headphones or for using the projector as a Bluetooth speaker.
5.3 Menu Navigation
Use the arrow keys and 'OK' button on the remote control to navigate through the projector's on-screen menu for settings adjustments.
6. Connectivity
6.1 Bluetooth Connection (Audio Only)
The projector's Bluetooth 5.2 is designed for audio transmission only. It cannot transmit video or images via Bluetooth.
- Connecting to External Bluetooth Speakers/Headphones:
- Ensure your Bluetooth audio device is in pairing mode.
- On the projector, go to the Bluetooth settings menu.
- Select your device from the list to pair.
- Using Projector as a Bluetooth Speaker:
- Select the projector's Bluetooth Reception Mode in the settings.
- On your smartphone or other mobile device, search for Bluetooth devices and connect to the Tecaki projector.
6.2 Wired Connections (HDMI, USB, 3.5mm Audio)
The projector offers multiple wired ports for versatile connectivity:
- HDMI Port: Connect laptops, desktop computers, gaming consoles (PS5/Xbox/Switch), Blu-ray players, or streaming devices (Fire TV Stick, Roku, Chromecast) using an HDMI cable.
- USB Port: Insert a USB flash drive to play local media files (videos, photos, music).
- 3.5mm Audio Jack: Connect external wired speakers or headphones for enhanced audio output.

Figure 6.1: Overview of the projector's input/output ports and connection methods.
6.3 Screen Mirroring & Content Protection
Please note the following important information regarding screen mirroring:
- HDCP Limitations: Due to content protection agreements (HDCP), screen mirroring will not display video or audio for certain streaming applications such as Amazon Prime Video, Netflix, Hulu, Disney+, etc. This is a standard industry limitation, not a defect of the projector.
- Solution for Streaming Apps: To watch content from these protected apps, connect a streaming device (e.g., Fire TV Stick, Roku, Chromecast) directly to the projector via the HDMI port. Alternatively, connect your laptop or computer via HDMI.
- Connecting iPhone/iPad: For iPhone/iPad users, connect using a USB-to-Lightning or USB-to-Type-C cable (original cable recommended for stable connection). Different iPhone models may require different cables.
- Connecting Android Phones/Tablets: Check if your Android device supports video-out function (MHL). If yes, use a Micro USB/Type-C to HDMI adapter (not included). If not, use a streaming stick (like Roku/Fire Stick) for display.
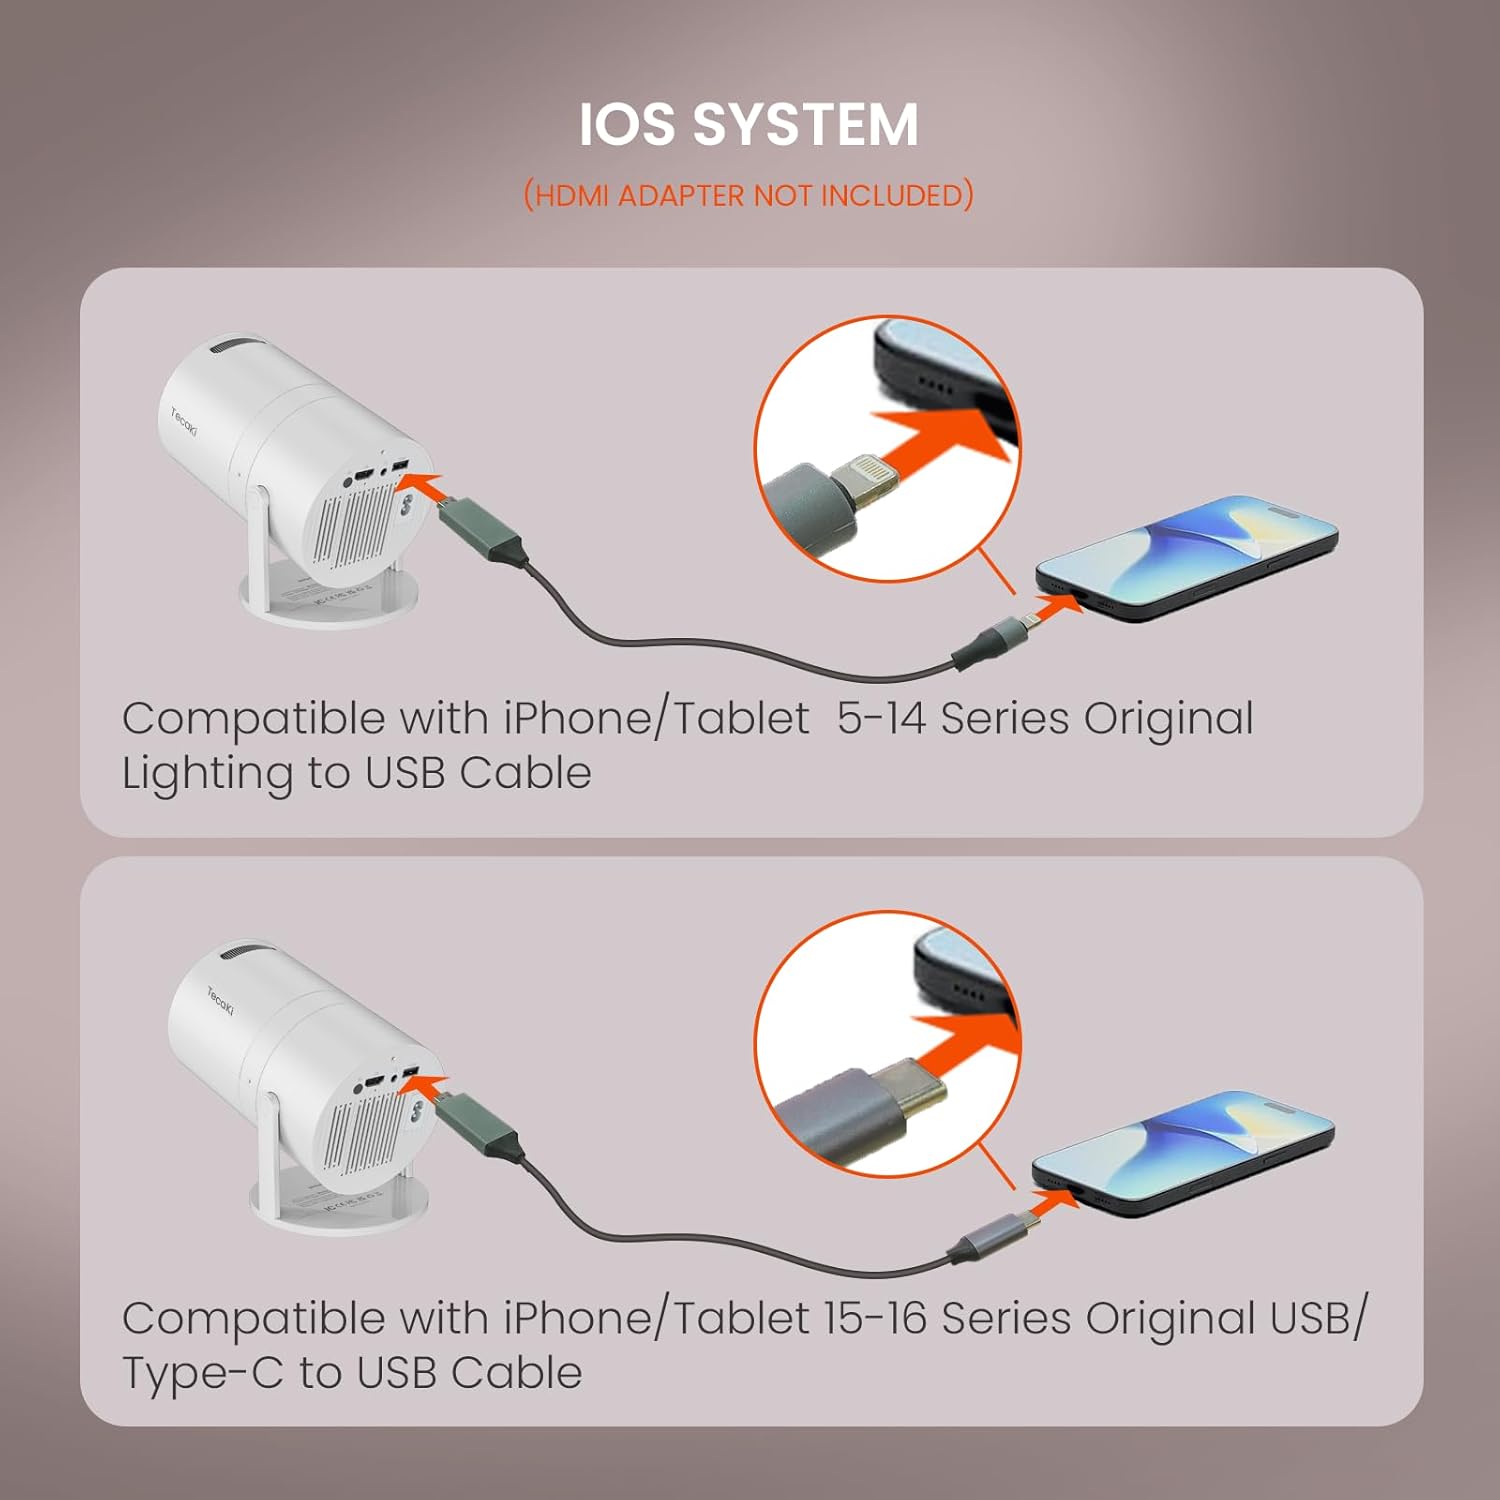
Figure 6.2: Instructions for connecting iOS devices to the projector using a USB cable.
7. Image Adjustment
7.1 Auto Keystone Correction
The Tecaki projector features advanced auto keystone correction. This function automatically adjusts the image to be rectangular, even if the projector is placed at an angle. This correction primarily applies to vertical distortion.
7.2 Manual Focus
To achieve the sharpest image, rotate the focus ring on the projector lens until the projected image is clear and crisp.
7.3 Zoom Function
You can adjust the image size from 75% to 100% without physically moving the projector. Access the zoom function through the projector's on-screen menu settings.
8. Maintenance
Proper maintenance ensures the longevity and optimal performance of your projector:
- Lens Cleaning: Use the provided cleaning kit or a soft, lint-free cloth specifically designed for optical lenses to gently wipe the projector lens. Avoid using abrasive materials or harsh chemicals.
- Ventilation: Ensure the projector's ventilation vents are clear and unobstructed to allow for proper airflow. The built-in cooling system relies on clear vents to prevent overheating.
- Storage: When not in use for extended periods, store the projector in a cool, dry place, away from direct sunlight and excessive dust.
- Power Off Properly: Always power off the projector using the designated power button and allow it to complete its shutdown cycle before unplugging.
9. Troubleshooting
This section addresses common issues you might encounter:
- No Picture/Signal:
- Ensure the correct input source is selected on the projector.
- Check all cable connections (HDMI, USB) are secure and properly inserted.
- If using screen mirroring for streaming apps (Netflix, Hulu, Prime Video), remember these are often blocked by HDCP. Use a streaming stick or connect a laptop via HDMI instead.
- No Audio:
- Check the volume level on both the projector and the connected source device.
- If playing videos with Dolby Sound, the projector may not support it. Turn off Dolby Sound on the connected device or app.
- Ensure Bluetooth audio devices are properly paired and connected.
- If using HDMI, ensure the audio output is correctly configured on your source device.
- Image is Blurry:
- Adjust the manual focus ring on the projector lens.
- Ensure the projection distance is within the recommended range for optimal clarity (80-120 inches for best viewing experience).
- Image is Distorted/Trapezoidal:
- The projector has auto keystone correction. Ensure the projector is placed on a stable, level surface.
- If the distortion persists, try repositioning the projector directly in front of the screen/wall.
- Projector Overheating/Shuts Down:
- Ensure the ventilation vents are not blocked.
- Operate the projector in a well-ventilated area.
- Allow the projector to cool down if it has been running for an extended period.
10. Specifications
| Feature | Detail |
|---|---|
| Brand | Tecaki |
| Model Number | X3 |
| Display Resolution | 1920 x 1080 (Full HD Supported) |
| Connectivity Technology | HDMI, USB, Bluetooth 5.2 (Audio Only) |
| Special Features | Built-In Cooling System, Built-In Speaker, Digital Keystone Correction, Lightweight, Portable, 180° Rotatable Mount, Timer Shutdown |
| Item Weight | 1.34 pounds |
| Product Dimensions | 7.28 x 5.2 x 4.72 inches |
| Color Name | WHITE2 |
| First Available Date | January 14, 2025 |
11. Warranty and Support
Tecaki is committed to providing excellent customer service and support for your projector:
- Manufacturer Warranty: The product comes with a 12-month manufacturer warranty.
- Extended Warranty: An extended warranty of up to 24 months is available.
- Warranty Coverage: Within 36 months from the date of order, if your product has any suspected fault issues, Tecaki technicians will assess and arrange for replacement or repair.
- Technical Support: Lifetime technical support is provided for your product.
- Customer Service: Expect quick and professional replies within 24 hours for any inquiries.
- Return Policy: A 30-day no-reason return policy is available.
To activate your product warranty or for any support inquiries, please consult Tecaki service support via their official channels.
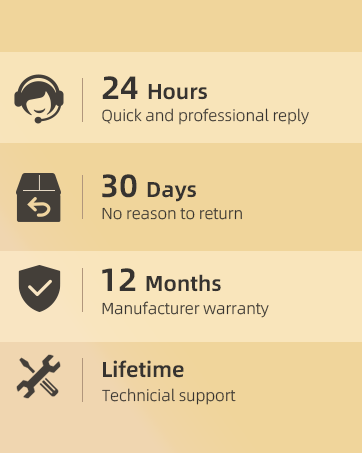
Figure 11.1: Tecaki's commitment to customer support and warranty services.