
1. Introduction
This manual provides detailed instructions for the installation, operation, and maintenance of your NIVIAN 2-Wire Analog Video Intercom system with RFID. This system is designed for secure and convenient communication with visitors at your entrance, featuring a 7-inch indoor monitor and an outdoor unit with a 1000 TVL camera and integrated RFID reader.
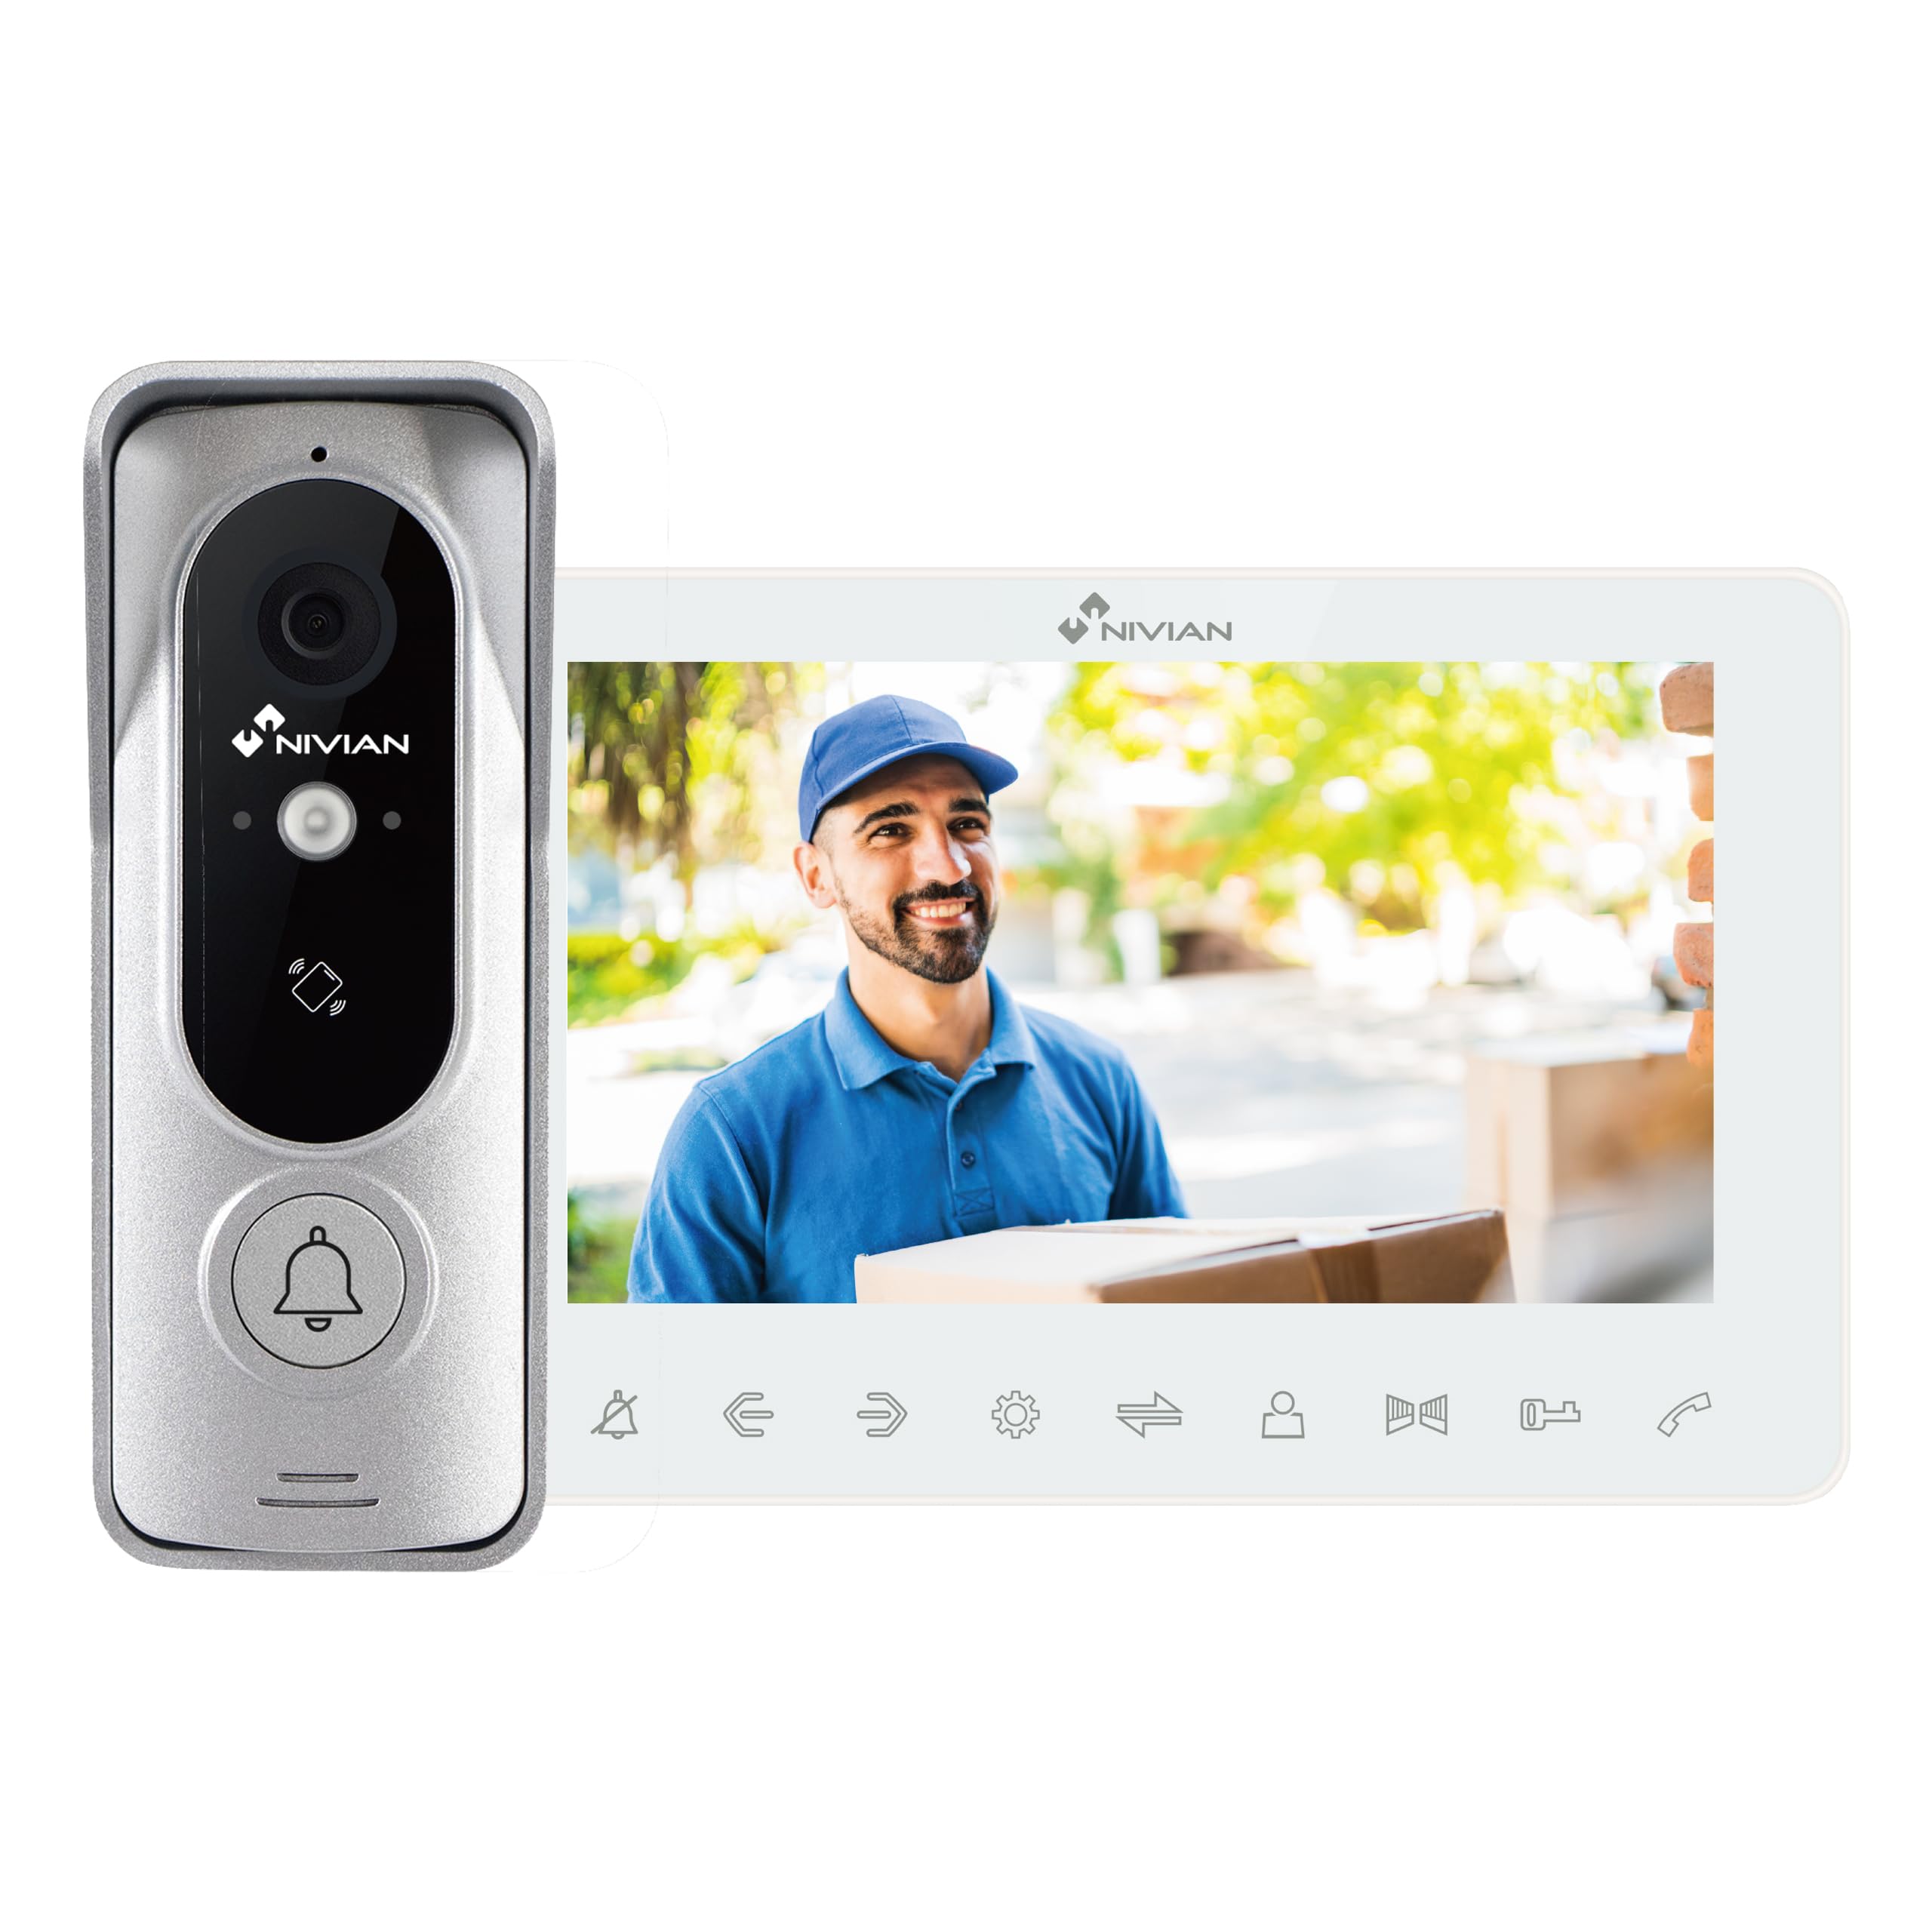
Image: The NIVIAN 2-Wire Analog Video Intercom system, showing the outdoor unit and indoor monitor.
2. Safety Information
Please read all safety instructions carefully before installation and operation. Failure to follow these instructions may result in electric shock, fire, or damage to the product.
- Ensure all power is disconnected before performing any wiring or installation.
- Installation should be performed by a qualified electrician or technician, especially for electrical connections.
- Do not expose the indoor monitor to moisture or extreme temperatures.
- Use only the specified power adapter and components provided by NIVIAN.
- Avoid placing the outdoor unit in direct sunlight for prolonged periods if possible, to prevent overheating and ensure optimal performance.
3. Package Contents
Verify that all items listed below are included in your package:
- NIVIAN Outdoor Video Intercom Unit (with RFID reader)
- NIVIAN 7-inch Indoor Monitor
- Mounting accessories (screws, wall anchors)
- Power adapter for indoor monitor
- RFID cards/key fobs (quantity may vary)
- User Manual (this document)

Image: Overview of the NIVIAN 2-Wire Analog Video Intercom kit, showing the outdoor unit and indoor monitor, highlighting RFID reader functionality.
4. Product Overview
4.1 Outdoor Unit (Door Station)
The outdoor unit is designed for external installation and features a durable, weather-resistant casing.
- Camera: 1000 TVL resolution with a 110° viewing angle for clear video.
- Night Vision: Integrated infrared LEDs provide clear black and white vision in low-light conditions up to 10 meters.
- Call Button: Allows visitors to initiate a call to the indoor monitor.
- RFID Reader: Enables convenient door unlocking using compatible RFID cards or key fobs.
- Durability: IP65 rated for water and dust resistance, and IK07 vandal-resistant.

Image: The outdoor unit installed on a wall, demonstrating its weather resistance and vandal-proof design (IP65, IK07).

Image: Illustration of the outdoor unit's night vision capability, showing clear visibility in dark conditions.
4.2 Indoor Monitor
The indoor monitor serves as the control center for your video intercom system.
- Display: 7-inch TFT LCD screen for high-quality video display.
- Audio: Two-way audio communication with noise reduction.
- Door Release: Button to remotely unlock an electric door strike.
- Recording: Supports MicroSD card (up to 32GB, not included) for recording visitor images.

Image: The NIVIAN indoor monitor displaying a visitor from the outdoor unit.
5. Setup and Installation
The NIVIAN 2-Wire Analog Video Intercom system is designed for easy installation, compatible with existing 2-wire analog wiring. It is highly recommended that installation involving electrical wiring be performed by a qualified professional.
5.1 Wiring Diagram (General)
The system utilizes a 2-wire connection between the outdoor unit and the indoor monitor. Additional wiring may be required for connecting an electric door strike.
- Connect the two main wires from the outdoor unit to the corresponding terminals on the indoor monitor.
- If using an electric door strike, connect its wires to the designated terminals on the outdoor unit or indoor monitor as per the specific electric strike's instructions.
- Ensure all connections are secure and insulated.
Note: A detailed wiring diagram is typically provided in the physical product manual. Consult it for precise connection points.
5.2 Mounting the Outdoor Unit
- Choose a suitable location near your entrance, typically at eye level, ensuring a clear view of visitors.
- Mark the drilling points using the mounting bracket as a template.
- Drill holes and insert wall anchors if necessary.
- Secure the mounting bracket to the wall.
- Connect the wiring to the outdoor unit.
- Attach the outdoor unit to the mounting bracket.
Image: A person installing the outdoor unit and another person viewing the indoor monitor, illustrating the installation process.
5.3 Mounting the Indoor Monitor
- Select a convenient indoor location, such as a hallway or living area.
- Mark and drill holes for the monitor's mounting bracket.
- Secure the bracket.
- Connect the 2-wire cable from the outdoor unit and the power adapter to the monitor.
- Mount the monitor onto its bracket.
5.4 Initial Power-Up
Once all connections are made, plug in the indoor monitor's power adapter. The system should power on, and the monitor will display the camera feed or a standby screen.
6. Operating Instructions
6.1 Receiving a Call
When a visitor presses the call button on the outdoor unit, the indoor monitor will ring and display the visitor's video feed. Press the "Answer" button on the monitor to initiate two-way audio communication.
6.2 Two-Way Audio Communication
After answering a call, you can speak to your visitor through the monitor's built-in microphone and speaker. The outdoor unit also has a microphone and speaker for the visitor.
6.3 Door Release Function
During a call or while viewing the outdoor camera feed, press the "Unlock" button on the indoor monitor to activate the connected electric door strike and allow entry.
6.4 Using RFID for Door Opening
The outdoor unit features an integrated RFID reader for convenient access. To open the door, simply present a pre-programmed RFID card or key fob to the RFID reader area on the outdoor unit. The door will unlock automatically.

Image: A hand presenting an RFID card to the outdoor unit for door access.
Refer to the physical manual for instructions on how to program and manage RFID cards.
6.5 Visitor Image Recording (MicroSD)
If a MicroSD card (up to 32GB, not included) is inserted into the indoor monitor, the system can automatically capture and save images of visitors when they press the call button. These images can be reviewed later on the monitor.

Image: The indoor monitor showing the location of the MicroSD card slot for recording visitor images.
7. Maintenance
- Cleaning: Use a soft, dry cloth to clean the indoor monitor and outdoor unit. Do not use abrasive cleaners or solvents.
- Outdoor Unit: Periodically check the outdoor unit for any obstructions to the camera lens or microphone/speaker. Ensure it remains securely mounted.
- Wiring: Occasionally inspect visible wiring for any signs of damage or wear.
- Software Updates: Check the manufacturer's website for any available firmware updates for optimal performance.
8. Troubleshooting
| Problem | Possible Cause & Solution |
|---|---|
| No image on indoor monitor. |
|
| No audio during call. |
|
| Door not unlocking with button. |
|
| RFID cards not working. |
|
9. Specifications
| Feature | Detail |
|---|---|
| Brand | NIVIAN |
| Model Name | NV-VIDEOINTERCOM-2BASIC-RFID |
| Connectivity Technology | Wired (2-wire analog) |
| Special Feature | Two-way audio, RFID access, Night Vision |
| Usage Environment | Outdoor (Unit), Indoor (Monitor) |
| Mounting Type | Wall Mount |
| Video Capture Resolution | 1000 TVL |
| Effective Still Image Resolution | 1 MP |
| International Protection Rating | IP65 (Outdoor Unit) |
| Vandal Resistance | IK07 (Outdoor Unit) |
| Monitor Size | 7 Inches |
| Voltage | 12 Volts |
| Power Consumption | 10 Watts |
| Viewing Angle | 110 Degrees |
| Field of View | 120 Degrees |
| Optical Sensor Technology | CMOS |
| Flash Memory Type | SD (MicroSD up to 32GB) |
| Video Capture Format | MP4 |
| Night Vision Range | 10 Meters |
| Number of IR LEDs | 6 |
| Item Dimensions (L x W x H) | 15 x 12 x 16 cm |
| Product Weight | 600 Grams |
10. Warranty and Support
NIVIAN products are designed for reliability and performance. For specific warranty terms and conditions, please refer to the warranty card included with your product or visit the official NIVIAN website.
If you encounter any issues or require technical assistance, please contact NIVIAN customer support through their official channels. Have your product model number (NV-VIDEOINTERCOM-2BASIC-RFID) and purchase details ready when contacting support.
NIVIAN Official Website: Visit NIVIAN Store on Amazon (This link directs to the brand's store on Amazon.es, which may contain support information or links to the official website).


