1. Introduction
Thank you for choosing the PASYOU Foldable Water Rowing Machine PW60 and the Adjustable Weighted Vest PL20. This comprehensive package is designed to enhance your fitness journey, offering a full-body workout with the rowing machine and added resistance training with the weighted vest. Please read this manual thoroughly before assembly and use to ensure safe and effective operation.
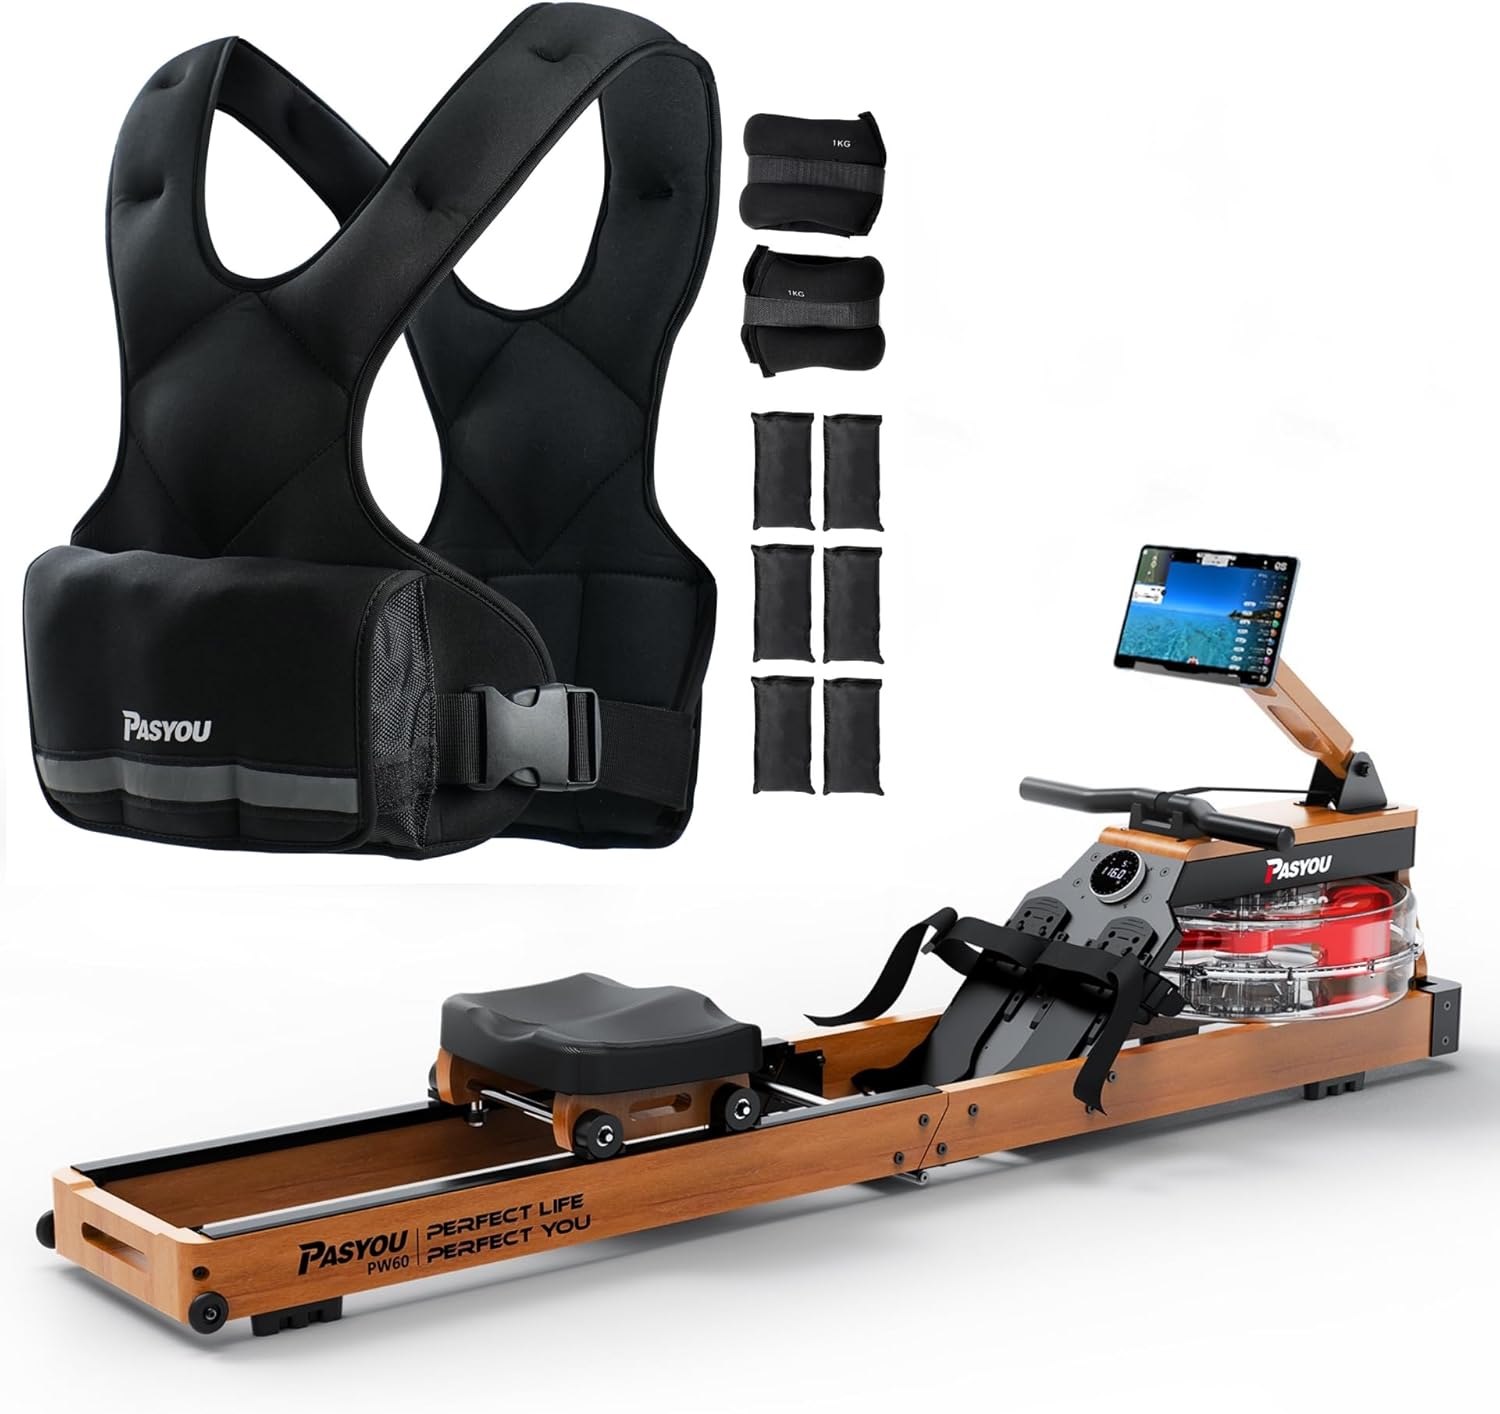
Image 1.1: PASYOU Foldable Water Rowing Machine PW60 and Adjustable Weighted Vest PL20.
2. Package Contents
Before beginning assembly, please verify that all components are present and undamaged. If any parts are missing or damaged, contact customer support.
2.1 PW60 Water Rowing Machine Package:
- Pasyou Water Rowing Machine x 1
- Water pump x 1
- Installation package (hardware and tools) x 1
- Instructions x 1
- Water purification tablets x 3
2.2 PL20 Adjustable Weighted Vest Package:
- Black Weight vest (10lb) x 1
- Ankle weights (2.2lb / 1kg) x 2
- Weight packs (1.98lb / 0.9kg) x 6
3. Setup and Assembly
3.1 Water Rowing Machine (PW60) Assembly:
- Unpack all components and lay them out on a clean, flat surface.
- Follow the detailed instructions provided in the included installation manual for step-by-step assembly of the rowing machine frame, seat, and footrests. Ensure all bolts and screws are securely tightened.
- Once the frame is assembled, position the water tank.
- Using the provided water pump, fill the water tank with clean tap water. Do not overfill. The tank has a 14L capacity.
- Add one water purification tablet to the tank to prevent algae growth. Repeat every 3-6 months or as needed.
- Ensure the monitor is securely attached and connected.

Image 3.1: The rowing machine is designed for easy mobility and vertical storage.
3.2 Adjustable Weighted Vest (PL20) Setup:
- The PL20 vest comes with a base weight of 10lb. To increase the weight, locate the pockets on the vest.
- Insert the additional 1.98lb (0.9kg) weight packs into the designated pockets. You can add up to 6 additional weight packs for a maximum total weight.
- Adjust the shoulder straps and waist buckle to achieve a snug and comfortable fit. The vest is adjustable from 23-54 inches (58-134 cm) in width.
- The 2.2lb (1kg) ankle weights can be worn separately or in conjunction with the vest for added lower body resistance.

Image 3.2: The weighted vest features adjustable sizing for both men and women.
4. Operating Instructions
4.1 Water Rowing Machine (PW60) Operation:
- Getting Started: Sit on the seat, place your feet firmly on the footrests, and secure the straps. Grip the handle with both hands.
- Rowing Technique: Push off with your legs, then lean back slightly, and finally pull the handle towards your abdomen. Reverse the motion smoothly: extend arms, lean forward, then bend legs. Maintain a fluid, continuous motion.
- Adjusting Water Resistance: The PW60 features 6 resistance levels controlled by the amount of water in the tank. To increase resistance, add more water using the pump. To decrease resistance, remove water. The large blades provide effective resistance simulation.
- LCD Monitor: The integrated LCD monitor tracks your workout progress, displaying metrics such as time, distance, stroke count, and pulse (if connected to a heart rate monitor). Press the mode button to cycle through displays.
- Bluetooth & Kinomap APP Connectivity: The rower can connect via Bluetooth to the Kinomap APP. Download the Kinomap APP on your smartphone or tablet. Enable Bluetooth on your device and within the app, search for and connect to your PW60 rower. This allows for interactive workouts, virtual rowing sessions, and detailed progress tracking. A 30-day Kinomap membership code may be available upon contacting customer support.

Image 4.1: The enlarged blades in the water tank double the resistance for a more challenging workout.

Image 4.2: The LCD monitor tracks key workout metrics like distance, time, count, and pulse.

Image 4.3: Connect your rowing machine via Bluetooth to the Kinomap app for interactive training.
4.2 Adjustable Weighted Vest (PL20) Usage:
- Wearing the Vest: Put on the vest like a regular garment. Adjust the shoulder straps and the sturdy buckle at the waist to ensure a secure and comfortable fit that does not restrict movement. The X-shape design helps distribute weight evenly.
- Adjusting Weight: Add or remove the 1.98lb (0.9kg) weight packs from the internal pockets of the vest to customize the resistance level for your workout.
- Using Ankle Weights: Secure the 2.2lb (1kg) ankle weights around your ankles using their adjustable straps. These are ideal for enhancing leg exercises, walking, or rucking.
- Storage Pocket: Utilize the convenient storage pocket on the vest to keep your phone, keys, or other small items secure during your workout.

Image 4.4: The adjustable weighted vest includes ankle weights and allows for customizable weight distribution.

Image 4.5: Key design features of the weighted vest include fine stitching, reflective strip, and a sturdy buckle.

Image 4.6: The vest offers comfort and convenience with a storage pocket and breathable fabric.
5. Maintenance
5.1 Water Rowing Machine (PW60) Maintenance:
- Water Treatment: Add a water purification tablet to the tank every 3-6 months to keep the water clean and prevent algae buildup. If the water becomes cloudy, drain and refill the tank.
- Cleaning: Wipe down the frame, seat, and rails with a damp cloth after each use to remove sweat and dust. Avoid abrasive cleaners.
- Rail Lubrication: Periodically check the rowing rails for debris and clean them. Lubrication is generally not required for water rowers, but refer to the specific installation manual for any recommendations.
- Storage: The rowing machine can be stored vertically to save space. Ensure it is stable and secure when in the upright position.
5.2 Adjustable Weighted Vest (PL20) Maintenance:
- Cleaning: Remove all weight packs before cleaning. Hand wash the vest with mild soap and cold water. Do not machine wash or tumble dry. Air dry completely before reinserting weights.
- Weight Packs: Keep weight packs dry. If they become damp, allow them to air dry thoroughly before storing or reinserting into the vest.
- Storage: Store the vest in a cool, dry place away from direct sunlight.
6. Troubleshooting
- No Resistance / Low Resistance on Rower:
- Check water level in the tank. Add more water if needed.
- Ensure the blades are properly submerged and rotating freely.
- Monitor Not Displaying Data:
- Check battery levels and replace if necessary.
- Ensure all sensor cables are securely connected to the monitor.
- Bluetooth Connectivity Issues:
- Ensure Bluetooth is enabled on both the rower monitor and your smart device.
- Make sure the Kinomap APP is updated to the latest version.
- Try restarting both the rower monitor and your smart device.
- Weighted Vest Fit Issues:
- Adjust shoulder straps and waist buckle for a tighter or looser fit.
- Ensure weight packs are evenly distributed in the pockets.
7. Specifications
| Feature | Specification |
|---|---|
| Brand | PASYOU |
| Model Name (Rower) | PW60 |
| Model Name (Vest) | PL20 |
| Frame Material (Rower) | Oak Wood |
| Resistance Mechanism (Rower) | Water |
| Tension Levels (Rower) | 6 (adjustable by water volume) |
| Max User Weight (Rower) | 330 lbs (150 kg) |
| Recommended User Height (Rower) | 47" to 79" (1.2m to 2m) |
| Metrics Measured (Rower) | Time, Distance, Count, Pulse (via LCD Monitor) |
| Connectivity (Rower) | Bluetooth (Kinomap APP compatible) |
| Base Weight (Vest) | 10 lbs (4.5 kg) |
| Additional Weight Packs (Vest) | 6 x 1.98 lbs (0.9 kg) |
| Ankle Weights Included | 2 x 2.2 lbs (1 kg) |
| Vest Adjustable Width | 23-54 inches (58-134 cm) |
| Power Source (Rower Display) | Manual (Battery for display) |
| Color | Black (Vest), Oak Wood (Rower) |
8. Warranty and Support
For warranty information, please refer to the specific warranty card included with your product or visit the official PASYOU website. If you encounter any issues or require technical assistance, please contact PASYOU customer support through their official channels. Keep your purchase receipt as proof of purchase for any warranty claims.


