1. Introduction
Thank you for choosing the SAVILAND Advanced Cordless Electric Nail Drill. This professional-grade tool is designed for efficient nail filing and removal, offering high performance and portability. With a maximum speed of 35000 RPM, a long-lasting battery, and an intuitive LED display, this device is suitable for both professional salon use and personal nail care. Please read this manual thoroughly before first use to ensure safe and optimal operation.
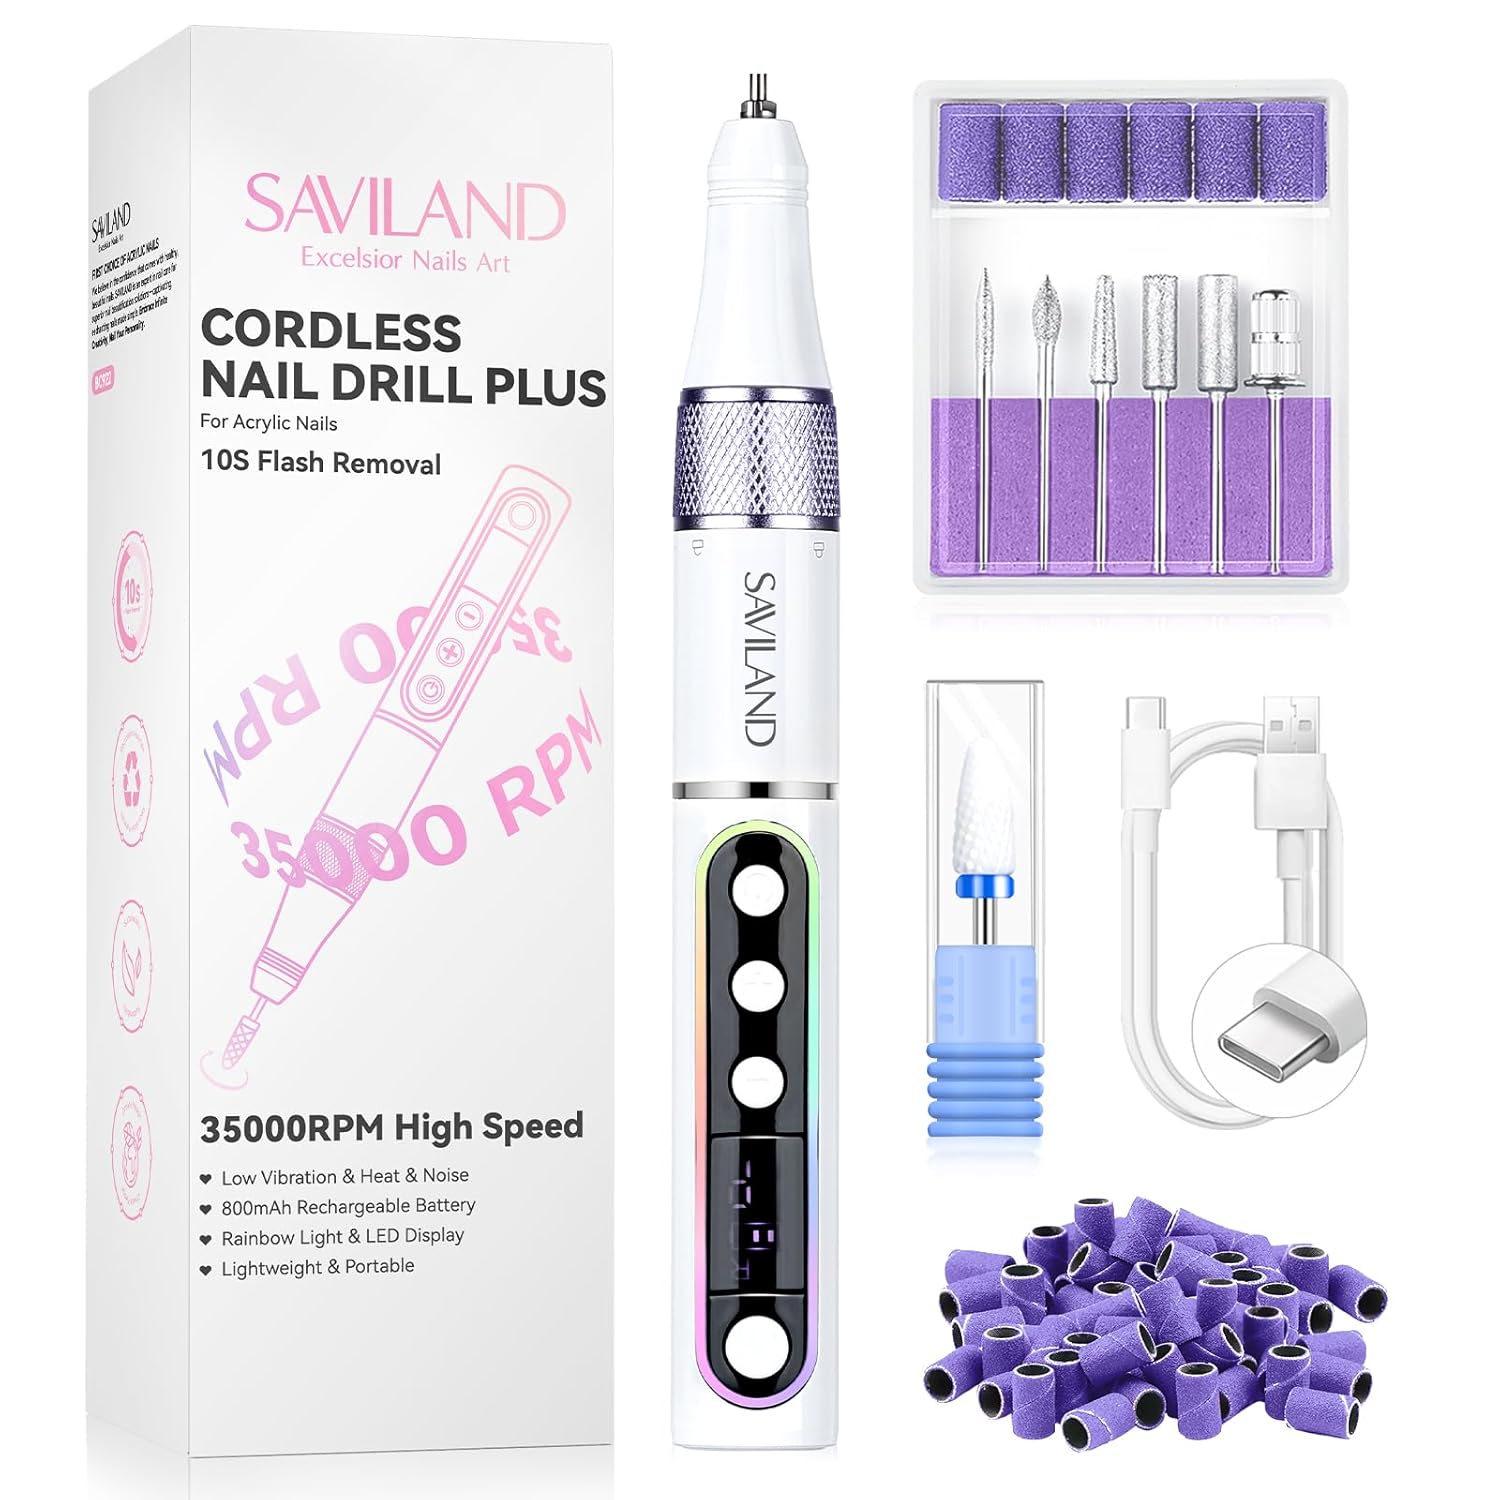
Image 1.1: The SAVILAND Advanced Cordless Electric Nail Drill, including the main unit, various drill bits, sanding bands, and a USB-C charging cable.
2. Safety Information
- Always disconnect the power supply before cleaning or maintenance.
- Do not use the device near water or in damp environments.
- Keep the device out of reach of children.
- Avoid touching the rotating bit during operation.
- Do not operate the device if it is damaged or malfunctioning.
- Use only approved accessories and bits with this device.
- Wear appropriate eye protection during use.
- If the device overheats, stop use immediately and allow it to cool down.
- The device features a built-in dual protection chip for temperature monitoring, overvoltage protection, and short-circuit prevention.
3. Package Contents
Upon opening your SAVILAND Advanced Cordless Electric Nail Drill package, please verify that all the following items are included:
- SAVILAND Cordless Electric Nail Drill Pen
- USB Type-C Charging Cable
- Professional Nail Drill Bits (7 pieces, including ceramic corn bit, flame bit, needle bit, conical bit, small cylindrical bit, big cylindrical bit, mandril bit)
- Sanding Bands
- User Manual
4. Product Overview
4.1 Components and Controls
Familiarize yourself with the various parts and controls of your nail drill:

Image 4.1: Detailed view of the nail drill's control panel, indicating the Type-C charger port, F/R direction button, decelerate button, accelerate button, and the On/Off button.
- Type-C Charger Port: For connecting the charging cable.
- F/R Direction Button: Toggles the rotation direction of the drill bit (Forward/Reverse).
- Decelerate Button: Decreases the rotational speed.
- Accelerate Button: Increases the rotational speed.
- On/Off Button: Press and hold for 2-3 seconds to activate or deactivate the device.
- LED Display: Shows real-time information including rotational speed, direction, and battery level.
- 7-Color Indicator Lights: Provide visual feedback corresponding to the 7 speed settings.
4.2 Nail Drill Bits
The kit includes 7 professional nail drill bits designed for various applications:

Image 4.2: An assortment of professional nail drill bits, including ceramic corn bit, flame bit, needle bit, conical bit, small cylindrical bit, big cylindrical bit, and mandril bit, each suited for different nail care tasks.
- Ceramic Corn Bit: Ideal for removing gel polish, acrylic, and hard gels.
- Flame Bit: Used for cuticle work and cleaning around the nail plate.
- Needle Bit: For intricate detail work and cleaning under the nail.
- Conical Bit: Shapes and refines the nail surface.
- Small Cylindrical Bit: For surface work, shortening, and shaping.
- Big Cylindrical Bit: For larger surface work and bulk reduction.
- Mandril Bit: Used with sanding bands for buffing and smoothing.
5. Setup
5.1 Charging the Device
Before initial use, fully charge the nail drill. The device features an 800mAh battery.
- Connect the provided USB Type-C charging cable to the charging port on the nail drill.
- Plug the other end of the cable into a compatible USB power adapter (not included).
- The LED display will indicate the charging status. A full charge typically takes approximately 1.5 hours.
- Once fully charged, the device provides approximately 4 hours of continuous runtime.

Image 5.1: Illustration of the 800mAh high-capacity battery and the integrated dual-protection chip, highlighting the 4-hour work time and 1.5-hour charge time.
5.2 Attaching/Changing Drill Bits
Ensure the nail drill is switched off before changing any bits.

Image 5.2: A four-step visual guide demonstrating how to replace nail drill bits: 1. Rotate anticlockwise to unlock the core. 2. Pull out the drill bit. 3. Replace with a desired drill bit. 4. Rotate clockwise to fix the drill bit.
- Rotate the chuck (the metallic part at the tip) anticlockwise to unlock the core.
- Carefully pull out the current drill bit.
- Insert the desired drill bit firmly into the core.
- Rotate the chuck clockwise to fix and secure the drill bit in place.
6. Operating Instructions
Follow these steps for proper operation of your SAVILAND nail drill:

Image 6.1: A four-step visual guide demonstrating how to use the nail drill: 1. Turn on the drill machine. 2. Control F/R button to select rotation direction. 3. Control speed switch to adjust the speed you want. 4. Start working on nails.
- Power On: Press and hold the On/Off button for 2-3 seconds to turn on the drill. The LED display will illuminate.
- Adjust Speed: Use the Accelerate (+) and Decelerate (-) buttons to set the desired rotational speed. The LED display will show the current RPM, and the 7-color indicator lights will change according to the speed setting (1-5 Yellow, 6-10 Orange, 11-15 Green, 16-20 Blue, 21-25 Pink, 26-30 Purple, 31-35 Red).
- Change Direction: Press the F/R Direction button to switch between forward and reverse rotation. This is useful for different hand positions or for left-handed users.
- Begin Operation: Once the desired speed and direction are set, gently apply the drill bit to the nail surface. Avoid excessive pressure.
- Power Off: After use, press and hold the On/Off button for 2-3 seconds to turn off the drill.

Image 6.2: The SAVILAND nail drill in operation, demonstrating its high rotational speed for smooth polishing and efficient material removal on an acrylic nail.
7. Maintenance
7.1 Cleaning
- Always ensure the device is turned off and unplugged before cleaning.
- Use a soft, dry cloth to wipe the surface of the nail drill. Do not use harsh chemicals or abrasive cleaners.
- Clean drill bits after each use. You can use a small brush and an appropriate disinfectant solution. Ensure bits are completely dry before storage.
- Regularly check the chuck for any debris and clean as necessary to ensure smooth bit insertion and removal.
7.2 Storage
- Store the nail drill and its accessories in a cool, dry place, away from direct sunlight and moisture.
- Keep the device in its original packaging or a protective case to prevent damage.
- Ensure the battery is partially charged (around 50%) if storing for extended periods to prolong battery life.
8. Troubleshooting
If you encounter any issues with your SAVILAND nail drill, please refer to the following troubleshooting guide:
| Problem | Possible Cause | Solution |
|---|---|---|
| Device does not turn on | Low battery; Device not properly activated; Internal malfunction. | Charge the device fully. Ensure you press and hold the On/Off button for 2-3 seconds. If problem persists, contact customer support. |
| Bit is loose or vibrates excessively | Bit not properly secured; Damaged bit; Incorrect bit size. | Ensure the chuck is rotated clockwise to firmly secure the bit. Replace with a new, undamaged bit. Use only compatible bits. |
| Reduced power or speed | Low battery; Overload; Motor issue. | Recharge the device. Avoid applying excessive pressure during use. If the issue continues, contact customer support. |
| Device overheats | Prolonged continuous use; Blocked ventilation. | Stop using the device and allow it to cool down. Ensure no debris is blocking the ventilation areas. The built-in protection chip will also monitor temperature. |
9. Specifications
| Feature | Specification |
|---|---|
| Model | B0DQPPY9DM |
| Brand | SAVILAND |
| Maximum Rotational Speed | 35000 RPM |
| Battery Capacity | 800mAh |
| Battery Life (Runtime) | Up to 4 hours |
| Charging Time | Approx. 1.5 hours |
| Power Source | Battery Powered (Type-C USB) |
| Input Power | 3 Watts |
| Material | Aerospace-grade Aluminum Alloy |
| Weight | Approx. 150g |
| Package Dimensions | 7.83 x 2.8 x 1.93 inches |
| Manufacturer | SAVILAND |
10. Warranty and Support
10.1 Return Policy
This product is subject to a 30-day return or replacement policy from the date of purchase. Please refer to your retailer's specific return guidelines for detailed instructions.
10.2 Customer Support
For technical assistance, warranty claims, or any questions regarding your SAVILAND Advanced Cordless Electric Nail Drill, please contact SAVILAND customer support directly. You can find more information and contact details on the official SAVILAND store page: SAVILAND Store.