
1. Introduction
This manual provides essential information for the safe and efficient use of your MSI MAG 255F E20 Gaming Monitor. Please read this manual thoroughly before operating the device and retain it for future reference. The MSI MAG 255F E20 is a 24.5-inch Full HD (1920x1080) gaming monitor featuring a 200Hz refresh rate and 0.5ms response time, designed for a smooth and immersive gaming experience.
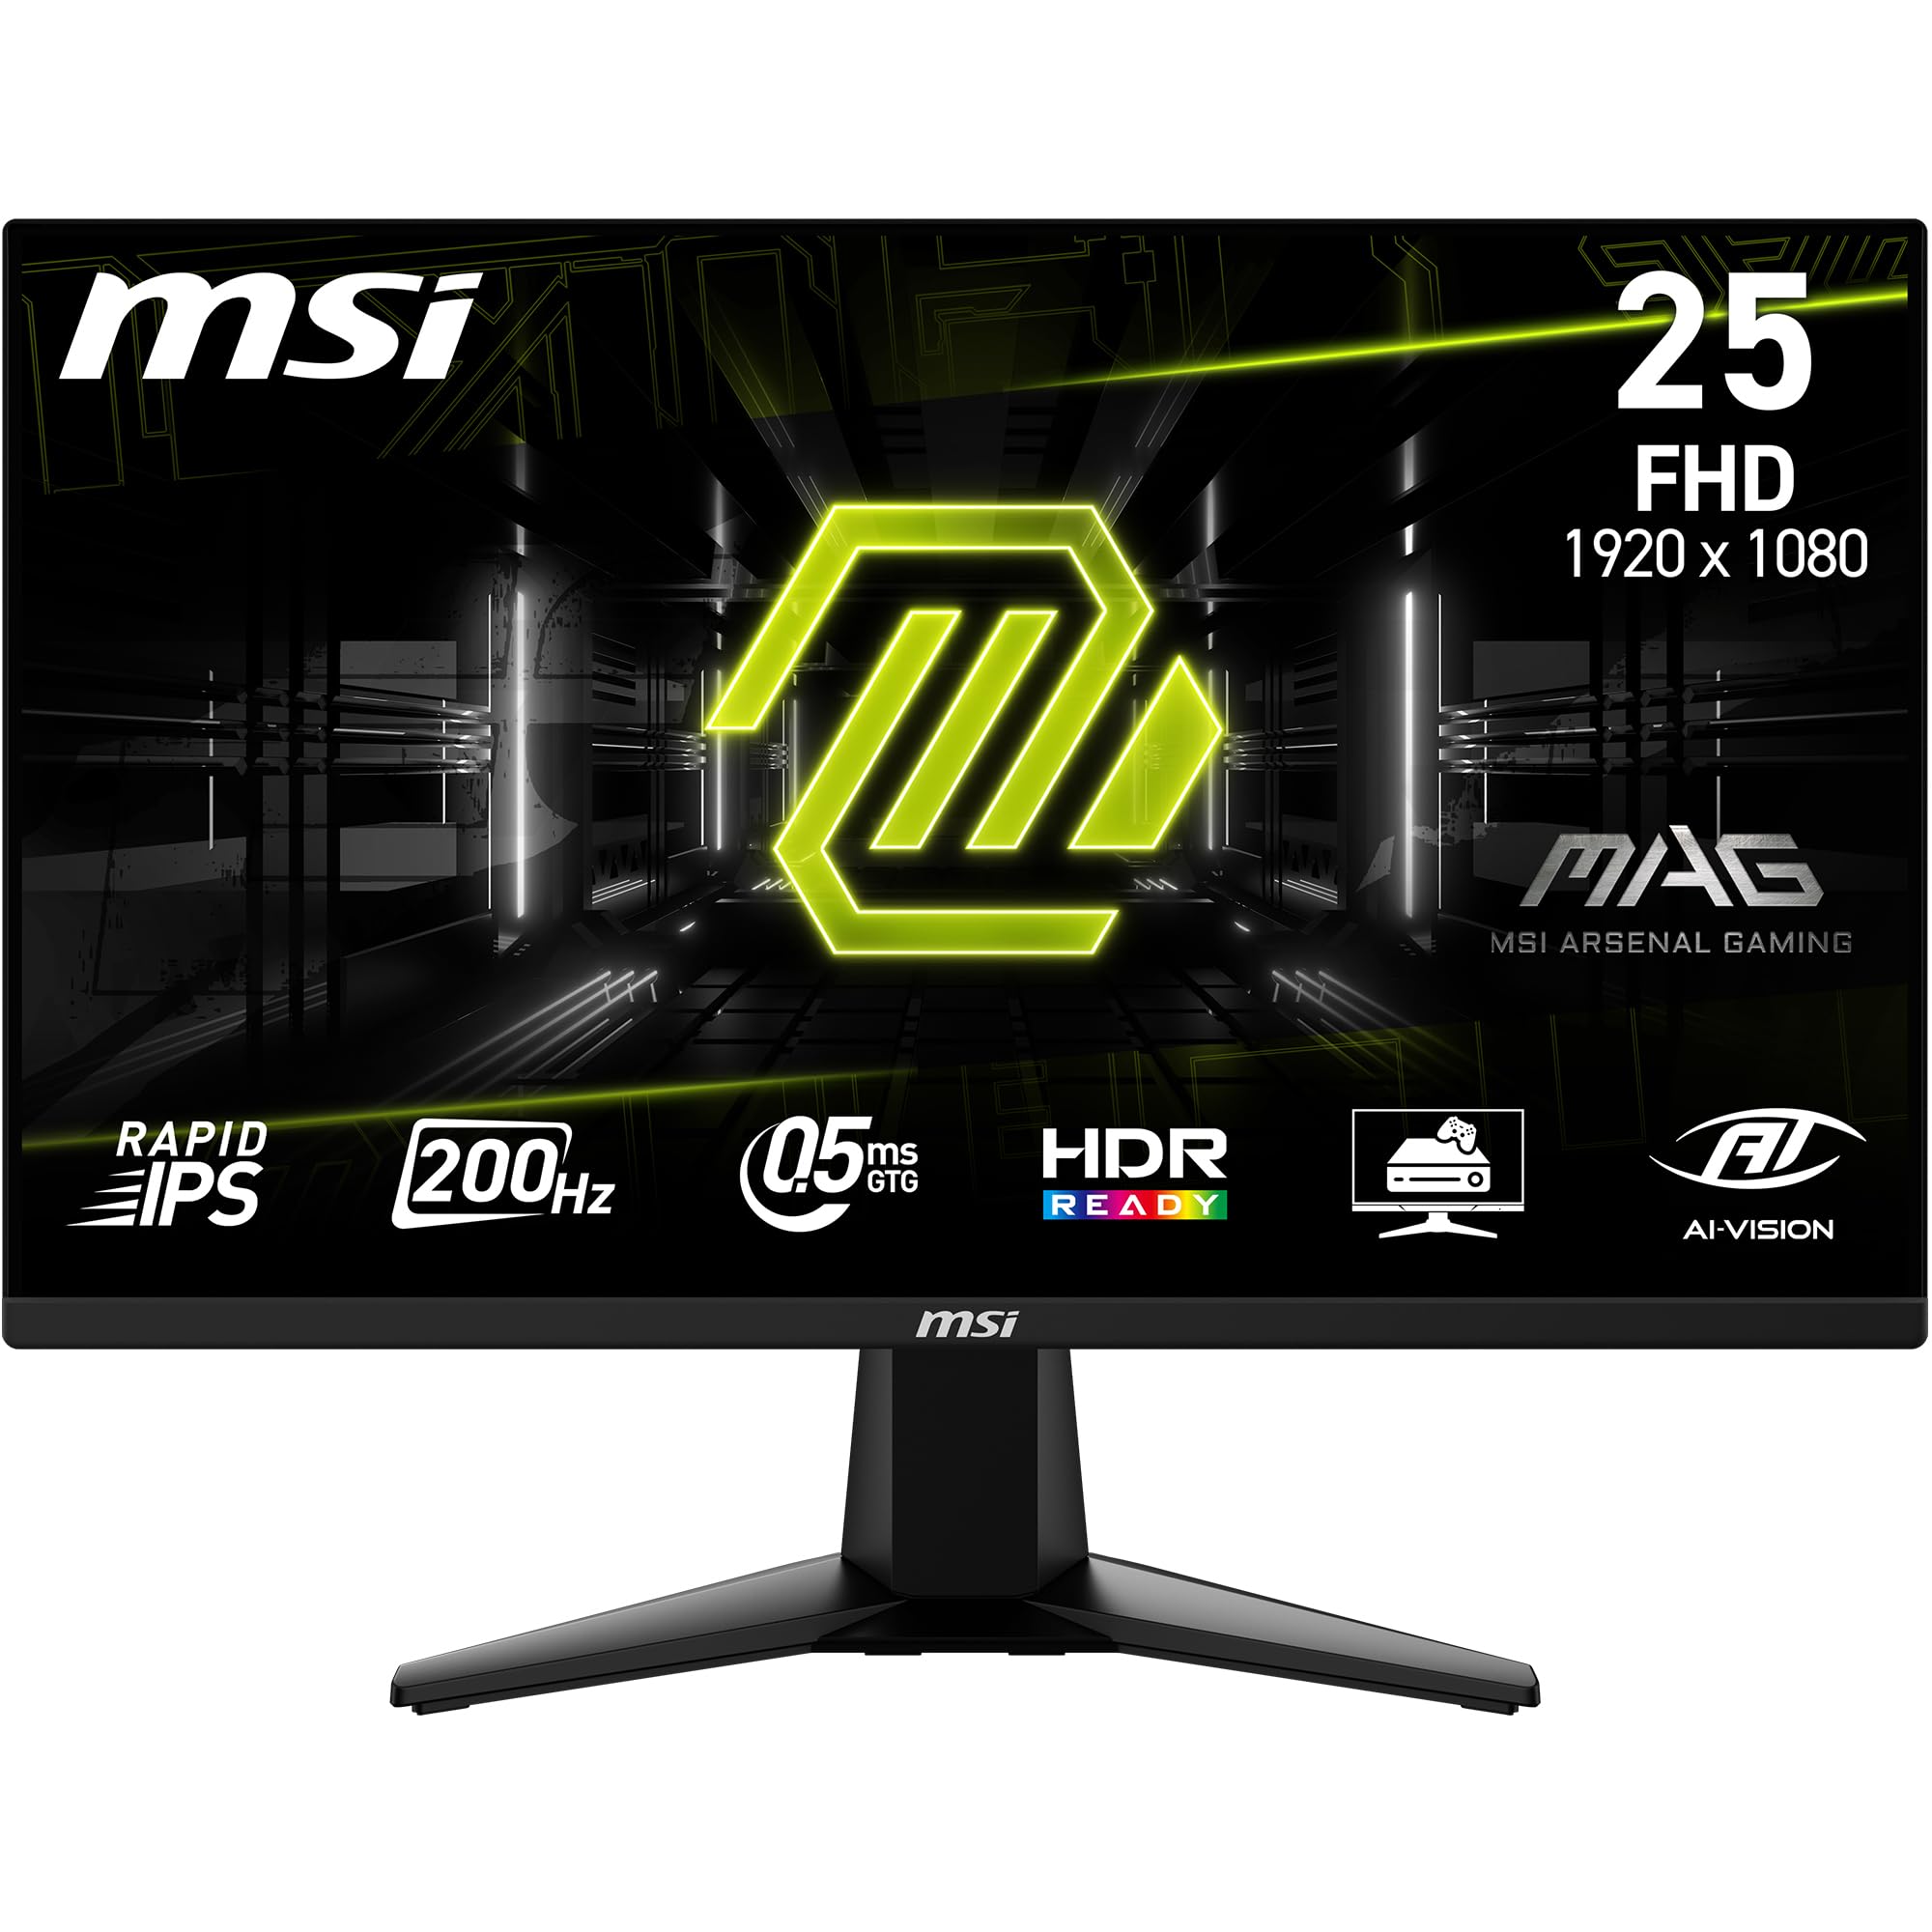
Image 1.1: Front and rear view of the MSI MAG 255F E20 Gaming Monitor.
2. Package Contents
Verify that all items listed below are present in your product package. If any items are missing or damaged, contact your retailer.
- 1 x MSI MAG 255F E20 Monitor
- 1 x DisplayPort Cable or HDMI Cable (depending on region/package)
- 1 x Power Cable
- 1 x Monitor Stand (Base and Neck)
- 1 x User Manual (this document)
3. Setup Instructions
3.1. Assembling the Stand
- Carefully remove the monitor and stand components from the packaging.
- Attach the stand neck to the monitor panel. Ensure it clicks securely into place or is fastened with screws as indicated in the quick start guide.
- Attach the stand base to the stand neck and tighten the captive screw at the bottom of the base.
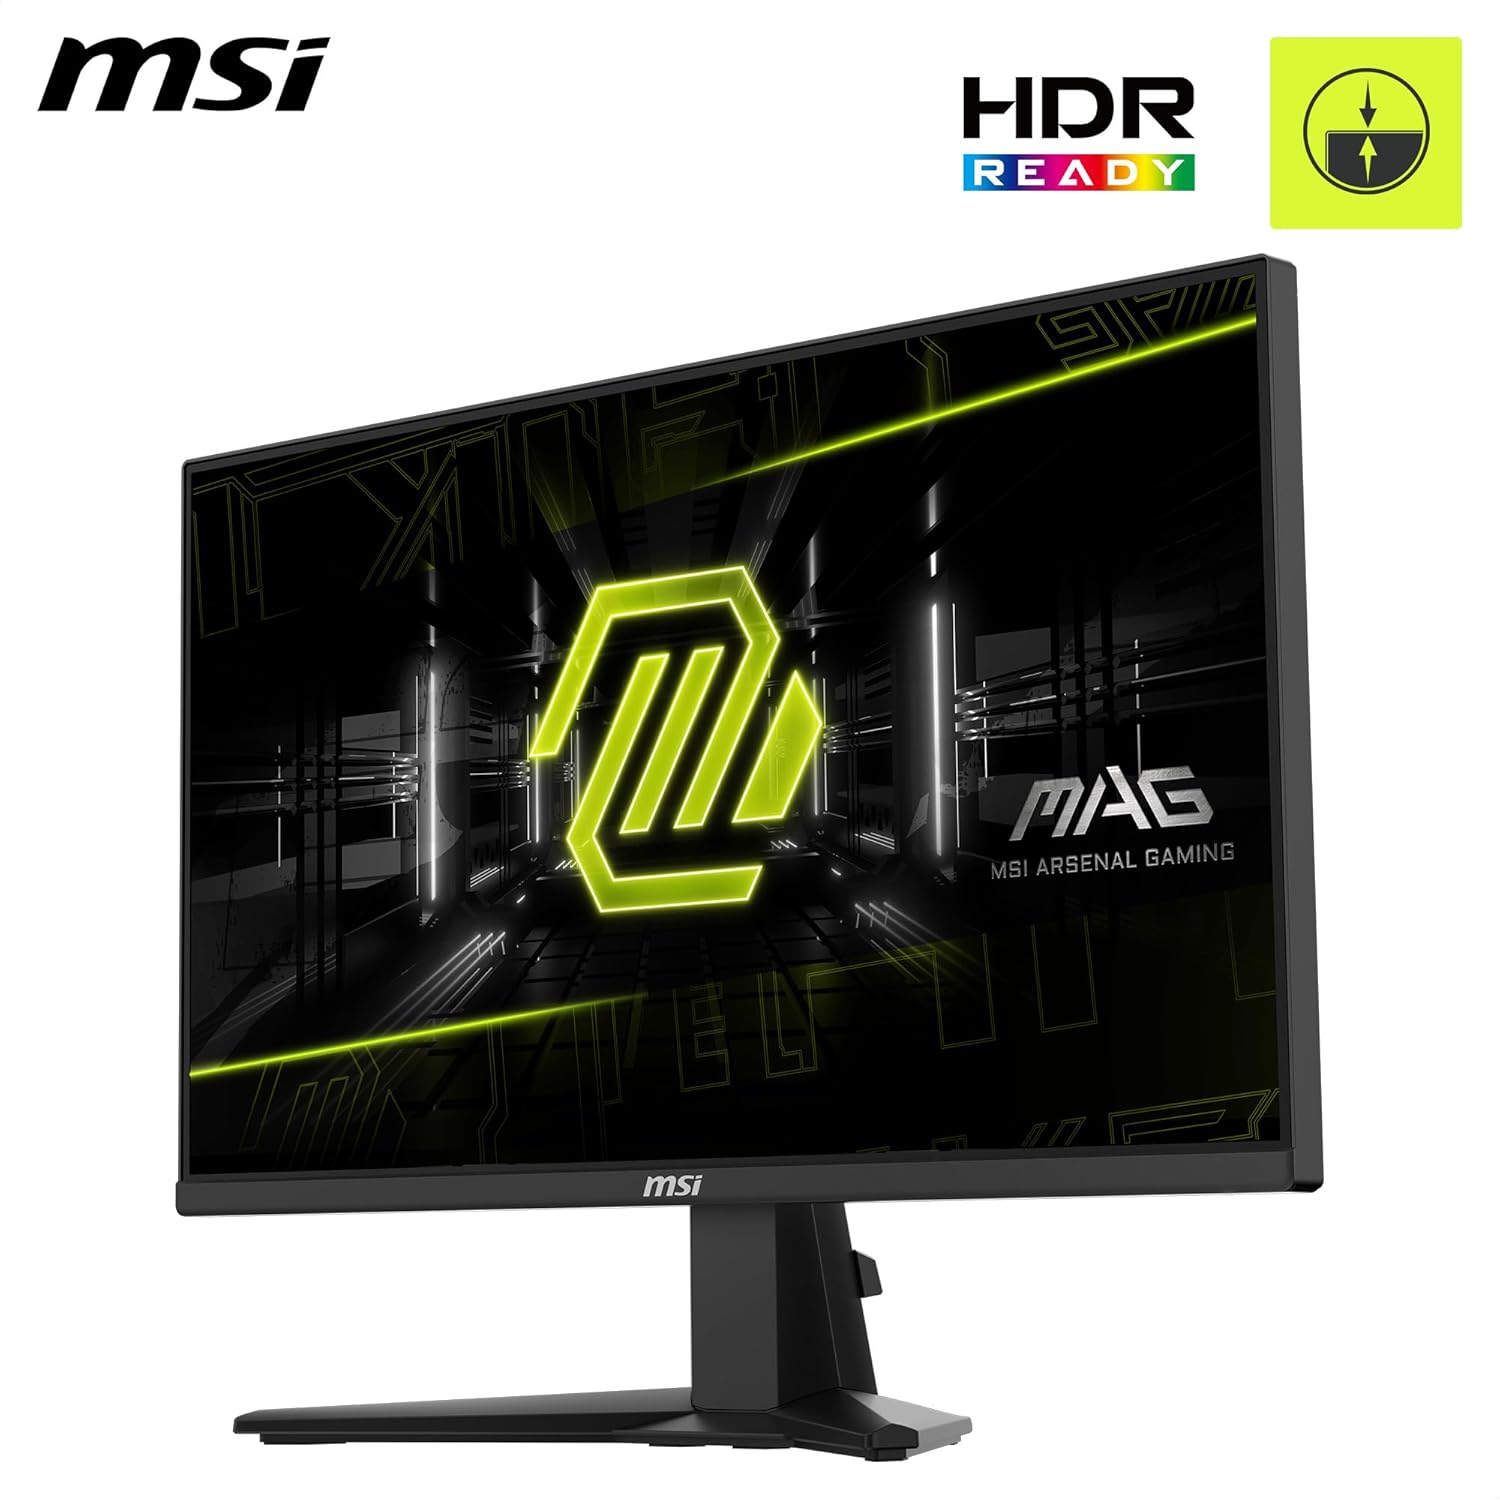
Image 3.1: Rear view of the monitor with the stand attached.
3.2. Connecting to a Device
The monitor supports DisplayPort and HDMI connectivity. Choose the appropriate cable for your device.
- DisplayPort: Connect one end of the DisplayPort cable to the DisplayPort output on your computer and the other end to the DisplayPort input on the monitor.
- HDMI: Connect one end of the HDMI cable to the HDMI output on your computer or console and the other end to an HDMI input on the monitor.

Image 3.2: Close-up of the monitor's connectivity ports.
3.3. Power Connection
Connect the power cable to the monitor's AC input and then plug the other end into a grounded electrical outlet.
4. Operating Instructions
4.1. Powering On/Off
Press the power button, usually located near the 5-way joystick on the rear of the monitor, to turn the monitor on or off.
4.2. On-Screen Display (OSD) Navigation
The monitor features a 5-way joystick navigator for accessing and adjusting OSD settings. Push the joystick in to open the OSD menu, then move it up, down, left, or right to navigate through options and adjust values.
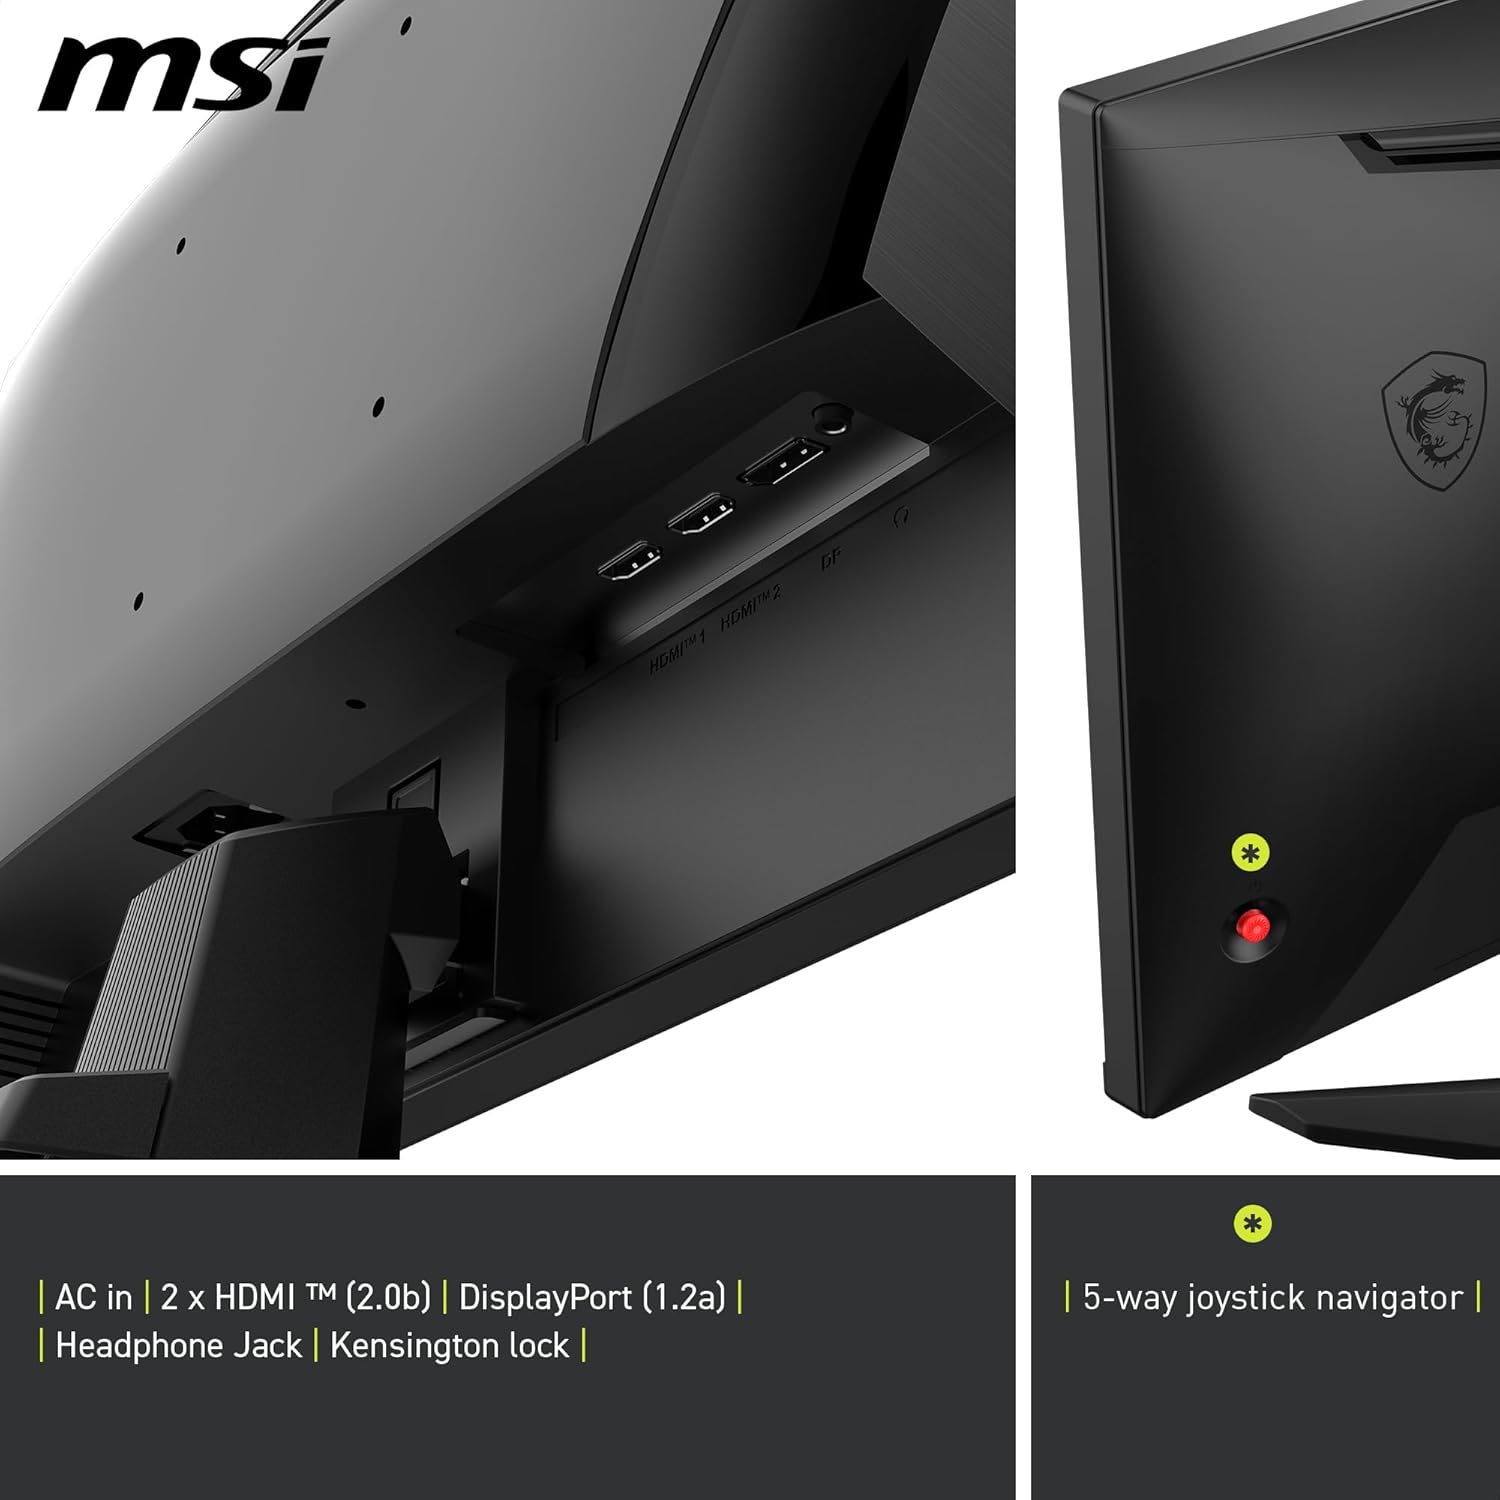
Image 4.1: Location of the 5-way joystick navigator.
4.3. Key Features and Settings
- Refresh Rate (200Hz): Ensure your graphics card settings are configured to utilize the monitor's maximum 200Hz refresh rate for the smoothest motion.
- Response Time (0.5ms GtG): This low response time minimizes ghosting and blurring in fast-paced games.
- HDR Ready: Enable HDR in your operating system and game settings for enhanced contrast and color.
- AMD FreeSync Premium: Activate FreeSync in your graphics card control panel to eliminate screen tearing and stuttering.
- AI Vision: This feature enhances details in dark areas and optimizes brightness and colors. It can be toggled in the OSD.
- Eye Care (Less Blue Light & Anti-Flicker): These features are designed to reduce eye strain during prolonged use. They are typically enabled by default or can be adjusted in the OSD.

Image 4.2: The 24.5-inch FHD Rapid IPS panel.

Image 4.3: High refresh rate and low response time for gaming.

Image 4.4: HDR Ready feature for enhanced visuals.

Image 4.5: AI Vision technology for optimized display.

Image 4.6: Less Blue Light feature for reduced eye strain.

Image 4.7: Anti-Flicker technology for stable display.
4.4. Physical Adjustments
The monitor stand allows for tilt adjustment to optimize your viewing angle.
- Tilt: Gently hold both sides of the monitor panel and tilt it forwards or backwards to achieve the desired angle (-5° to 20°).
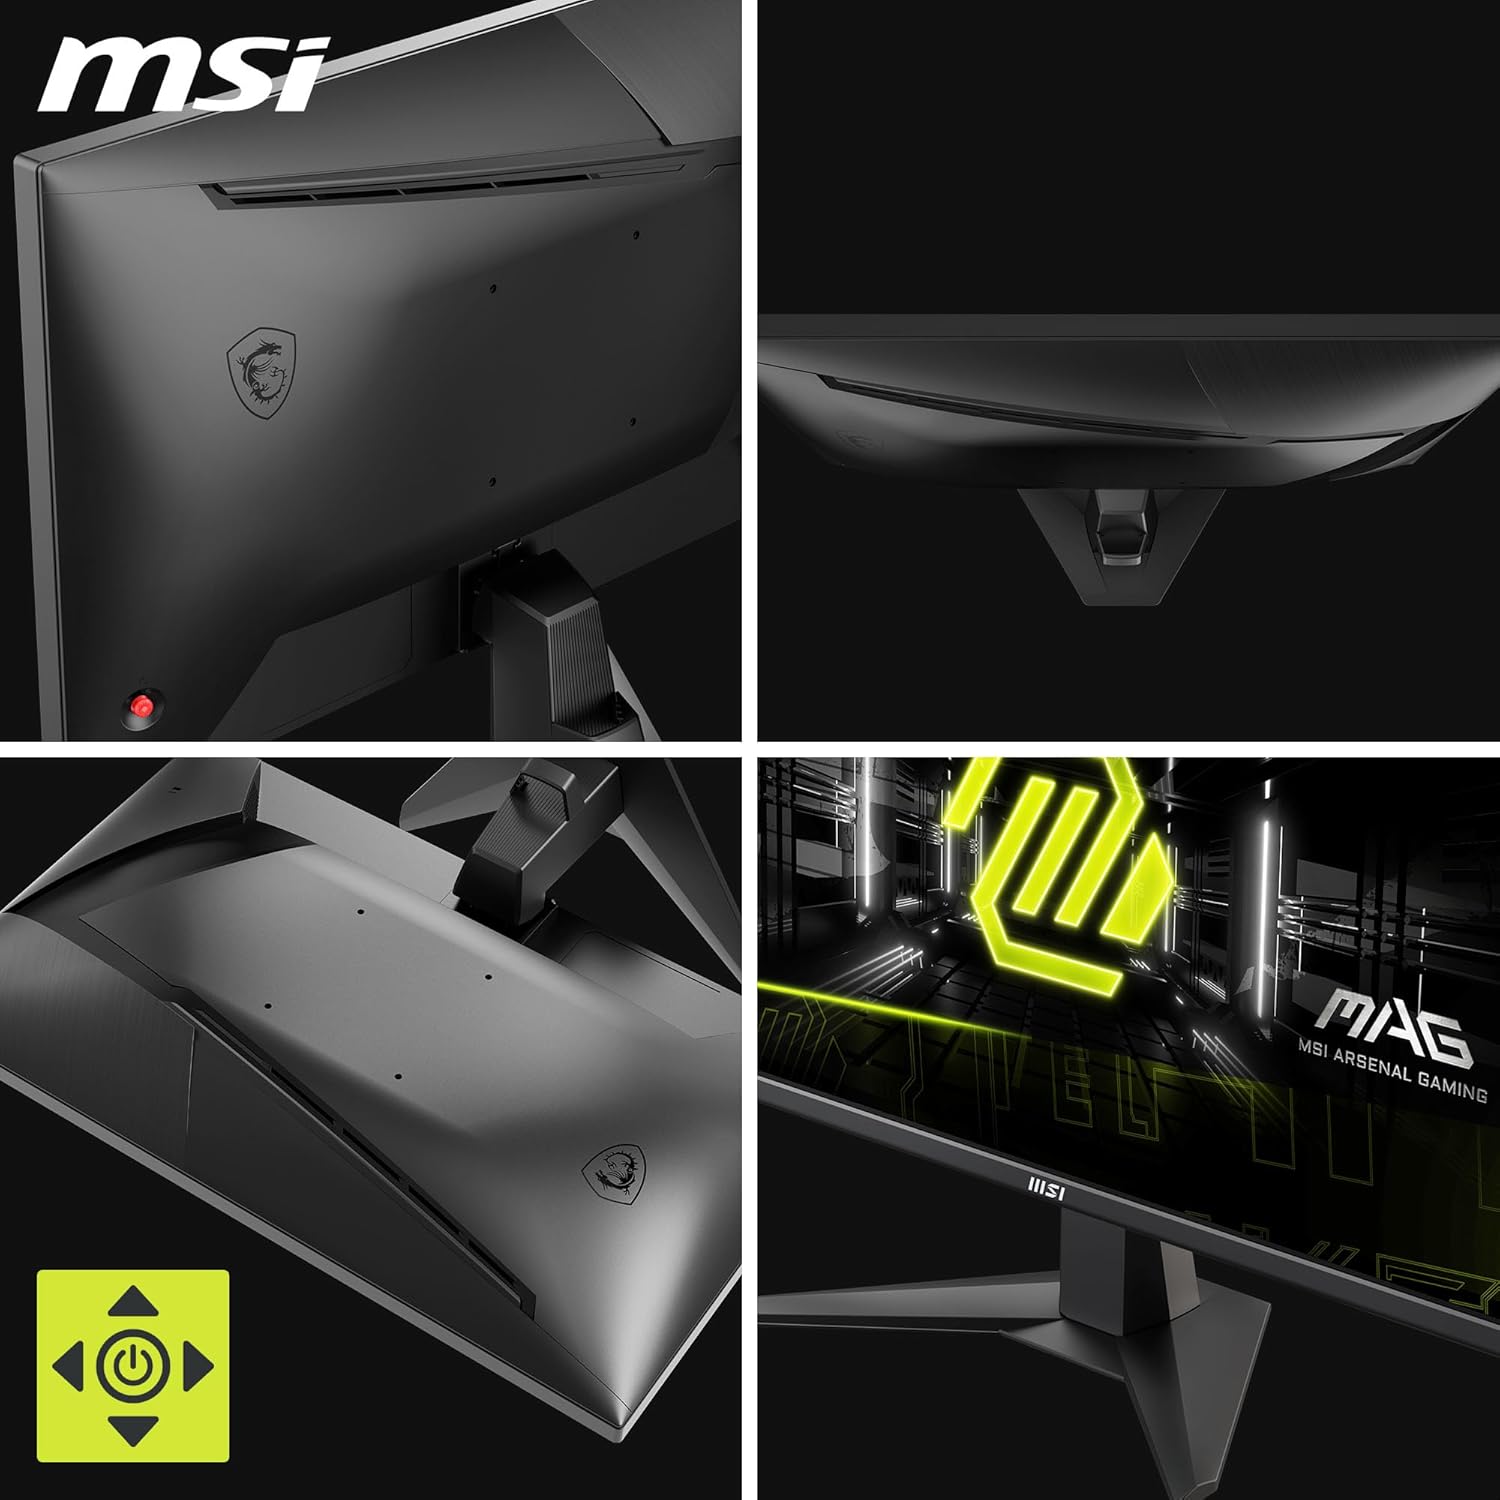
Image 4.8: Monitor tilt adjustment range.
5. Maintenance
Proper maintenance ensures the longevity of your monitor.
- Cleaning the Screen: Use a soft, lint-free cloth lightly dampened with a non-abrasive screen cleaner. Do not spray cleaner directly onto the screen.
- Cleaning the Casing: Use a soft, dry cloth to wipe the monitor casing. Avoid using strong detergents or solvents.
- Ventilation: Ensure the monitor's ventilation openings are not blocked to prevent overheating.
- Power Off: Always turn off the monitor and unplug it from the power outlet before cleaning or if it will be unused for an extended period.
6. Troubleshooting
If you encounter issues with your monitor, refer to the following common solutions:
| Problem | Possible Solution |
|---|---|
| No image on screen | Ensure the power cable is securely connected. Check if the video cable (HDMI/DisplayPort) is properly connected to both the monitor and the source device. Verify the correct input source is selected via the OSD. |
| Image is blurry or distorted | Check the display resolution settings on your computer. Ensure it is set to the native resolution of 1920x1080. Adjust OSD settings like sharpness or reset to factory defaults. |
| Screen flickering | Ensure the video cable is securely connected. Try a different video cable. Check your graphics card drivers and update them if necessary. Disable FreeSync temporarily to see if the issue persists. |
| Colors appear incorrect | Adjust color settings in the OSD menu. Reset color settings to factory defaults. Ensure your graphics card color settings are correct. |
| Monitor does not turn on | Verify the power cable is connected to a working outlet. Check the power adapter (if external) for any damage. |
7. Specifications
Key technical specifications for the MSI MAG 255F E20 Gaming Monitor:
| Feature | Specification |
|---|---|
| Brand | MSI |
| Model Number | MAG 255F E20 |
| Screen Size | 24.5 Inches |
| Resolution | FHD 1920 x 1080p |
| Panel Type | Rapid IPS |
| Aspect Ratio | 16:9 |
| Refresh Rate | 200 Hz |
| Response Time | 0.5 Milliseconds (GtG, Min.) |
| Contrast Ratio | 1000:1 (Native), 100M:1 (Dynamic) |
| Brightness | 300 Candela per Square Meter |
| Viewing Angle | 178 Degrees (H/V) |
| Color Gamut | 100% sRGB (supports 1.07 billion colors) |
| HDR Support | HDR Ready |
| Adaptive Sync | AMD FreeSync Premium |
| Connectivity | 2 x HDMI 2.0b, 1 x DisplayPort 1.2a, Headphone Jack |
| Adjustments | Tilt (-5° ~ 20°) |
| VESA Mount Compatible | Yes |
| Dimensions (D x W x H) | 22D x 55.7W x 41.8H Centimeters |
| Weight | 3.24 Kilograms |
| Special Features | Anti Glare Screen, Blue Light Filter, Energy Efficient, Eye Care, AI Vision, HDMI CEC |
8. Warranty and Support
8.1. Warranty Information
This MSI MAG 255F E20 Gaming Monitor comes with a 3-year manufacturer warranty. Please retain your proof of purchase for warranty claims. The warranty covers defects in materials and workmanship under normal use.
8.2. Technical Support
For technical assistance, driver downloads, or further inquiries, please visit the official MSI website or contact MSI customer support in your region. Contact information can typically be found on the MSI website or in the warranty card included with your product.
Manufacturer Contact Information: Micro-Star INT'L CO., LTD. No.69, Lide St., Zhonghe Dist., New Taipei City 235, Taiwan. Website: http://www.msi.com


