1. Introduction
This manual provides detailed instructions for the installation, operation, and maintenance of your GIGABYTE B860M AORUS Elite WIFI6E ICE Motherboard. Designed to support Intel Core Ultra Processors (Series 2), this motherboard features advanced power delivery, high-speed storage options, and robust connectivity for optimal performance.
2. Product Overview
The GIGABYTE B860M AORUS Elite WIFI6E ICE motherboard is a micro-ATX form factor board designed for high-performance computing. It features a white aesthetic and is equipped with various components to enhance system stability and speed.
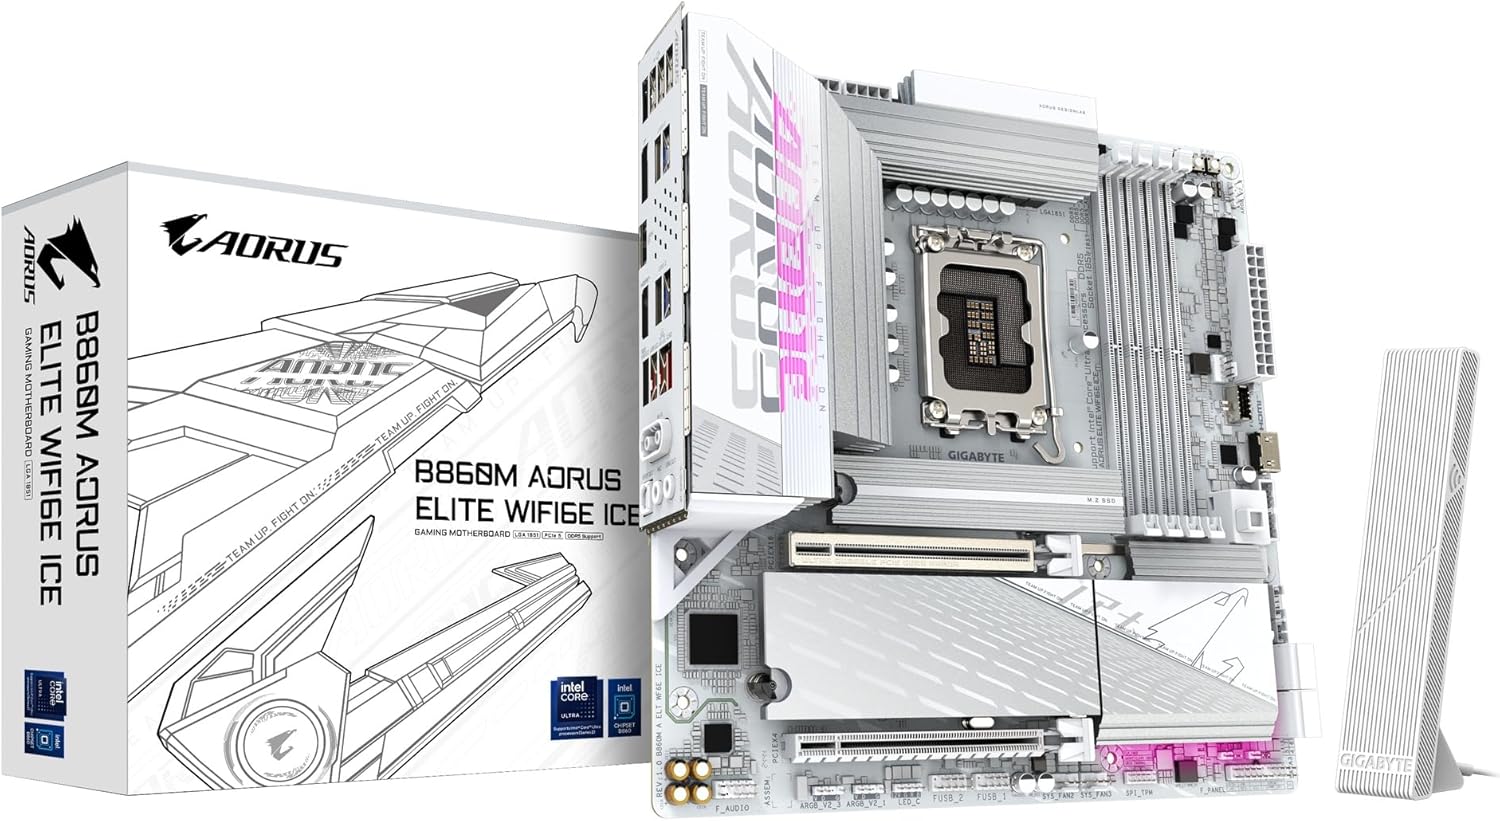
Image 2.1: The GIGABYTE B860M AORUS Elite WIFI6E ICE Motherboard shown with its retail packaging and Wi-Fi antenna.
Key Features:
- Supports Intel Core Ultra Processors (Series 2) for advanced computing power.
- DDR5 Compatible: Features 4 DIMM slots for high-speed DDR5 memory.
- Robust Power Design: Equipped with a 12+1+2+1 phase, 60A DrMOS VRM for stable power delivery.
- Enhanced Thermals: Includes MOSFET Heatsinks and M.2 Thermal Guards to maintain optimal operating temperatures.
- Advanced Connectivity: Offers PCIe 5.0, three M.2 slots, USB-C, WIFI6E, and 2.5GbE LAN for versatile and high-speed connections.
3. Setup and Installation
Proper installation is crucial for the stable operation of your motherboard. Follow these steps carefully.
3.1 Preparing the Motherboard
Before installing any components, ensure you are working on a static-free surface. Unpack the motherboard and place it on an anti-static mat.

Image 3.1: Top-down view of the motherboard, highlighting the CPU socket, DIMM slots, and M.2 slots.
3.2 CPU Installation
- Locate the LGA 1851 CPU socket on the motherboard.
- Gently lift the load lever and open the CPU socket cover.
- Align the notches on your Intel Core Ultra (Series 2) processor with the socket. Carefully place the CPU into the socket without forcing it.
- Close the socket cover and push down the load lever until it locks into place.
Video 3.2.1: Product Overview Video. This video demonstrates the physical features and installation process of a GIGABYTE motherboard, including CPU installation.
3.3 Memory (RAM) Installation
- Open the clips at both ends of the DDR5 DIMM slots.
- Align the notch on the DDR5 memory module with the key in the DIMM slot.
- Insert the memory module firmly into the slot until the clips snap into place. Ensure both clips are closed.
3.4 Storage (M.2 SSD) Installation
- Locate the M.2 slots on the motherboard. This board features three M.2 slots.
- Remove the M.2 Thermal Guard if present.
- Insert the M.2 SSD into the slot at a 30-degree angle.
- Push the SSD down and secure it with the EZ-Latch mechanism or a screw.
- Reattach the M.2 Thermal Guard for optimal cooling.

Image 3.4.1: Angled view of the motherboard, highlighting the M.2 slots and their thermal guards.
3.5 Connecting Peripherals and Power
- Connect the 24-pin ATX main power connector and the 8-pin CPU power connector from your power supply to the motherboard.
- Connect your graphics card to the PCIe 5.0 x16 slot.
- Attach front panel connectors (power button, reset button, USB ports, audio jacks) to their respective headers on the motherboard.
- Connect the Wi-Fi antenna to the rear I/O panel for wireless connectivity.
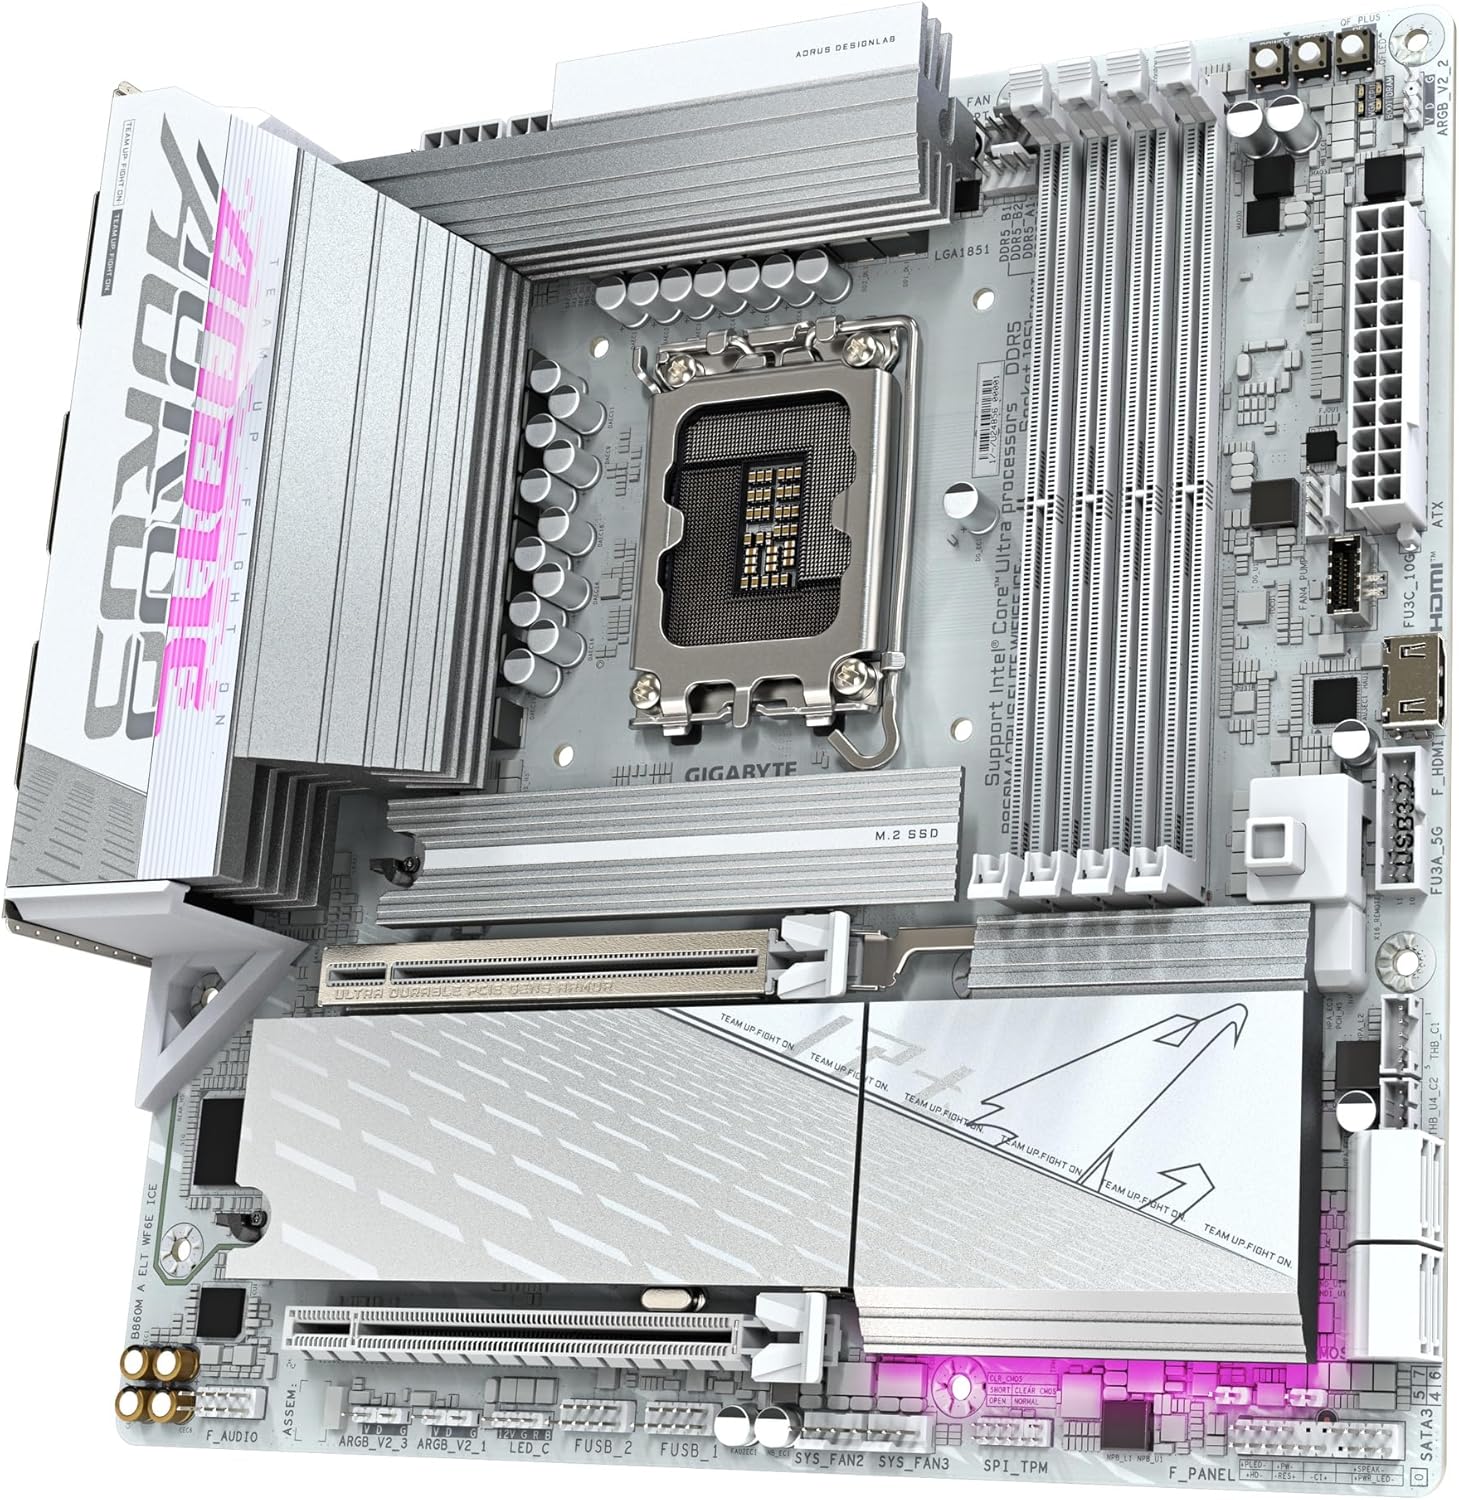
Image 3.5.1: Close-up of the rear I/O panel, showing various USB ports, Ethernet, Wi-Fi antenna connectors, and audio jacks.

Image 3.5.2: The included GIGABYTE Wi-Fi antenna, designed for enhanced wireless signal reception.
4. Operating Instructions
4.1 First Boot and BIOS Setup
- After assembling your system, connect a monitor, keyboard, and mouse.
- Power on your system. Press the DEL key repeatedly during startup to enter the BIOS/UEFI setup.
- In the BIOS, verify that all installed components (CPU, RAM, storage) are detected correctly.
- Configure boot order to install your operating system from a USB drive or optical media.
- Save changes and exit the BIOS.
4.2 Driver Installation
After installing your operating system, install the necessary drivers for the motherboard components. These can typically be found on the GIGABYTE support website for your specific model or on an included driver CD/USB drive.
- Chipset Drivers
- LAN Drivers (for 2.5GbE Ethernet)
- Wi-Fi Drivers (for WIFI6E)
- Audio Drivers
- USB Drivers
5. Maintenance
Regular maintenance helps ensure the longevity and optimal performance of your motherboard.
- Keep it Clean: Periodically clean dust from the motherboard and components using compressed air. Ensure the system is powered off and unplugged before cleaning.
- BIOS Updates: Check the GIGABYTE website for BIOS/UEFI updates. Updates can improve compatibility, stability, and performance. Follow the instructions provided by GIGABYTE carefully when updating the BIOS.
- Driver Updates: Keep all drivers updated to ensure compatibility and optimal performance with your operating system and hardware.
- Thermal Management: Ensure proper airflow within your PC case. Regularly check that fans are functioning correctly and heatsinks are free of dust.
6. Troubleshooting
This section addresses common issues you might encounter.
- No Power/No Boot:
- Check all power connections (24-pin ATX, 8-pin CPU, graphics card).
- Ensure the power supply is switched on.
- Reseat RAM modules. Try booting with only one RAM stick.
- Clear CMOS (refer to motherboard manual for specific jumper/button location).
- No Display:
- Ensure monitor cables are securely connected to the graphics card (or motherboard if using integrated graphics).
- Reseat the graphics card.
- Test with a different monitor or cable if possible.
- Operating System Not Loading:
- Check boot order in BIOS/UEFI.
- Verify that the storage drive containing the OS is properly connected and detected.
- Run a diagnostic check on the storage drive.
- Wi-Fi/LAN Connectivity Issues:
- Ensure Wi-Fi antenna is securely attached.
- Install or update Wi-Fi and LAN drivers.
- Check network cable connections for LAN.
- Verify network settings in your operating system.
7. Specifications
| Feature | Specification |
|---|---|
| Brand | GIGABYTE |
| Model Name | B860M AORUS ELITE WIFI6E ICE |
| CPU Socket | Intel LGA 1851 |
| Compatible Processors | Intel Ultra Core Series 2 |
| Chipset Type | Intel B860 |
| RAM Memory Technology | DDR5 |
| Memory Speed | 5600 MHz |
| DIMM Slots | 4 |
| Power Design | 12+1+2+1, 60A DrMOS VRM |
| PCIe Slots | PCIe 5.0 x16 (1), PCIe 3.0 x1 (2) |
| M.2 Slots | 3 |
| USB Ports | USB-C, USB 3.2, USB 2.0 |
| LAN | 2.5GbE LAN |
| Wireless | WIFI6E |
| Form Factor | mATX |
| Product Dimensions | 9.6 x 9.6 x 1 inches |
| Item Weight | 3.65 pounds |
8. Warranty and Support
GIGABYTE provides comprehensive support for its products. For detailed warranty information and technical assistance, please refer to the official GIGABYTE website or contact their customer support.
- Product Registration: Register your product on the GIGABYTE website to activate your warranty and receive product updates.
- Technical Support: Visit the GIGABYTE support page for FAQs, driver downloads, and contact information for technical assistance.
- Protection Plans: Extended protection plans may be available for purchase. Check with your retailer or GIGABYTE for details.