
Introduction
This manual provides detailed instructions for the installation, operation, and maintenance of your Mrolik T67 7" Portable Car Screen with Dual Dash Cam, Wireless CarPlay, and Android Auto. Please read this manual thoroughly before using the device to ensure proper functionality and safety.

Image: Overview of the Mrolik T67 portable car screen highlighting its key features.
What's in the Box
Verify that all components are present in the package:
- 1X Mrolik T67 Carplay Screen with Dash Cam
- 1X 32GB Memory Card
- 1X AUX Cable
- 1X User Manual
- 1X Adhesive Sticker Bracket
- 1X Cigarette Charger
- 1X Rear Camera
- 1X Package Box
- 1X Suction Cup Bracket

Image: All included components of the Mrolik T67 system.
Setup and Installation
The Mrolik T67 is designed for easy plug-and-play installation without requiring complex modifications to your vehicle's console. It is compatible with most vehicles (cars, trucks, vans, buses) with 12-24V voltage systems.
Mounting the Screen
Choose between the suction cup bracket for windshield mounting or the adhesive sticker bracket for dashboard mounting. Both offer 180-degree adjustability for optimal viewing angles.
- Attach the desired bracket to the back of the Mrolik T67 screen.
- Clean the chosen mounting surface (windshield or dashboard) thoroughly.
- Secure the bracket to the surface. For the suction cup, press the center button to create a strong seal. For the adhesive bracket, ensure firm pressure for several seconds.
- Adjust the screen angle for clear visibility without obstructing your view of the road.

Image: Step-by-step guide for mounting the Mrolik T67 screen.
Connecting Power
Power the device using the provided cigarette lighter charger.
- Plug the cigarette charger into your vehicle's 12V/24V power outlet.
- Connect the other end of the charger cable to the Type-C port on the Mrolik T67 screen.
Rear Camera Installation
For the backup camera to function with reversing assist lines, it must be connected to your vehicle's reversing light positive lead.
- Mount the rear camera at the back of your vehicle, ensuring a clear view.
- Route the rear camera cable to the Mrolik T67 screen's AV IN port.
- Connect the red wire from the rear camera cable to the positive lead of your vehicle's reversing lamp. This activates the assist lines when reversing.

Image: Diagram illustrating the connection of the rear camera to the main unit and vehicle's reversing light.
Operating Instructions
Wireless Apple CarPlay & Android Auto
The Mrolik T67 supports wireless Apple CarPlay and Android Auto for seamless smartphone integration.
- Ensure your smartphone's Wi-Fi and Bluetooth are enabled.
- On the Mrolik T67 screen, select the 'CarPlay' or 'Android Auto' option.
- On your phone, search for and connect to the device's Bluetooth name (e.g., "F800_961E5048").
- Confirm the connection on both devices. CarPlay or Android Auto will then launch automatically.

Image: Display of Wireless Apple CarPlay and Android Auto interfaces on the screen.
Voice Control (Siri/Google Assistant)
Utilize voice commands for safer driving.
- Ensure your phone's voice wake-up function is enabled.
- Activate Siri or Google Assistant through the CarPlay/Android Auto interface or by using the designated voice command.
- Give commands for navigation, calls, messages, or music playback.

Image: Illustration of voice command functionality with Siri and Google Assistant.
Mirror Link Function
Synchronize your smartphone screen to the Mrolik T67 for a larger display.
- Select the 'Mirror Link' option on the Mrolik T67 screen.
- Follow the on-screen instructions to connect your iOS device via AirPlay or Android device via Android Cast.
- Note: Some streaming services like Netflix or Hulu may have copyright restrictions preventing mirroring.

Image: Demonstrates the Mirror Link function, displaying smartphone content on the car screen.
Audio Output Options
The device offers multiple ways to output audio to your car's sound system.
- Bluetooth: Connect wirelessly to your car's Bluetooth system.
- FM Transmission: Tune your car radio to a specific FM frequency to receive audio from the Mrolik T67.
- AUX: Use the provided AUX cable to connect to your car's auxiliary input.
- Built-in Speakers: The unit has integrated speakers for direct audio output.

Image: Visual representation of the four available audio output methods.
Dash Cam Features (Front & Rear)
The Mrolik T67 includes a dual 1080P dash cam system for recording front and rear views.
- Loop Recording: The included 32GB memory card allows continuous recording. When full, older files are automatically overwritten, except for locked emergency clips.
- Parking Monitor: When the engine is off, the parking mode activates recording upon detecting vibrations, requiring an optional hardwire kit (sold separately).
- G-Sensor: Automatically detects sudden impacts or collisions and locks the current video footage to prevent it from being overwritten. Review locked videos promptly after an incident.
- Adjustable Front Camera: The front dash cam can be adjusted for optimal recording angle.
- Split Screen Display: View front camera, rear camera, or both simultaneously on the screen. Swipe left or right to switch modes.

Image: Illustrates the dual 1080P dash cam functionality, showing both front and rear camera views.

Image: Explains loop recording and parking monitor functions.

Image: Shows the split-screen view of front and rear cameras.
Screen Settings
- Brightness Adjustment: Manually adjust screen brightness or enable auto-brightness to adapt to ambient light conditions.
- Screen Saver: The system can automatically turn off the screen after a set period (1, 2, or 3 minutes) of inactivity to reduce power consumption.
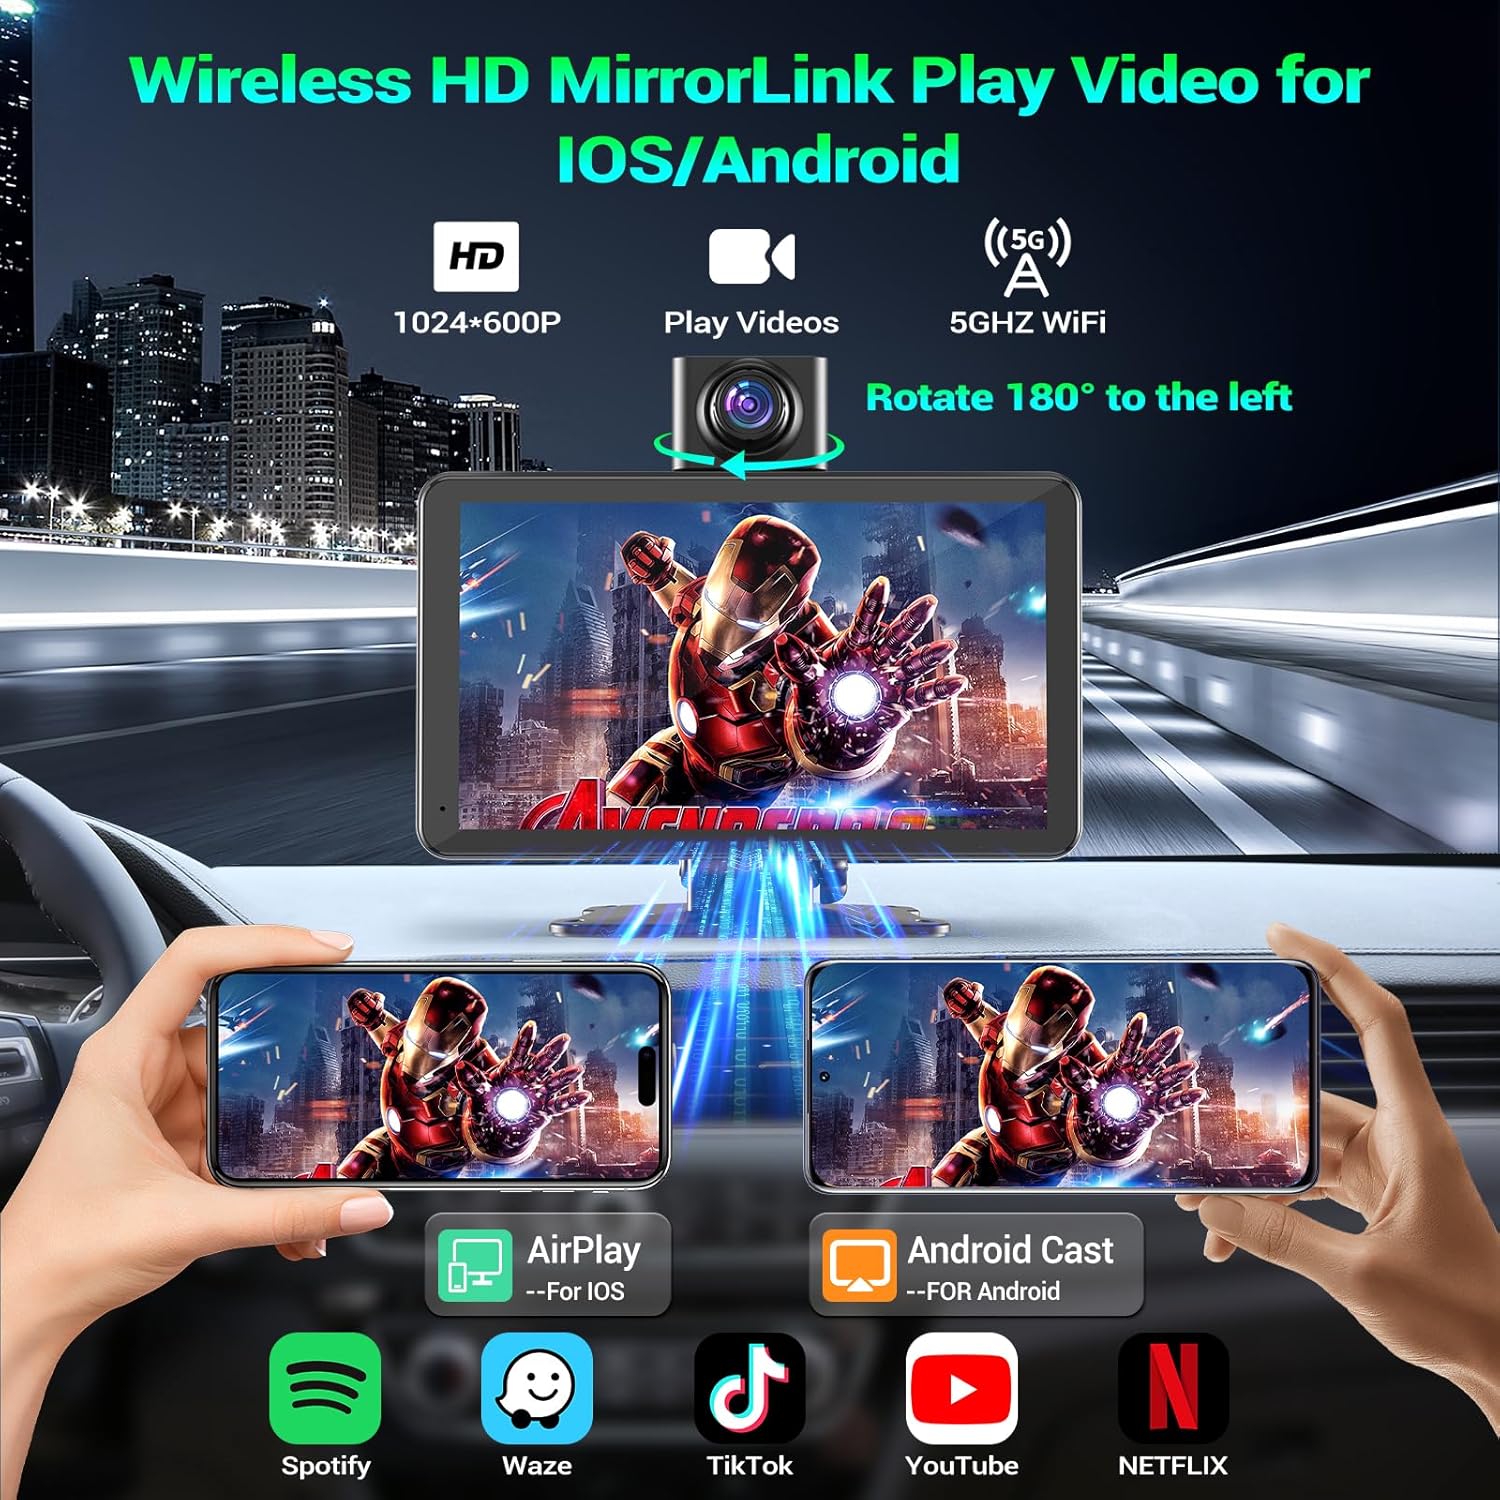
Image: Demonstrates screen brightness adjustment and standby mode.
Maintenance
To ensure the longevity and optimal performance of your Mrolik T67 car screen, follow these maintenance guidelines:
- Cleaning: Use a soft, dry cloth to clean the screen and exterior. For stubborn smudges, lightly dampen the cloth with water or a screen-safe cleaner. Avoid abrasive materials or harsh chemicals.
- Temperature: Avoid exposing the device to extreme temperatures (very hot or very cold) for extended periods, as this can affect battery life and screen performance.
- Cable Management: Ensure all cables are securely routed and not pinched or tangled to prevent damage.
- Memory Card: Periodically format the 32GB memory card (after backing up important footage) to maintain optimal recording performance and prevent data corruption.
Troubleshooting
If you encounter issues with your Mrolik T67, refer to the following common problems and solutions:
| Problem | Possible Cause | Solution |
|---|---|---|
| Device does not power on. | No power from cigarette lighter; loose connection. | Check if the cigarette lighter is working. Ensure the power cable is securely connected to both the device and the charger. |
| Wireless CarPlay/Android Auto not connecting. | Bluetooth/Wi-Fi off on phone; incorrect pairing. | Ensure phone's Bluetooth and Wi-Fi are on. Forget previous connections and re-pair. Restart both phone and device. |
| Rear camera not displaying or assist lines missing. | Loose cable connection; red wire not connected to reversing light. | Check the AV IN cable connection. Verify the red wire from the rear camera is correctly connected to the reversing light's positive lead. |
| Dash cam not recording. | Memory card full or corrupted; incorrect settings. | Format the memory card (after backing up data). Check recording settings in the device menu. Ensure the memory card is properly inserted. |
| No audio output. | Incorrect audio output mode selected; volume too low. | Verify the selected audio output mode (Bluetooth, FM, AUX, built-in speaker). Adjust volume on both the device and your car stereo. |
If the problem persists, please contact customer support for further assistance.
Specifications
| Feature | Detail |
|---|---|
| Brand | Mrolik |
| Model Name | T67 |
| Screen Size | 7 inches |
| Display Type | Touchscreen LCD/LED |
| Video Capture Resolution | 1080p (Front & Rear) |
| Field Of View | 180 degrees |
| Frame Rate | 30 FPS |
| Memory Storage Capacity | 32 GB (included) |
| Connectivity Technology | Auxiliary, Bluetooth, USB, Wi-Fi |
| Control Method | App, Touch, Voice |
| Mounting Type | Dashboard Mount, Windshield Mount |
| Compatible Vehicle Types | Car, Truck, Van, Bus |
| Item Weight | 0.88 kg |
| Color | Black |
| Item Highlight | 1080P Front and Rear Camera, Apple CarPlay Compatible, Touchscreen, Bluetooth, Mirror Link, Navigation, AUX Input, Voice Control |
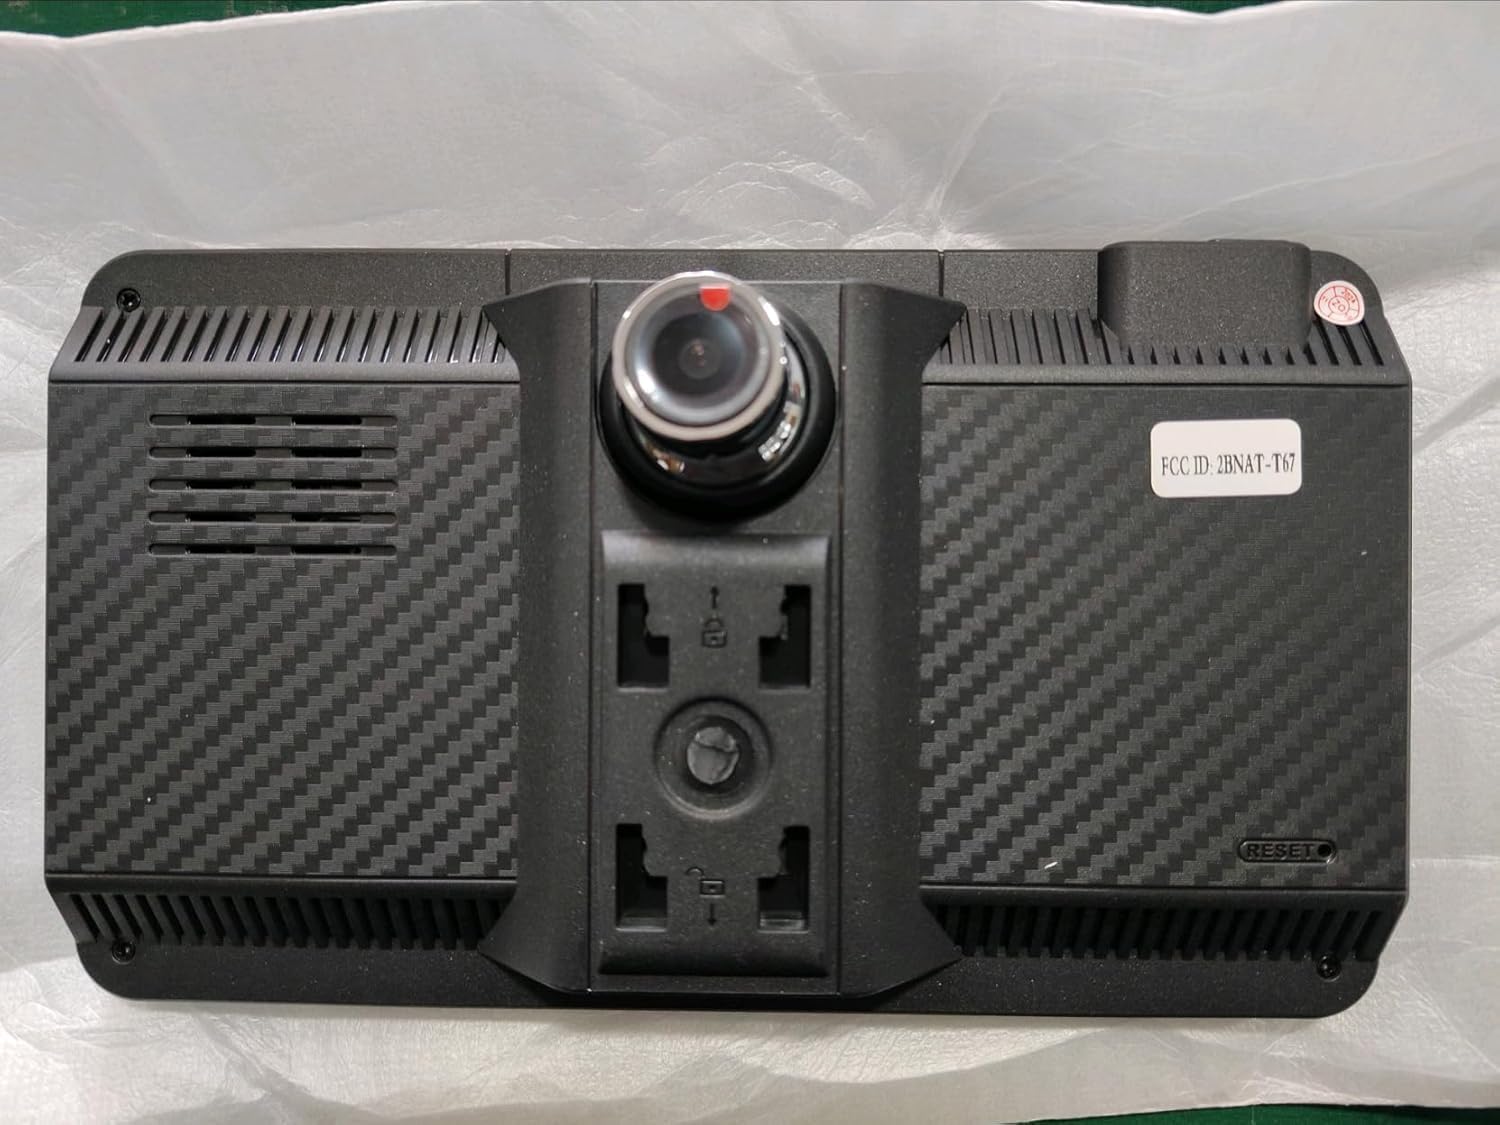
Image: Rear view of the Mrolik T67 unit, displaying the FCC ID: 2BNAT-T67.
Warranty and Support
Mrolik is committed to providing reliable products and excellent customer service.
- Warranty: The Mrolik T67 includes a 1-year warranty from the date of purchase.
- Technical Support: Lifetime technical assistance is provided for all Mrolik products.
- Contact: If you encounter any issues during installation or use, or require technical assistance, please refer to the contact information provided in your product packaging or visit the official Mrolik website for support.

Image: Mrolik's commitment to customer support, including 24-hour service and lifetime technical support.