1. Product Overview
The GUOWENHA NV400B Night Vision Binoculars are designed for enhanced viewing in low-light conditions and complete darkness. Featuring infrared illumination, digital zoom, and a high-sensitivity CMOS sensor, these binoculars are suitable for various outdoor activities such as hunting, camping, wildlife observation, and surveillance. The device allows for both still image capture and video recording, with a clear 4-inch LCD display for real-time viewing and playback.
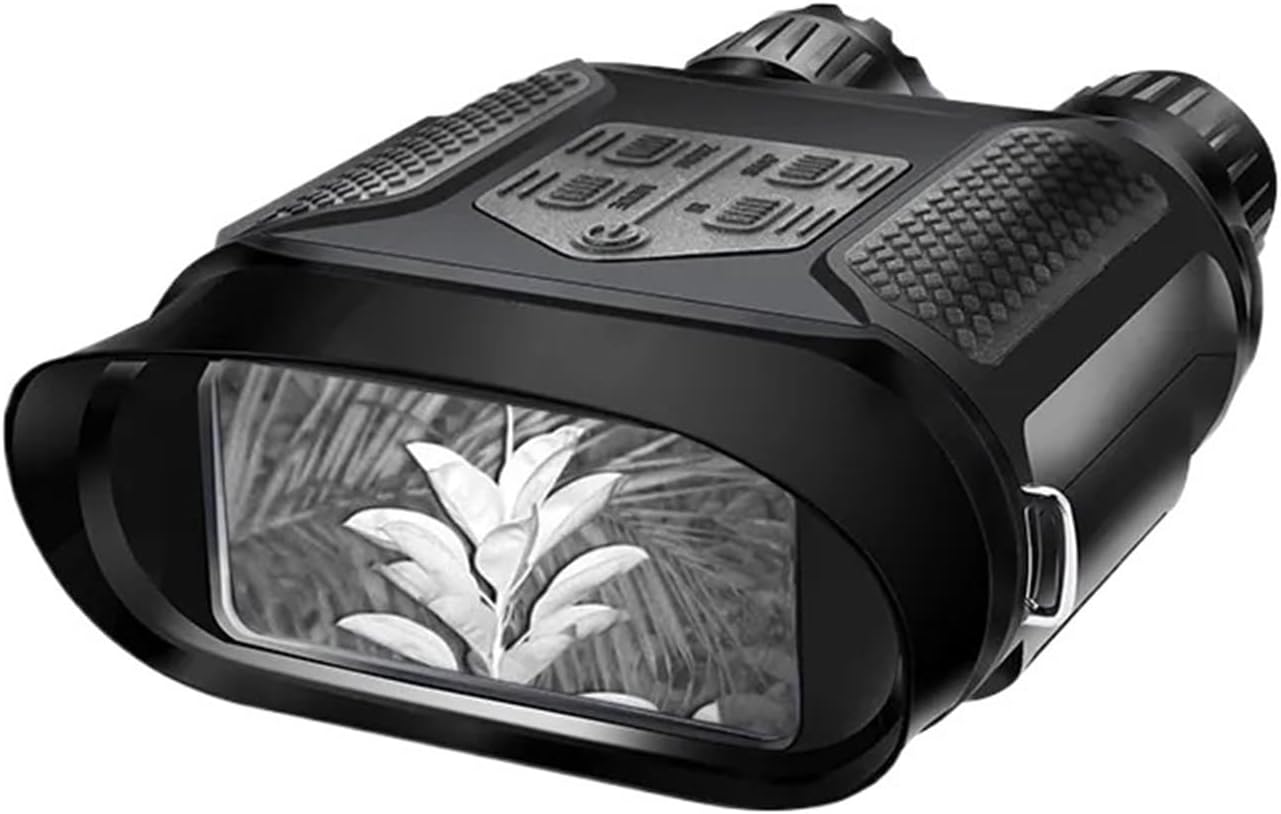
Figure 1: Front view of the NV400B Night Vision Binoculars, displaying a plant through its digital screen in monochrome night vision.
2. Package Contents
Please check the package for the following items:
- NV400B Night Vision Binoculars x1
- User's Manual x1
- Cleaning Cloth x1
- Pouch x1
- USB Cable x1
- TV Cable x1
- Neck Strap x1

Figure 2: The NV400B Night Vision Binoculars shown alongside its protective carrying case and original packaging.
3. Product Components
Familiarize yourself with the various parts and controls of your NV400B binoculars:

Figure 3: Top view of the NV400B, highlighting key components such as the objective focus, IR illuminator, and control buttons (Zoom, Snap, Mode, IR, On/Off).
- Infrared Filter Cap: Protects the objective lens and can be removed for optimal IR performance.
- Objective Focus: Adjusts the focus for clear viewing.
- IR Illuminator: Emits infrared light for night vision.
- Zoom Button: Controls the digital zoom level.
- Snap Button: Captures still images or starts/stops video recording.
- Mode Button: Switches between different operating modes (e.g., preview, playback).
- IR Button: Adjusts the infrared illumination level.
- On/Off Button: Powers the device on or off.
- Ocular: The eyepiece for viewing.
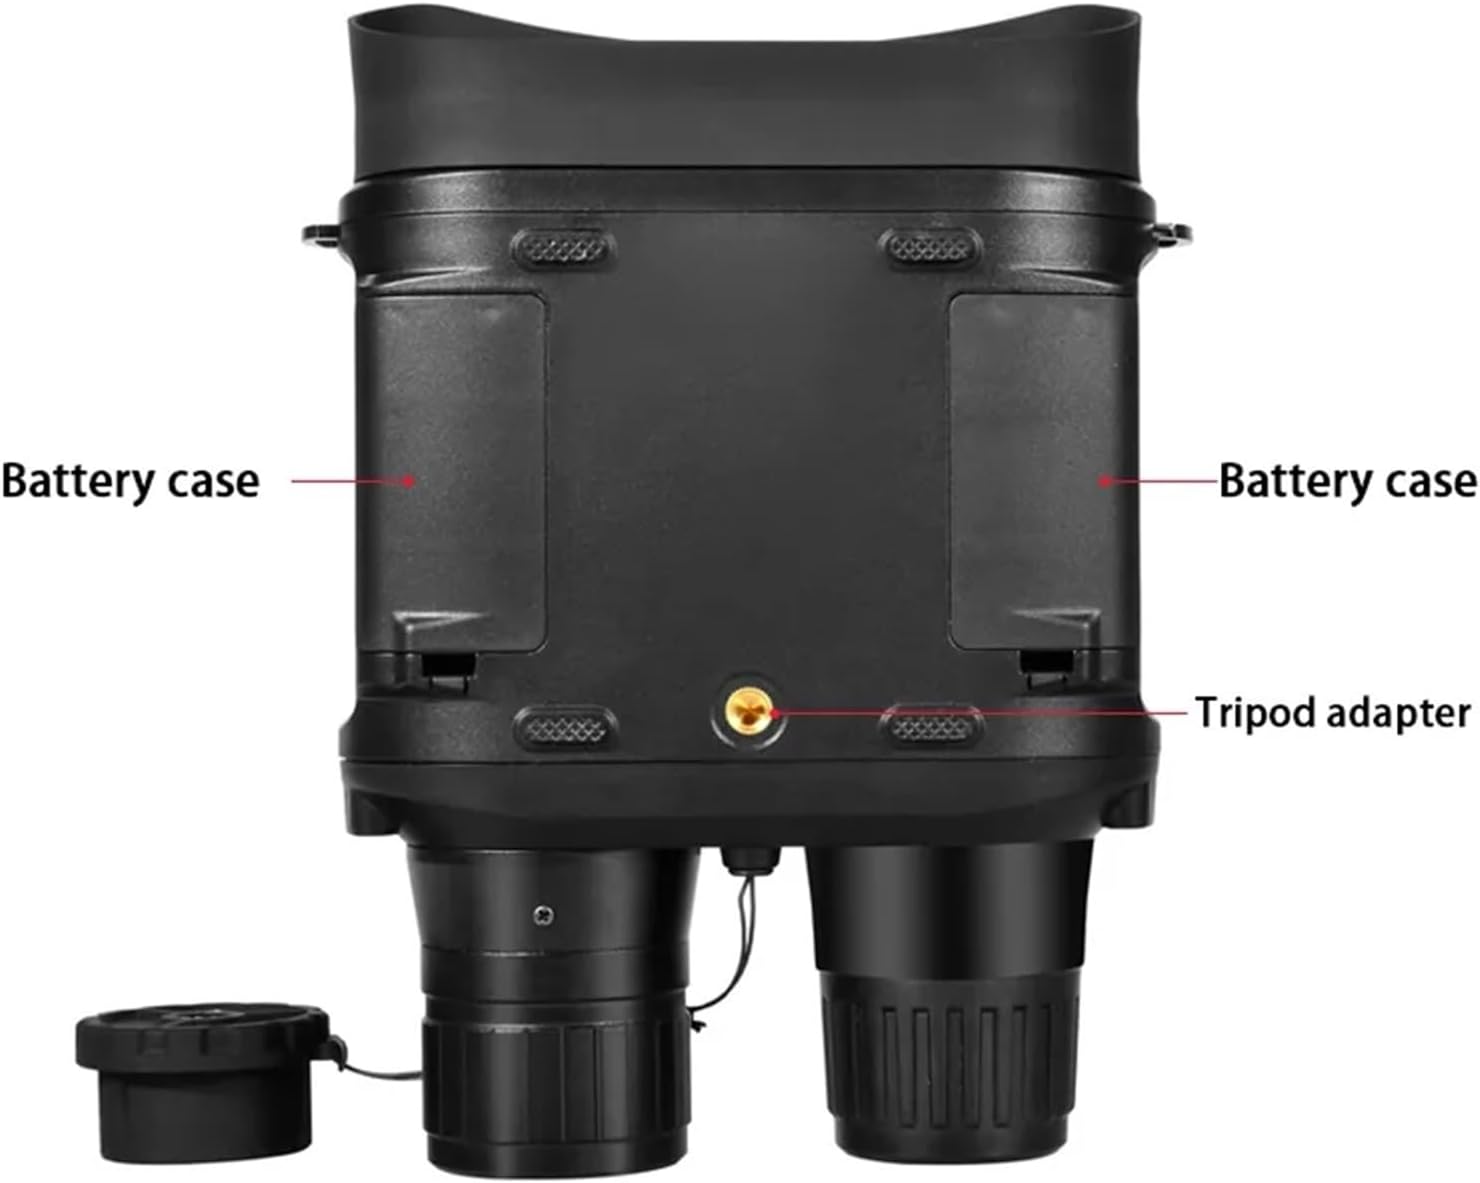
Figure 4: Bottom view of the NV400B, showing the two battery compartments and the central tripod adapter for mounting.
- Battery Cases: Compartments for inserting AA batteries.
- Tripod Adapter: Standard thread for mounting the binoculars on a tripod.
4. Setup
4.1 Battery Installation
The NV400B requires 8 AA batteries for operation. Ensure correct polarity when inserting the batteries.
- Locate the battery cases on the bottom of the binoculars (refer to Figure 4).
- Open the battery compartment covers.
- Insert 8 AA batteries, paying close attention to the positive (+) and negative (-) indicators inside the compartments.
- Close the battery compartment covers securely.
4.2 SD Card Installation (Optional)
To store captured images and videos, an SD card (up to 32GB) is required. The SD card slot is typically located near the battery compartments or on the side of the device.
- Locate the SD card slot.
- Insert the SD card with the metal contacts facing down until it clicks into place.
- To remove, gently push the card in until it springs out.
4.3 Initial Power On
Press and hold the On/Off Button (refer to Figure 3) for a few seconds until the display screen illuminates.
5. Operating Instructions
5.1 Power On/Off
- To Power On: Press and hold the On/Off Button.
- To Power Off: Press and hold the On/Off Button again until the screen turns off.
5.2 Mode Selection
Press the Mode Button to cycle through different operational modes:
- Preview Mode: Live view for observation.
- Record Mode: For capturing videos.
- Capture Mode: For taking still images.
- Playback Mode: To review stored images and videos.
5.3 Digital Zoom
Use the Zoom Button to adjust the digital magnification. The NV400B supports up to 2x digital zoom.
5.4 IR Illumination Control
The infrared (IR) illuminator enhances visibility in low light or complete darkness. Press the IR Button to cycle through 5 levels of IR intensity. Higher levels provide better visibility but consume more battery power.
5.5 Focusing
Rotate the Objective Focus ring (refer to Figure 3) until the image on the display screen is clear and sharp.
5.6 Capturing Images and Videos
- Ensure an SD card is inserted.
- Select either Capture Mode (for photos) or Record Mode (for videos) using the Mode Button.
- Press the Snap Button to take a photo or to start/stop video recording.
5.7 Playback
- Switch to Playback Mode using the Mode Button.
- Use the navigation buttons (often shared with Zoom/IR buttons in playback mode, refer to on-screen prompts) to browse through your captured files.
- Press the Snap Button to view an image or play a video.
5.8 Menu Navigation
The device features an OSD (On-Screen Display) menu for settings adjustments. Typically, pressing the Mode Button or a dedicated Menu button (if present, not explicitly labeled in diagram) will access the menu. Use the Zoom and IR buttons to navigate and the Snap button to confirm selections.
- Power Save: Adjust auto-off time (Off/1 min / 3min / 50 min).
- System Reset: Reset settings to factory defaults.
- Light Freq: Set to 50/60HZ based on region.
- Date Input: Set date and time.
- Language: Select preferred language (English, Chinese, Japanese, French, German, Korean, Italian, Portuguese, Russian, Spanish, Arabic).
6. Specifications
The following table outlines the technical specifications for the GUOWENHA NV400B Night Vision Binoculars:

Figure 5: Detailed specifications comparison between NV400B and NV400C models. This manual focuses on the NV400B.
| Feature | Specification (NV400B) |
|---|---|
| Magnification | 3.5X (Optical), MAX 7x (Combined) |
| Digital Zoom | 2 steps, Max 2x |
| Angle Of View | 9° |
| Objective Aperture | 31mm |
| Exit Pupil Distance | 30mm |
| F# for Objective lens | 1.2 |
| Viewing Range (Daytime) | 3m ~ ∞ |
| Viewing Range (Darkness) | Up to 400M (monochrome) |
| Eyepiece Magnification | 2x |
| TFT LCD Resolution | 320x240 |
| Image Resolution | 640x480 |
| Video Resolution | 400x500 |
| IR LED | 3W Infared LED with 850nm |
| Storage | Supports up to 32GB SD-Card |
| External Power Supply | 5V/1A |
| Power Source | 8 pcs AA battery (4.5V-6V) |
| Battery Life | 6 hours (IR off) |
| Dimensions | 210mm x 145mm x 65mm |
| Net Weight | 750g (without battery) |
7. Maintenance
7.1 Cleaning
- Use the provided cleaning cloth to gently wipe the lenses and display screen.
- For stubborn smudges, use a lens cleaning solution specifically designed for optical surfaces.
- Wipe the body of the binoculars with a soft, damp cloth. Do not use abrasive cleaners or solvents.
7.2 Storage
- When not in use for extended periods, remove all batteries to prevent leakage and damage.
- Store the binoculars in the provided pouch or a dry, cool place, away from direct sunlight and extreme temperatures.
7.3 Battery Care
- Always use fresh, high-quality AA batteries.
- Replace all 8 batteries at the same time. Do not mix old and new batteries or different battery types.
- Dispose of used batteries responsibly according to local regulations.
8. Troubleshooting
| Problem | Possible Cause | Solution |
|---|---|---|
| Device does not power on. | Low or dead batteries; Incorrect battery polarity; Loose battery connection. | Replace batteries; Check battery orientation; Ensure battery compartment covers are secure. |
| Image is blurry or out of focus. | Objective focus not adjusted; Dirty lens. | Rotate the Objective Focus ring until clear; Clean the objective lens with the provided cloth. |
| Poor visibility in darkness. | IR illuminator off or set to low level; Distance too far for IR range. | Increase IR illumination level using the IR button; Ensure IR filter cap is removed; Note maximum effective range is 400M. |
| Cannot capture images/videos. | No SD card inserted; SD card full; SD card corrupted. | Insert an SD card; Delete old files or use a new SD card; Format the SD card (this will erase all data). |
| Screen is blank or flickering. | Low battery; Device malfunction. | Replace batteries; Try resetting the device via the menu; If problem persists, contact customer support. |
9. Applications
The GUOWENHA NV400B Night Vision Binoculars are versatile and can be used for a variety of purposes, including:
- Hunting and game scouting
- Security and surveillance
- Camping and exploring caves
- Nighttime navigation
- Night fishing and boating
- Wildlife observation
- Search and rescue operations
10. Warranty and Support
For warranty information and customer support, please refer to the documentation provided with your purchase or contact the seller directly. Keep your proof of purchase for any warranty claims.
If you encounter issues not covered in this manual, please reach out to the manufacturer or authorized service center for assistance.