1. Product Overview
This manual provides essential information for the installation, operation, and maintenance of your new hydraulic brake caliper for electric scooters. This specific model is designed for TEVERUN BLADE GT2 and Xingman electric scooters, featuring a 2100mm pipe length and suitable for rear wheel application.
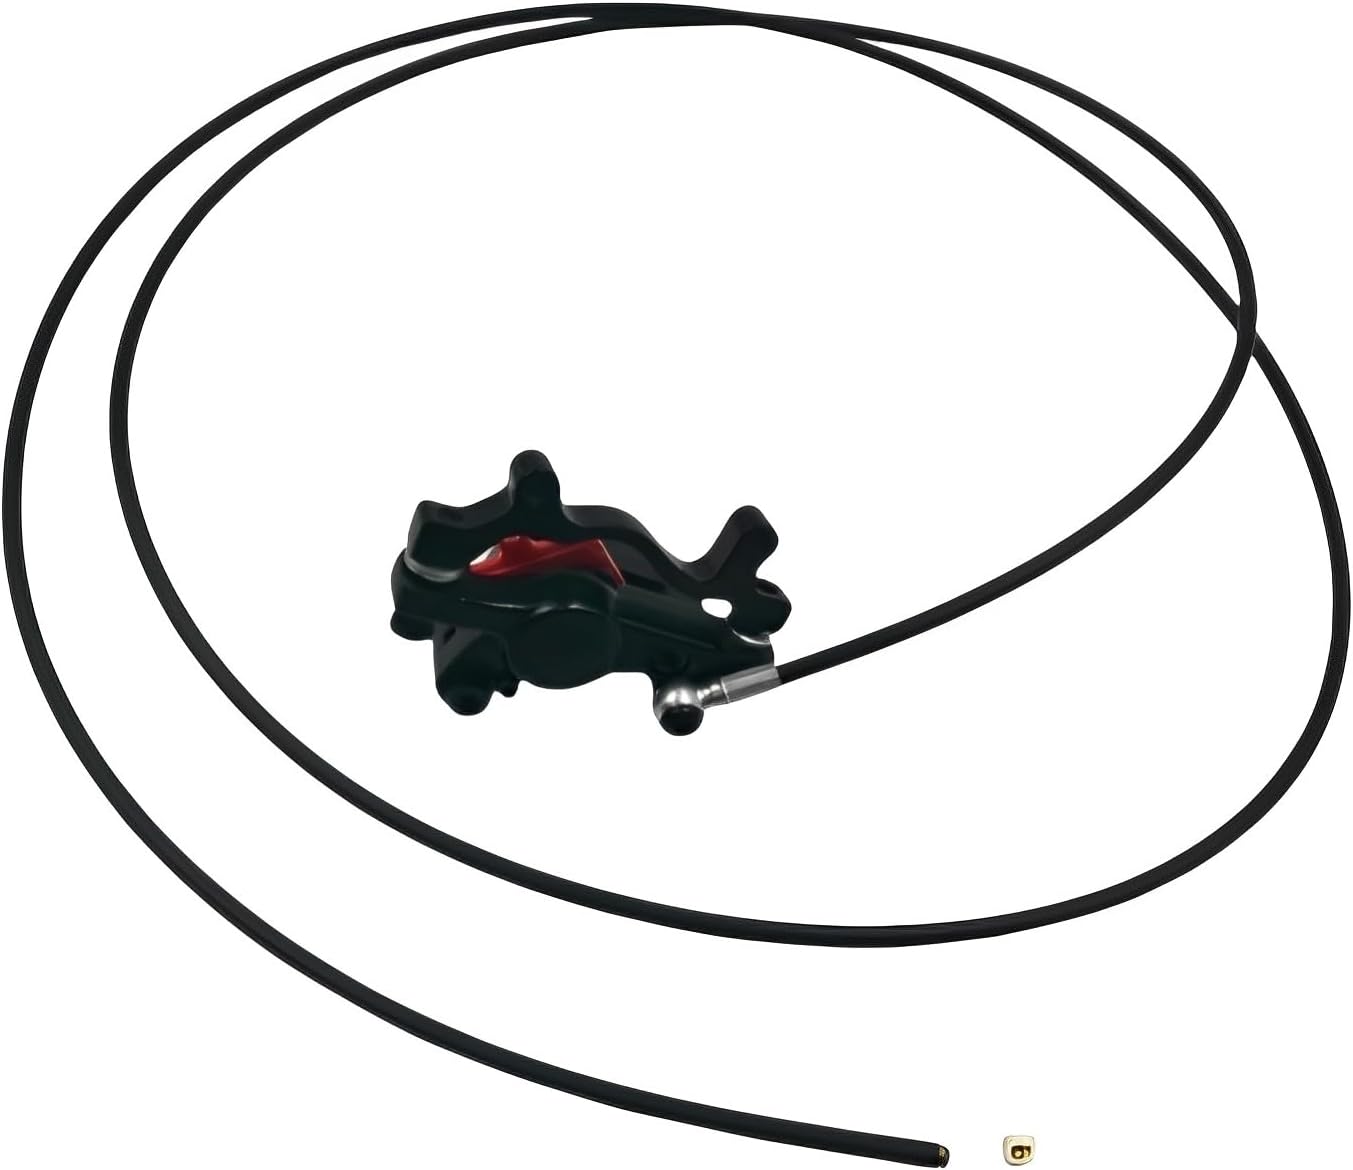
Image 1: The XINMEILAN hydraulic brake caliper, showing the main caliper unit, hydraulic hose, and connection points. This specific unit is designed for the rear brake system of compatible electric scooters.
2. Specifications
| Feature | Detail |
|---|---|
| Brand | XINMEILAN |
| Model | electric scooter (compatible with TEVERUN BLADE GT2, Xingman) |
| Type | Hydraulic Brake Caliper (Rear) |
| Pipe Length | 2100mm |
| Handle Type | Alloy handle (if included, typically part of a full system) |
| Product Dimensions | Approximately 8"L x 8"W (caliper and hose assembly) |
| ASIN | B0DQKL7FDV |
| UPC | 637638514236 |
3. Setup and Installation
Important: Installation of brake systems should ideally be performed by a qualified technician. Incorrect installation can lead to serious injury or damage. Ensure the scooter is powered off and stable before beginning.
- Preparation: Gather necessary tools including Allen wrenches, a torque wrench, brake fluid (DOT 4 or mineral oil, depending on system), and a bleeding kit. Ensure the scooter is on a stand or securely propped.
- Remove Old Brake (if applicable): Carefully disconnect the old brake caliper and hose from the scooter frame and brake lever. Collect any dripping brake fluid with a rag.
- Mount New Caliper: Attach the new XINMEILAN brake caliper to the designated mounting points on the scooter's rear wheel assembly. Ensure proper alignment with the brake rotor. Tighten mounting bolts to the manufacturer's specified torque.
- Route Hydraulic Hose: Carefully route the 2100mm hydraulic hose along the scooter frame, avoiding kinks or sharp bends, to the brake lever assembly. Secure the hose with appropriate clips or zip ties.
- Connect to Lever: Connect the hydraulic hose to the brake lever. Ensure a secure, leak-free connection.
- Bleed the System: This is a critical step. Follow the specific bleeding procedure for hydraulic disc brakes to remove all air from the system. This typically involves filling the reservoir, opening bleed nipples, and pumping the lever until no air bubbles appear. Refer to general hydraulic brake bleeding guides if unfamiliar.
- Adjust Caliper: Ensure the brake pads are centered over the rotor and do not rub when the brake is not engaged. Adjust the caliper position if necessary.
- Test Functionality: Before riding, test the brake lever for firm feel and effective braking. Spin the wheel to ensure no rubbing. Perform slow-speed tests in a safe area.
4. Operating Instructions
The hydraulic brake system operates by converting lever pressure into hydraulic pressure, which then actuates the brake pads against the rotor, slowing or stopping the scooter.
- Brake Engagement: Gently squeeze the brake lever located on the handlebar. The amount of pressure applied directly correlates to the braking force.
- Progressive Braking: Apply brake pressure progressively. Avoid sudden, hard braking, especially at high speeds, as this can lead to loss of control.
- Braking Distance: Be aware of your braking distance, which can vary based on speed, road conditions, and scooter weight.
- Wet Conditions: In wet conditions, braking performance may be reduced. Apply brakes earlier and more gently.
5. Maintenance
Regular maintenance ensures optimal performance and longevity of your hydraulic brake system.
- Brake Pad Inspection: Regularly check the brake pads for wear. Replace them when they are worn down to the wear indicator or if braking performance degrades.
- Rotor Inspection: Inspect the brake rotor for bends, cracks, or excessive wear. Clean the rotor periodically with a clean cloth and isopropyl alcohol to remove contaminants.
- Fluid Level Check: Periodically check the brake fluid level in the reservoir (if accessible). Top up if necessary, using the correct type of brake fluid (DOT 4 or mineral oil, as specified by your scooter's brake system).
- Bleeding: If the brake lever feels spongy or soft, it indicates air in the system. The brake system will need to be bled to restore firm lever feel.
- Hose and Caliper Inspection: Check the hydraulic hose for any signs of damage, leaks, or kinks. Inspect the caliper for leaks around the pistons or connections.
- Cleaning: Keep the brake caliper and surrounding area clean from dirt and debris. Avoid getting oil or grease on the brake pads or rotor.
6. Troubleshooting
| Problem | Possible Cause | Solution |
|---|---|---|
| Spongy Brake Lever | Air in the hydraulic system; low brake fluid. | Bleed the brake system; check and top up brake fluid. |
| Weak Braking Power | Worn brake pads; contaminated pads/rotor; air in system; misaligned caliper. | Replace brake pads; clean rotor/pads with isopropyl alcohol; bleed system; realign caliper. |
| Brake Squealing/Noise | Contaminated pads/rotor; worn pads; loose caliper bolts; misaligned rotor. | Clean pads/rotor; replace pads; tighten bolts; check rotor alignment. |
| Brake Rubbing | Misaligned caliper; bent rotor; sticky pistons. | Realign caliper; true the rotor or replace; clean and lubricate pistons (professional service recommended). |
| Brake Fluid Leak | Loose connection; damaged hose or seal. | Tighten connections; inspect and replace damaged components. Seek professional help. |
7. Warranty and Support
For specific warranty information regarding your XINMEILAN hydraulic brake caliper, please refer to the documentation provided at the time of purchase or contact the seller directly. Warranty terms typically cover manufacturing defects.
For technical support, installation assistance, or parts inquiries, please contact your original point of purchase or the manufacturer, XINMEILAN, through their official channels. Always provide your product model number (electric scooter) and ASIN (B0DQKL7FDV) when seeking support.


