
Introduction
This manual provides essential instructions for the proper setup, operation, and maintenance of your Giro Men's Cleat Cycling Shoes. Please read this guide thoroughly before using your shoes to ensure optimal performance and longevity.
Setup
1. Cleat Installation
Your Giro cycling shoes are designed for use with 3-bolt road cleats (not included). Proper cleat positioning is crucial for comfort and power transfer.
- Align the cleat with the pre-drilled holes on the sole of the shoe.
- Insert the cleat bolts and finger-tighten them.
- Adjust the cleat position forward/backward and side-to-side to find your preferred pedaling position. A common starting point is to align the center of the cleat with the ball of your foot.
- Once positioned, securely tighten the cleat bolts using an appropriate hex key. Refer to your cleat manufacturer's instructions for specific torque recommendations.
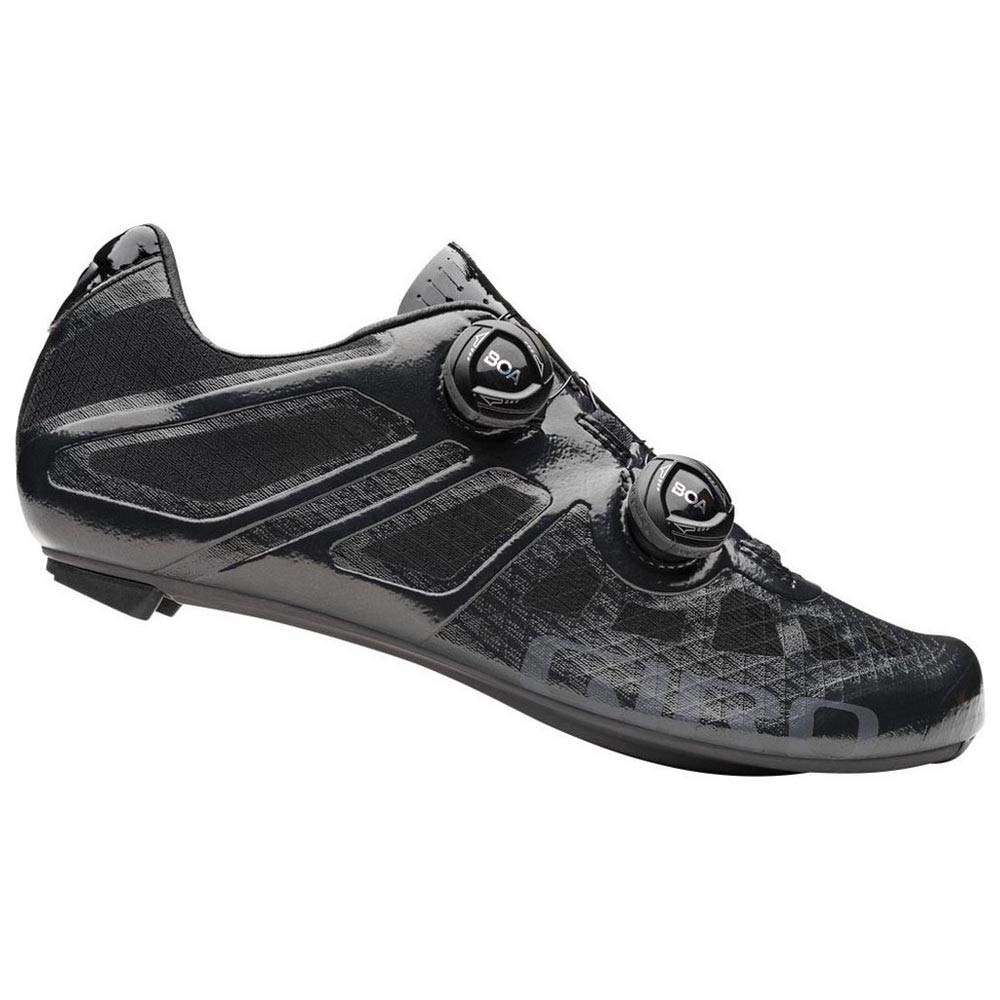
Image: Side view of the Giro Men's Cleat Cycling Shoe, showing the overall design and sole area for cleat attachment.
2. Initial Fit Adjustment
The shoes feature a Synchwire upper with Boa IP1 dials and soft lace guides for a customizable fit.
- Boa IP1 Dials: To tighten, turn the dial clockwise. To loosen, turn the dial counter-clockwise. For quick release, pull the dial upwards.
- Supernatural Fit Footbed System: These shoes include an adjustable footbed system allowing you to customize arch support. Experiment with different arch support options (if provided) to find the most comfortable and efficient fit for your foot type.
Operation
Adjusting Fit During Ride
The Boa IP1 dials allow for micro-adjustments while cycling. If your feet swell or you need to adjust tightness for different riding conditions, simply turn the dials as needed. Ensure adjustments are made safely and without distraction.
Clipping In and Out
Practice clipping in and out of your pedals in a safe, controlled environment before riding on public roads. This will help you develop muscle memory and confidence.
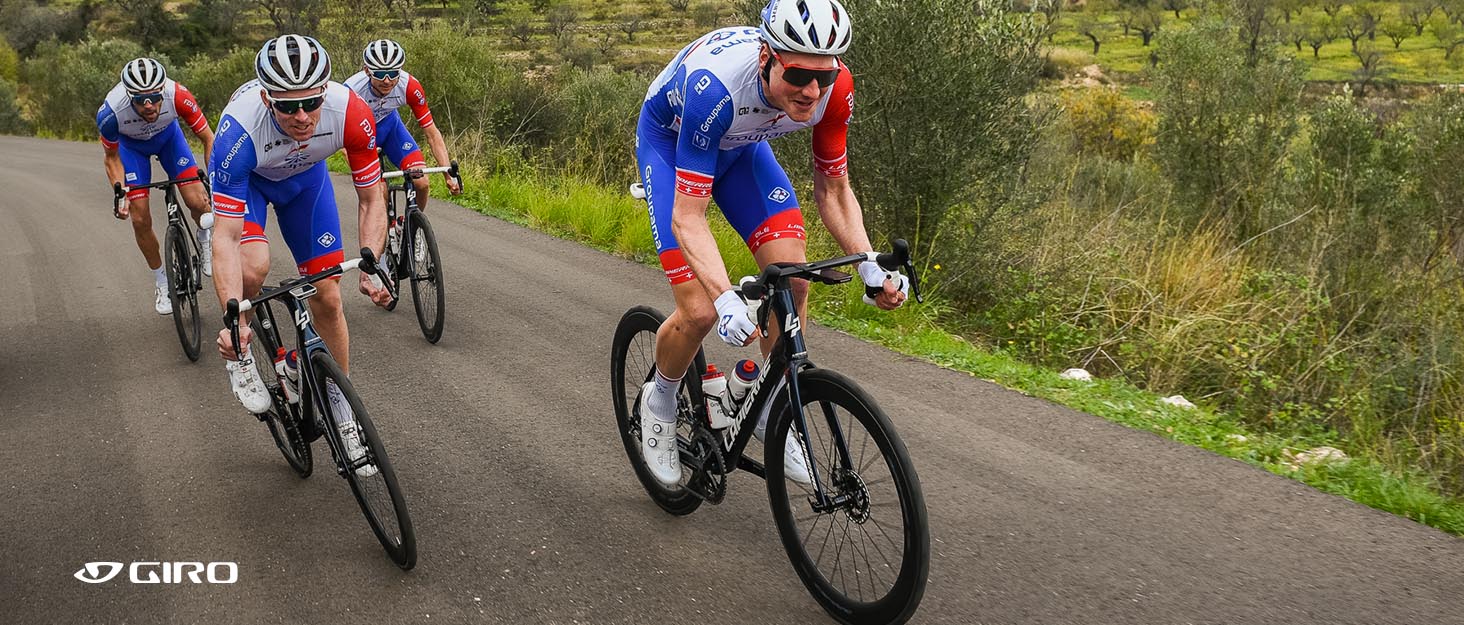
Image: Cyclists on a road, demonstrating the intended use of Giro cycling shoes during a ride.
Maintenance
Cleaning Your Shoes
- Upper (Fabric): Wipe clean with a damp cloth and mild soap. Avoid harsh chemicals or abrasive cleaners.
- Sole (Rubber/Carbon Fiber): Brush off dirt and debris. Clean with a damp cloth. Inspect the Easton EC90 SLX2 carbon fiber plate for any damage.
- Boa Dials and Lace Guides: Periodically clean any dirt or grit from the dials and lace guides to ensure smooth operation. A small brush can be helpful.
- Allow shoes to air dry completely at room temperature. Do not expose to direct heat sources.
Cleat Inspection
Regularly inspect your cleats for wear. Worn cleats can lead to difficulty clipping in/out and reduced power transfer. Replace cleats as recommended by their manufacturer.
Troubleshooting
- Discomfort or Hot Spots:
- Check cleat position. Small adjustments can significantly impact comfort.
- Re-evaluate arch support using the Supernatural Fit Footbed System.
- Ensure Boa dials are not overtightened.
- Difficulty Clipping In/Out:
- Inspect cleats for excessive wear or damage.
- Ensure cleats are clean and free of debris.
- Check pedal tension settings.
- Boa Dial Malfunction:
- Clean the dial and surrounding area to remove any trapped dirt or debris.
- Ensure the lace guides are clear and the laces move freely.
- If issues persist, contact Giro customer support.
Specifications
| Model Number | B0DQJFY1M2 |
| Department | Men's |
| Manufacturer | Giro |
| Outer Material | Fabric (Synchwire Upper) |
| Sole Material | Rubber (with Easton EC90 SLX2 Carbon Fiber Plate) |
| Closure Type | Boa IP1 Dials |
| Cleat Compatibility | 3-bolt road cleats |
| First Available Date | December 15, 2024 |
Warranty and Support
For detailed warranty information and customer support, please refer to the documentation included with your purchase or visit the official Giro website. You can also visit the Giro Brand Store on Amazon for additional product information.
