Introduction
This manual provides detailed instructions for the setup, operation, and maintenance of your FiveHome A300 Kids Alarm Clock with Sleep Sound Machine and A12 Toddlers Sleep Training Clock. Please read this manual thoroughly before using the products to ensure proper function and longevity.

Image: The FiveHome A300 Kids Alarm Clock (left) and A12 Toddlers Sleep Training Clock (right).
Product Overview
A300 Kids Alarm Clock with Sleep Sound Machine
The A300 is designed to help children understand wake-up and sleep times through visual cues and sound. It features a digital display, multiple color lights, and a sound machine.
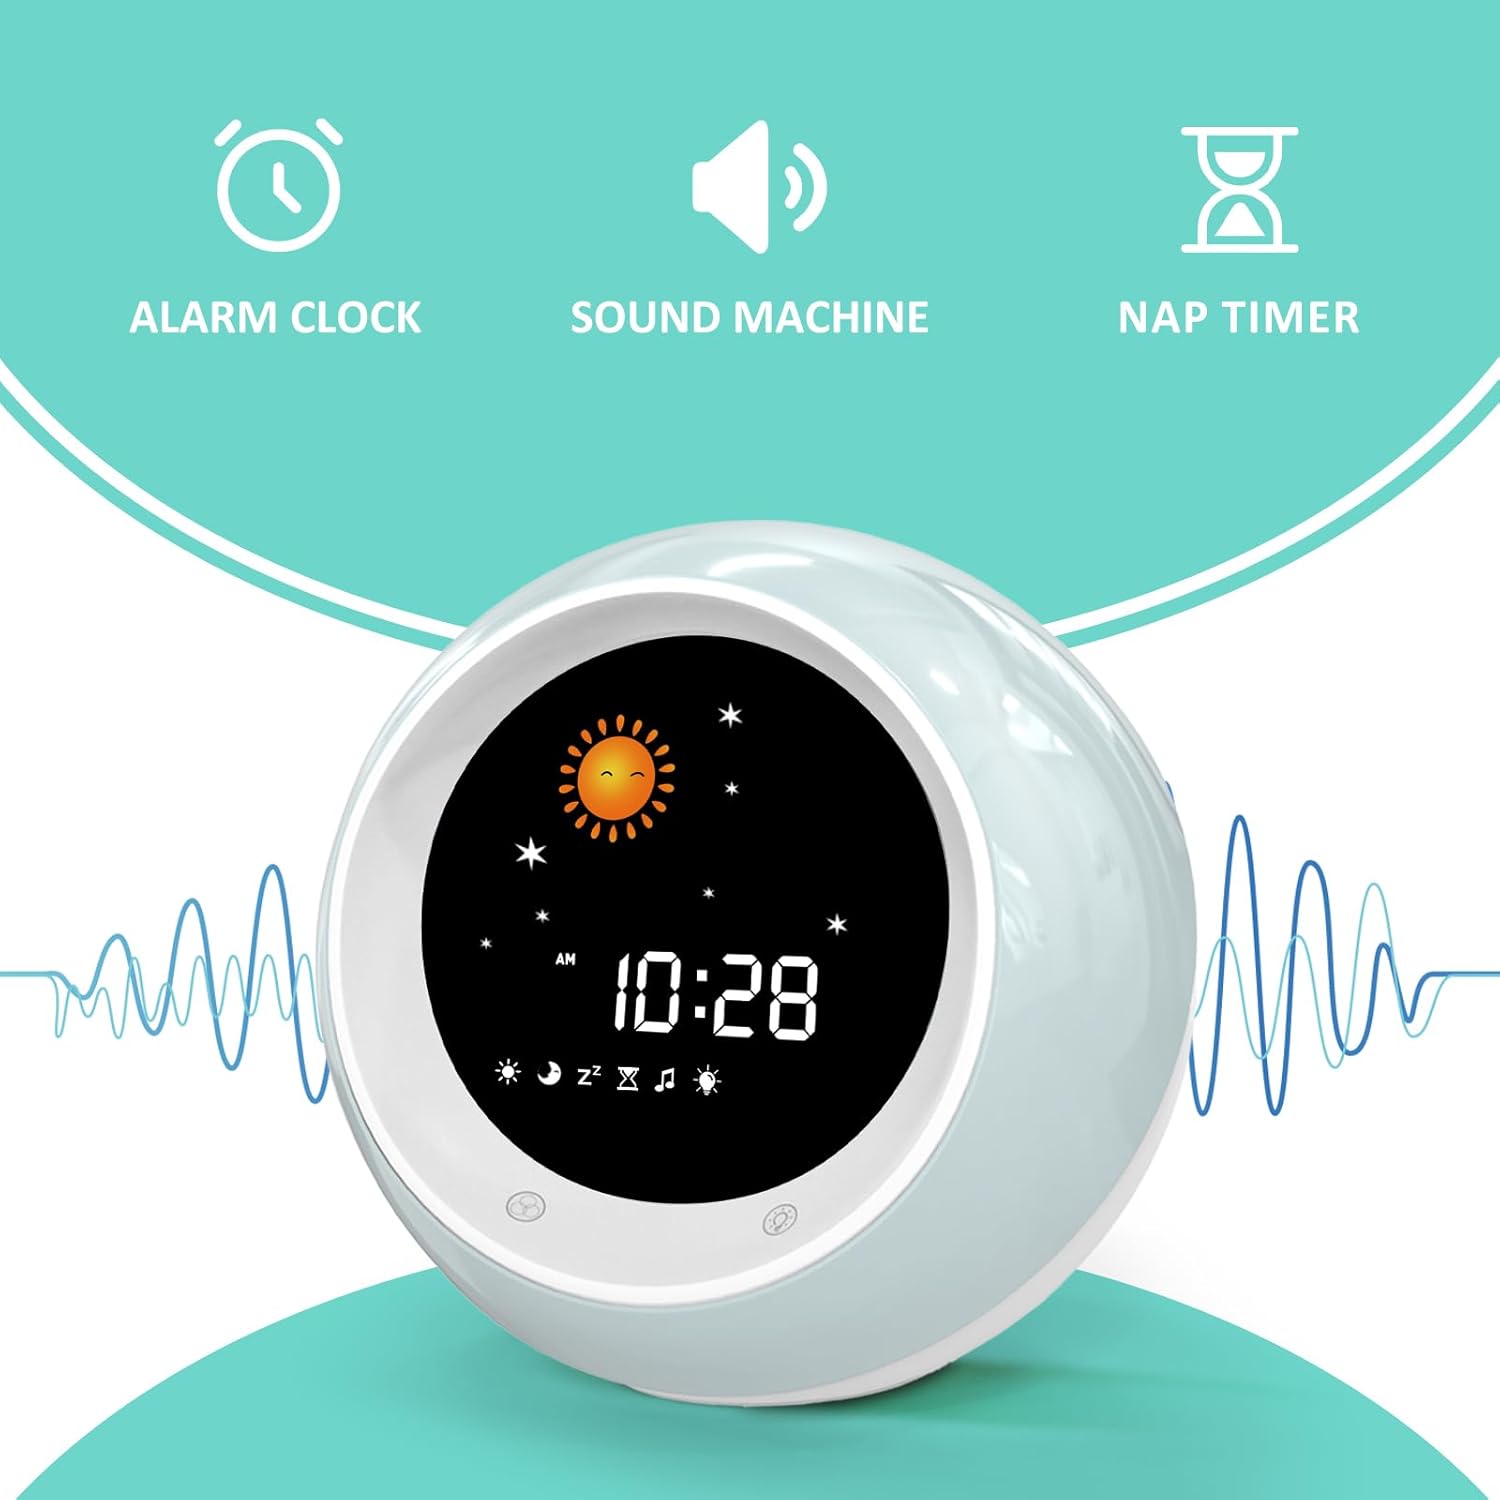
Image: Overview of the A300's main functions: Alarm Clock, Sound Machine, and Nap Timer.
A300 Key Features:
- Wake-Up Light: Displays a sun symbol and green light for wake-up time.
- Sleep Light: Displays a moon symbol and red light for sleep time.
- 9 Color Lights: Customizable ambient lighting options.
- Sound Machine: Integrated white noise or sleep sounds.
- Nap Timer: Helps manage nap schedules.

Image: The A300 clock indicating wake-up time with a sun symbol and green light.
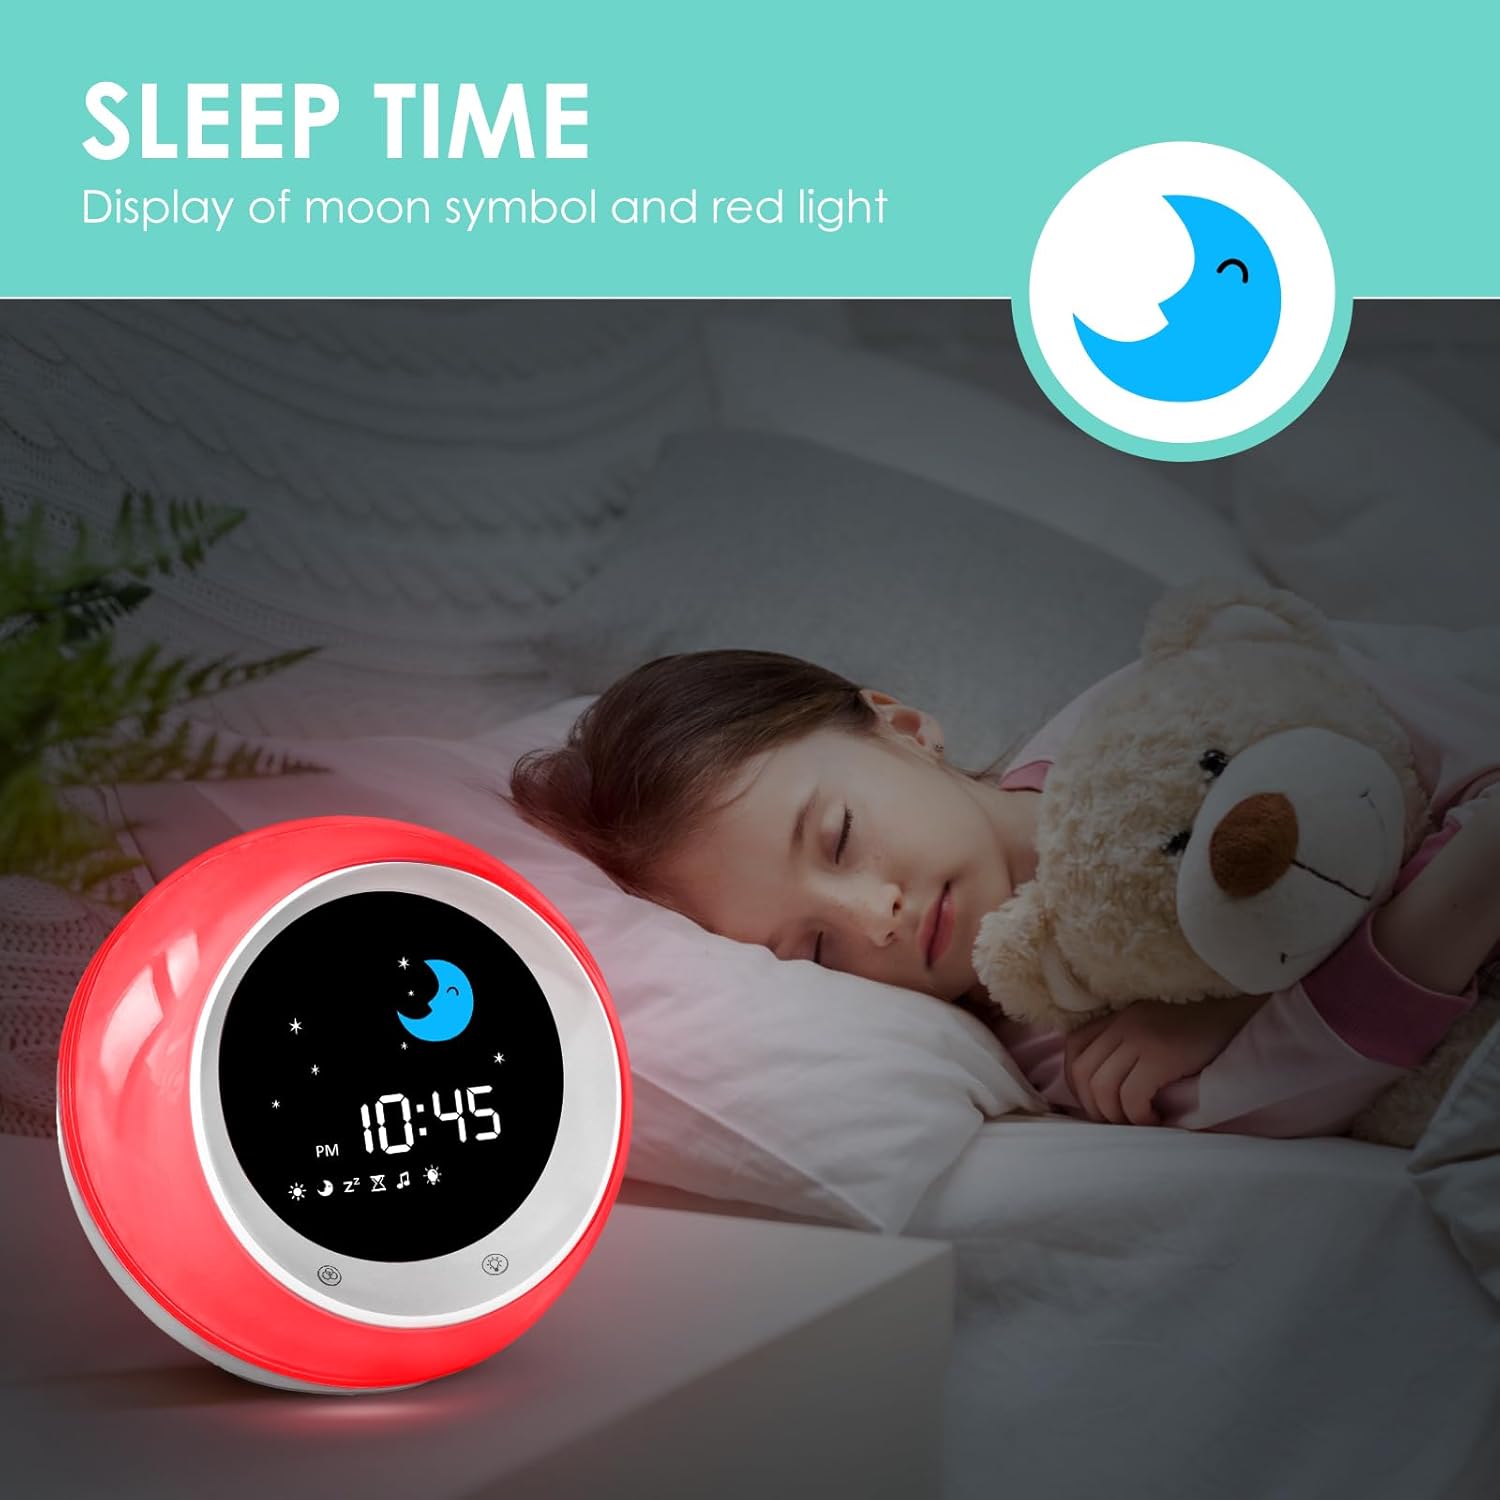
Image: The A300 clock indicating sleep time with a moon symbol and red light.
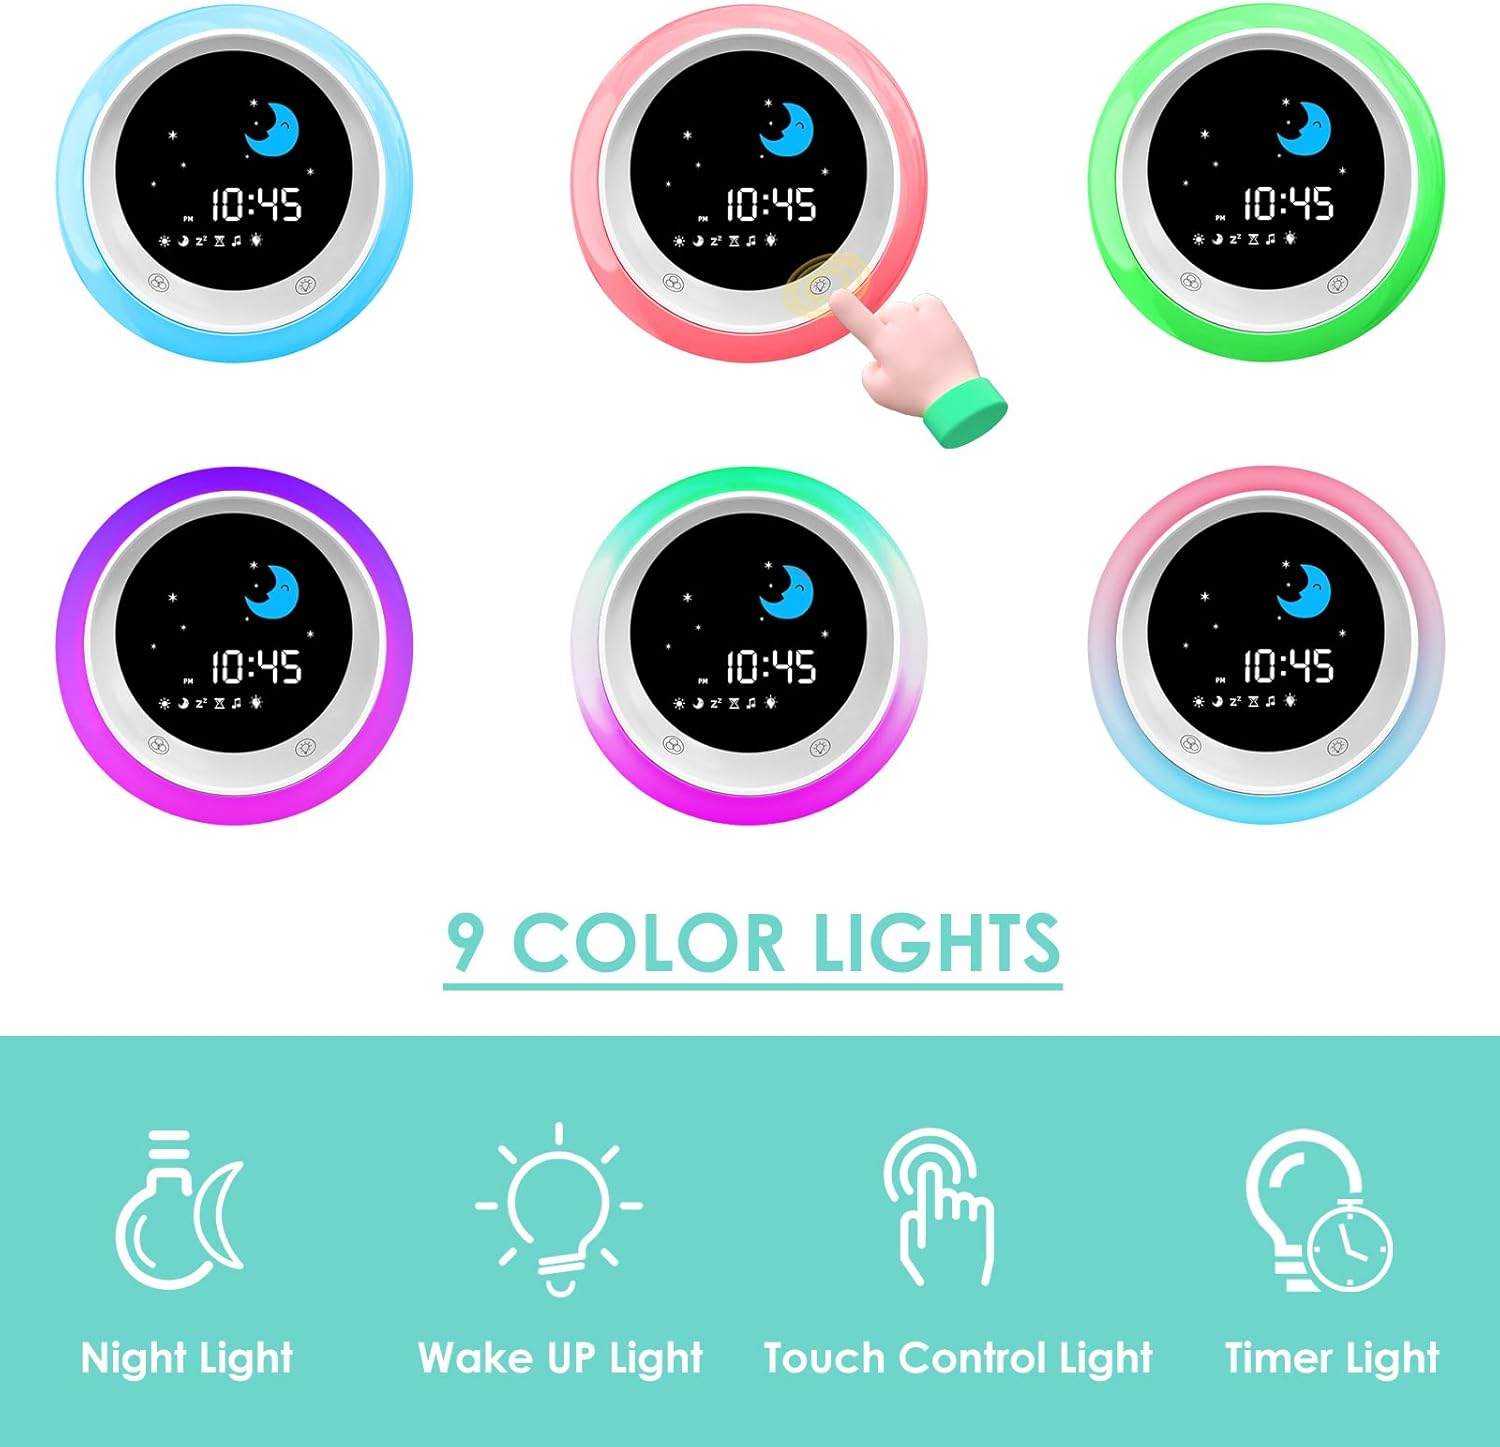
Image: The A300 clock demonstrating its 9 color light options.
A12 Toddlers Sleep Training Clock
The A12 is a dedicated sleep training clock for toddlers, featuring a friendly display and simple controls to help children learn about sleep and wake routines.
A12 Key Features:
- Sleep Trainer: Visual cues for sleep and wake.
- Alarm Clock: Standard alarm functionality.
- Snooze Function: Allows for extra sleep time.
- Nap Timer: Configurable timers for naps.
- Child Lock: Prevents accidental setting changes.

Image: The A12 clock demonstrating its Nap Timer function, useful for various activities.
Setup
A300 Initial Setup
- Power Connection: The A300 clock must be plugged into a power source using the provided adapter. Locate the power port on the back of the unit and connect the adapter.
- Time Setting: Press the TIME button (usually indicated by a clock icon) to enter time setting mode. Use the + and - buttons to adjust hours and minutes. Press TIME again to confirm each setting.
- Alarm Setting: Press the WAKE button (sun icon) to set the wake-up alarm. Use + and - to set the desired wake-up time. Press WAKE to confirm. Similarly, use the SLEEP button (moon icon) to set the sleep time.
- Sound Machine Setup: Press the SOUND button (music note icon) to cycle through available sound options. Adjust volume using + and - .

Image: The A300 clock's rear panel showing the power input and control buttons.
A12 Initial Setup
- Power Connection: Connect the A12 clock to a power source using the provided USB cable and adapter. The power port is located on the back of the unit.
- Time Setting: Use the Time Setting button (clock icon) on the side to adjust the current time. Use the + and - buttons to change values.
- Wake Alarm Setting: Press the Wake Alarm button (bell icon) to set the wake-up time.
- Sleep Alarm Setting: Press the Sleep Alarm button (Zz icon) to set the sleep time.
- Nap Timer Setting: Press the Nap Timer button (hourglass icon) to configure nap durations.

Image: The A12 clock's rear panel with 5V-1A power input and reset button.

Image: Side view of the A12 clock, illustrating the various control buttons for time, alarms, and nap timer.
Operating Instructions
A300 Operation
- Adjusting Brightness: Use the BACKLIGHT button to cycle through display brightness levels.
- Changing Light Colors: Press the TOUCH CONTROL LIGHT button (lightbulb icon) to change the ambient light color. The A300 offers 9 different colors.
- Snooze Function: When the alarm sounds, press the SNOOZE button (Zz icon) to temporarily silence the alarm.
- Playing Sounds: Press the SOUND button to play sleep sounds. Press again to stop or cycle through sounds.
A12 Operation
- Activating Child Lock: To prevent children from accidentally changing settings, activate the child lock feature. Refer to the specific button combination in the quick start guide for your model.
- Using Nap Timer: Select a preset nap duration (e.g., 15, 30, 60, 90, 120 minutes) using the Nap Timer button. The clock will count down and provide a visual/audible cue when the nap is over.
- Snooze Function: When the alarm sounds, press the Snooze button to activate snooze.
Maintenance
- Cleaning: Use a soft, dry cloth to clean the surface of the clocks. Do not use abrasive cleaners or solvents.
- Power: Ensure the clocks are always connected to a stable power source as specified. The A300 requires continuous power. The A12 also operates on electrical power.
- Storage: If storing the clocks for an extended period, disconnect them from power and store in a cool, dry place.
Troubleshooting
| Problem | Possible Cause | Solution |
|---|---|---|
| Clock not turning on | Not plugged in; power adapter faulty; power outlet issue. | Ensure power adapter is securely plugged into both the clock and a working wall outlet. Try a different outlet. |
| Alarm not sounding/light not changing | Alarm/sleep time not set correctly; volume too low (A300); child lock active (A12). | Verify alarm/sleep settings. Increase volume for A300. Deactivate child lock on A12. |
| Display is dim or flickering | Brightness setting too low; unstable power supply. | Adjust display brightness. Ensure stable power connection. |
| Buttons unresponsive | Child lock active (A12); temporary software glitch. | Deactivate child lock on A12. For both models, try disconnecting and reconnecting power to reset. |
Specifications
| Feature | Detail |
|---|---|
| Brand | FiveHome |
| Models Included | A300 Kids Alarm Clock, A12 Toddlers Sleep Training Clock |
| Color | White |
| Display Type | Digital |
| Power Source | Electrical (AC Adapter for A300, USB for A12) |
| Indoor/Outdoor Usage | Indoor |
| Frame Material | Plastic |
| Mounting Type | Tabletop |
| Alarm Clock Function | Yes |
Warranty and Support
For warranty information and customer support, please refer to the official FiveHome website or contact their customer service directly. Keep your purchase receipt for warranty claims.
Online Support: Visit the FiveHome Store on Amazon


