
MiLESEEY P9
Contents
MILESEEY P9 Laser Measure User Manual
Professional Laser Distance Meter with Camera
1. Introduction
This user manual provides detailed instructions for the safe and effective operation of your MILESEEY P9 Laser Measure. Please read this manual thoroughly before using the device and keep it for future reference.
The MILESEEY P9 is a professional-grade laser distance meter equipped with a camera, designed for precise measurements in construction and large outdoor projects. It features a 4X HD zoom, 3-inch backlit display, and Point-to-Point (P2P) technology.
2. Product Features
- High Precision Measurement: Measures distances up to 985ft (300m) with an accuracy of ±1/16 inch.
- Integrated Camera with 4X HD Zoom: Allows for precise targeting and measurement, especially over long distances or in bright conditions.
- 3-inch Backlit Display: Provides clear readability in various lighting conditions.
- Point-to-Point (P2P) Technology: Enables effortless estimation of distances between any two points.
- Extensive Memory Storage: Stores up to 1000 sets of data and 100 screenshots.
- Rechargeable Battery: Equipped with rechargeable Ni-MH batteries for extended use.
- Multiple Measurement Modes: Includes single measurement, continuous measurement (Min/Max), area, volume, Pythagorean (2-point, 3-point), P2P, auto level, auto height, and trapezoid functions.
- Automatic Screen Rotation: Adapts display orientation for optimal viewing.
- Side Measure Button: Facilitates easy measurement capture without changing hand position.
Visual Overview

Figure 2.1: Front view of the MILESEEY P9 Laser Measure, showing its display and control buttons.

Figure 2.2: Illustration of the adjustable zoom viewfinder camera feature, showing 2X and 4X zoom capabilities for precise targeting.

Figure 2.3: Demonstrates the Point-to-Point (P2P) technology, allowing measurement between two arbitrary points from a single location.

Figure 2.4: Highlights the device's accuracy, showing a measurement range of up to 985ft and an accuracy of ±1/16 inch.
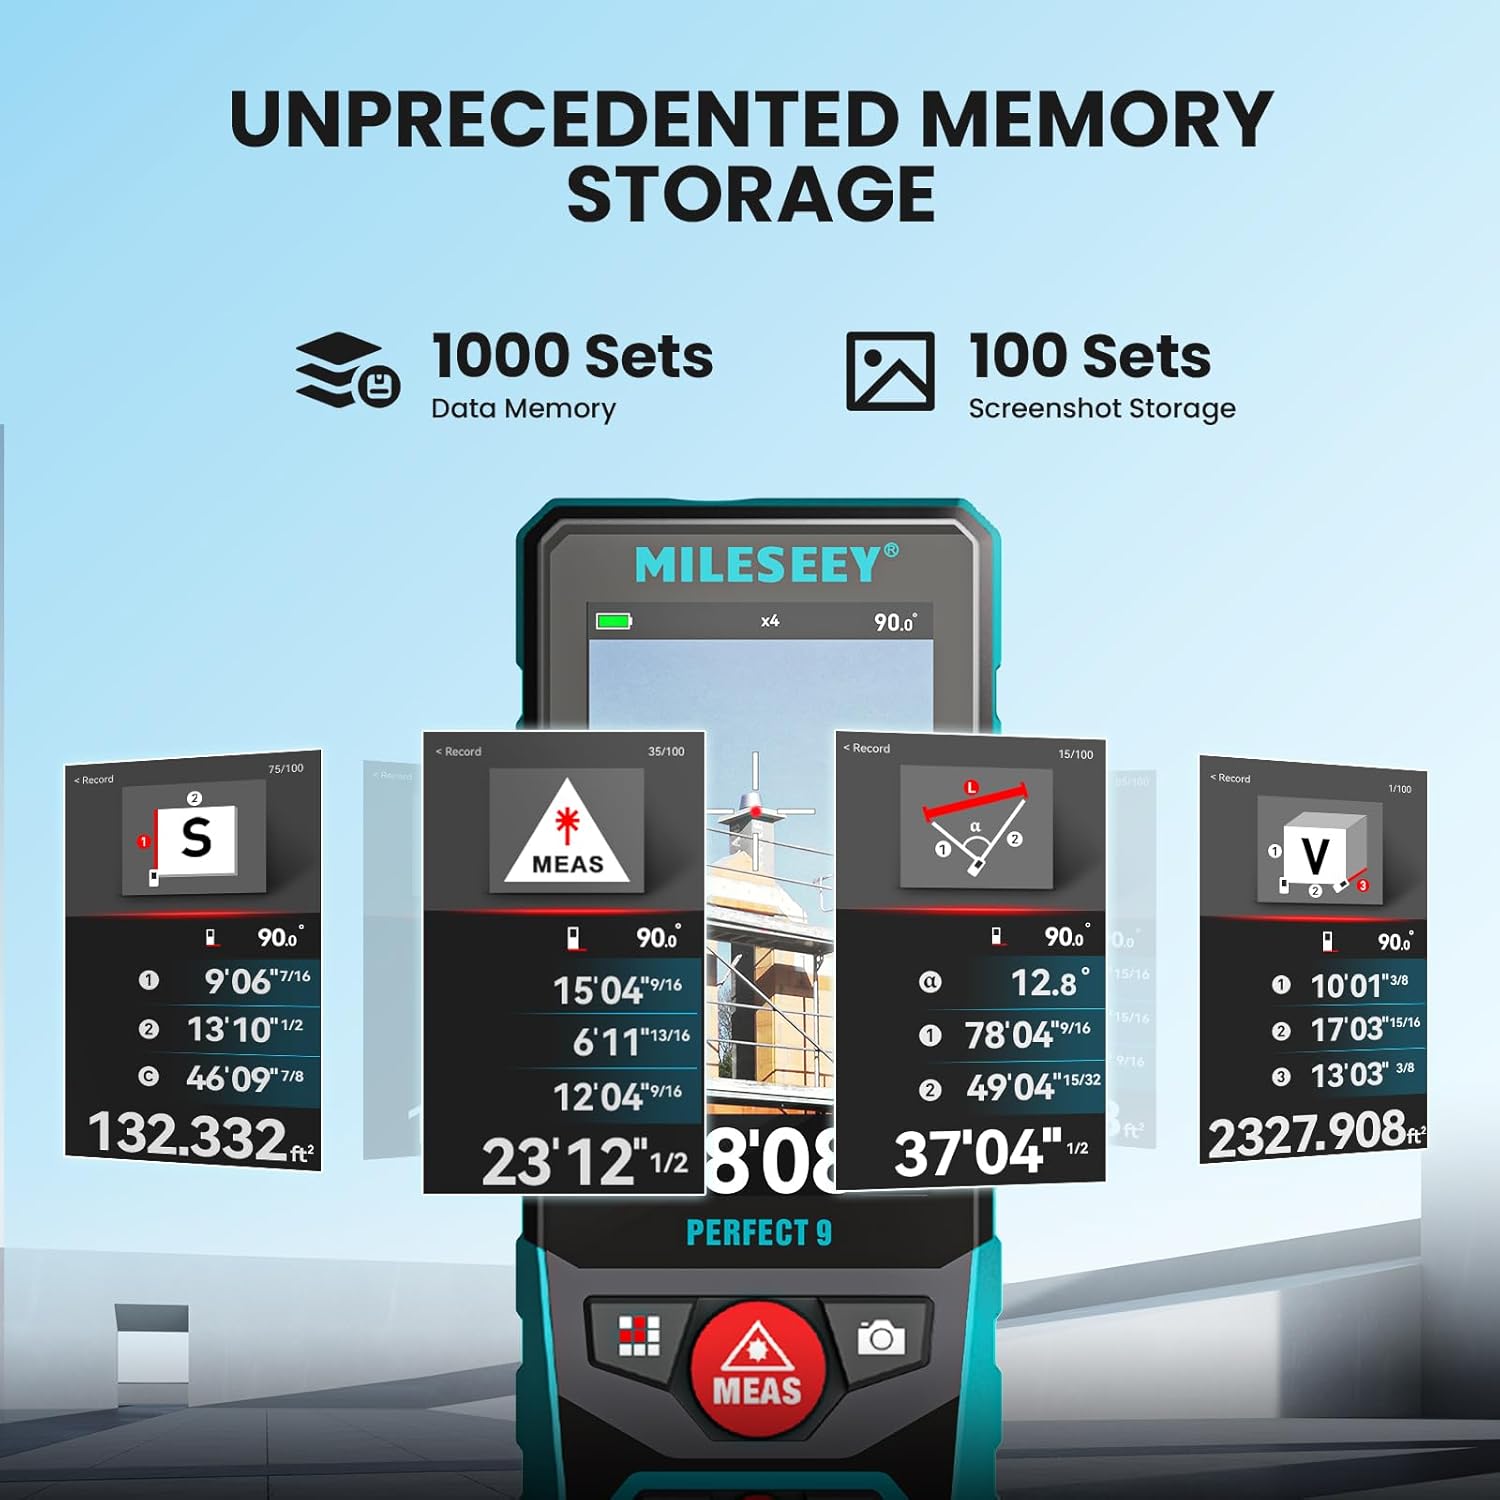
Figure 2.5: Illustrates the extensive memory storage capacity, capable of saving 1000 data sets and 100 screenshots.

Figure 2.6: Comprehensive overview of key features including color display, viewfinder camera, increased range, measure side button, and rechargeable Ni-MH battery.
3. What's in the Box?
Upon opening the package, please verify that all items listed below are present and in good condition:

Figure 3.1: All components included in the MILESEEY P9 Laser Measure package.
- USB-C Cable
- P910 Outdoor Laser Measure (MILESEEY P9)
- Laser Target Card Plate
- Storage Case
- Adjustable Center Column
- Tripod Stand
- Tripod Head
- AAA Rechargeable Battery (pre-installed or separate)
- Lanyard
- L-shaped Screwdriver
- User Manual (this document)
4. Setup
4.1 Battery Installation and Charging
The MILESEEY P9 uses rechargeable Ni-MH batteries. Ensure they are properly installed and charged before first use.
- Locate the battery compartment on the device.
- Insert the AAA rechargeable batteries, observing the correct polarity (+/-).
- Close the battery compartment securely.
- Connect the device to a power source using the provided USB-C cable for charging. The battery indicator on the display will show charging status.
4.2 Initial Power On
Press and hold the power button (⏻) until the display illuminates. The device will perform a self-check and then enter standby mode.
4.3 Unit Settings
To change measurement units (e.g., feet, meters, inches), press the SET button to access the settings menu. Navigate using the arrow keys and confirm your selection.
5. Operating Instructions
5.1 Basic Measurement
- Power on the device.
- Point the laser at the target. Use the viewfinder camera for precise targeting, especially over long distances.
- Press the MEAS button (or the side measure button) once to activate the laser.
- Press the MEAS button again to take a single measurement. The result will be displayed on the screen.
5.2 Continuous Measurement (Min/Max)
From standby mode, press and hold the MEAS button. The device will continuously measure, displaying the minimum and maximum distances recorded during the sweep. Press MEAS again to stop.
5.3 Area and Volume Measurement
To calculate area or volume:
- Press the mode button (often labeled with icons for area/volume) to select the desired function.
- Follow the on-screen prompts to take the required measurements (e.g., length, width, height).
- The device will automatically calculate and display the area or volume.
5.4 Point-to-Point (P2P) Measurement
P2P technology allows you to measure the distance between two points from a single location, even if obstacles are present.
- Select the P2P measurement mode.
- Follow the on-screen instructions to aim and measure the first point (P1).
- Then, aim and measure the second point (P2).
- The device will calculate and display the distance between P1 and P2.
5.5 Using the Viewfinder Camera
The integrated camera helps in targeting the laser point, especially outdoors or over long distances where the laser dot might be invisible to the naked eye.
- The camera view is automatically displayed when the laser is active.
- Use the zoom buttons (if available) to adjust the magnification (2X, 4X) for better visibility of the target.
- The red crosshair on the display indicates the laser's target point.
5.6 Data Storage and Recall
The device automatically saves measurement data. To access stored data or screenshots:
- Press the memory button (often indicated by a folder or history icon).
- Navigate through the stored measurements using the arrow keys.
- To delete data, refer to the on-screen options within the memory menu.
6. Maintenance
6.1 Cleaning
- Keep the device clean and dry.
- Wipe the lens and display with a soft, lint-free cloth. Do not use abrasive cleaners or solvents.
- For stubborn dirt, a slightly damp cloth can be used, followed by a dry cloth.
6.2 Storage
- When not in use for extended periods, store the device in its protective storage case.
- Store in a cool, dry place, away from direct sunlight and extreme temperatures.
- If storing for a long time, it is recommended to remove the batteries to prevent leakage.
6.3 Battery Care
- Regularly charge the rechargeable batteries to maintain their lifespan.
- Avoid fully discharging the batteries frequently.
- If the device will not be used for several months, charge the batteries to about 50% before storage.
7. Troubleshooting
| Problem | Possible Cause | Solution |
|---|---|---|
| Device does not power on. | Low or dead battery; Incorrect battery installation. | Charge the battery; Check battery polarity and ensure proper installation. |
| Inaccurate measurements. | Laser obstructed; Target surface too reflective/absorbent; Device not stable; Environmental factors (e.g., strong sunlight). | Ensure clear line of sight; Use laser target plate for difficult surfaces; Place device on a stable surface or tripod; Use viewfinder camera for outdoor measurements. |
| Display is dim or unreadable. | Low battery; Backlight setting. | Charge the battery; Adjust backlight brightness in settings. |
| Battery drains quickly. | Old or faulty batteries; Frequent use of backlight/laser. | Replace batteries if old; Reduce backlight brightness; Ensure device is powered off when not in use. |
8. Specifications
| Feature | Detail |
|---|---|
| Model | P9 |
| Measuring Range | 5 to 300 meters (16.4 to 985 feet) |
| Accuracy | ±1/16 inch |
| Display | 3-inch Backlit Color Display |
| Camera Zoom | 4X HD Zoom |
| Data Memory | 1000 Sets |
| Screenshot Storage | 100 Sets |
| Battery Type | Rechargeable Ni-MH (AAA) |
| Item Dimensions (LxWxH) | 0.98 x 1.97 x 5.12 inches |
| Item Weight | 300 Grams |
| Ingress Protection (IP) Rating | IP65 |
9. Warranty and Support
For warranty information, technical support, or service inquiries, please contact MILESEEY customer service through their official website or the contact details provided with your purchase documentation.
You can also visit the official MiLESEEY Store on Amazon for more product information and support resources.
Documents and downloads
Ask a question about this manual
Ask about setup, troubleshooting, compatibility, parts, safety, or missing instructions. Manuals+ will review the question and use this page’s manual context to help answer it.