
1. Product Overview
This manual provides instructions for the Hasweld MIG Gun Liner, designed for use with various Matco TOOLS flux wire feed welders. The liner is a critical component that guides the welding wire from the wire feeder through the MIG gun to the contact tip, ensuring smooth and consistent wire delivery for optimal welding performance.
Proper installation and maintenance of the liner are essential for preventing wire feeding issues, such as bird-nesting, erratic arcs, and premature contact tip wear.
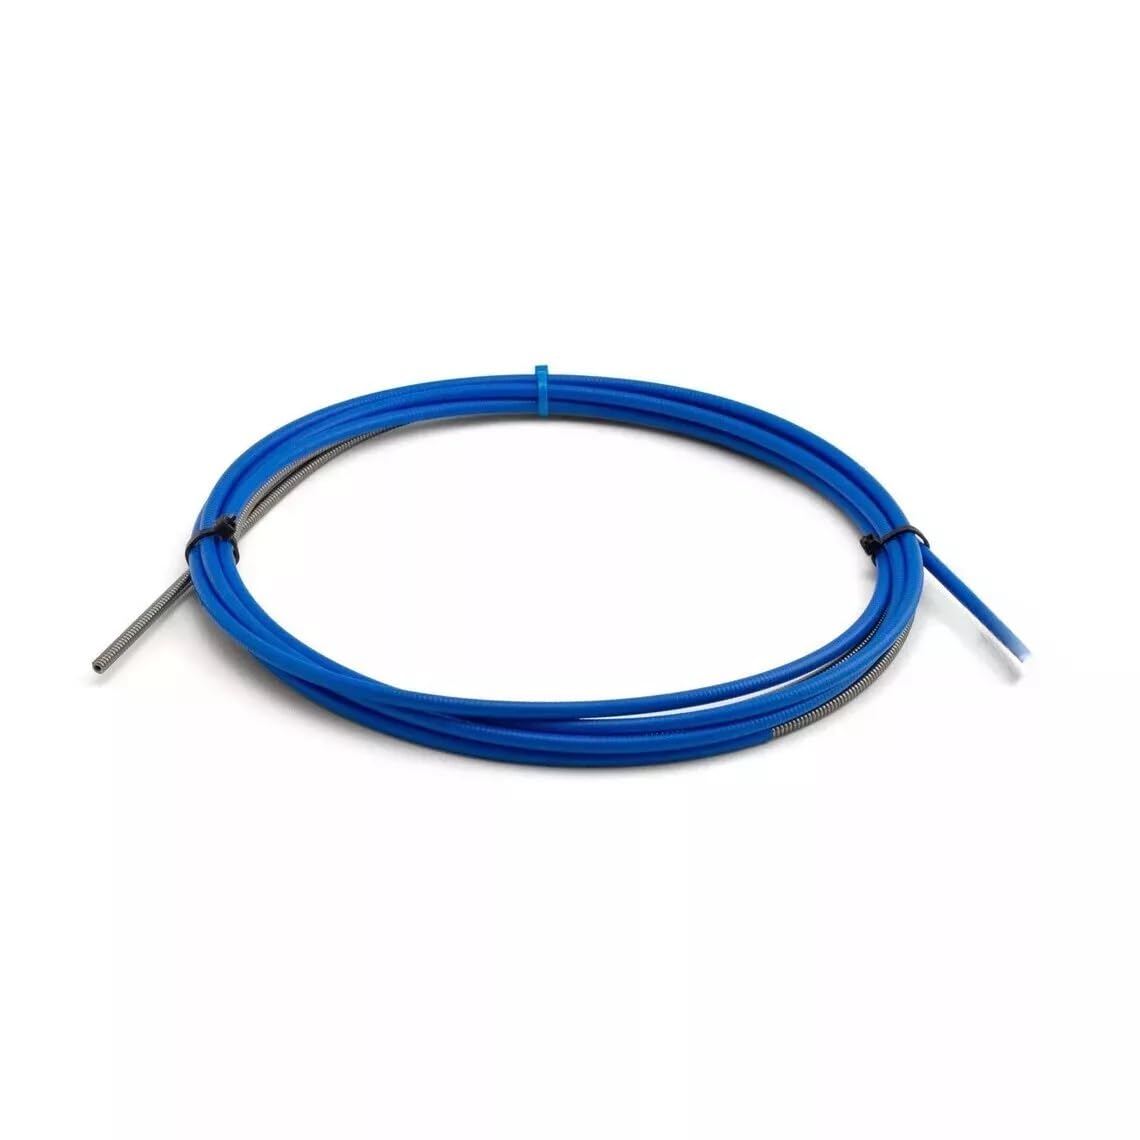
Image 1: Hasweld MIG Gun Liner. This image displays the flexible liner component, typically made of steel or plastic, which guides the welding wire.
2. Compatibility
This MIG gun liner is compatible with the following Matco TOOLS MIG gun models and welders:
- Matco TOOLS WFW80T
- Matco TOOLS MWLD140
- Matco TOOLS MWLD100
- Matco TOOLS WFW 12179
- Matco TOOLS A2Z006505
- Matco TOOLS MG138
- Matco TOOLS 130 flux Wire Feed Welder
This liner is designed for wire sizes ranging from .023 to .035 inches.
3. Package Contents
Upon receiving your Hasweld MIG Gun Liner, please verify that all components are present and undamaged:
- 1 x MIG Gun Liner (.023 - .035)
- 9 x Contact Tips (.030 tip)
4. Setup and Installation
Proper installation of the MIG gun liner is crucial for reliable wire feeding. Always ensure the welder is powered off and disconnected from the power source before performing any maintenance or installation.
4.1 Safety Precautions
- Always disconnect power to the welding machine before servicing.
- Wear appropriate personal protective equipment (PPE), including safety glasses and gloves.
- Ensure the work area is well-ventilated.
4.2 Liner Replacement Steps
- Prepare the MIG Gun: Remove the contact tip, gas nozzle, and diffuser from the end of the MIG gun.
- Remove Old Liner: Depending on your MIG gun model, the liner may be secured by a set screw or simply pulled out from the back of the gun. Consult your specific MIG gun manual for exact removal procedures. Carefully pull the old liner out.
- Measure and Cut New Liner: Insert the new liner into the MIG gun from the front (nozzle end) until it protrudes from the back. Ensure it is fully seated. Extend the liner through the gun and into the wire feeder connection. Mark the liner where it meets the wire feeder connection point, ensuring it is flush or slightly recessed. Cut the liner cleanly at this mark using a specialized liner cutter or sharp wire cutters to prevent burrs.
- Install New Liner: Reinsert the cut liner into the MIG gun, ensuring it is fully seated. Secure it if your gun model requires a set screw.
- Reassemble MIG Gun: Reinstall the diffuser, gas nozzle, and a new contact tip (matching your wire size) onto the MIG gun.
- Test Wire Feed: Reconnect power to the welder. Feed welding wire through the gun to ensure smooth operation. Adjust drive roll tension as needed.
5. Operating Considerations
Once the liner is correctly installed, ensure the following for optimal operation:
- Correct Wire Size: Always use a liner that matches your welding wire diameter. This liner is for .023 - .035 inch wire.
- Contact Tip Match: Ensure the contact tip installed on the MIG gun matches the wire diameter.
- Drive Roll Tension: Adjust the drive roll tension on your wire feeder to be just enough to feed the wire smoothly without slipping or deforming the wire. Excessive tension can damage the wire and liner.
- Gun Cable Management: Avoid sharp bends or kinks in the MIG gun cable, as this can increase friction on the wire and lead to feeding problems.
6. Maintenance
Regular maintenance of your MIG gun liner will extend its lifespan and ensure consistent welding performance.
- Inspect Regularly: Periodically inspect the liner for signs of wear, such as excessive friction, kinks, or blockages.
- Clean the Liner: If wire feeding becomes sluggish, the liner may be clogged with debris or copper dust from the welding wire. You can attempt to clean it by blowing compressed air through it from the wire feeder end, with the contact tip removed.
- Replace When Worn: Liners are consumable parts and will eventually wear out. Replace the liner if cleaning does not resolve wire feeding issues, or if visible damage is present.
7. Troubleshooting
If you experience wire feeding problems, the liner is often a primary suspect. Here are common issues and potential solutions related to the liner:
- Wire Feeds Erratically or Stutters:
- Check Liner: Ensure the liner is clean and free of debris. Blow out with compressed air.
- Liner Kinked: Inspect the MIG gun cable for sharp bends or kinks that could be restricting wire flow.
- Worn Liner: The liner may be worn out, causing excessive friction. Replace the liner.
- Wire Bird-Nesting at Drive Rolls:
- Liner Not Seated: Ensure the liner is fully seated in the MIG gun and extends correctly into the wire feeder.
- Incorrect Liner Length: If the liner is too short, it can create a gap where the wire can buckle.
- Blocked Liner: A blockage in the liner can cause back pressure, leading to bird-nesting.
- Difficulty Feeding Wire:
- Wrong Liner Size: Ensure the liner diameter matches the wire diameter.
- Liner Obstruction: Check for any foreign objects or excessive build-up inside the liner.
8. Specifications
- Manufacturer: Hasweld
- Model Number: LINER .023 - .035
- Compatible Wire Sizes: .023 - .035 inches
- Included Components: MIG Gun Liner, 9 x .030 Contact Tips
- Power Source Compatibility: AC/DC welding machines (relevant to the overall welder, not the liner itself)
9. Warranty and Support
For specific warranty information regarding your Hasweld MIG Gun Liner, please refer to the documentation provided with your original purchase or contact Hasweld customer support directly. As a consumable part, liners typically have a limited warranty against manufacturing defects.
For technical assistance or further inquiries, please contact your product supplier or the manufacturer.