
JENABOM TY-CS07
Contents
JENABOM 3.6V Cordless Electric Screwdriver
Model: TY-CS07
1. Introduction
This manual provides essential instructions for the safe and efficient operation, maintenance, and troubleshooting of your JENABOM 3.6V Cordless Electric Screwdriver, Model TY-CS07. Please read this manual thoroughly before first use and retain it for future reference.

Description: A banner image highlighting key features: USB Rechargeable, Torque Adjustment, LED Light, Dual Mode, and Universal Magnetic Bit Chuck.
2. Safety Instructions
Always observe basic safety precautions to reduce the risk of fire, electric shock, and personal injury.
- Keep the work area clean and well-lit. Cluttered or dark areas invite accidents.
- Do not operate power tools in explosive atmospheres, such as in the presence of flammable liquids, gases, or dust. Power tools create sparks which may ignite the dust or fumes.
- Keep children and bystanders away while operating a power tool. Distractions can cause you to lose control.
- Avoid accidental starting. Ensure the switch is in the off-position before connecting to battery pack, picking up or carrying the tool.
- Do not overreach. Keep proper footing and balance at all times. This enables better control of the power tool in unexpected situations.
- Dress properly. Do not wear loose clothing or jewelry. Keep your hair and clothing away from moving parts. Loose clothes, jewelry or long hair can be caught in moving parts.
- Use personal protective equipment. Always wear eye protection. Protective equipment such as dust mask, non-skid safety shoes, hard hat, or hearing protection used for appropriate conditions will reduce personal injuries.
- Disconnect the battery pack from the power tool before making any adjustments, changing accessories, or storing power tools.
- Store idle power tools out of the reach of children and do not allow persons unfamiliar with the power tool or these instructions to operate the power tool.
- Maintain power tools. Check for misalignment or binding of moving parts, breakage of parts and any other condition that may affect the power tool’s operation. If damaged, have the power tool repaired before use.
- Use the power tool, accessories and tool bits etc. in accordance with these instructions, taking into account the working conditions and the work to be performed.
3. Product Overview
Familiarize yourself with the components of your JENABOM electric screwdriver.

Description: An annotated diagram pointing out key features: USB charging port, Hex Collet (fits 1/4 inch standard bits), Charging and Torque Gear indicator, Reverse Button, Forward Button, and LED Worklight.
- USB Charging Port
- Hex Collet (1/4 inch standard bits)
- Charging and Torque Gear Indicator
- Reverse Button
- Forward Button
- LED Worklight
4. Package Contents
Verify that all items are present in your package:

Description: This image details the 18 screwdriver bits (Slotted: 3, 4, 5, 6; Phillips: PH0, PH1, PH2, PH3; Pozi: PZ0, PZ1, PZ2, PZ3; Square: S2, S3; Hex: H4; Torx: T10, T15, T20), along with one bit extension holder and one flexible extension hex shaft.
- 1 x JENABOM 3.6V Cordless Electric Screwdriver
- 18 x 25mm Screwdriver Bits (Slotted: 3, 4, 5, 6; Phillips: PH0, PH1, PH2, PH3; Pozi: PZ0, PZ1, PZ2, PZ3; Square: S2, S3; Hex: H4; Torx: T10, T15, T20)
- 1 x Bit Extension Holder
- 1 x Flexible Extension Hex Shaft
- 1 x USB Charging Cable
5. Setup
5.1 Charging the Screwdriver
Before initial use, fully charge the screwdriver's built-in lithium-ion battery.
- Locate the USB charging port on the screwdriver.
- Connect the provided USB charging cable to the screwdriver's port and to a compatible USB power source (e.g., wall adapter, computer, power bank).
- The charging indicator lights will illuminate to show charging status. A full charge typically takes 3-5 hours.
- Disconnect the charging cable once fully charged.

Description: The screwdriver is shown connected to a laptop via a USB cable for charging. The image highlights its 1300mAh built-in rechargeable battery, which charges in 3-5 hours, and indicates compatibility with various USB power sources like sockets, laptops, power banks, and car chargers.
5.2 Installing Screwdriver Bits
The screwdriver features a magnetic hex collet for easy bit installation.
- Select the appropriate screwdriver bit for your task.
- Insert the hex end of the bit directly into the hex collet until it is securely held by the magnet.
- For extended reach or working in tight spaces, attach the bit extension holder or flexible extension hex shaft first, then insert the desired bit into the extension.

Description: The image demonstrates the magnetic bit holder, showing how bits can be easily inserted directly or with an extension pole for quick replacement.
6. Operating Instructions
6.1 Power On/Off and Rotation Direction
The screwdriver features a dual-mode button for forward and reverse rotation.
- To activate the screwdriver, press and hold either the Forward or Reverse button for 1 second.
- Press the Forward Button to drive screws (clockwise rotation).
- Press the Reverse Button to remove screws (counter-clockwise rotation).
- Release the button to stop the screwdriver.

Description: This image illustrates how to operate the screwdriver, showing the forward and reverse buttons and instructing the user to press and hold for 1 second to start, then switch between modes.
6.2 Adjusting Torque Levels
The screwdriver offers four adjustable torque settings to prevent over-tightening or damage to fasteners and materials.
- The torque gear indicator displays the current torque setting.
- To adjust the torque, press the torque adjustment button (refer to Product Overview for location). Each press cycles through the available torque levels (2.5 N.m, 3 N.m, 3.5 N.m, 5 N.m).
- Select a lower torque setting for delicate tasks or smaller screws, and a higher setting for larger screws or tougher materials.
- When the set torque value is reached, the mechanical clutch will disengage, preventing further tightening.

Description: This graphic explains the adjustable torque feature (2.5 N.m to 5 N.m), showing how the mechanical clutch disengages to prevent over-torquing and damage to screws or objects.
6.3 Using the LED Worklight
The integrated LED worklight automatically illuminates when the screwdriver is in operation, providing visibility in dimly lit areas.
- The LED light activates when either the Forward or Reverse button is pressed.
- This feature is particularly useful for working in dark corners, inside cabinets, or other poorly lit environments.
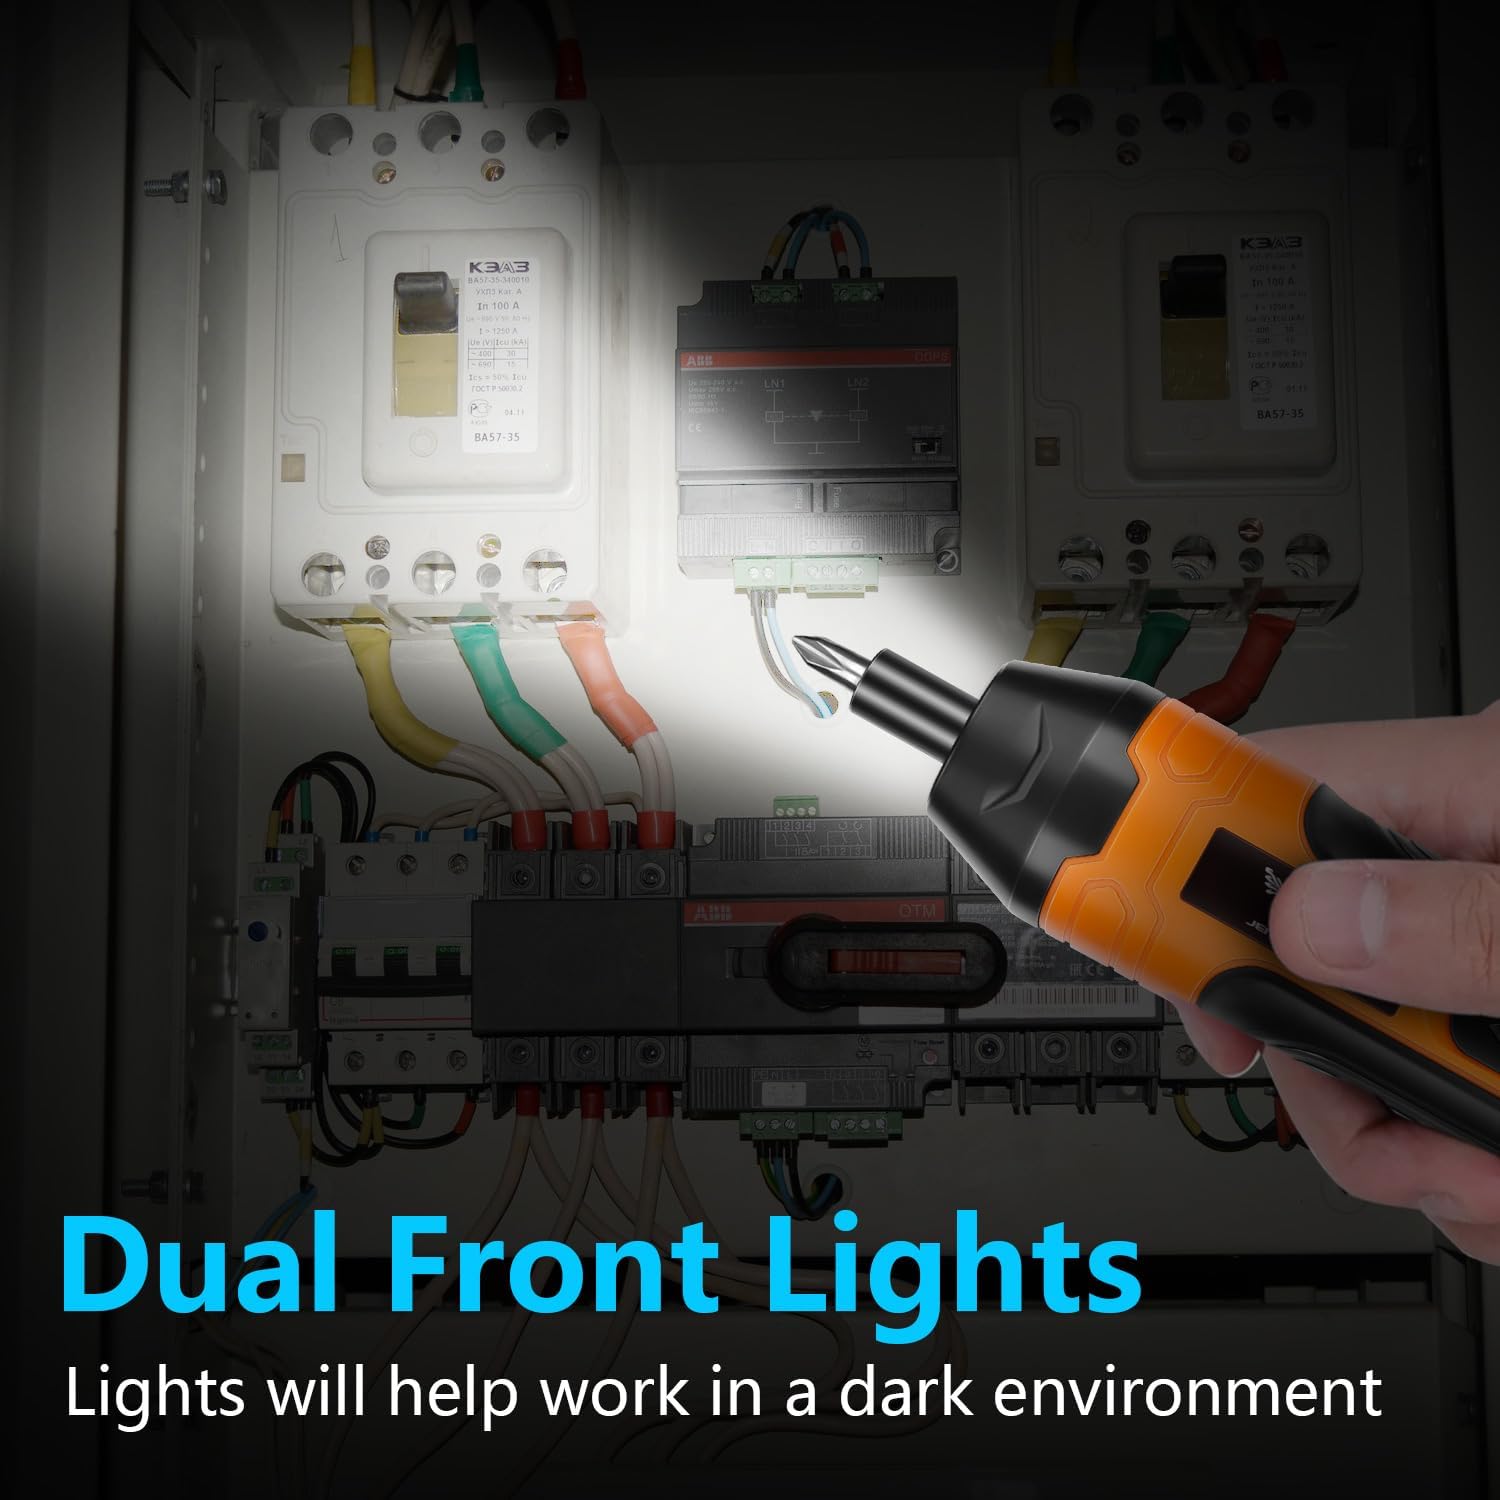
Description: The image shows the screwdriver being used in a dimly lit electrical panel, with its dual front LED lights brightly illuminating the work area.
7. Maintenance
7.1 Cleaning
- Regularly clean the screwdriver with a soft, damp cloth. Do not use harsh chemicals or abrasive cleaners.
- Ensure the USB charging port and bit collet are free from dust and debris.
7.2 Storage
- Store the screwdriver and its accessories in a dry, cool place, away from direct sunlight and moisture.
- Keep out of reach of children.
- For long-term storage, ensure the battery is partially charged (around 50%) to prolong its lifespan. Recharge every 3-6 months if not in use.
8. Troubleshooting
| Problem | Possible Cause | Solution |
|---|---|---|
| Screwdriver does not turn on. | Battery is depleted. | Charge the screwdriver fully. |
| Screwdriver lacks power or stops during use. | Low battery charge. | Recharge the battery. |
| Bit slips or cam-outs from screw head. | Incorrect bit size or type. Too high torque setting. | Use the correct bit for the screw. Reduce the torque setting. Apply firm, steady pressure. |
| Screwdriver overheats. | Continuous heavy use. Blocked ventilation. | Allow the tool to cool down. Ensure ventilation slots are clear. Avoid prolonged heavy-duty tasks. |
| LED light not working. | Faulty LED or internal wiring. | Contact customer support if other functions work correctly. |
9. Specifications

Description: This graphic displays the screwdriver's technical data: Voltage (3.6V), Battery (1300mAh), No-load Speed (200 rpm), and Torque Range (0.5/2.5/5 N.m). It also illustrates the adjustable 4-gear torque levels from 2.5 N.m to 5 N.m.
| Feature | Detail |
|---|---|
| Brand | JENABOM |
| Model | TY-CS07 |
| Voltage | 3.6 Volts (DC) |
| Battery Capacity | 1300mAh Lithium Ion |
| No-load Speed | 200 rpm |
| Max Torque | 5 N.m |
| Adjustable Torque Levels | 4-gear (2.5 N.m, 3 N.m, 3.5 N.m, 5 N.m) |
| Charging Time | 3-5 hours |
| Power Source | Battery Powered |
| Material | Plastic, Rubber |
| Item Weight | 1.1 pounds |
| Product Dimensions | 1.57"L x 5.12"W x 9.06"H |
10. Warranty and Support
For warranty information, technical support, or service inquiries, please contact JENABOM customer service through the retailer where the product was purchased or visit the official JENABOM website.
Please have your model number (TY-CS07) and purchase date available when contacting support.
Ask a question about this manual
Ask about setup, troubleshooting, compatibility, parts, safety, or missing instructions. Manuals+ will review the question and use this page’s manual context to help answer it.