Introduction
This manual provides essential instructions for the safe installation, operation, and maintenance of your Durastar DRWHC232XNA1 Window Air Conditioner with Supplemental Heating. Please read this manual thoroughly before using the appliance and retain it for future reference.
Important Safety Information
WARNING: To reduce the risk of fire, electric shock, or injury, observe the following safety precautions:
- This unit requires a dedicated 30 Amp, 230 Volt circuit breaker for proper operation. Ensure your electrical system can support these requirements.
- The appliance uses an LCDI 6-30P plug. Do not modify the plug or use an adapter. Ensure the wall receptacle matches the plug type.
- Always disconnect power before cleaning or servicing the unit.
- Do not operate the unit with a damaged power cord or plug.
- Keep packaging materials out of reach of children.
- Do not block air inlets or outlets.
- Ensure the unit is securely installed in a window according to installation instructions to prevent falling.

Product Overview
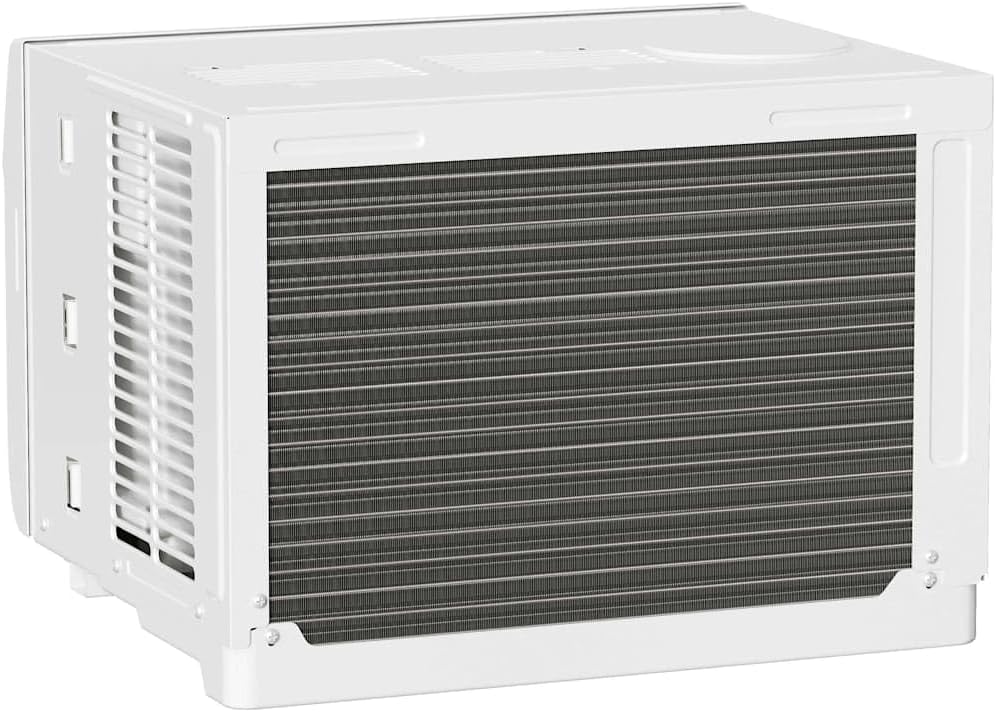
The Durastar DRWHC232XNA1 is a window-mounted air conditioner designed to provide both cooling and supplemental heating for your space. It features multiple operating modes, fan speeds, and a remote control for convenient operation.

Setup and Installation
Unpacking and Included Components
Carefully remove the air conditioner from its packaging. Inspect for any shipping damage. The package should contain the following items:
- Window Air Conditioner Unit
- Remote Control
- Window Mounting Kit (Side Panels, Foam Seal)
- User Manual (this document)

Window Requirements
This unit is designed for installation in standard double-hung windows. Ensure your window meets the following dimensions:
- Minimum Window Width: 28 inches
- Maximum Window Width: 40.5 inches
- Minimum Window Height: 18.5 inches
Important: The electrical requirements for this unit are 230 Volts and a dedicated 30 Amp circuit. Verify your electrical outlet and circuit breaker are compatible before installation.

Installation Steps (Summary)
- Prepare the window by cleaning the sill and frame.
- Attach the side panels to the air conditioner unit.
- Carefully lift and place the unit into the window opening, ensuring it is centered and level or slightly tilted outwards for drainage.
- Extend the side panels to fill the window opening and secure them.
- Install the top and side locking brackets and foam seals to ensure a tight fit and prevent air leakage.
- Plug the unit into the appropriate 230V, 30 Amp outlet.
Refer to the detailed installation guide provided with your unit for complete step-by-step instructions and diagrams.
Operating Instructions
Control Panel
The unit can be operated using the control panel on the front of the unit or the remote control.

- Power Button: Turns the unit On or Off.
- Mode Button: Cycles through operating modes: Auto, Cool, Dry, Heat, Fan.
- Fan Speed Button: Adjusts fan speed: Low, Medium, High.
- Temperature Up/Down Buttons: Adjusts the desired temperature setting.
- Timer Button: Sets the 24-hour On/Off timer.
- Energy Saver: Activates or deactivates energy-saving mode.
- LED Display: Shows the set temperature or timer settings.
Remote Control
The remote control provides full functionality from a distance.

- AUTO: Automatically selects cooling or heating based on room temperature.
- COOL: Provides cooling.
- DRY: Dehumidifies the room.
- HEAT: Provides supplemental heating.
- FAN: Operates as a fan only, circulating air.
- TEMP ▲/▼: Adjusts the desired temperature.
- MODE: Cycles through operating modes.
- ON/OFF: Powers the unit on or off.
- FAN SPEED: Selects fan speed (High, Med, Low).
- FOLLOW ME: Activates a feature where the remote control acts as a thermostat, sensing the temperature at its location.
- SLEEP: Adjusts temperature and fan speed for comfortable sleep.
- TIMER ON/OFF: Programs the unit to turn on or off at a set time.
- °C/°F: Toggles temperature display between Celsius and Fahrenheit.
- LED DISPLAY: Turns the unit's LED display on or off.
- ENERGY SAVER: Activates or deactivates energy-saving mode.
Air Direction
The unit features 4-way air directional louvers. Adjust these manually to direct airflow as desired for optimal comfort.
Maintenance
Always unplug the unit from the power outlet before performing any maintenance.
Air Filter Cleaning
The air filter should be cleaned regularly, typically every two weeks, or more often depending on usage and air quality. A dirty filter can reduce efficiency and airflow.
- Open the front panel of the unit.
- Carefully remove the air filter.
- Wash the filter with warm, soapy water. Rinse thoroughly.
- Allow the filter to air dry completely before reinstalling. Do not expose to direct sunlight or high heat.
- Reinsert the dry filter and close the front panel.
Exterior Cleaning
Wipe the exterior of the unit with a soft, damp cloth. Do not use harsh chemicals, abrasives, or solvents, as these can damage the surface.
Seasonal Storage
If storing the unit for an extended period, clean the air filter and exterior. Cover the unit to protect it from dust and store it in a dry, safe location.
Troubleshooting
Before contacting customer support, review the following common issues and solutions:
| Problem | Possible Cause | Solution |
|---|---|---|
| Unit does not turn on. | No power; tripped circuit breaker; faulty plug/outlet. | Check power cord connection. Reset circuit breaker. Ensure 230V/30A outlet is functional. |
| Unit is on but not cooling/heating effectively. | Dirty air filter; blocked air vents; room too large; temperature setting too high/low. | Clean air filter. Ensure vents are clear. Verify room size is within coverage area. Adjust temperature setting. |
| Water dripping from unit (indoors). | Improper installation (not tilted slightly outwards); clogged drain. | Ensure unit is tilted slightly outwards for proper drainage. Check and clear drain pan/hose if accessible. |
| Remote control not working. | Dead batteries; obstruction between remote and unit. | Replace remote control batteries. Remove any obstructions. |
Specifications
| Feature | Detail |
|---|---|
| Brand | Durastar |
| Model | DRWHC232XNA1 |
| Cooling Capacity | 23,200 BTU |
| Heating Capacity | 16,000 BTU (Supplemental) |
| Voltage | 230 Volts |
| Wattage | 5060 watts |
| Plug Type | LCDI 6-30P (Requires 30 Amp circuit) |
| Coverage Area (Cooling) | Up to 1,500 sq. ft. |
| Coverage Area (Heating) | Up to 700 sq. ft. |
| Moisture Removal | 137 pints/day |
| Fan Speeds | 3 (Low, Medium, High) |
| Operating Modes | Auto, Cool, Dry, Heat, Fan |
| Noise Level | 68 Decibels |
| Product Dimensions (W x D x H) | 25.38 x 25.38 x 17.94 inches |
| Item Weight | 121 pounds |
| Efficiency | High Efficiency |
| SEER | 17 |
| BEE Star Rating | 4 Star |
| Special Features | Remote Controlled, 24-hour Timer, 4-way Air Directional Louvers |
Warranty and Support
Warranty Information
For detailed warranty information, please refer to the warranty card included with your product or visit the official Durastar website. Keep your purchase receipt as proof of purchase for warranty claims.
Customer Support
If you have questions, require technical assistance, or need to report an issue, please contact Durastar customer support. You can find contact information on the official Durastar website or through your retailer.
Visit the official Durastar Store: Durastar Store on Amazon


