
1. Introduction
This manual provides detailed instructions for the safe and efficient installation, operation, and maintenance of your NB ERGONOMIC G60-New Gaming Monitor Arm. Please read thoroughly before use to ensure proper functionality and to prevent damage or injury.
The NB ERGONOMIC G60-New is a heavy-duty monitor arm designed for gaming setups, supporting monitors from 32 to 60 inches and weighing between 2 kg (4.4 lbs) and 20 kg (44 lbs). It features RGB lighting, flexible adjustments, and integrated cable management.
Safety Information
- Ensure all components are securely fastened before attaching your monitor.
- Do not exceed the maximum weight capacity of 20 kg (44 lbs).
- Verify VESA compatibility (75x75mm or 100x100mm) with your monitor before installation.
- Use appropriate tools and follow all steps carefully.
2. Package Contents
Please verify that all parts are present and undamaged before proceeding with the installation. If any parts are missing or damaged, please contact customer support.

Figure 2.1: All components included in the NB Gaming Monitor Arm package.
- Monitor Arm Assembly (Upper and Lower Arms)
- Base (for C-Clamp or Grommet Mounting)
- VESA Plate
- Mounting Hardware (screws, washers, Allen keys)
- Cable Management Clips
- Instruction Manual
3. Setup and Installation
3.1 Monitor Compatibility Check
Before installation, ensure your monitor meets the following criteria:
- Screen Size: 32 to 60 inches (curved, ultra-wide, or flat monitors).
- Weight Capacity: 2 kg (4.4 lbs) to 20 kg (44 lbs).
- VESA Compatibility: 75x75mm or 100x100mm mounting patterns.
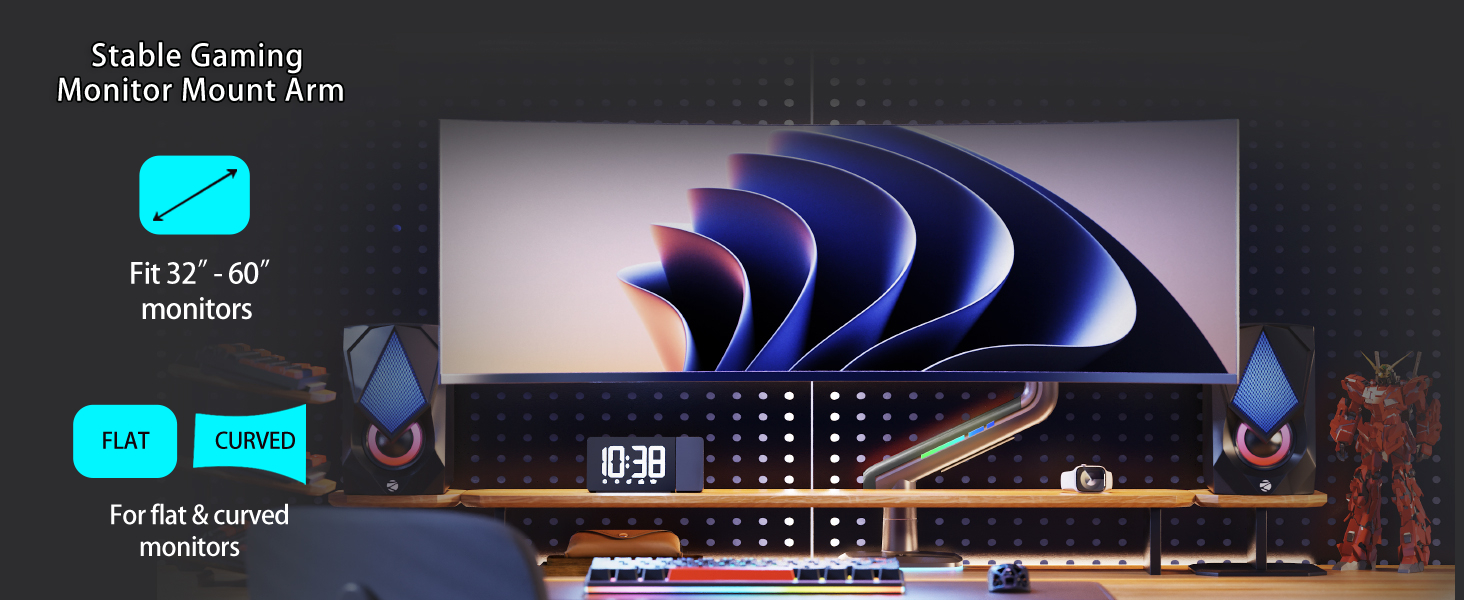
Figure 3.1: VESA compatibility and supported monitor types.
3.2 Choose Your Mounting Method
The monitor arm supports two installation methods: C-Clamp or Grommet Hole.
- C-Clamp: For desk thickness between 0.8" - 3.5" (20-90mm).
- Grommet Hole: For desks with a pre-existing hole diameter of 0.43" - 0.87" (11-22mm).
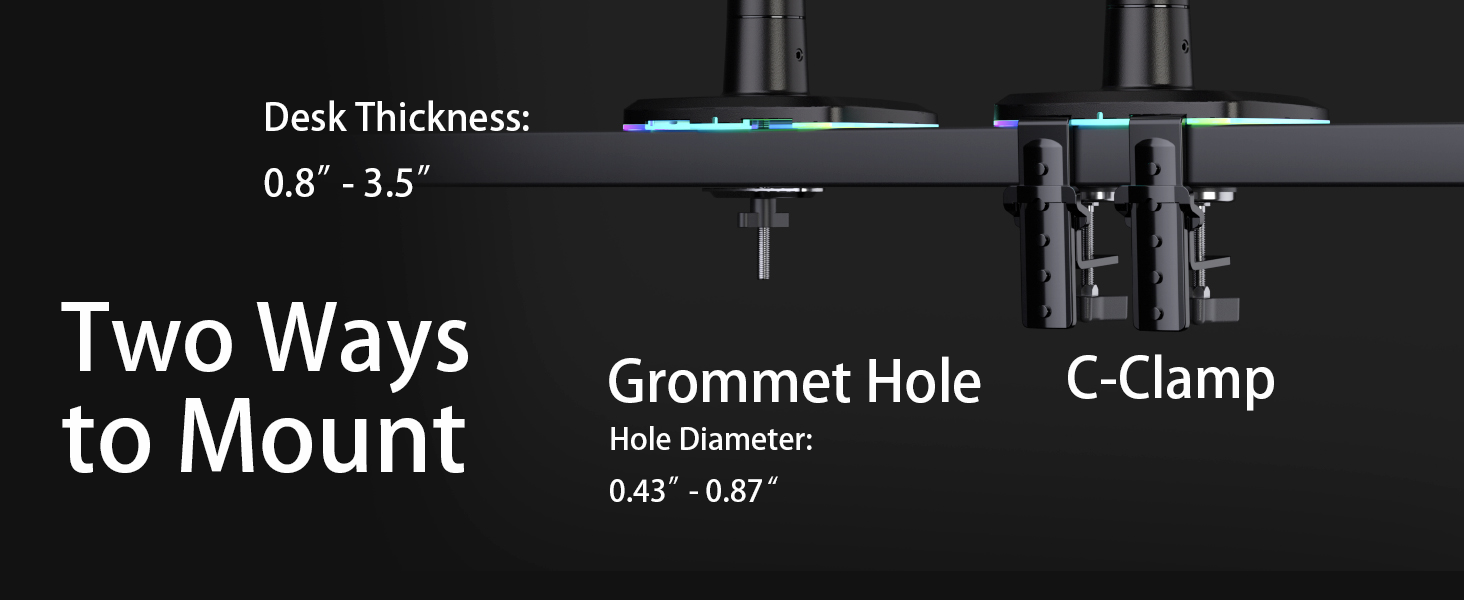
Figure 3.2: C-Clamp and Grommet Hole mounting options.
3.3 Base Assembly and Attachment
- Assemble the chosen base (C-Clamp or Grommet) according to the instructions provided in the package. Ensure all screws are tightened securely to the desk.
- Insert the main pole of the monitor arm into the assembled base. Tighten the set screw on the base to secure the pole.
3.4 Arm Assembly
- Slide the lower arm onto the main pole. Secure it with the provided Allen key.
- Attach the upper arm to the lower arm. Ensure the connection is firm.
3.5 Monitor Attachment
- Attach the VESA plate to the back of your monitor using the appropriate M4x12mm or M4x30mm screws and pads. Ensure the VESA plate is centered and securely fastened.
- Carefully lift your monitor and slide the VESA plate onto the mounting head of the monitor arm. Push down the locking buckle to secure the monitor.
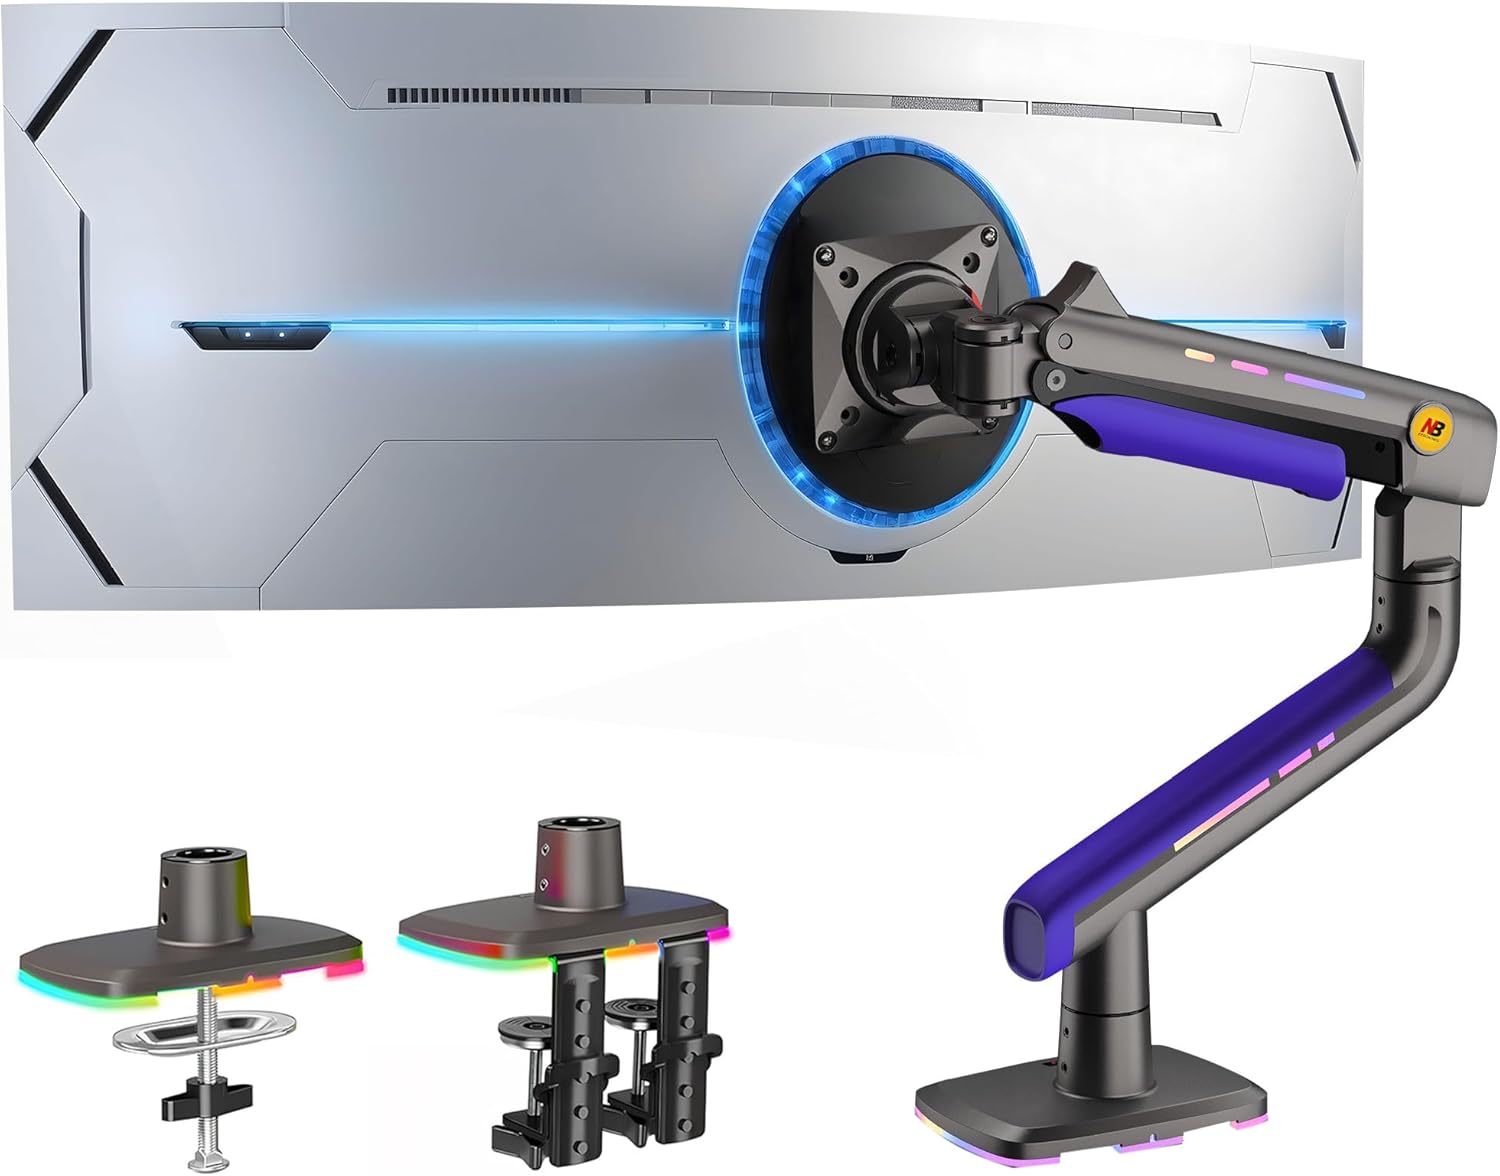
Figure 3.3: Fully assembled monitor arm with a monitor attached.
4. Operating Instructions
4.1 Adjusting Monitor Position
The NB ERGONOMIC G60-New monitor arm offers extensive adjustability for optimal viewing comfort:
- Rotation: 360° for landscape or portrait orientation.
- Tilt: -50° to +50° to reduce glare and optimize viewing angle.
- Swivel: -90° to +90° for easy screen sharing.
- Arm Extension: Up to 25 inches (630mm) for flexible positioning.
- Height Adjustment: Max 19.6 inches (500mm) lift.

Figure 4.1: Monitor arm adjustment capabilities.
4.2 Tension Adjustment
The arm features Mechanical ProSpring Technology for easier tension adjustment. Use the provided Allen key to adjust the tension to match your monitor's weight. Turn clockwise to increase tension (for heavier monitors) or counter-clockwise to decrease tension (for lighter monitors).

Figure 4.2: Tension adjustment point on the monitor arm.
4.3 RGB Lighting
The monitor arm includes built-in RGB lighting. Use the one-click light adjustment button to switch between various color modes and instantly enhance your gaming environment.

Figure 4.3: RGB lighting features and control.
4.4 Cable Management
Utilize the built-in cable management system to keep your desk tidy and organized. Route your monitor cables through the designated channels on the arm to prevent clutter.
5. Specifications
- Brand: NB ERGONOMIC
- Model Number: G60-New
- Material: Aluminum
- Item Weight: 13.55 pounds
- Package Dimensions: 18.1 x 16 x 7 inches
- Mounting Type: Tabletop Mount (C-Clamp or Grommet)
- Movement Type: Articulating
- Compatible Devices: Monitor (32-60 inches, 2-20 kg)
- VESA Compatibility: 75x75mm, 100x100mm
- Maximum Tilt Angle: 50 Degrees
- Color: Purple Blue
- Manufacturer: KUNSHAN HONGJIE ELECTRONICS CO., LTD
6. Troubleshooting
- Monitor not holding position: Adjust the tension screw on the arm. Turn clockwise to increase tension for heavier monitors, or counter-clockwise for lighter monitors.
- Monitor not fitting the arm: Double-check your monitor's screen size, weight, and VESA mounting pattern against the specifications in Section 5. Ensure the VESA plate is correctly attached to your monitor.
- Cables are messy: Utilize the built-in cable management channels and clips on the monitor arm to route and secure your cables neatly.
- Arm feels unstable: Ensure the base (C-Clamp or Grommet) is securely tightened to your desk. Verify that all connection points on the arm are fastened.
7. Warranty and Support
For warranty information, product registration, or further technical assistance, please refer to the documentation included in your product packaging or visit the official NB ERGONOMIC website. You may also contact NB ERGONOMIC customer support directly through their provided contact channels.
Please retain your proof of purchase for any warranty claims.