
1. Introduction
This manual provides detailed instructions for the safe and effective operation of your Bewinner 1080P Head Mounted Camera with LED Headlamp. Please read this manual thoroughly before using the device and retain it for future reference.
2. Safety Information
- Do not expose the device to extreme temperatures, direct sunlight, or high humidity.
- Keep the device away from water and other liquids.
- Avoid dropping or subjecting the device to strong impacts.
- Do not attempt to disassemble or repair the device yourself. Contact qualified service personnel for assistance.
- Use only the provided charging cable and recommended power sources.
- Ensure proper ventilation during charging to prevent overheating.
3. Package Contents
Verify that all items are present in your package:
- 1 x LED Camera
- 1 x Instruction Manual
- 1 x Charging Cable
- 1 x Headband

Image: The Bewinner Head Mounted Camera, charging cable, and adjustable headband.
4. Product Overview
The Bewinner Head Mounted Camera is designed for hands-free video recording and illumination, ideal for various outdoor activities and tasks requiring a first-person perspective.
Key Features:
- Clear 1080P Video: Equipped with a 2.0M CMOS sensor for 1920x1080P video resolution using H.264 decoding and MP4 storage.
- Adjustable LED Headlamp: The headlight can be adjusted up to 45° to suit various close-range lighting needs.
- Smart Sensing Function: Wave your hand approximately 5-10 cm from the headlamp lens to turn the LED light on or off.
- Photo and Video Recording: Automatically starts recording upon power-on. Short press the power button once to capture a photo during recording.
- Loop Recording: Supports 5-minute segmented storage for convenient playback and continuous recording.
- Fast Charging: Features overcharging, over-discharging, and short-circuit protection.
- Memory Support: Supports up to 128GB memory card (not included).
Component Identification:

Image: Detailed diagram of the camera's components, including HD lens, Infrared Sensor Head, LED lights, Back Clamp, LED switch, Induction key, Switch/Photo button, TF card slot, Reset keyhole, Sensor Light, Charging/Data transfer port, and Charging/Video indicator.
- HD lens
- Infrared Sensor Head
- LED lights
- Back Clamp
- LED switch, Induction key
- Switch, Photo button
- TF card slot
- Reset keyhole
- Sensor Light
- Charging, data transfer port
- Charging/Video indicator
5. Setup and Installation
5.1 Attaching the Camera to the Headband
The camera unit can be attached to the provided headband for hands-free operation. Ensure the camera is securely fastened to prevent accidental detachment during use.

Image: The main unit of the Bewinner Head Mounted Camera with its adjustable headband.
5.2 Inserting a Memory Card
The camera requires a Micro SD card (TF card) for storing recordings. The device supports up to 128GB. Ensure the card is formatted to FAT32 or exFAT for optimal performance. A memory card is not included in the package.
- Locate the TF card slot on the side of the camera.
- Gently insert the Micro SD card into the slot until it clicks into place.
- To remove, press the card inward until it springs out.
Note: If the memory card is not inserted or is full, the camera may not record.
5.3 Charging the Device
Before first use, fully charge the camera. The device has a built-in 1000mAh lithium battery.
- Connect the provided charging cable to the charging/data transfer port on the camera.
- Connect the other end of the cable to a USB power adapter (not included) or a computer's USB port.
- The charging/video indicator light will show the charging status.
- A full charge provides approximately 5 hours of individual recording time or 2 hours with illumination.

Image: Visual representation of the camera's battery capacity and charging process.
6. Operating Instructions
6.1 Power On/Off
- Power On: Press and hold the Power button (Switch, Photo button) for 1 second. The camera will automatically enter recording mode.
- Power Off: Press and hold the Power button for 3 seconds. The camera will save the current recording and shut down.
Video: Demonstrates the power-on sequence, automatic recording, and photo capture function of the head-mounted camera.
6.2 Video Recording
- Upon power-on, the camera automatically begins recording. The blue indicator light will flash slowly during recording.
- Recordings are saved in 5-minute segments.
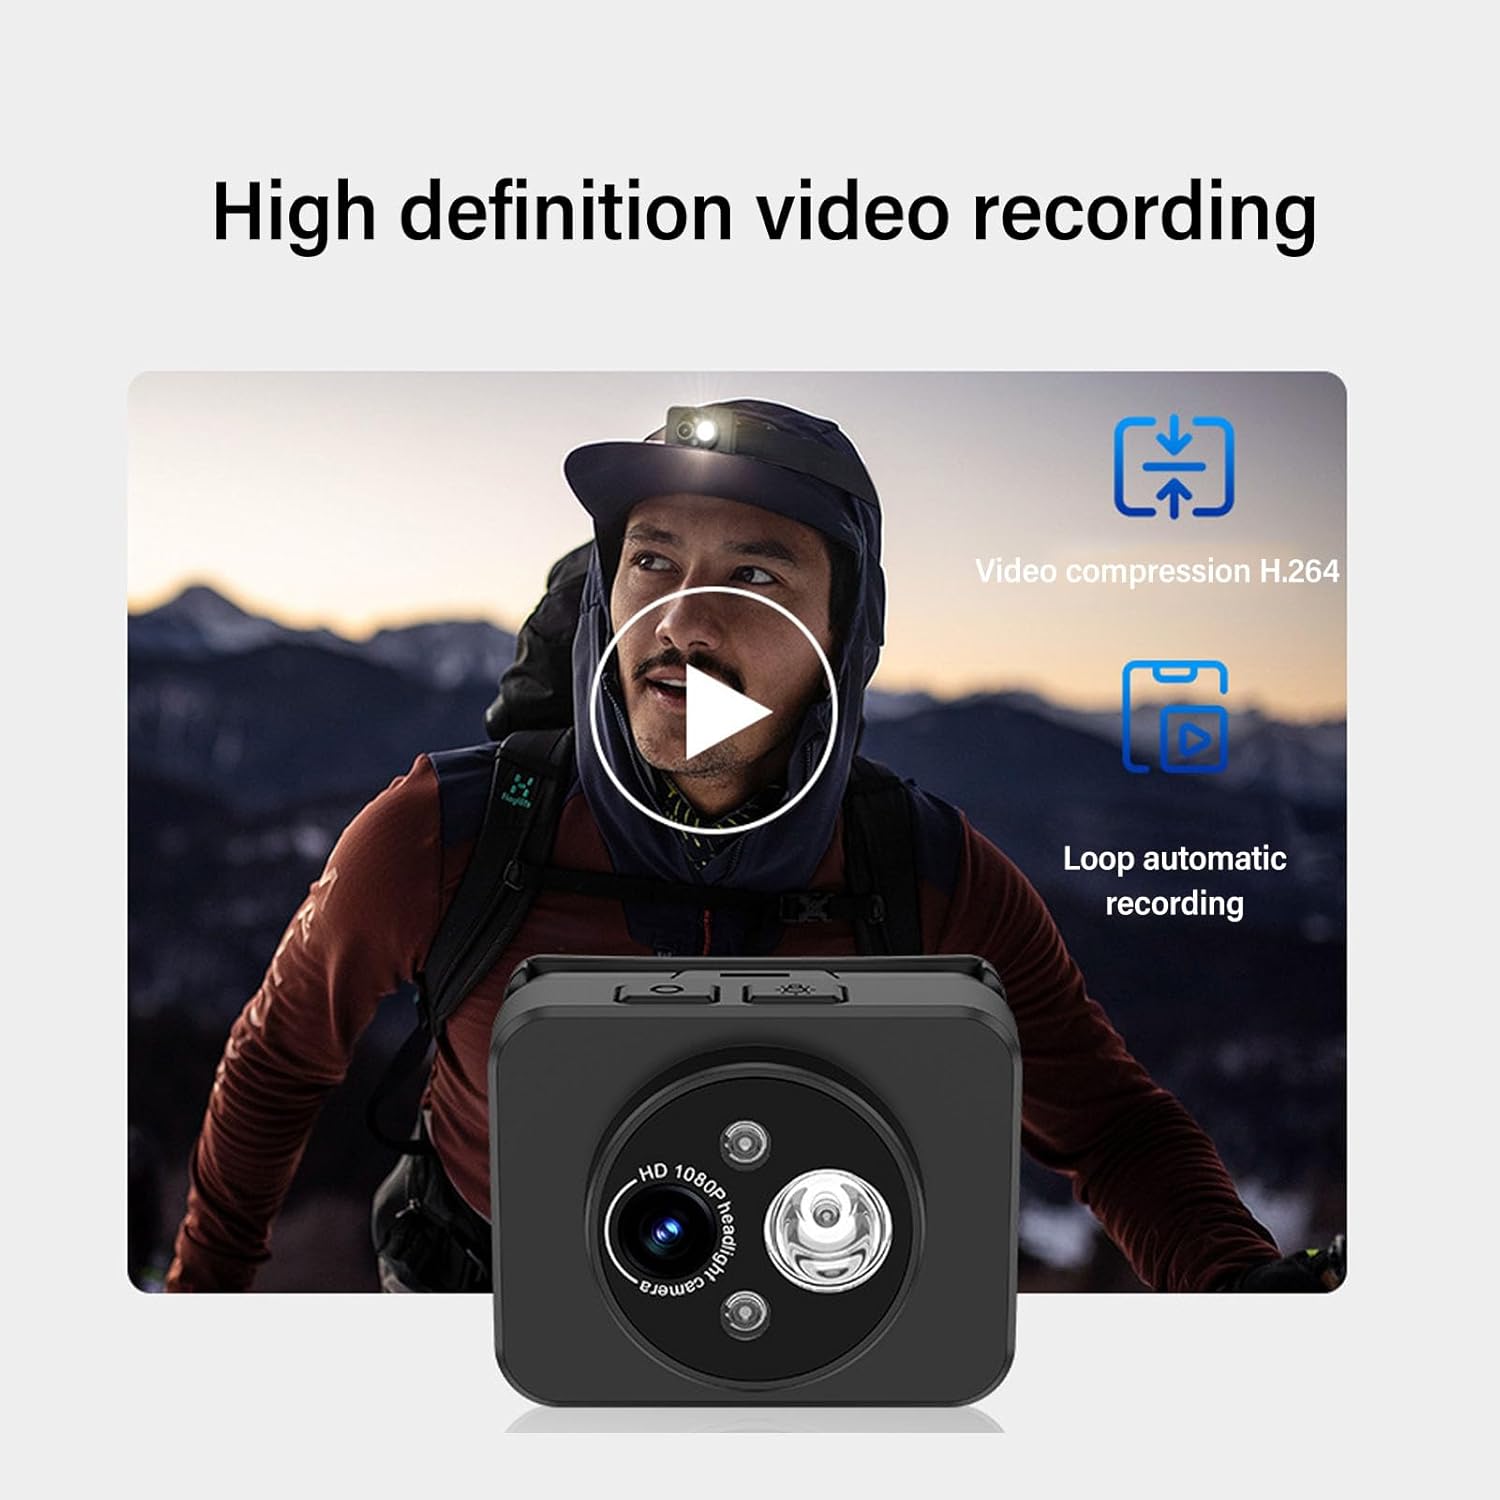
Image: Illustrates the camera's high-definition video recording capabilities, including H.264 video compression and automatic loop recording.
6.3 Taking Photos
- While in recording mode, short press the Power button (Switch, Photo button) once to capture a photo.
- After the photo is captured, the camera will automatically resume video recording, generating a new video file.
6.4 LED Headlamp Operation
- Turn On/Off: Short press the LED switch (LED switch, Induction key) to turn the headlamp on or off.
- Adjustable Angle: The headlamp can be adjusted up to 45° to direct light as needed.
- Smart Sensing: Long press the LED switch to activate the wave sensor function. Once activated, wave your hand approximately 5-10 cm in front of the headlamp lens to turn the LED light on or off without touching the device.
Video: Demonstrates the gesture control feature for the LED headlamp, allowing users to turn it on/off with a hand wave.

Image: A person wearing the head-mounted camera, highlighting the 1080P video recording, wave sensing headlamp, 1000mAh battery, and 45° rotation capability.
6.5 Connecting to a Computer and Viewing Files
- Connect the camera to your computer using the provided USB charging cable.
- The computer should recognize the device as a removable disk.
- Navigate to the device's storage to access and view your recorded video and photo files.
Video: Instructions on connecting the head-mounted action camera to a computer to view recorded moments.
6.6 Connecting to a Mobile App (if applicable)
Some models may support connection to a mobile application for live viewing and file management. Refer to the specific instructions provided in the physical manual for app compatibility and setup.
Video: Demonstrates how to connect the camera to a mobile device via Wi-Fi for remote control and live viewing.
7. Maintenance
- Clean the camera lens and body with a soft, dry cloth. Avoid using harsh chemicals or abrasive materials.
- Store the device in a cool, dry place when not in use.
- Regularly back up your recorded files to a computer or external storage device.
- Periodically check the headband for wear and tear and replace if necessary.
8. Troubleshooting
- Device not turning on: Ensure the battery is charged. Connect to a power source and try again.
- Cannot record: Check if a Micro SD card is inserted and properly formatted. Ensure there is sufficient storage space.
- Poor video quality: Ensure the lens is clean and free from smudges. Check lighting conditions.
- Computer not recognizing device: Try a different USB port or cable. Ensure the camera is powered on when connected.
- LED headlamp not working: Check if the battery is charged. Ensure the LED switch is pressed correctly.
9. Specifications
| Feature | Detail |
|---|---|
| Brand | Bewinner |
| Model Number | Bewinnerycgnav1xqe |
| Video Resolution | 1920x1080P |
| Photo Sensor Technology | 2.0M CMOS Sensor |
| Video Capture Format | MP4 (H.264) |
| Battery Capacity | 1000mAh Lithium Battery (Built-in) |
| Illumination Recording Time | Approx. 2 hours |
| Individual Recording Time | Approx. 5 hours |
| Memory Card Support | Max 128G Micro SD Card (Not Included) |
| Connectivity Technology | USB |
| Item Weight | 3.52 ounces |
| Package Dimensions | 4.45 x 4.37 x 1.61 inches |
10. Warranty and Support
For warranty information and customer support, please refer to the contact details provided on the product packaging or the official Bewinner website. Keep your purchase receipt as proof of purchase.