
1. Introduction
This manual provides detailed instructions for the safe and efficient operation of your BAKON 882 2-in-1 SMD Hot Air Rework and Soldering Station. This versatile tool combines a powerful hot air rework station with a precision soldering iron, designed for various electronics repair and assembly tasks. Please read this manual thoroughly before use and retain it for future reference.
2. Safety Precautions
Always observe the following safety guidelines to prevent injury or damage to the equipment:
- High Temperatures: The soldering iron tip and hot air nozzle reach very high temperatures. Avoid direct contact with skin or flammable materials.
- Ventilation: Use the station in a well-ventilated area to avoid inhaling fumes from solder and flux.
- Power Supply: Ensure the power supply matches the voltage requirements (110V for this model) and the power cord is securely connected.
- ESD Safety: The station features ESD safety. Always use appropriate anti-static measures when working with sensitive electronic components.
- Cooling: Allow the hot air gun to cool down completely before storing. The auto-sleep function assists with this.
- Children: Keep the device out of reach of children.
- Maintenance: Disconnect power before performing any maintenance or changing accessories.
3. Package Contents
Verify that all items listed below are included in your package:
- BAKON 2-in-1 Hot Air Rework and Soldering Iron Station (Main Unit)
- Soldering Iron Handle
- Hot Air Gun Handle
- Soldering Iron Stand with Cleaning Sponge and Brass Tip Cleaner
- Hot Air Gun Stand
- Solder Wire (0.8mm, 10g)
- 5 Additional Styles of Soldering Iron Tips
- 2 Additional Sized Hot Air Nozzles
- 1 Solder Sucker
- 1 Anti-static Tweezers
- 1 Instruction Manual
- Power Cord

4. Product Overview
The BAKON 882 features a dual system design with independent controls for the soldering iron and hot air gun. The large 2.9-inch LCD provides clear temperature and air volume readings.


5. Setup
Follow these steps for initial setup:
- Unpacking: Carefully remove all components from the packaging.
- Remove Shipping Screws: Before first use, locate and remove the two screws on the bottom of the main unit. These screws secure the internal pump during transportation and must be removed for proper operation.
- Connect Power Cord: Plug the power cord into the main unit and then into a 110V AC power outlet.
- Connect Soldering Iron: Connect the soldering iron handle to the designated port on the main unit. Place the soldering iron in its stand.
- Connect Hot Air Gun: Connect the hot air gun handle to its designated port on the main unit. Place the hot air gun in its stand.
- Prepare Soldering Iron Stand: Add a small amount of water to the cleaning sponge in the soldering iron stand.
6. Operating Instructions
6.1. Soldering Iron Operation
- Power On: Flip the main power switch on the unit.
- Activate Soldering Iron: Use the independent power switch for the soldering iron. The LCD will display the set and actual temperatures.
- Adjust Temperature: Use the 'UP' and 'DOWN' buttons to set the desired soldering temperature (180-480°C / 356-896°F). The PID control ensures rapid heating and stable temperature.
- Temperature Presets: Utilize the 3 preset memory buttons (CH1, CH2, CH3) for quick access to frequently used temperatures.
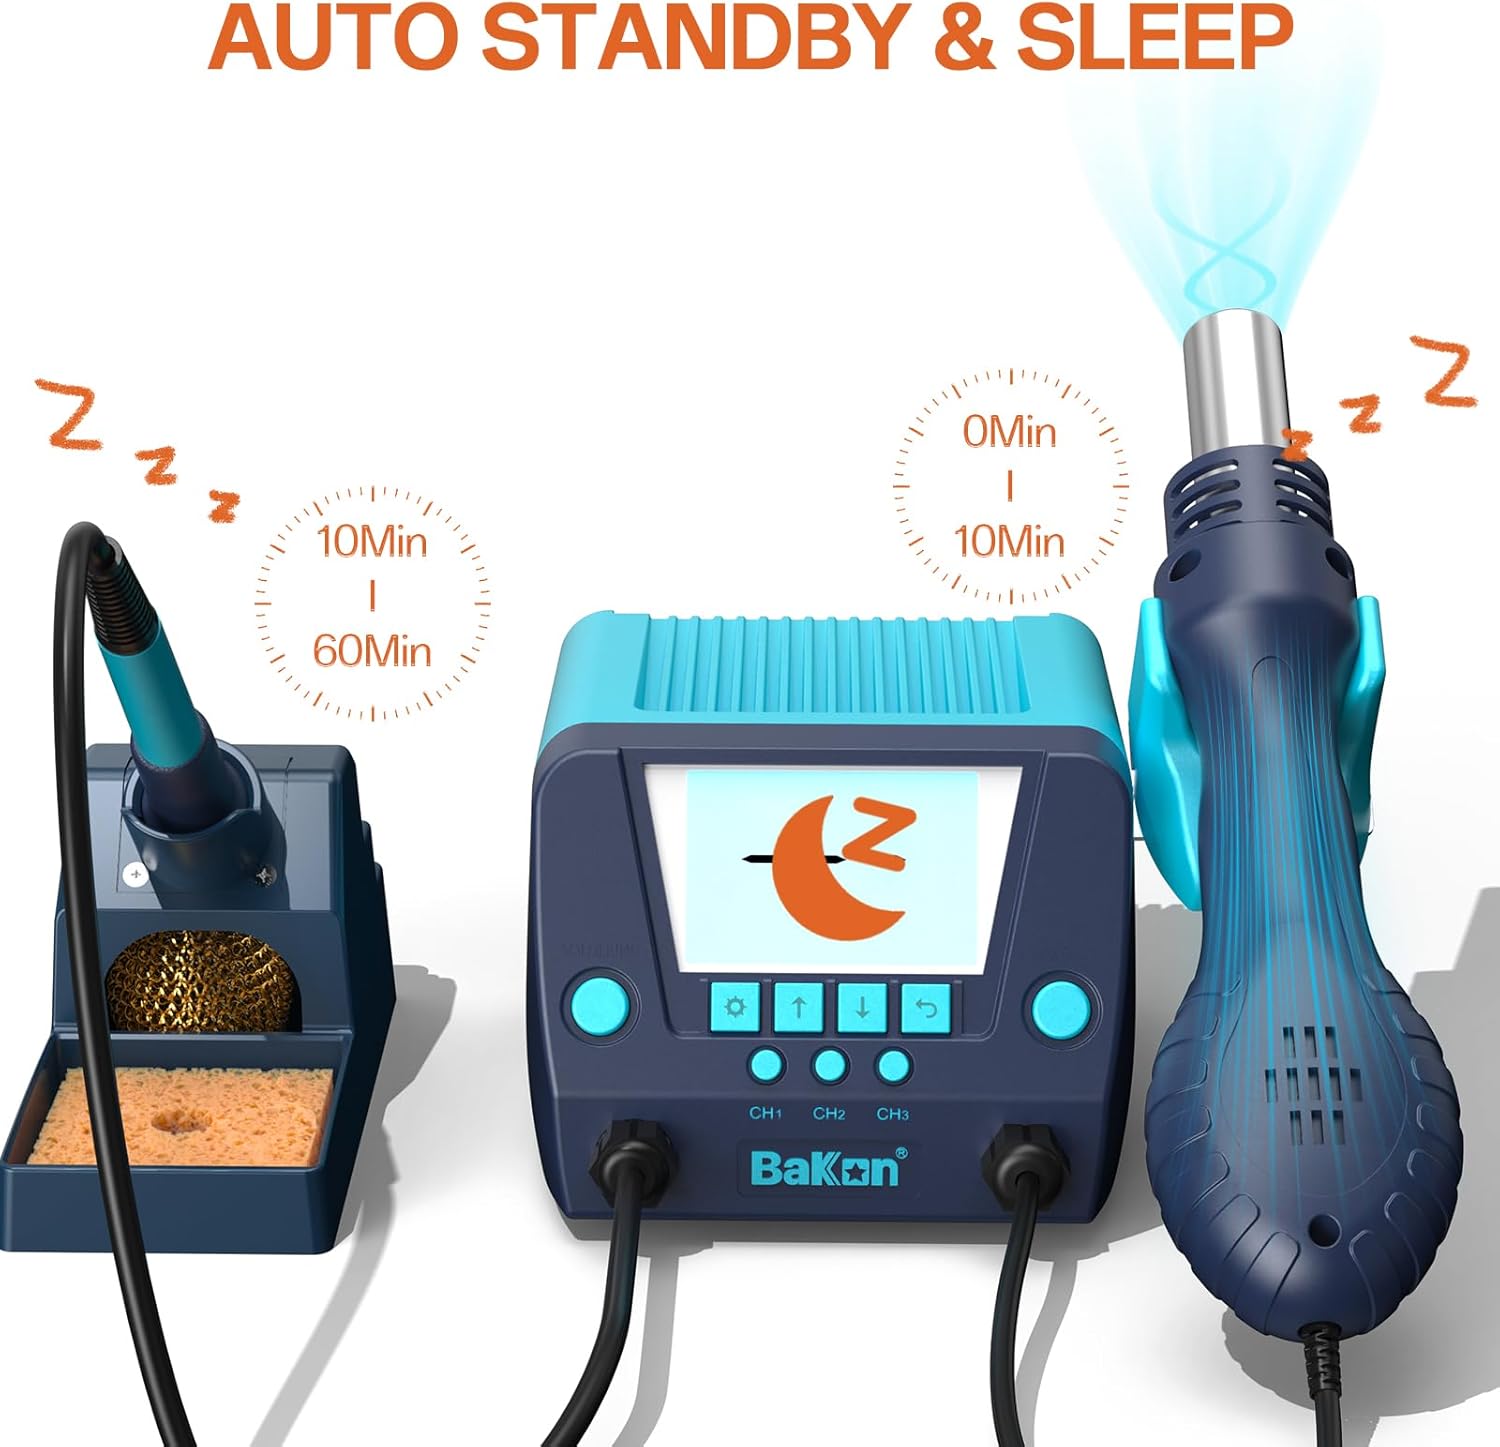
- Auto Sleep: The soldering iron features an automatic sleep function (adjustable 10-60 minutes) to conserve energy and prolong tip life when idle. Picking up the iron will automatically resume heating.
- Soldering: Apply solder to the joint, ensuring proper wetting. Clean the tip regularly using the wet sponge or brass cleaner.
6.2. Hot Air Rework Operation
- Power On: Flip the main power switch on the unit.
- Activate Hot Air Gun: Use the independent power switch for the hot air gun. The LCD will display the set and actual temperatures and air volume.
- Adjust Temperature: Use the 'UP' and 'DOWN' buttons to set the desired hot air temperature (100-500°C / 212-932°F).
- Adjust Air Volume: Use the air volume control knob to adjust the airflow.
- Auto Sleep/Cooling: When the hot air gun is placed in its stand, it automatically enters a cooling mode, blowing cool air until the nozzle temperature drops to a safe level, then entering sleep mode. Removing it from the stand will resume heating to the set temperature.
- Reworking: Direct the hot air flow evenly over the component to be reworked. Use appropriate nozzles for different component sizes.

7. Key Features
- 2-in-1 Dual System Design: Combines a 90W soldering station and a 650W hot air rework station for independent or simultaneous use.
- PID Temperature Control: High-precision PID program monitors and corrects actual temperature, providing rapid compensation for stable temperature control.
- Large 2.9-inch LCD Screen: Visual display for clear monitoring of temperature and air volume.
- Automatic Standby and Sleep: Both tools enter standby/sleep mode after a set idle time, extending component lifespan and saving energy.
- Digital Temperature Calibration and Compensation: Ensures accurate temperature readings.
- °C-°F Conversion: Easily switch between Celsius and Fahrenheit temperature units.
- Temperature Preset Storage: Three memory buttons (CH1, CH2, CH3) allow saving and recalling preferred temperature settings.
- Password Lock: Prevents unauthorized changes to settings.
- ESD Safety: Designed with electrostatic discharge protection for sensitive components.
- Cool Air/Hot Air Changeable: Hot air gun can switch between hot and cool air modes.
- Short Circuit Protection: Enhances safety during operation.
8. Maintenance
Regular maintenance ensures optimal performance and longevity of your station:
- Soldering Tip Cleaning: Always clean the soldering iron tip before and after use. Use the wet sponge or brass cleaner provided. Tin the tip with a small amount of fresh solder before returning it to the holder.
- Hot Air Nozzle: Ensure the hot air nozzle is free from debris. Clean gently when cool.
- General Cleaning: Keep the main unit and handles clean and free of dust and solder splatter. Use a soft, dry cloth.
- Storage: Store the unit in a dry, safe place when not in use. Ensure both tools are cool before storage.
9. Troubleshooting
If you encounter issues, refer to the following common problems and solutions:
- No Power: Check the power cord connection and the main power switch. Ensure the outlet is functional.
- Tools Not Heating: Verify that the individual power switches for the soldering iron and hot air gun are turned on. Check temperature settings.
- Incorrect Temperature Display: Perform digital temperature calibration as described in the full instruction manual (if available).
- Hot Air Gun Not Blowing: Ensure the hot air gun is not in sleep mode (remove from stand). Check air volume settings.
- Error Codes: Refer to the full instruction manual for specific error code meanings and solutions.
10. Specifications
| Feature | Specification |
|---|---|
| Model | BAKON882 |
| Input Voltage | 110V 60Hz |
| Total Output Power | 650W (Max) |
| Hot Air Gun Power | 560W (Max) |
| Hot Air Gun Temperature Range | 100-500°C / 212-932°F |
| Hot Air Gun Air Volume | 120L/Min |
| Soldering Iron Power | 90W (Max) |
| Soldering Iron Temperature Range | 180-480°C / 356-896°F |
| Soldering Iron Tip to Ground Resistance | ≤ 2 Ω |
| Display Type | LCD |
| Item Weight | 1.95 kg |
| Country of Origin | China |
11. Warranty and Support
BAKON provides a 1-year warranty and lifetime technical support for this product. For any questions regarding your BAKON 882 station or its operation, please contact BAKON customer service. We aim to reply within 24 hours.
Please note: This model operates on 110V with a U.S. plug. Ensure the power cord is firmly connected to the machine.


