
Introduction
Building on the success of the MasterLiquid series, Cooler Master introduces the redesigned MasterLiquid 240 Core II. Featuring a refined G9R dual-chamber pump for quieter performance and expanded CPU compatibility for versatile builds, the Core II elevates liquid cooling to the next level. Its infinity mirror pump cover, upgraded fans, and optimized tubing ensure easy installation and superior aesthetics. Experience modern cooling power with the MasterLiquid 240 Core II, a blend of performance and sleek design.
What's in the Box
The Cooler Master MasterLiquid 240 Core II package includes the following components:
- 240 Core II AIO Unit
- Fans (pre-installed on radiator)
- Installation Kit (various mounting brackets and screws for different CPU sockets)

Image: Cooler Master MasterLiquid 240 Core II AIO CPU Liquid Cooler showing the radiator with two fans and the pump head with infinity mirror design.
Key Features
- Cool for R9|U7|i7: Patented G9R Dual Chamber Pump enhances water pressure and optimizes flow directly to the CPU hotspot, for AMD R7 and Intel U7|i7.
- Infinity Mirror Design: The infinity mirror gives a stunning aesthetic upgrade while enhancing ARGB lighting diffusion for customizable and vibrant illumination.

Image: Close-up of the pump head showcasing the vibrant infinity mirror ARGB lighting effect.
- MF120 Lite Fan: Delivers superior airflow with optimized PWM blades, while the daisy-chain design streamlines installation.

Image: Visual representation of the MF120 Lite Fan's performance metrics.
- Dynamic PWM Fan: A PWM 4-pin header allows adjustable fan speeds from 650 to 1,750 RPM, to balance noise and airflow.

Image: Fans illustrating the dynamic PWM control for optimized performance and acoustics.
- Simplify Brackets: Redesigned brackets simplify installation on AM5 and LGA 1851|1700 platforms.

Image: Mounting brackets for various CPU socket compatibilities.
- Ideal Tubing Length: The 400mm tubing provides flexibility, a hassle-free installation in various chassis configurations.

Image: The flexible 400mm tubing for easy routing within a PC case.
Specifications
| Attribute | Value |
|---|---|
| Product Dimensions | 10.9 x 4.7 x 1.1 inches; 3.19 Pounds (10.9"L x 4.7"W x 1.1"H) |
| Item Model Number | MLW-D24M-A18PA-R1 |
| Manufacturer | Cooler Master |
| ASIN | B0DQ2NBJ99 |
| Country of Origin | China |
| Power Connector Type | 3-Pin |
| Cooling Method | Water, Fan |
| Compatible Devices | Desktop, CPU |
| Noise Level | 30 dB |
| Material | Aluminum, Plastic, Copper |
| Maximum Rotational Speed | 1750 RPM |
| Air Flow Capacity | 70.5 Cubic Feet Per Minute |
| UPC | 884102127151 |
Setup and Installation
This section guides you through the installation process of your Cooler Master MasterLiquid 240 Core II AIO CPU Liquid Cooler. Ensure your system is powered off and unplugged before beginning installation.
1. Unboxing and Component Overview
Familiarize yourself with all components included in the package. The unboxing video below provides a visual guide to the contents.
Video: Masterliquid 240 Core II Unboxing (0:22). This video demonstrates the unboxing process and shows the included components of the Cooler Master MasterLiquid 240 Core II.
2. Preparing Your Motherboard
Install your CPU and RAM onto the motherboard before mounting the cooler. Refer to your motherboard's manual for specific instructions on CPU and RAM installation.
3. Applying Thermal Paste
Apply a small amount of the included CryoFuze thermal paste to the center of your CPU's integrated heat spreader (IHS). A pea-sized dot is generally sufficient. Do not spread the paste; the pressure from the cold plate will distribute it evenly.
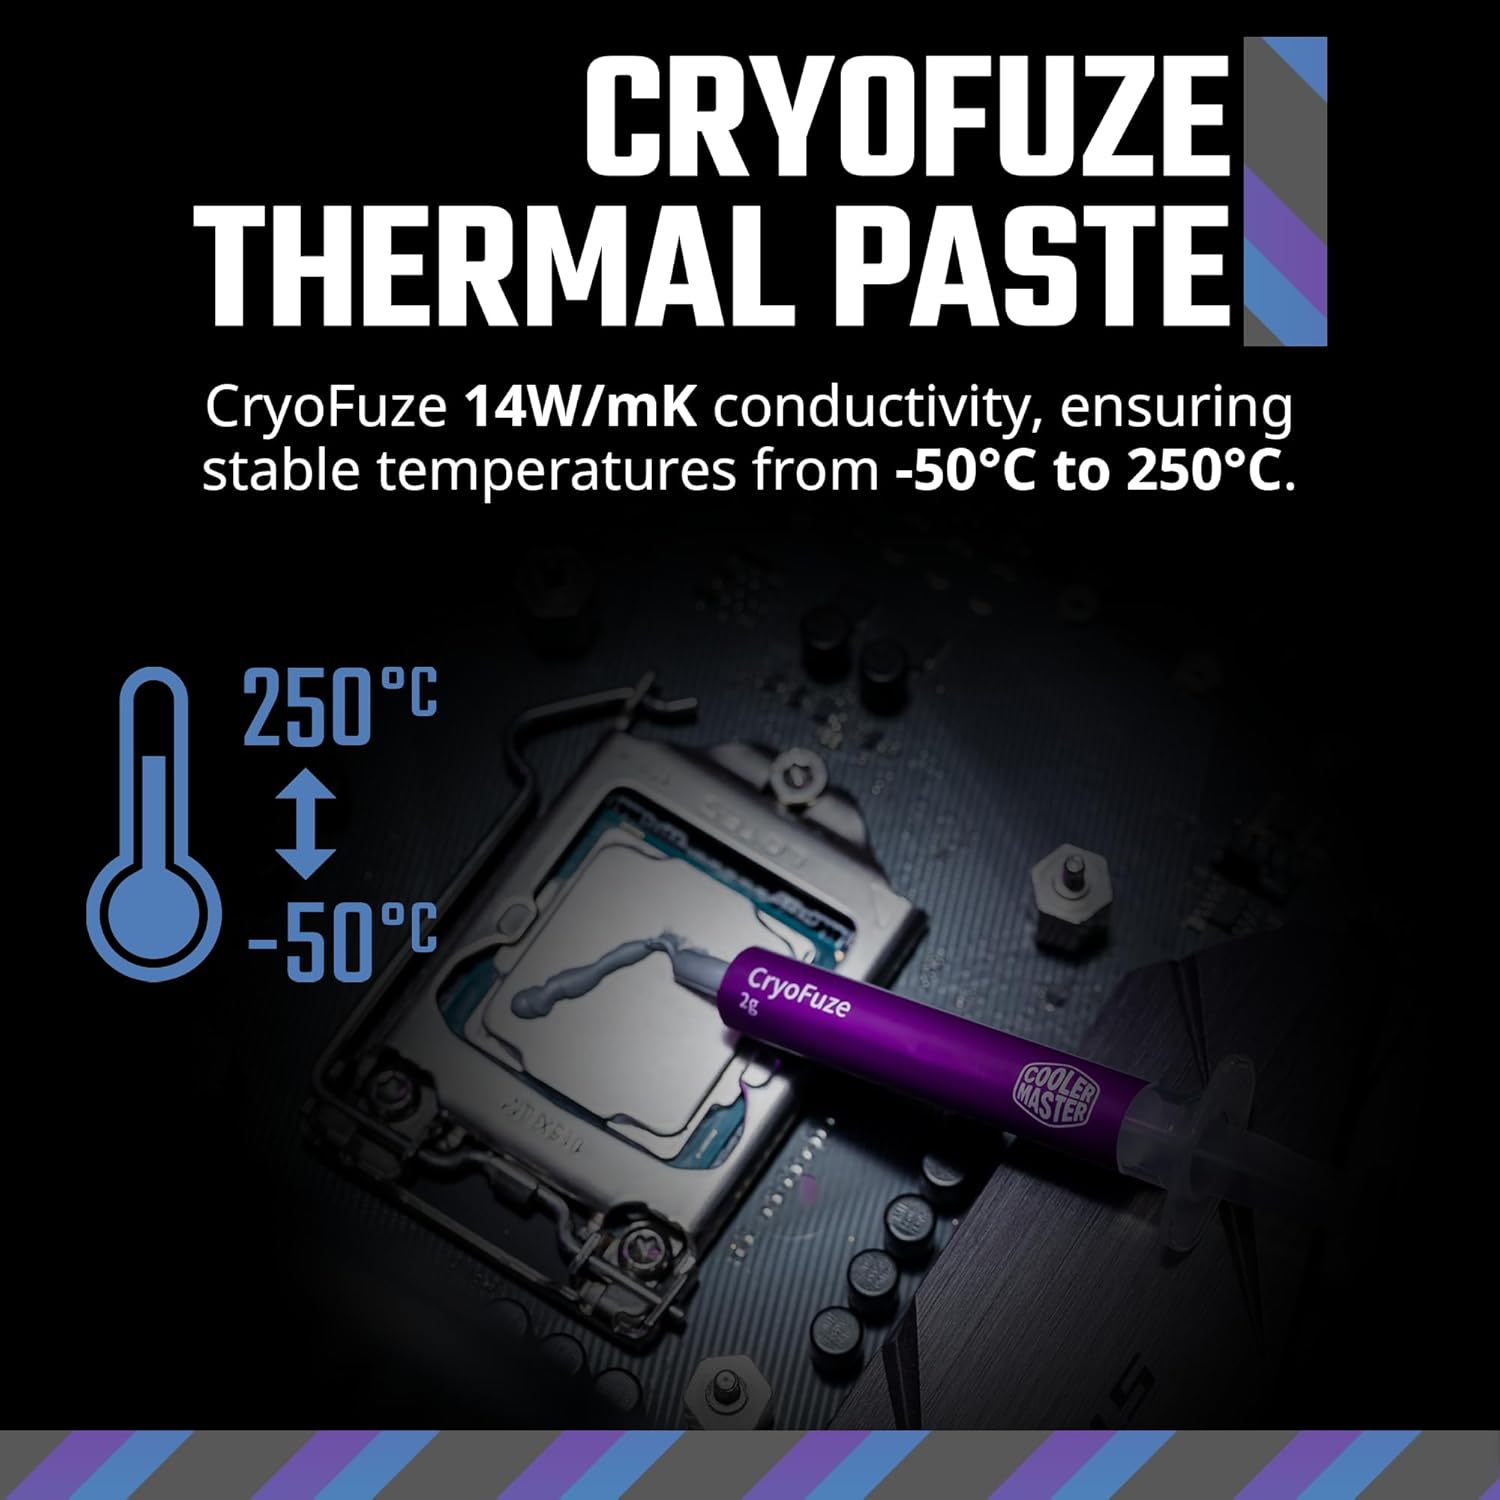
Image: Illustration of applying CryoFuze thermal paste onto the CPU for optimal heat transfer.
4. Mounting the Radiator and Fans
Mount the radiator with pre-installed fans to an available fan mounting location in your PC case. Common locations include the top or front of the case. Ensure proper airflow direction (intake or exhaust) based on your case's cooling design.

Image: Radiator dimensions and fin array design for efficient heat dissipation.
5. Installing the Pump/Cold Plate
Carefully remove the protective film from the cold plate. Align the pump/cold plate assembly with the CPU and the appropriate mounting brackets. Secure it firmly using the provided screws, ensuring even pressure.

Image: The pump head securely mounted on the CPU, with tubing organized by included clips.
6. Cable Management
Connect the pump and fan cables to the appropriate headers on your motherboard. The fans feature a daisy-chain design for simplified cable management. Connect the ARGB cables to your motherboard's ARGB header or a compatible controller (not included) for lighting customization.

Image: Frosted blade design of the fan, highlighting ARGB lighting and compatibility with various motherboard sync technologies.
For a general overview of the product and its features, you may refer to the official product video:
Video: MasterLiquid Core II Product Overview (0:44). This video provides a comprehensive look at the design and functionality of the Cooler Master MasterLiquid Core II series.
Operating Instructions
Once installed, the Cooler Master MasterLiquid 240 Core II operates automatically, regulating CPU temperatures. The PWM fans adjust their speed based on CPU load and temperature, ensuring optimal cooling performance while minimizing noise.
- Fan Control: Fan speeds are controlled via the motherboard's PWM header. You can typically adjust fan curves through your motherboard's BIOS/UEFI settings or dedicated software.
- ARGB Lighting: The infinity mirror and fan ARGB lighting can be customized using compatible motherboard software (e.g., ASUS Aura Sync, MSI Mystic Light Sync, GIGABYTE RGB Fusion, ASRock Polychrome RGB) or an external ARGB controller (not included).
Maintenance
Regular maintenance helps ensure the longevity and optimal performance of your liquid cooler.
- Dust Cleaning: Periodically clean dust from the radiator fins and fan blades using compressed air or a soft brush. Excessive dust can impede airflow and reduce cooling efficiency.
- Tubing and Connections: Inspect the tubing and connections for any signs of leaks or damage. Ensure all connections are secure.
- Pump Noise: While the G9R pump is designed for quiet operation, listen for any unusual noises. Persistent gurgling or grinding sounds might indicate air bubbles or a pump issue.
Troubleshooting
If you encounter issues with your Cooler Master MasterLiquid 240 Core II, refer to the following common troubleshooting steps:
| Problem | Possible Cause | Solution |
|---|---|---|
| High CPU Temperatures | Insufficient thermal paste, poor cold plate contact, dust buildup on radiator, incorrect fan orientation, pump not functioning. | Reapply thermal paste, reseat pump, clean radiator/fans, check fan direction, ensure pump is powered and running. |
| Fans Not Spinning/ARGB Not Lighting Up | Loose cable connections, incorrect header connection, software/driver issue. | Check all fan and ARGB cable connections to motherboard/controller. Ensure correct headers are used (PWM for fans, ARGB for lighting). Update motherboard BIOS/drivers or ARGB software. |
| Unusual Pump Noise | Air bubbles in the loop, pump malfunction. | Orient the case to allow air bubbles to settle in the radiator. Gently tilt the case to help dislodge bubbles. If noise persists, contact Cooler Master support. |
Warranty and Support
Cooler Master products come with a limited warranty. For detailed warranty information, technical support, or to register your product, please visit the official Cooler Master website or contact their customer service. Keep your proof of purchase for warranty claims.
For further assistance, you can visit the Cooler Master Store on Amazon.


