
Ricoh GR III HDF
Contents
Ricoh GR III HDF Digital Camera User Manual
Model: GR III HDF (01272)
Introduction
This manual provides essential information for the safe and effective operation of your Ricoh GR III HDF Digital Camera. Please read this manual thoroughly before using the camera and keep it for future reference.
The Ricoh GR III HDF is a high-quality, compact digital camera featuring a 24.2MP APS-C CMOS sensor, GR Engine 6, a 28mm f/2.8 lens, and a built-in Highlight Diffusion Filter for creative photography.
What's Included
Verify that all items listed below are present in your package.
Manufacturer Included Items:
- Ricoh GR III HDF Digital Camera
- Ricoh DB-110 Rechargeable Lithium-Ion Battery (3.6V 1350mAh)
- Ricoh I-USB166 USB Cable
- Power Adapter
- AC Plug
- Hand Strap
- Ricoh GN-1 Ring Cap (Black)
- Hot Shoe Cover
Bundle Items:
- 64GB Extreme PRO UHS-I SDXC Memory Card
- Padded Camera Bag
- 12-Inch Flexible Tripod
- Camera Cleaning Kit
- Memory Card Wallet
- Memory Card Reader
- Lens Cap Keeper

Image: The Ricoh GR III HDF Digital Camera shown with all bundled accessories, including the camera body, memory card, camera bag, tripod, and cleaning kit.
Setup Guide
1. Charging the Battery
Insert the Ricoh DB-110 battery into the provided power adapter. Connect the power adapter to a wall outlet using the AC plug. The charging indicator will illuminate. Charging is complete when the indicator turns off.
2. Inserting the Battery and SD Card
Open the battery/card compartment cover located on the bottom of the camera. Insert the charged DB-110 battery with the correct orientation until it clicks into place. Insert the 64GB Extreme PRO UHS-I SDXC Memory Card into the SD card slot until it locks. Close the compartment cover securely.

Image: Top view of the Ricoh GR III HDF camera, highlighting the battery and SD card compartment on the side.
3. Attaching the Hand Strap
Thread the hand strap through the strap lug on the side of the camera to prevent accidental drops.
4. Initial Power On and Settings
Press the ON/OFF button to power on the camera. Follow the on-screen prompts to set the date, time, and language.
Operating the Camera
Basic Photography Modes
The Ricoh GR III HDF offers various shooting modes accessible via the mode dial or menu.
- P (Program AE): The camera automatically sets aperture and shutter speed for optimal exposure.
- Av (Aperture Priority AE): You set the aperture, and the camera adjusts the shutter speed. Ideal for controlling depth of field.
- Tv (Shutter Priority AE): You set the shutter speed, and the camera adjusts the aperture. Useful for controlling motion blur.
- M (Manual Exposure): You control both aperture and shutter speed.
- Movie Mode: For recording video.
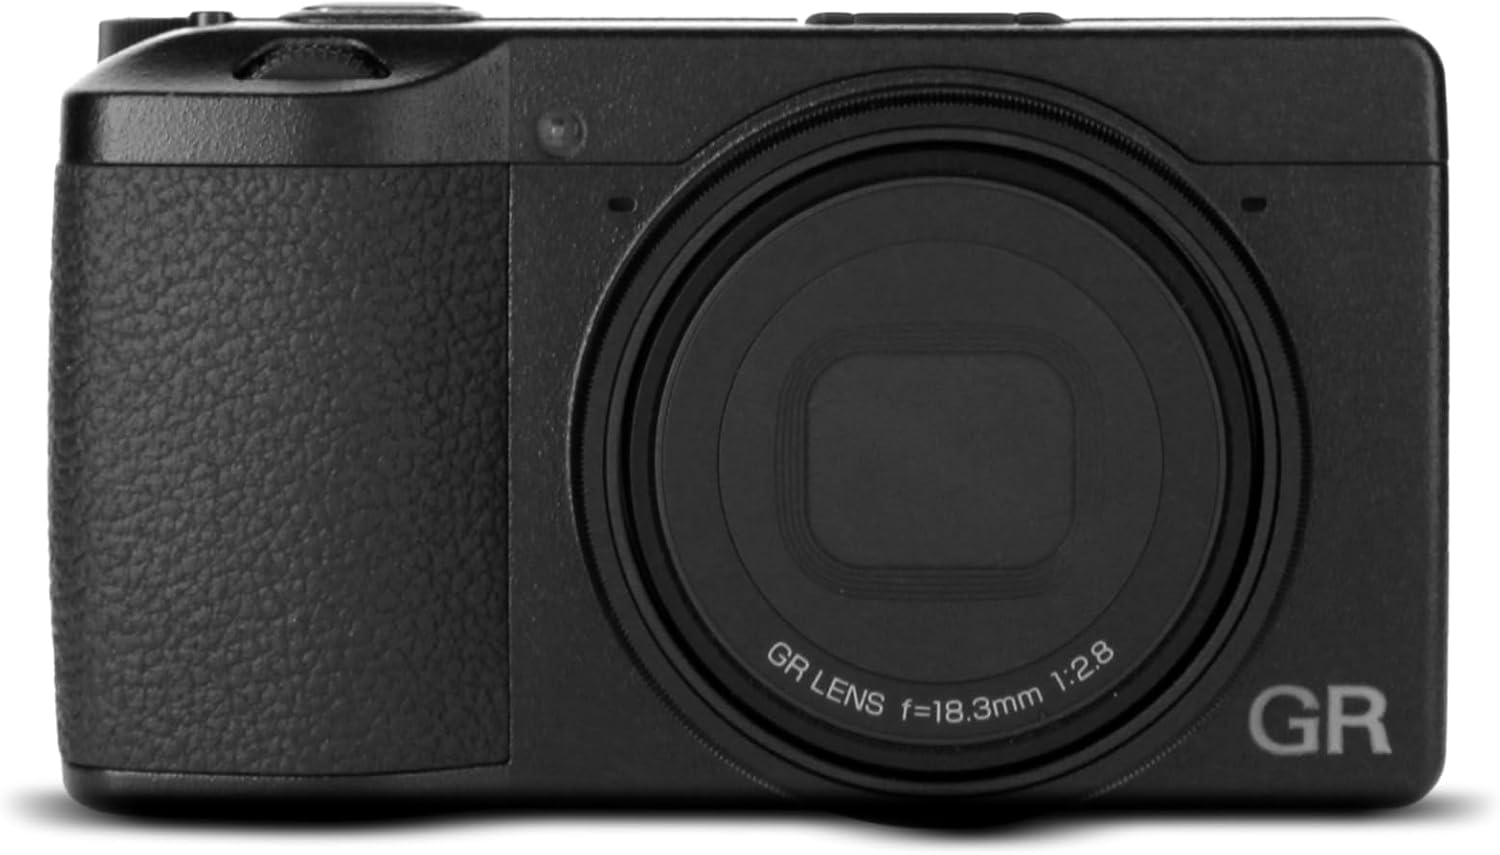
Image: Front view of the Ricoh GR III HDF camera, showing the lens.
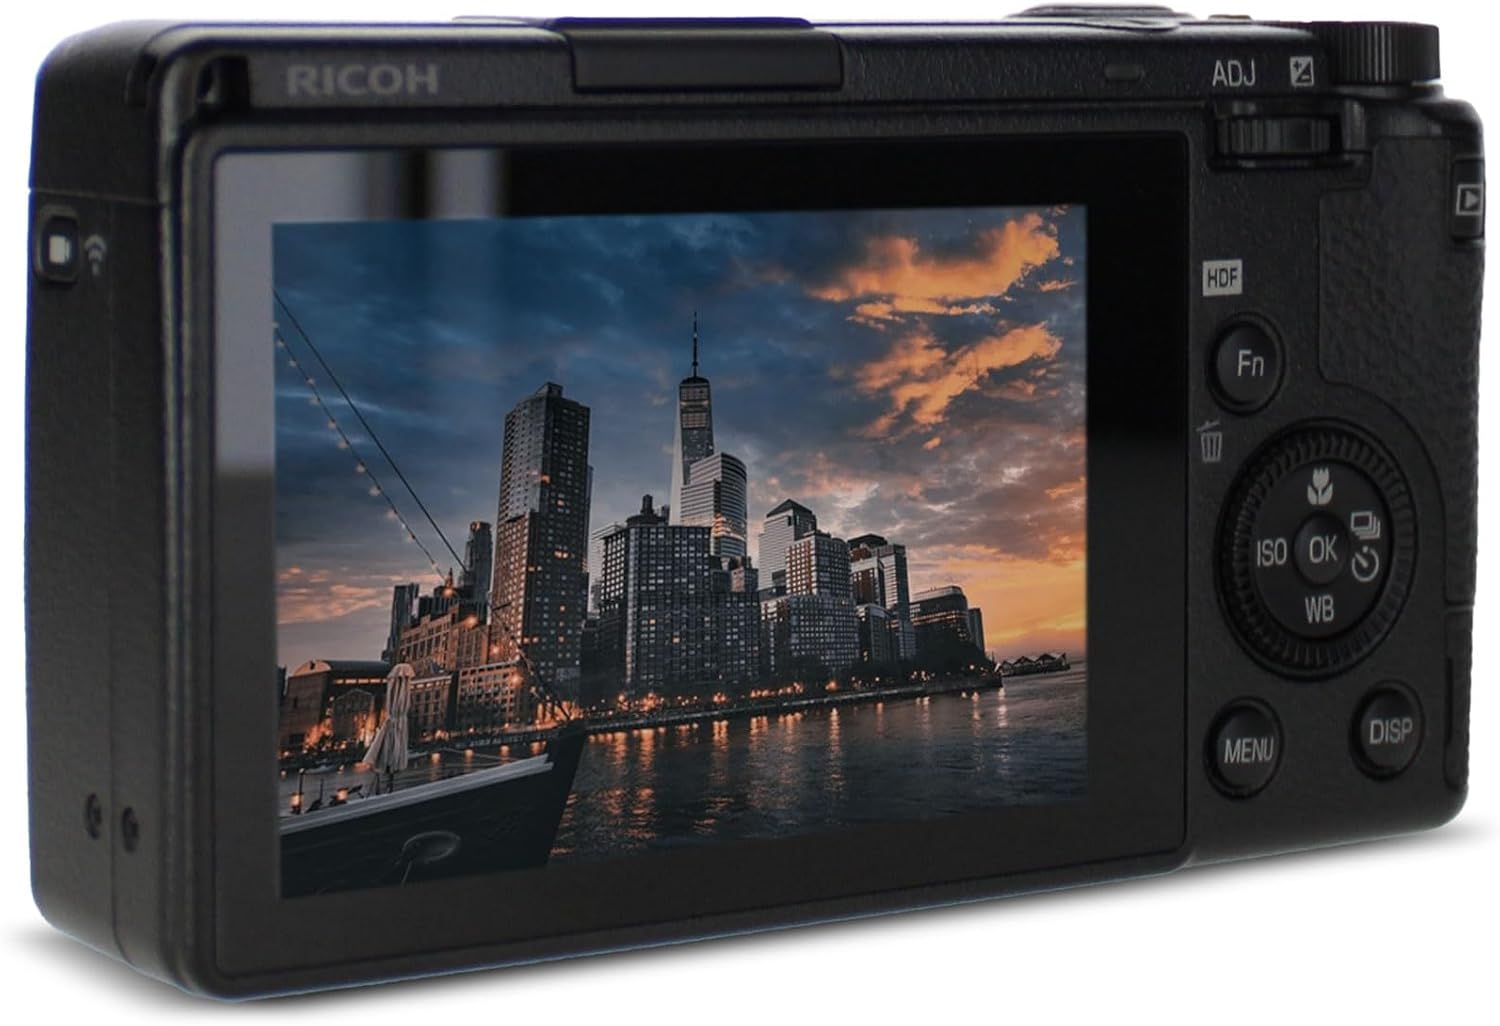
Image: Back view of the Ricoh GR III HDF camera with the LCD screen displaying an image.
Using the Highlight Diffusion Filter (HDF)
The GR III HDF features a built-in Highlight Diffusion Filter. To activate or deactivate the HDF, navigate to the camera's menu settings or assign it to a customizable function button (Fn). The HDF softens highlights and creates a subtle, diffused effect, ideal for artistic and atmospheric photography.
Connecting to a Smart Device (Bluetooth LE & Wi-Fi)
The camera supports Bluetooth LE and Wi-Fi for seamless image transfer and remote control via the Ricoh Image Sync app.
- Download and install the "Image Sync" app on your smartphone or tablet.
- On the camera, go to Menu > Wireless Communication > Wi-Fi/Bluetooth Settings.
- Enable Wi-Fi or Bluetooth and follow the on-screen instructions to pair with your device.
- Once connected, you can browse images, transfer them to your device, or control the camera remotely.
Maintenance and Care
Cleaning the Camera
Use the provided camera cleaning kit to maintain your GR III HDF.
- Lens: Use a lens brush to remove dust, then gently wipe with a microfiber cloth and lens cleaning solution. Avoid touching the lens surface directly.
- Body: Wipe the camera body with a soft, dry cloth. For stubborn dirt, slightly dampen the cloth with water.
- LCD Screen: Use a clean, dry microfiber cloth.
Battery Care
To prolong battery life, store the battery in a cool, dry place when not in use. Avoid fully discharging the battery frequently.
Storage
When storing the camera for extended periods, remove the battery and store the camera in the padded camera bag in a dry, dust-free environment.
Troubleshooting
| Problem | Possible Cause | Solution |
|---|---|---|
| Camera does not power on. | Battery is not charged or incorrectly inserted. | Ensure battery is fully charged and inserted correctly. |
| Images are blurry. | Camera shake, incorrect focus, or dirty lens. | Hold camera steady, use the 3-Axis Shake Reduction, ensure proper focus, clean the lens. |
| Cannot connect to smartphone via Wi-Fi/Bluetooth. | Incorrect settings, app not running, or interference. | Check camera and app settings, restart both devices, ensure no other devices are interfering. |
| SD card error. | Card not inserted correctly, corrupted, or incompatible. | Reinsert card, try a different compatible SD card, format the card (this will erase data). |
Specifications
| Feature | Detail |
|---|---|
| Model Name | GR III HDF (01272) |
| Sensor Type | 24.2 MP APS-C CMOS |
| Image Processor | GR Engine 6 |
| Lens | 28mm f/2.8 (full-frame equivalent) |
| Image Stabilization | 3-Axis Shake Reduction (Optical) |
| Highlight Diffusion Filter | Built-in |
| LCD Screen | 3.0" 1.037m-dot Touchscreen LCD |
| Video Recording | Full HD 1080/60p (MP4) |
| Connectivity | Bluetooth LE, Wi-Fi, USB-C |
| Storage Media | SD Card Slot (SDXC compatible) |
| Battery Type | Ricoh DB-110 Rechargeable Lithium-Ion |
| Dimensions (approx.) | 4 inches (Height) |
| Weight (approx.) | 16 ounces |
| UPC | 094148684543 |
Warranty and Support
For detailed warranty information and technical support, please refer to the official Ricoh website or contact Ricoh customer service. Warranty terms and conditions may vary by region.
Online Resources: Visit the official Ricoh support page for firmware updates, FAQs, and additional resources.
Contact Support: Refer to the contact information provided with your product or on the Ricoh website for direct assistance.
Ask a question about this manual
Ask about setup, troubleshooting, compatibility, parts, safety, or missing instructions. Manuals+ will review the question and use this page’s manual context to help answer it.