
1. Introduction
Thank you for choosing the Fockety A3 Laminator Machine. This manual provides essential information for the safe and efficient operation of your new laminator. Please read it thoroughly before use and retain it for future reference.
2. Safety Instructions
- Read all instructions before using the laminator.
- Keep the laminator away from water or other liquids to prevent electric shock.
- Do not operate the laminator if the power cord or plug is damaged.
- Ensure the power supply voltage matches the specifications listed on the device.
- Keep children and pets away from the laminator during operation.
- Do not touch the laminator's hot surfaces during or immediately after use.
- Unplug the laminator when not in use or before cleaning.
- Use only laminating pouches designed for thermal or cold lamination as appropriate.
3. Product Overview
The Fockety A3 Laminator is designed for both thermal and cold lamination, supporting various document sizes up to A3. It features quick preheating, multiple thickness settings, and a film release function.

Image: The Fockety A3 Laminator Machine in operation, demonstrating its ability to laminate documents up to A3 size.
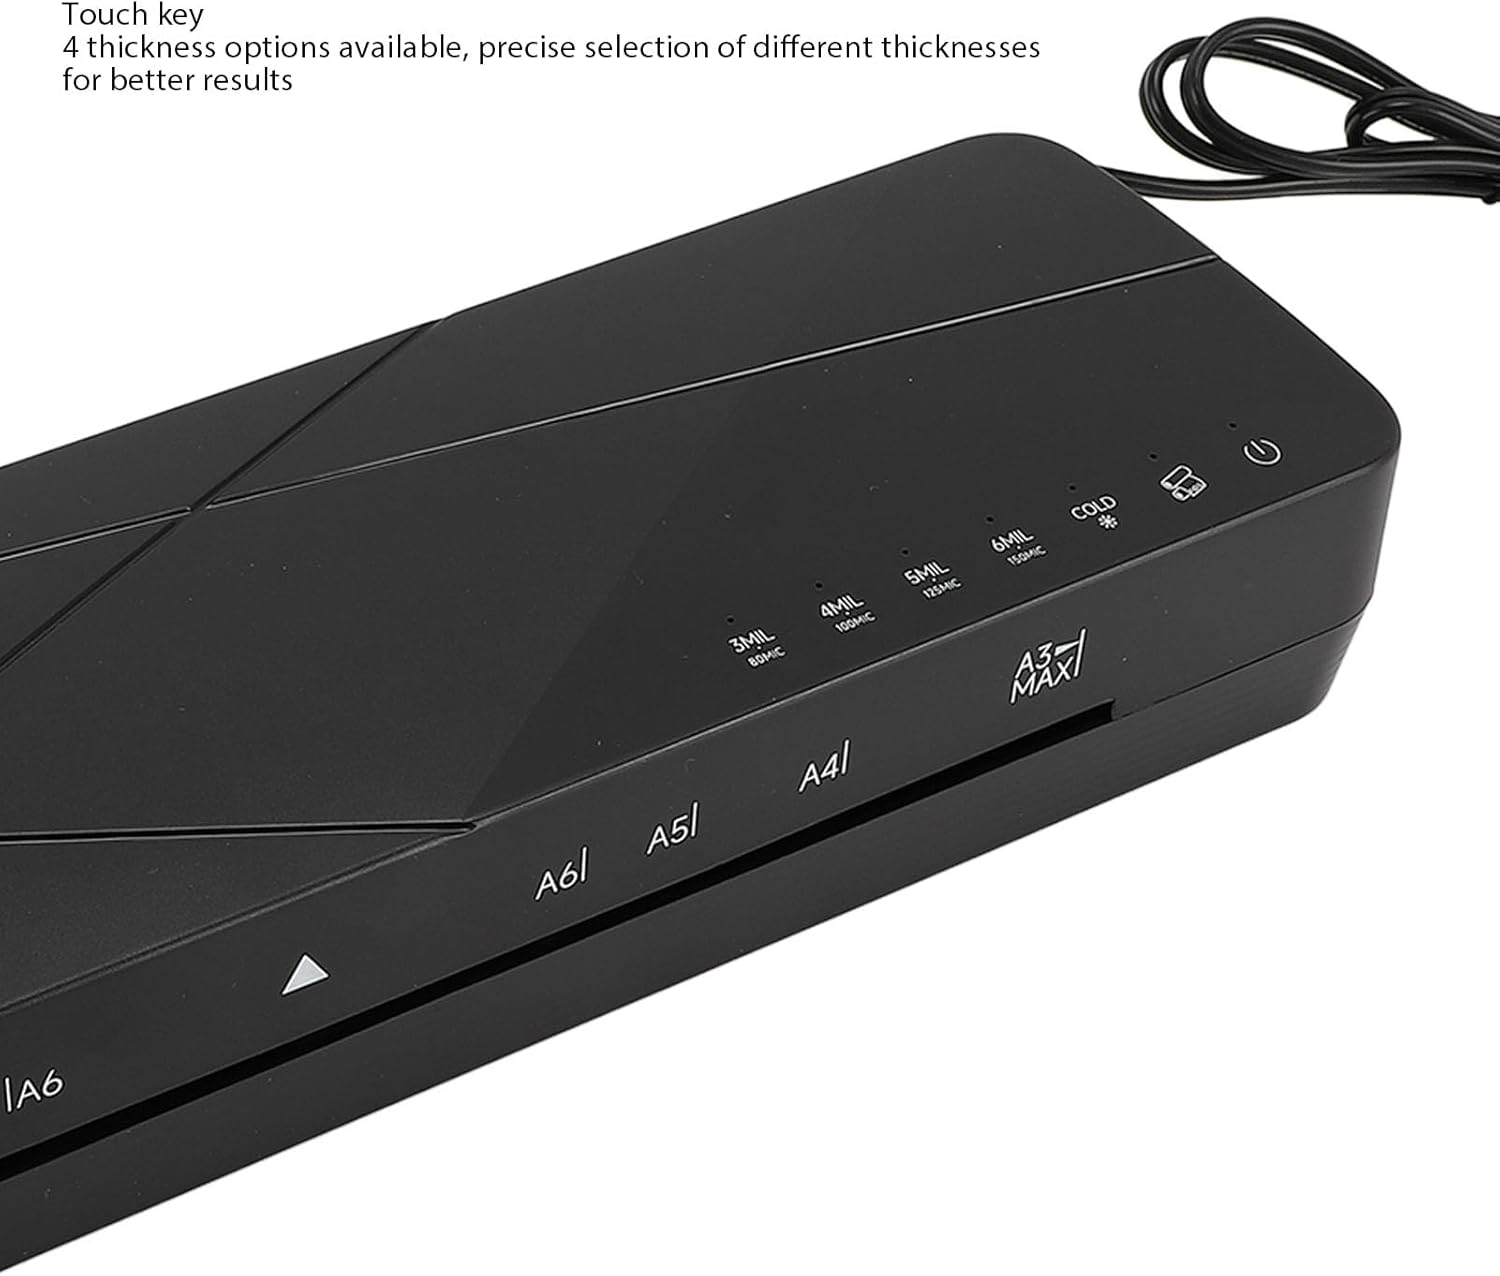
Image: A detailed view of the control panel, highlighting the four thickness options for precise lamination.

Image: The control panel displaying the 'Hot Laminating' and 'Cold Laminating' selections, along with thickness indicators.
4. Setup
- Unpacking: Carefully remove the laminator from its packaging. Retain packaging for storage or transport.
- Placement: Place the laminator on a stable, flat surface with adequate ventilation. Ensure there is enough space behind the machine for laminated documents to exit freely.
- Power Connection: Plug the power cord into a suitable electrical outlet.
- Power On: Set the power switch to the 'ON' position.
5. Operating Instructions
5.1 Preheating
- Turn on the laminator. The preheating time is typically 1-3 minutes.
- Wait for the indicator light to signal that the machine has reached the optimal operating temperature (usually a green light).
- The laminator is equipped with an intelligent reminder that will prompt you if it is not preheated properly.

Image: The laminator displaying its intelligent reminder feature, indicating when the machine is not properly preheated or enters standby mode.
5.2 Thermal Laminating
- Ensure the laminator is preheated and the appropriate thickness setting is selected (3, 4, 5, or 6 mil).
- Place your document inside a thermal laminating pouch, ensuring it is centered and there is a small margin around the edges.
- Insert the sealed edge of the pouch into the laminator's entry slot. The machine will automatically feed the pouch through.
- Collect the laminated document from the exit slot. Allow it to cool on a flat surface.
5.3 Cold Laminating
- Select the 'COLD' setting on the control panel. Preheating is not required for cold lamination.
- Place your document inside a self-adhesive cold laminating pouch.
- Insert the pouch into the laminator's entry slot.
- Collect the laminated document from the exit slot.
5.4 Thickness Settings
The laminator offers four thickness options (3, 4, 5, 6 mil) to accommodate different pouch thicknesses and desired results. Select the appropriate setting based on your laminating pouch.
5.5 Film Release Function (ABS Button)
In case of a paper jam or misfeed, press the ABS toggle button to release the film. This allows you to safely remove the document and pouch without damage to the machine or your item.
5.6 Compatible Sizes and Materials
This laminator supports various sizes including A3, A4, A5, 3-inch, 5-inch, 6-inch, 7-inch, and 8-inch. It is suitable for photos, menus, documents, certificates, and drawings.
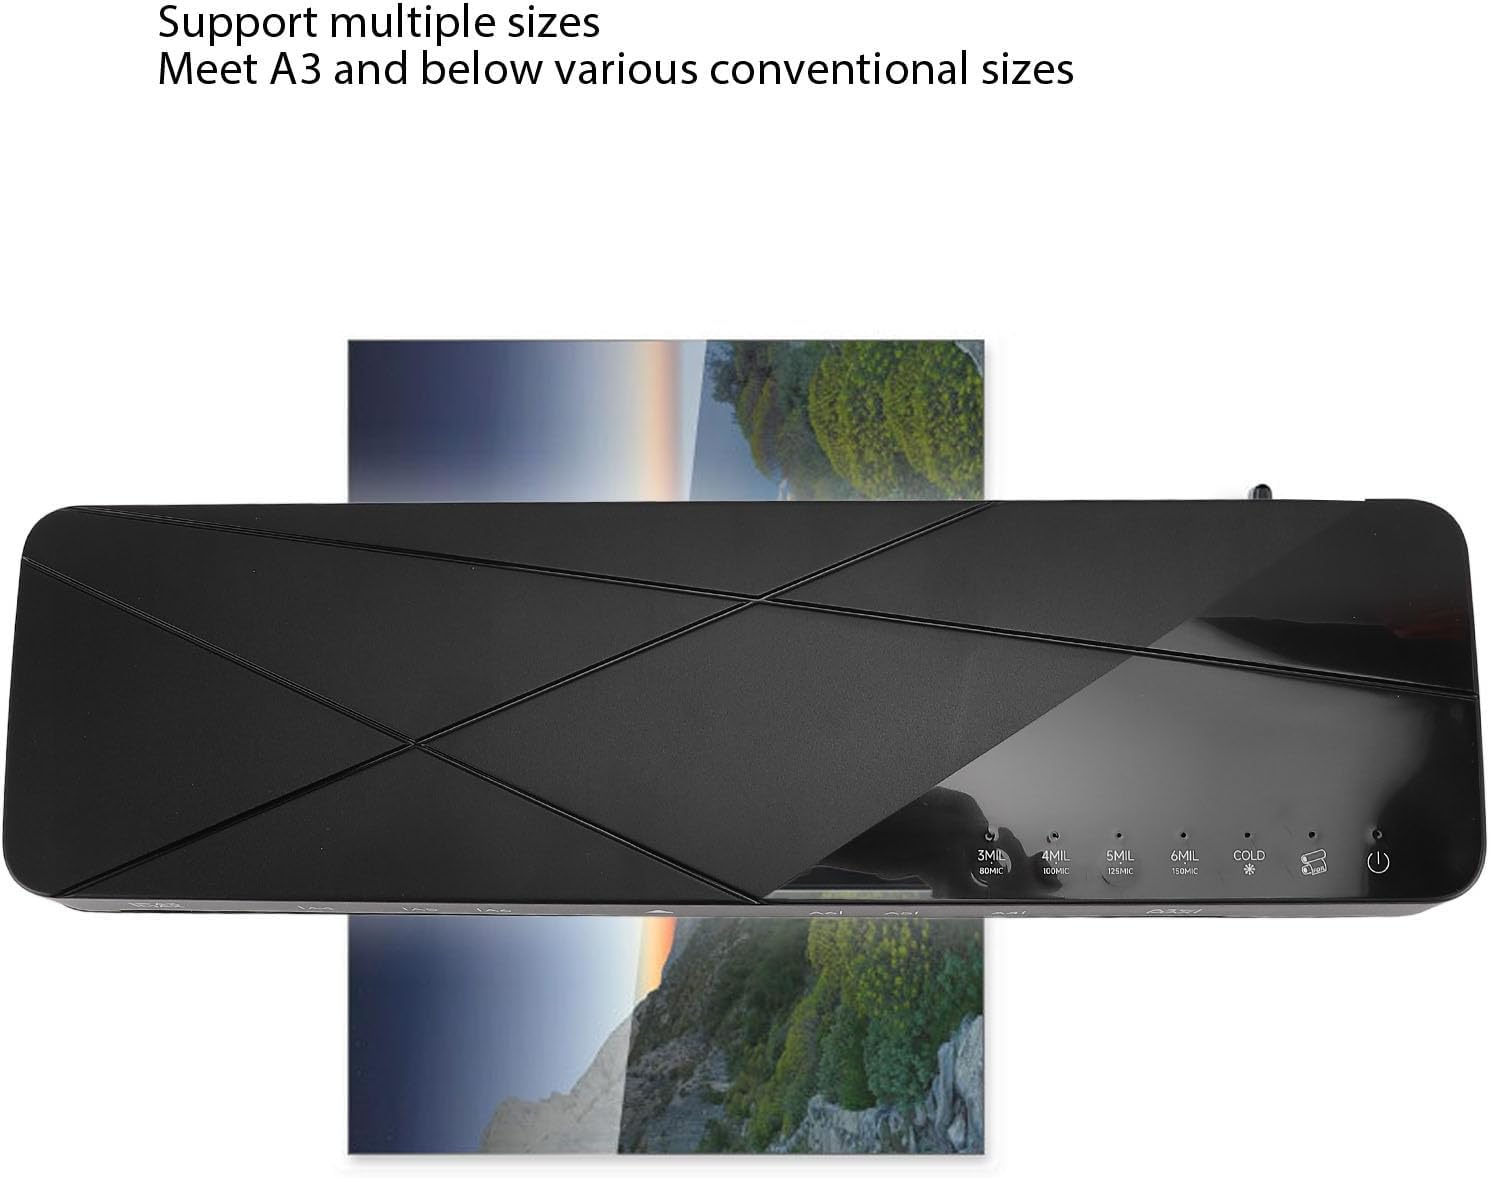
Image: The laminator handling a document that spans its width, demonstrating its capability to support multiple conventional sizes up to A3.

Image: The laminator positioned with examples of items it can laminate, such as photos, menus, and certificates, highlighting its versatility.
6. Maintenance
- Cleaning: Ensure the laminator is unplugged and completely cool before cleaning. Use a soft, dry cloth to wipe the exterior. Do not use abrasive cleaners or solvents.
- Roller Cleaning: If the rubber rollers accumulate debris, gently clean them with a soft, damp cloth. Ensure they are dry before next use.
- Storage: Store the laminator in a dry, dust-free environment when not in use.
7. Troubleshooting
| Problem | Possible Cause | Solution |
|---|---|---|
| Non-stick paper, misty white blocks | Preheating not completed, insufficient temperature; Incorrect thickness gear. | Wait for the laminator to complete preheating (green light); Select a higher gear and laminate after heating up. |
| Laminating machine does not work or heat up | Inappropriate power supply; Switch not set to on/hot mode. | Check power specifications; Set the switch to on/hot mode. |
| Appearance of bubbles, wrinkles, bent photos | Incorrect thickness gear; Rubber roller uneven or has debris; Laminated objects not placed flat or have debris. | Select a lower gear and laminate after cooling down; Check and clean the rubber roller; Remove debris, place object flat before laminating. |
| Paper jam | Incorrect feeding; Foreign objects on the rubber roller. | Close the switch, press the ABS key to remove film, and clean the rubber roller. |
| Smoke over the laminating machine | Normal vulcanization of a new machine; Power supply voltage mismatch. | Normal for new machines, will disappear after a few uses; Check power specifications before powering on. |
8. Specifications
| Feature | Specification |
|---|---|
| Model | FNL002 |
| Power Consumption | 400W |
| Lamination Width | Approx. 330mm / 12.99in (A3) |
| Lamination Size | A3 and below (A3, A4, A5, 3, 5, 6, 7, 8 inch) |
| Lamination Thickness | 3, 4, 5, 6 mil |
| Preheating Time | 1-3 minutes |
| Temperature Range | 110℃-160℃ |
| Lamination Speed | 355mm/min |
| Film Release Method | ABS toggle button |
| Noise Level | ≤55db |
| Item Weight | 3.15 pounds |
| Package Dimensions | 17.32 x 5.91 x 5.51 inches |

Image: Technical drawing illustrating the physical dimensions of the Fockety A3 Laminator Machine.
9. Warranty and Support
For warranty information or technical support, please refer to the documentation included with your purchase or contact the manufacturer directly. Keep your purchase receipt as proof of purchase.