
1. Introduction
Thank you for choosing the Bisofice L86 Portable A4 Thermal Printer. This compact and versatile printer is designed for convenient, inkless printing of A4 documents, photos, and labels. With 300 DPI resolution, it delivers clear, high-quality monochrome prints. Its flexible connectivity options, including Bluetooth for mobile devices and USB for computers, make it suitable for various environments such as offices, homes, and travel. This manual provides detailed instructions for setup, operation, maintenance, and troubleshooting to ensure optimal performance of your device.
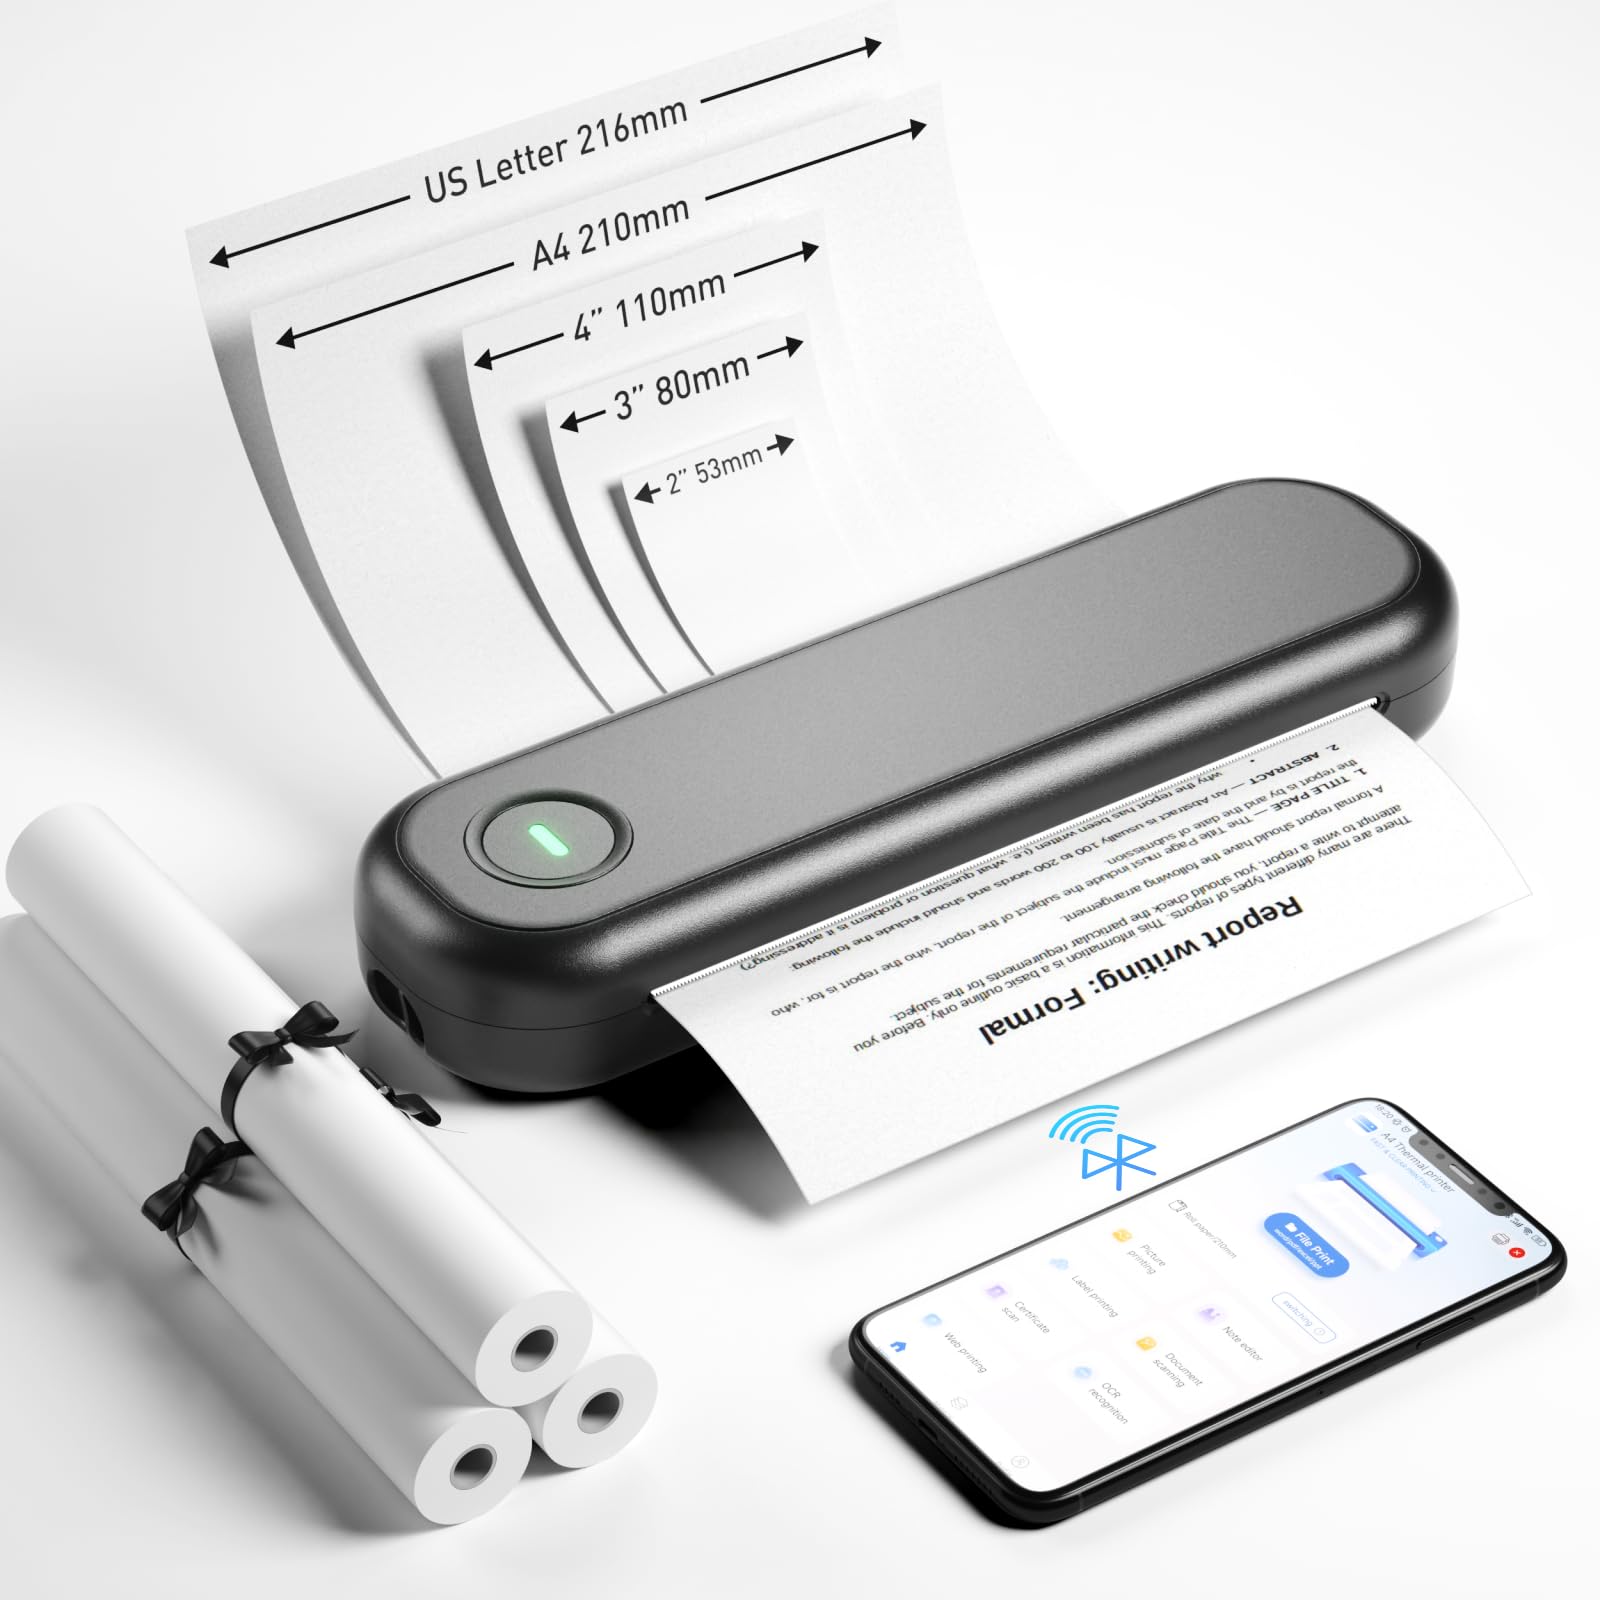
Image 1.1: The Bisofice L86 printer in a professional setting, demonstrating its compact size and ease of use.
2. Product Overview
Key Features:
- High-Density 300 DPI Printing: Updated printing technology for quieter operation, smooth paper output, and flat, curl-free prints.
- Inkless and Economical: Utilizes thermal printing technology, eliminating the need for ink cartridges.
- Versatile Paper Support: Compatible with both roll paper (56mm/77mm/107mm/210mm formats) and A4 foldable thermal paper for single or continuous printing. Features an integrated roll paper compartment.
- Flexible Connectivity: Supports Bluetooth connection via a dedicated mobile app (iOS/Android) and wired USB connection for PC/Mac/Windows computers.
- Portable and Durable: Compact design (30 x 9 x 5 cm) with a built-in 2600 mAh lithium battery, offering up to 400 sheets per full charge or 3 hours of continuous printing, and a standby time of up to 90 days.

Image 2.1: Overview of the Bisofice L86's key features, including its compact design and connectivity options.
3. Setup
3.1 Unpacking and Initial Inspection
- Carefully remove the printer and all accessories from the packaging.
- Check for any visible damage. If any damage is found, contact customer support.
- Verify that all components are present: printer unit, USB-C cable, and included paper rolls.
3.2 Charging the Printer
The Bisofice L86 printer comes with a built-in 2600 mAh lithium battery. For first-time use, fully charge the printer.
- Connect the provided USB-C cable to the printer's charging port.
- Connect the other end of the USB-C cable to a compatible USB power adapter (not included) or a computer's USB port.
- The indicator light will show charging status. Once fully charged, the light will change (refer to the LED indicator section in the full manual for specific light behaviors).
- A full charge allows printing of approximately 400 sheets or 3 hours of continuous use, with a standby time of up to 90 days.
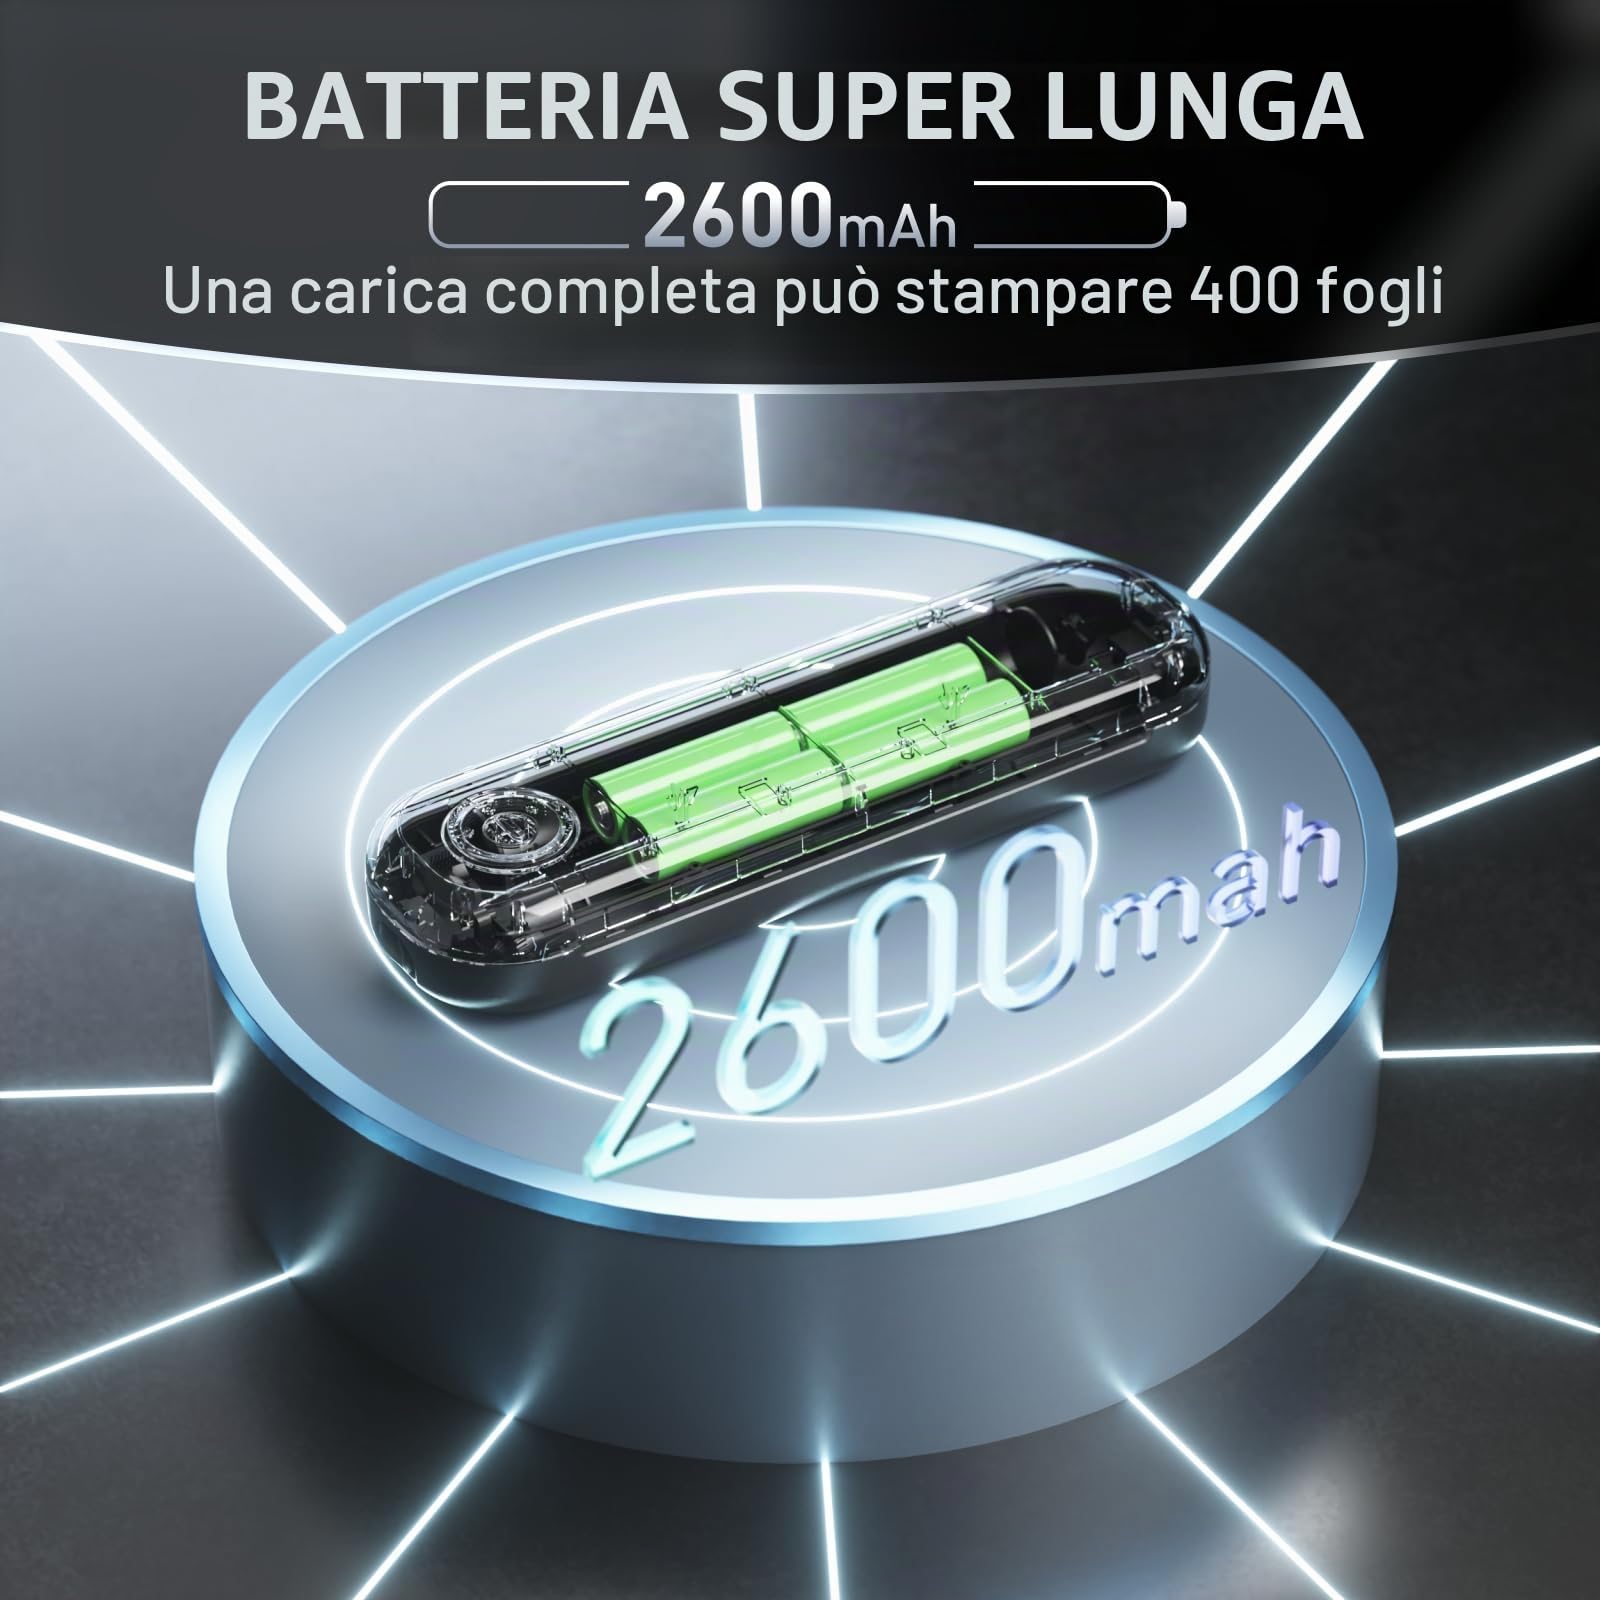
Image 3.1: Visual representation of the printer's 2600mAh battery capacity.
3.3 Loading Paper
The L86 printer supports both roll paper and A4 foldable thermal paper.
- For Roll Paper: Open the printer's paper compartment. Insert the thermal paper roll, ensuring the printing side faces the thermal head. Close the compartment, leaving a small portion of paper extended. The printer supports roll paper in 56mm, 77mm, 107mm, and 210mm widths.
- For A4 Foldable Thermal Paper: Open the paper compartment. Place the stack of A4 foldable thermal paper into the designated slot, ensuring it is aligned correctly and the printing side is facing up.
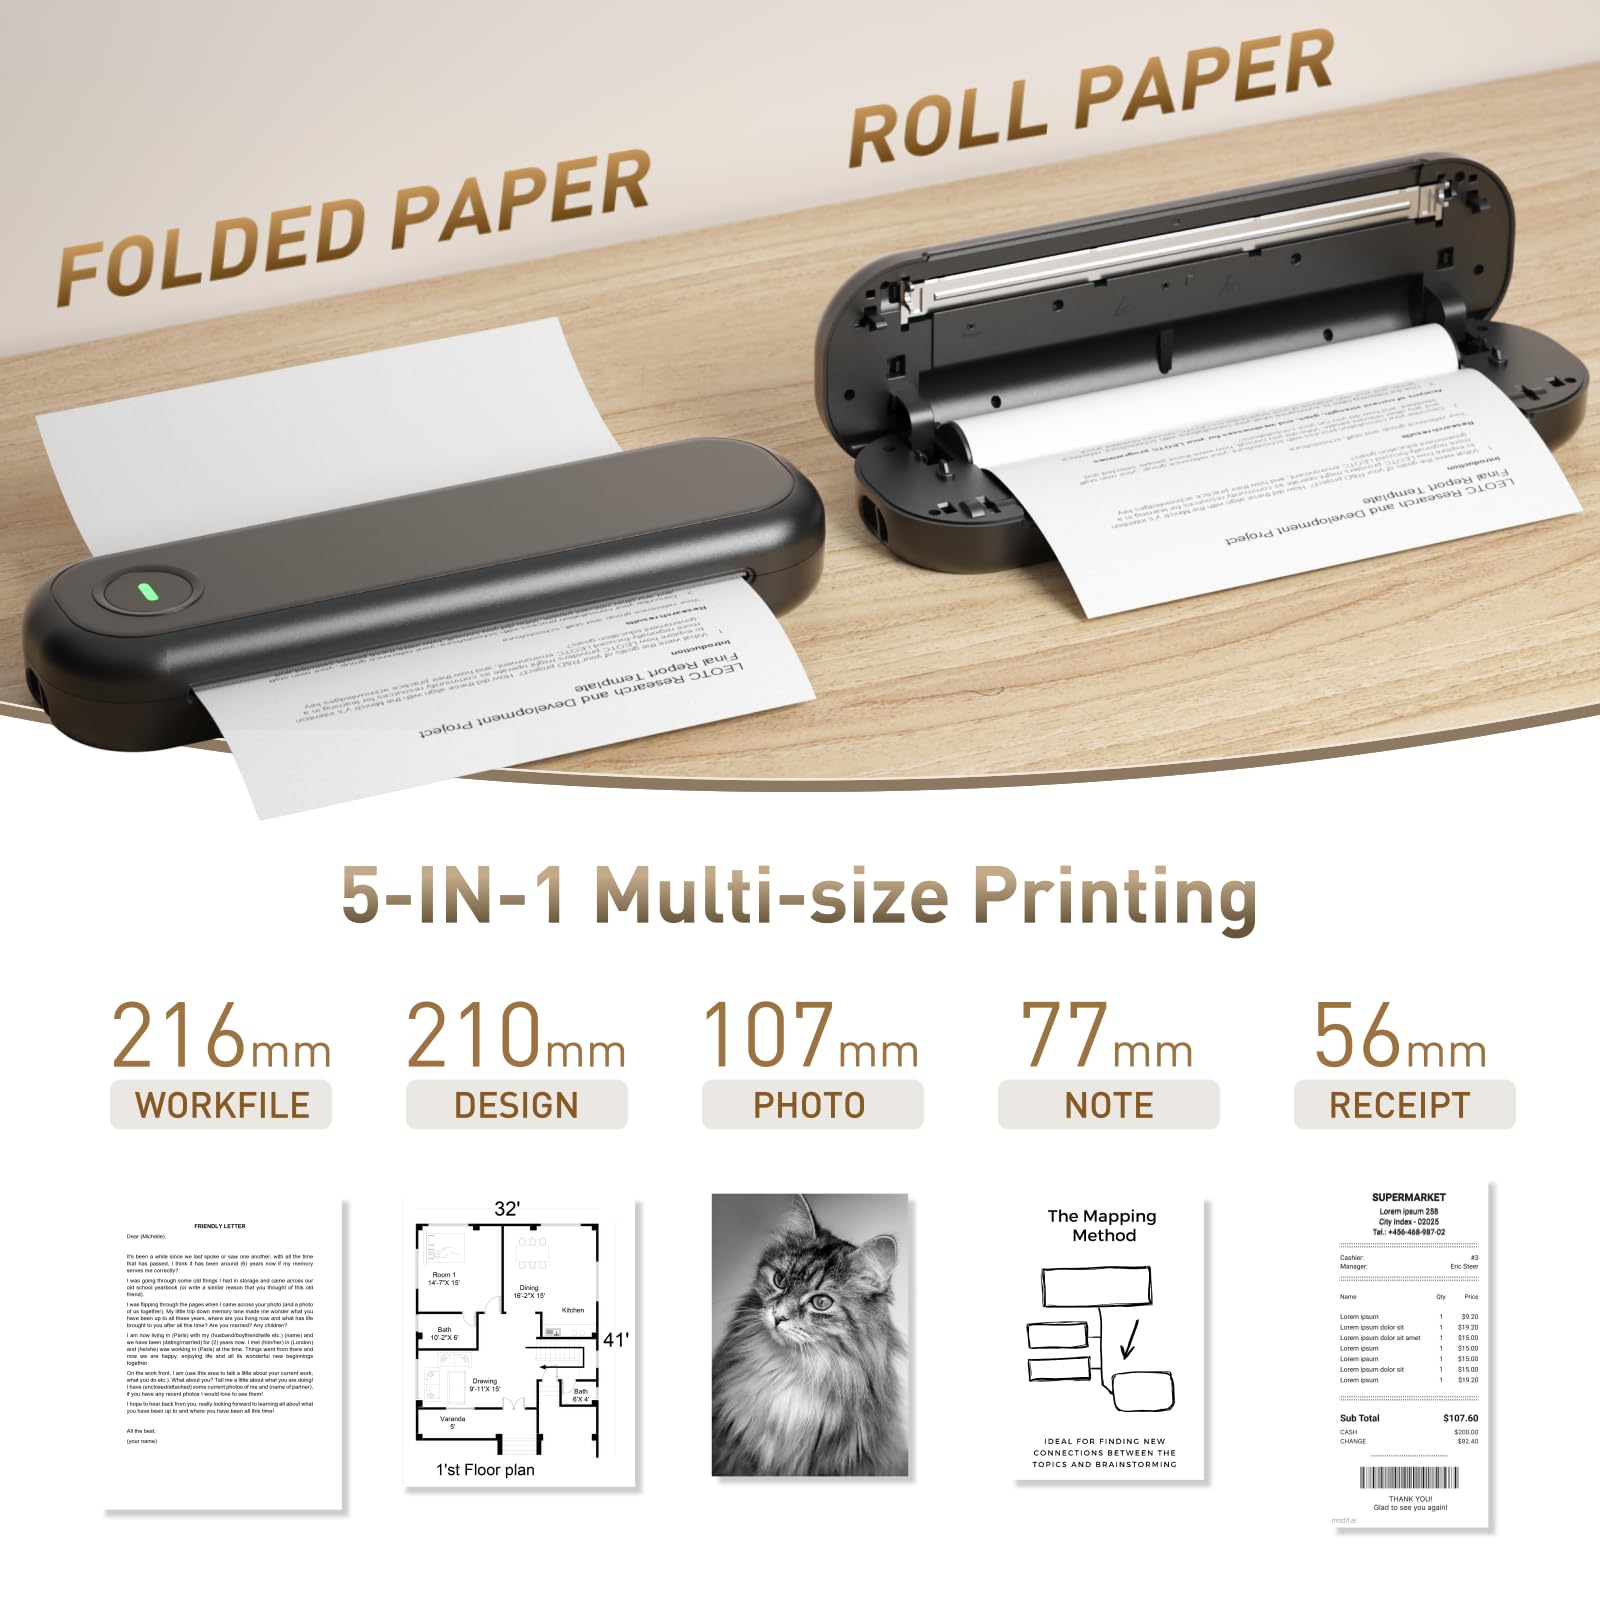
Image 3.2: Demonstrates loading both folded and roll paper into the printer.
4. Operating Instructions
4.1 Connecting via Bluetooth (Mobile Devices)
- Download the App: Search for the official printer application in the App Store (for iOS devices) or Google Play (for Android devices). Install the application on your smartphone or tablet.
- Enable Bluetooth: Turn on Bluetooth on your mobile device.
- Connect in App: Open the printer application. Follow the in-app instructions to search for and connect to your Bisofice L86 printer via Bluetooth. The printer's name should appear in the list of available devices.
- Prepare to Print: Once connected, you can use the app to edit and print various content, including files, images, stickers, and lists, utilizing the available templates.

Image 4.1: Steps for connecting the printer via Bluetooth using the mobile application.
4.2 Connecting via USB (PC/Mac/Windows)
- Download Drivers: Visit the official Bisofice website to download the appropriate drivers for your operating system (Windows, Mac, or Linux).
- Install Drivers: Follow the on-screen instructions to install the drivers on your computer.
- Connect Printer: Connect the printer to your computer using the provided USB-C cable.
- Select Printer: When printing from your computer, select "Bisofice L86" from the list of available printers in your application's print dialogue.

Image 4.2: Steps for connecting the printer to a computer via USB.
4.3 Printing Documents
Once connected, you can initiate printing from your chosen device. The L86's advanced paper flattening technology ensures that prints remain flat and curl-free, similar to standard A4 thermal paper.
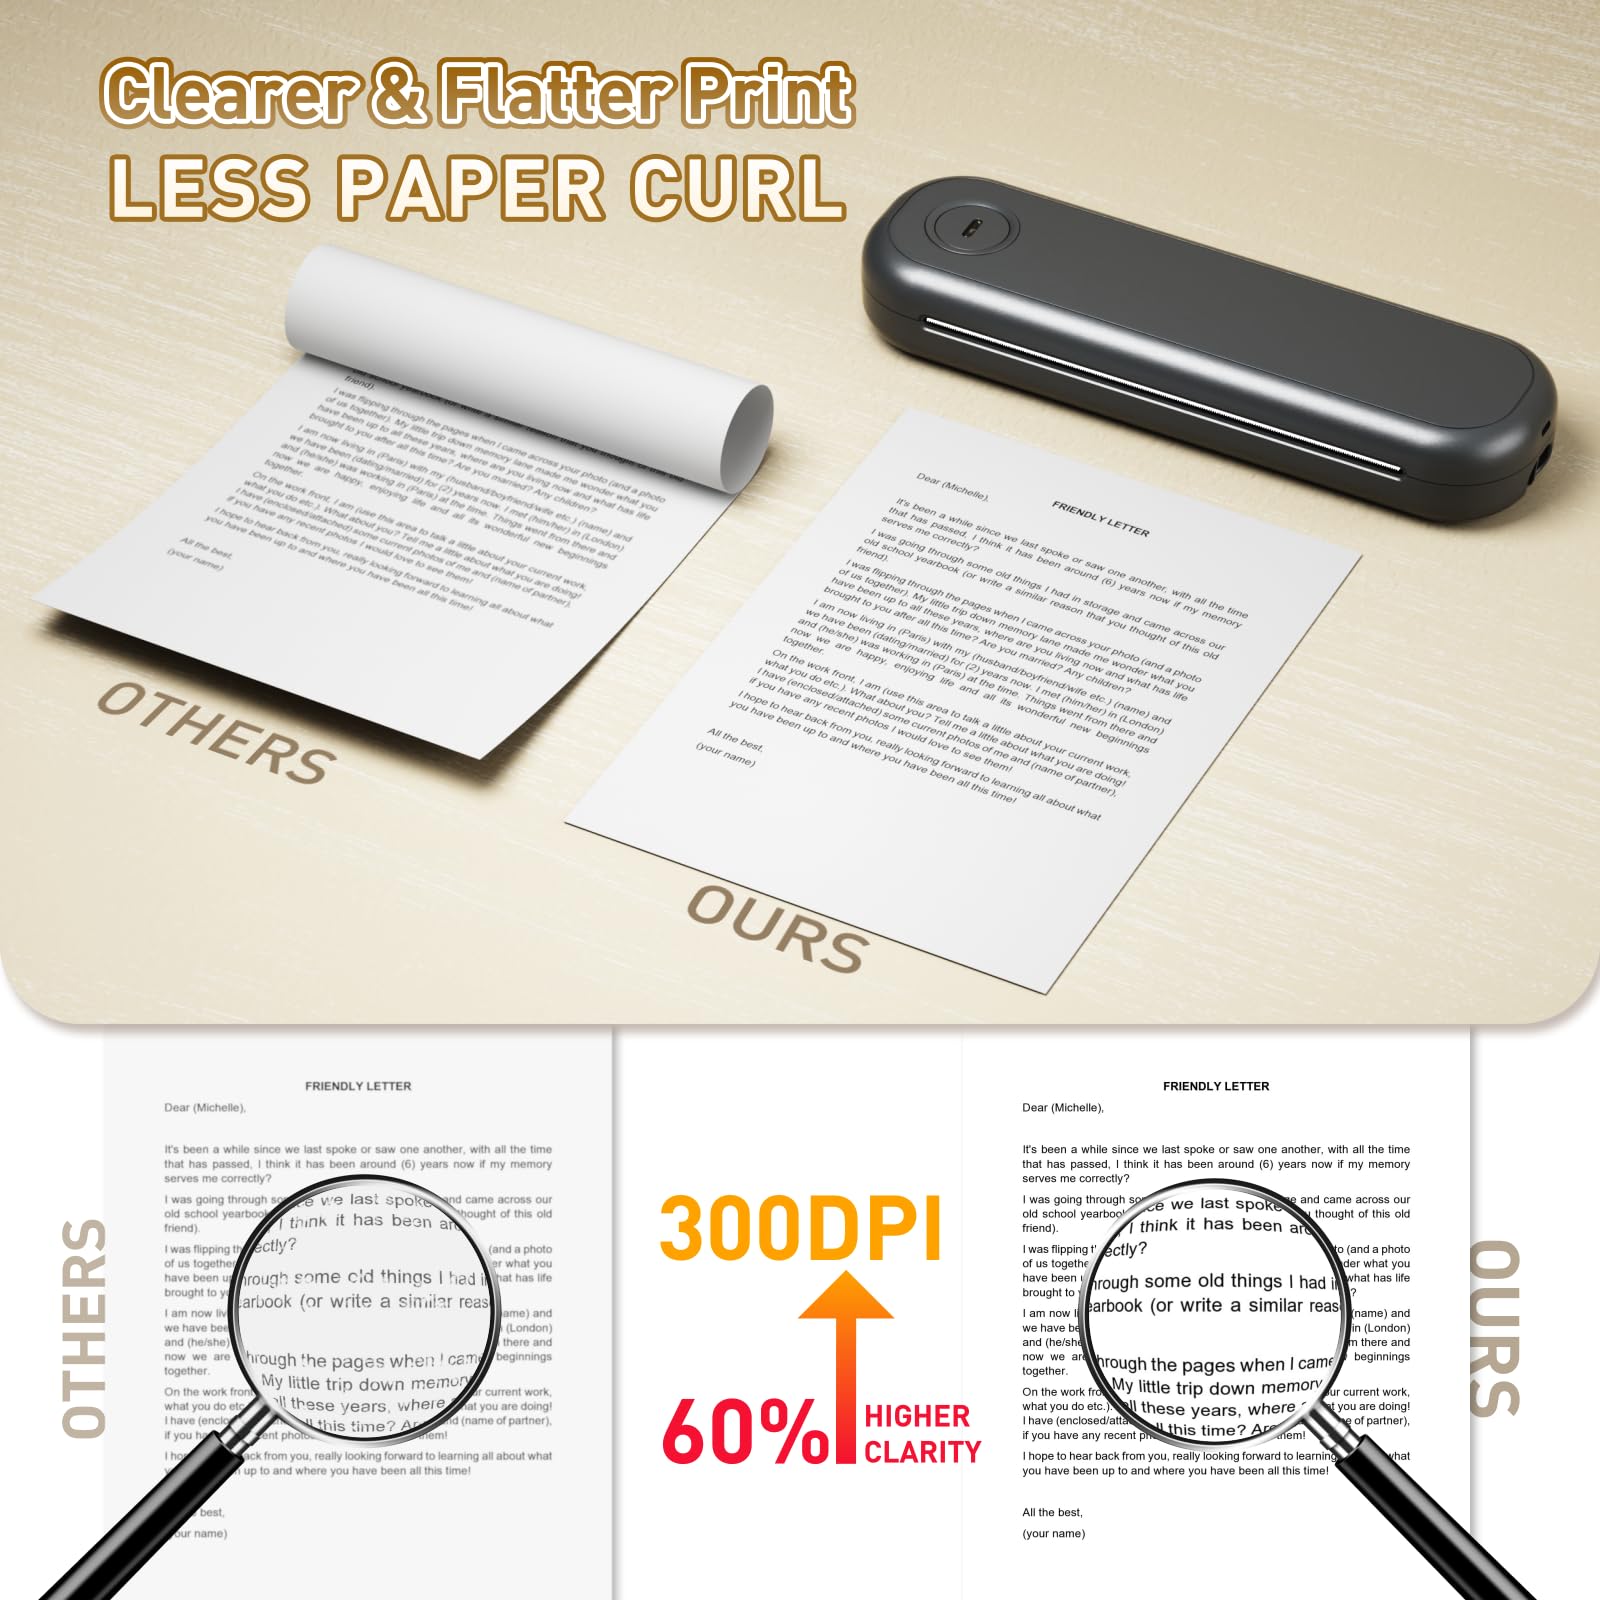
Image 4.3: Demonstrates the superior clarity and flat printing feature of the L86 printer.
5. Maintenance
5.1 Cleaning the Thermal Head
To maintain print quality, regularly clean the thermal print head.
- Ensure the printer is turned off and disconnected from power.
- Open the paper compartment.
- Gently wipe the thermal head with a cotton swab lightly dampened with isopropyl alcohol. Allow it to dry completely before closing the compartment and resuming use.
5.2 Paper Storage
Store thermal paper in a cool, dry place away from direct sunlight and heat sources to prevent premature fading or damage.
6. Troubleshooting
If you encounter issues with your Bisofice L86 printer, refer to the following common problems and solutions:
| Problem | Possible Cause | Solution |
|---|---|---|
| Printer does not turn on | Low battery; Power cable not connected | Charge the printer fully; Ensure USB-C cable is securely connected. |
| Poor print quality (faint, streaky) | Thermal head dirty; Incorrect paper type; Low battery | Clean the thermal head; Ensure you are using thermal paper; Charge the printer. |
| Paper jam | Improper paper loading; Damaged paper | Turn off the printer, carefully remove jammed paper, reload correctly; Use undamaged paper. |
| Cannot connect via Bluetooth | Bluetooth off; App not installed; Printer not discoverable | Ensure Bluetooth is enabled on your device; Install the official app; Restart printer and app, then try connecting again. |
| Cannot print via USB | Drivers not installed; USB cable faulty; Incorrect printer selected | Install correct drivers from the official website; Try a different USB cable; Ensure "Bisofice L86" is selected in print settings. |
If the problem persists after trying these solutions, please contact Bisofice customer support for further assistance.
7. Specifications
| Feature | Detail |
|---|---|
| Brand | Bisofice |
| Model Name | L86 |
| Connectivity Technology | Bluetooth, USB |
| Printing Technology | Thermal |
| Special Feature | Automatic document feeder, Portable |
| Color | Black |
| Printer Output | Monochrome |
| Max Print Speed (Black & White) | 10 pages per minute |
| Item Weight | 899.1 Grams |
| Product Dimensions | 30.8 x 9 x 5 cm (approx. 12.1 x 3.5 x 2 inches) |
| Control Unit Type | Android, iOS |
| Printing Media Type | Paper (plain), Labels |
| Compatible Devices | Desktop computers, Laptops, Smartphones, Tablets |
| Max Copies per Run | 10 |
| Ink Color | Black (Inkless thermal printing) |
| Additional Printer Functions | Print only |
| Control Method | App |
| Number of Trays | 1 |
| Max Print Resolution (Black & White) | 300 x 300 DPI |
| Power Consumption | 10 Watt |
| Duplex Printing | No (Simplex) |
| Max Supported Paper Size | A4 |
| Max Input Sheet Capacity | 50 |
| Paper Size | 210 x 297 Millimeters |
| Output Sheet Capacity | 20 |
| Hardware Interface | USB-C |
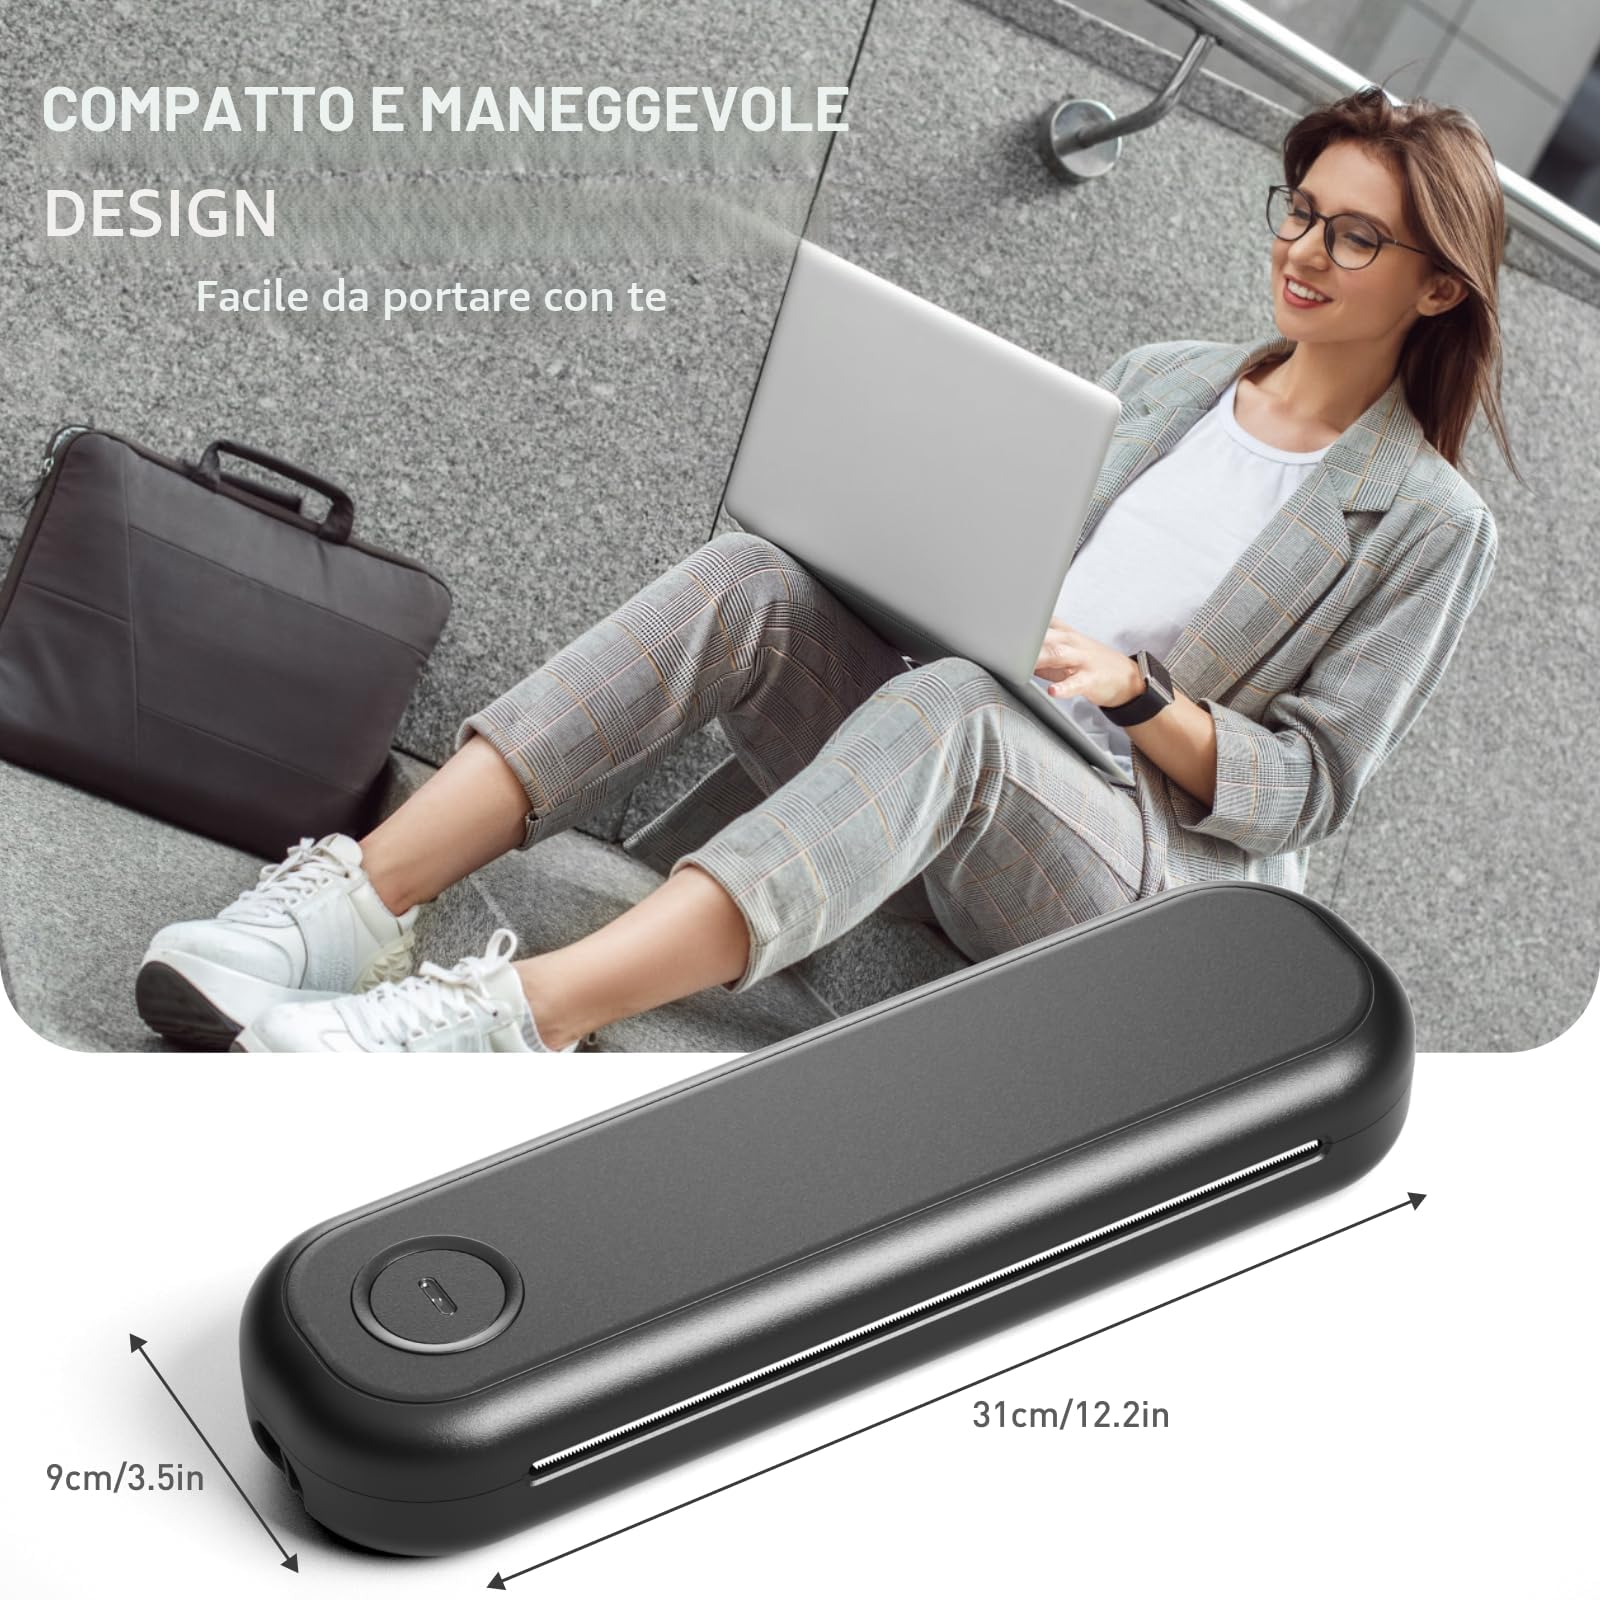
Image 7.1: Physical dimensions of the Bisofice L86 printer.
8. Warranty and Support
For warranty information, please refer to the documentation included with your purchase or contact the retailer. For technical support, troubleshooting beyond this manual, or inquiries about replacement parts, please visit the official Bisofice website or contact their customer service department. Keep your purchase receipt as proof of purchase for warranty claims.


