
1. Introduction
This manual provides comprehensive instructions for the safe and effective use of your ANENG SL106 Digital 60W Adjustable Temperature Soldering Iron Kit. Please read this manual thoroughly before operating the device and retain it for future reference. Proper understanding and adherence to these instructions will ensure optimal performance and longevity of your soldering iron kit.
2. Product Overview and Package Contents
The ANENG SL106 Soldering Iron Kit is designed for various electronic repair and DIY projects. It features an adjustable temperature control and a digital display for precise operation.

Image 2.1: Complete ANENG SL106 Soldering Iron Kit showing the soldering iron, various tips, stand, sponge, solder wire, and tweezers.
Package Contents:
- ANENG SL106 Soldering Iron (60W, 110V-240V)
- 5 Interchangeable Soldering Tips (various shapes)
- Soldering Iron Stand
- Cleaning Sponge
- Solder Wire Tube
- Tweezers
- Storage Bag
3. Safety Instructions
Always observe the following safety precautions to prevent injury or damage to the equipment:
- Ventilation: Use the soldering iron in a well-ventilated area to avoid inhaling solder fumes.
- Heat: Soldering irons reach very high temperatures. Avoid direct contact with the tip and allow it to cool completely before handling or storing.
- Stand: Always place the hot soldering iron in its designated stand when not in use.
- Power: Disconnect the power cord when not in use or before performing maintenance.
- Children: Keep the soldering iron and all accessories out of reach of children.
- Eye Protection: Always wear safety glasses to protect your eyes from splashes of molten solder or flux.
- Flammable Materials: Keep flammable materials away from the working area.
- Electrical Safety: Ensure your power outlet is properly grounded. Do not use the iron if the cord is damaged.
4. Setup
Follow these steps to set up your soldering iron kit:
- Prepare Work Area: Ensure your workspace is clean, well-lit, and well-ventilated. Place the soldering iron stand on a stable, heat-resistant surface.
- Insert Tip: Select the appropriate soldering tip for your task and securely screw it into the heating element of the soldering iron. Ensure it is tightened properly.
- Place Iron on Stand: Place the soldering iron securely on its stand.
- Prepare Sponge: Dampen the cleaning sponge with water. It should be moist, not dripping wet.
- Connect Power: Plug the soldering iron's power cord into a suitable electrical outlet.
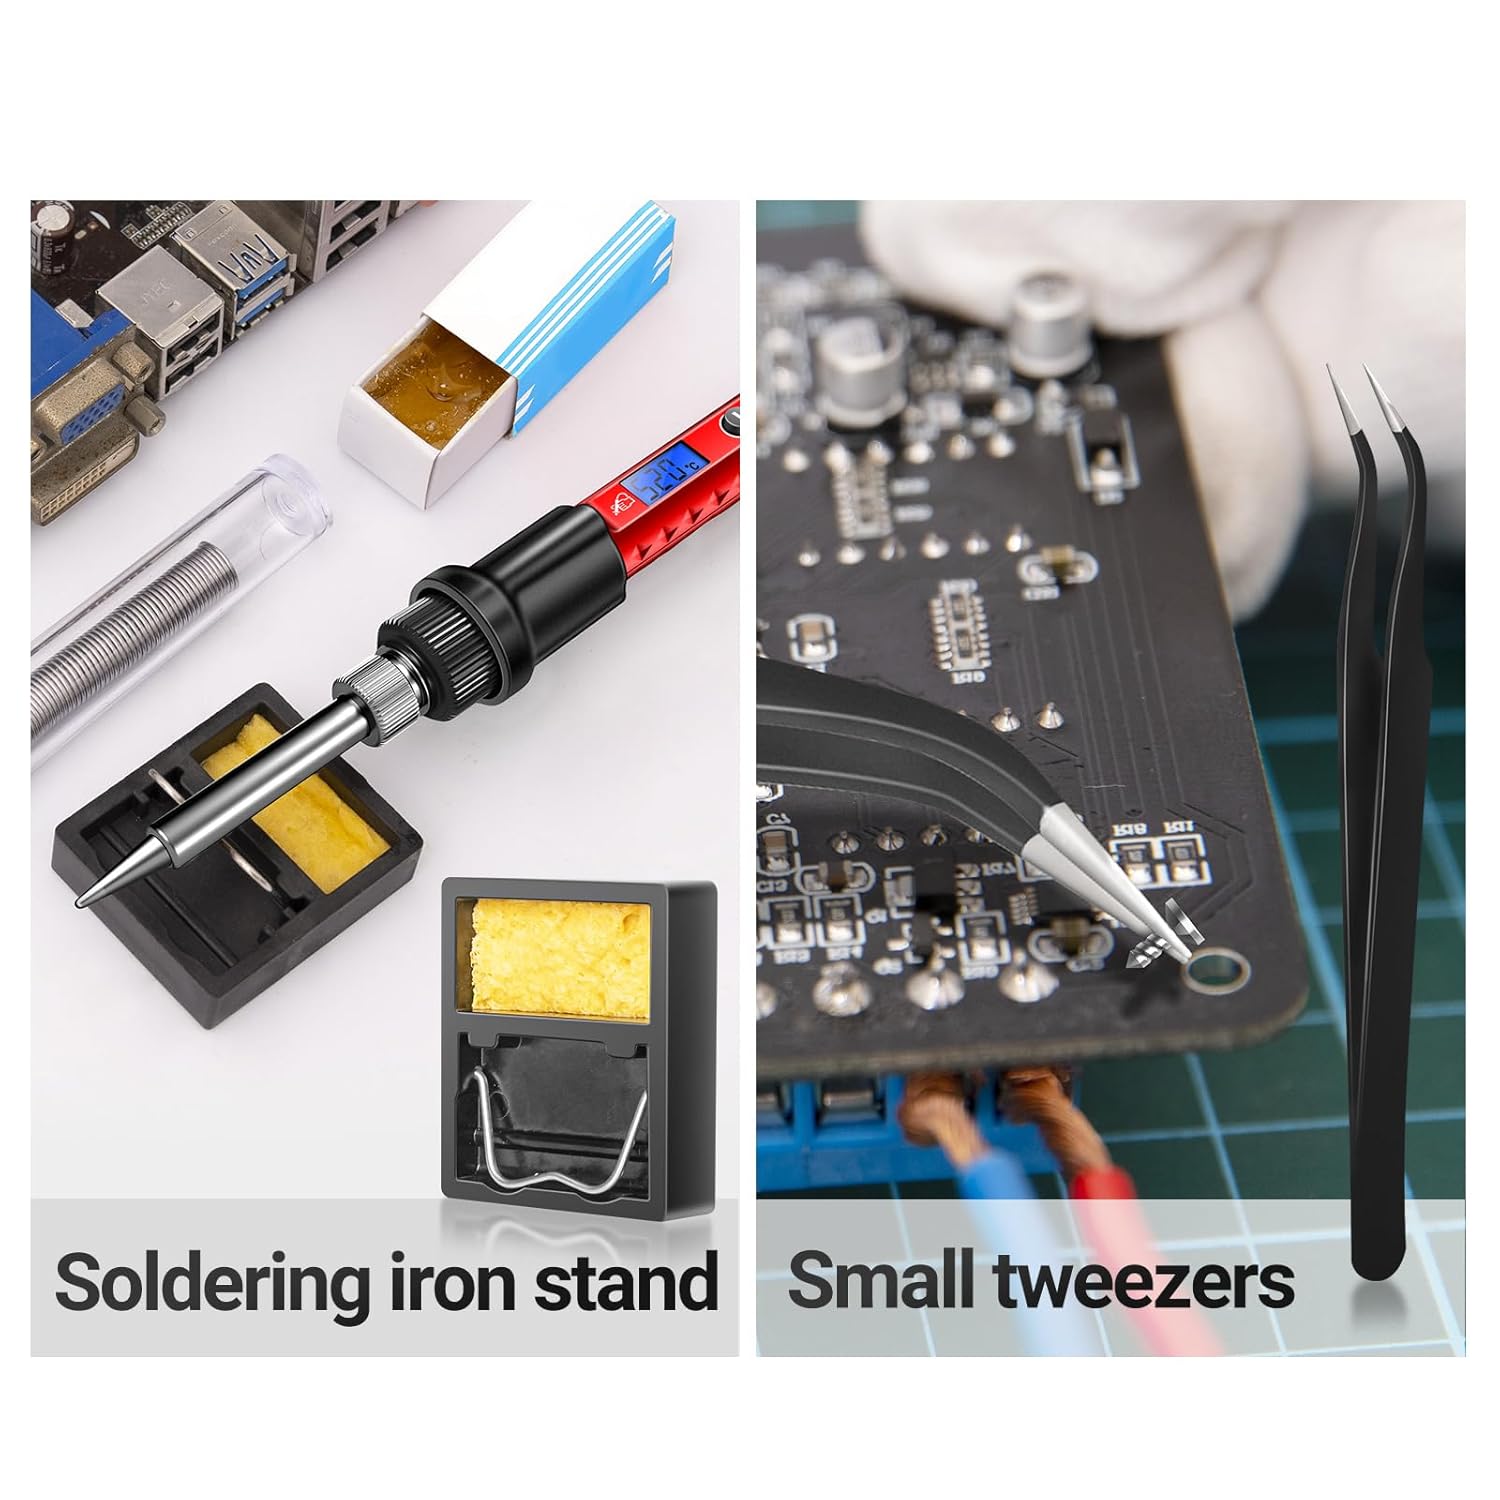
Image 4.1: The soldering iron placed on its stand, alongside the cleaning sponge and tweezers, ready for use.
5. Operating Instructions
The ANENG SL106 soldering iron heats up quickly and features a digital display for temperature control.

Image 5.1: The backlit LCD digital display showing the set temperature.
- Power On and Temperature Adjustment:
Once plugged in, the soldering iron will power on. Use the + and - buttons to adjust the desired temperature. The LCD display will show the current temperature. The adjustable temperature range is 356℉-968℉ (180℃-520℃). The ceramic heating core allows for rapid heating, reaching operating temperature in approximately 10 seconds.

Image 5.2: The soldering iron being used for electronic repair, illustrating its quick heating capability.
- Changing Soldering Tips:
Ensure the soldering iron is unplugged and completely cool before changing tips. Unscrew the current tip and replace it with the desired tip, then tighten securely. The kit includes various tip shapes for different applications.

Image 5.3: A selection of interchangeable soldering tips, including flat, horseshoe, cutter, spike, and conical heads.
- Basic Soldering Steps:

Image 5.4: Visual guide illustrating the six simple steps for effective soldering.
- Preheat: Allow the iron to reach the set temperature.
- Tinning (Optional but Recommended): Lightly melt a small amount of solder onto the tip to improve heat transfer.
- Heat Joint: Apply the hot soldering iron tip to both the component lead and the PCB pad simultaneously.
- Apply Solder: After a few seconds, touch the solder wire to the heated joint (not directly to the iron tip). The solder should flow smoothly onto the joint.
- Remove Solder and Iron: Remove the solder wire first, then the soldering iron. Allow the joint to cool naturally without disturbance.
- Clean Tip: Wipe the tip on the damp sponge after each use to remove excess solder and flux residue.
6. Maintenance
Regular maintenance ensures the longevity and performance of your soldering iron.
- Tip Cleaning: Always clean the soldering tip on the damp sponge before and after each use. A clean tip ensures efficient heat transfer and prevents oxidation.
- Tip Tinning: After cleaning, re-tin the tip with a small amount of fresh solder to protect it from oxidation when not in use.
- Cool Down: Allow the soldering iron to cool completely on its stand before storing.
- Storage: Store the soldering iron and its accessories in the provided storage bag in a dry, safe place.

Image 6.1: The compact storage roll bag for organizing and transporting the soldering iron kit components.
7. Troubleshooting
If you encounter issues with your soldering iron, refer to the following common problems and solutions:
- Iron Not Heating:
- Check if the power cord is securely plugged into both the iron and the outlet.
- Ensure the power outlet is functional.
- Verify the heating element and tip are properly installed.
- Solder Not Melting or Poor Joints:
- Increase the temperature setting.
- Clean the soldering tip thoroughly on the damp sponge and re-tin it.
- Ensure the tip is making good contact with both the component lead and the PCB pad.
- Check if the solder wire is suitable for electronics (e.g., rosin core solder).
- Excessive Smoke:
- Ensure adequate ventilation in your workspace.
- Excessive smoke can indicate too much flux or impurities on the tip. Clean the tip.
8. Specifications
| Feature | Specification |
|---|---|
| Brand | ANENG |
| Model Number | SL106 |
| Wattage | 60 Watts |
| Power Source | Corded Electric |
| Adjustable Temperature Range | 180℃ - 520℃ (356℉ - 968℉) |
| Heating Element | Ceramic |
| Handle Material | Silicone |
| Item Weight | 260 g |
| Special Feature | Portable, Digital LCD Display |
| Specific Uses | Industrial Use, Jewellery Soldering, Residential Use, PCB Soldering, Equipment Repair |
9. Warranty and Support
For warranty information and customer support, please refer to the documentation included with your purchase or visit the official ANENG website. Keep your purchase receipt as proof of purchase for any warranty claims.


