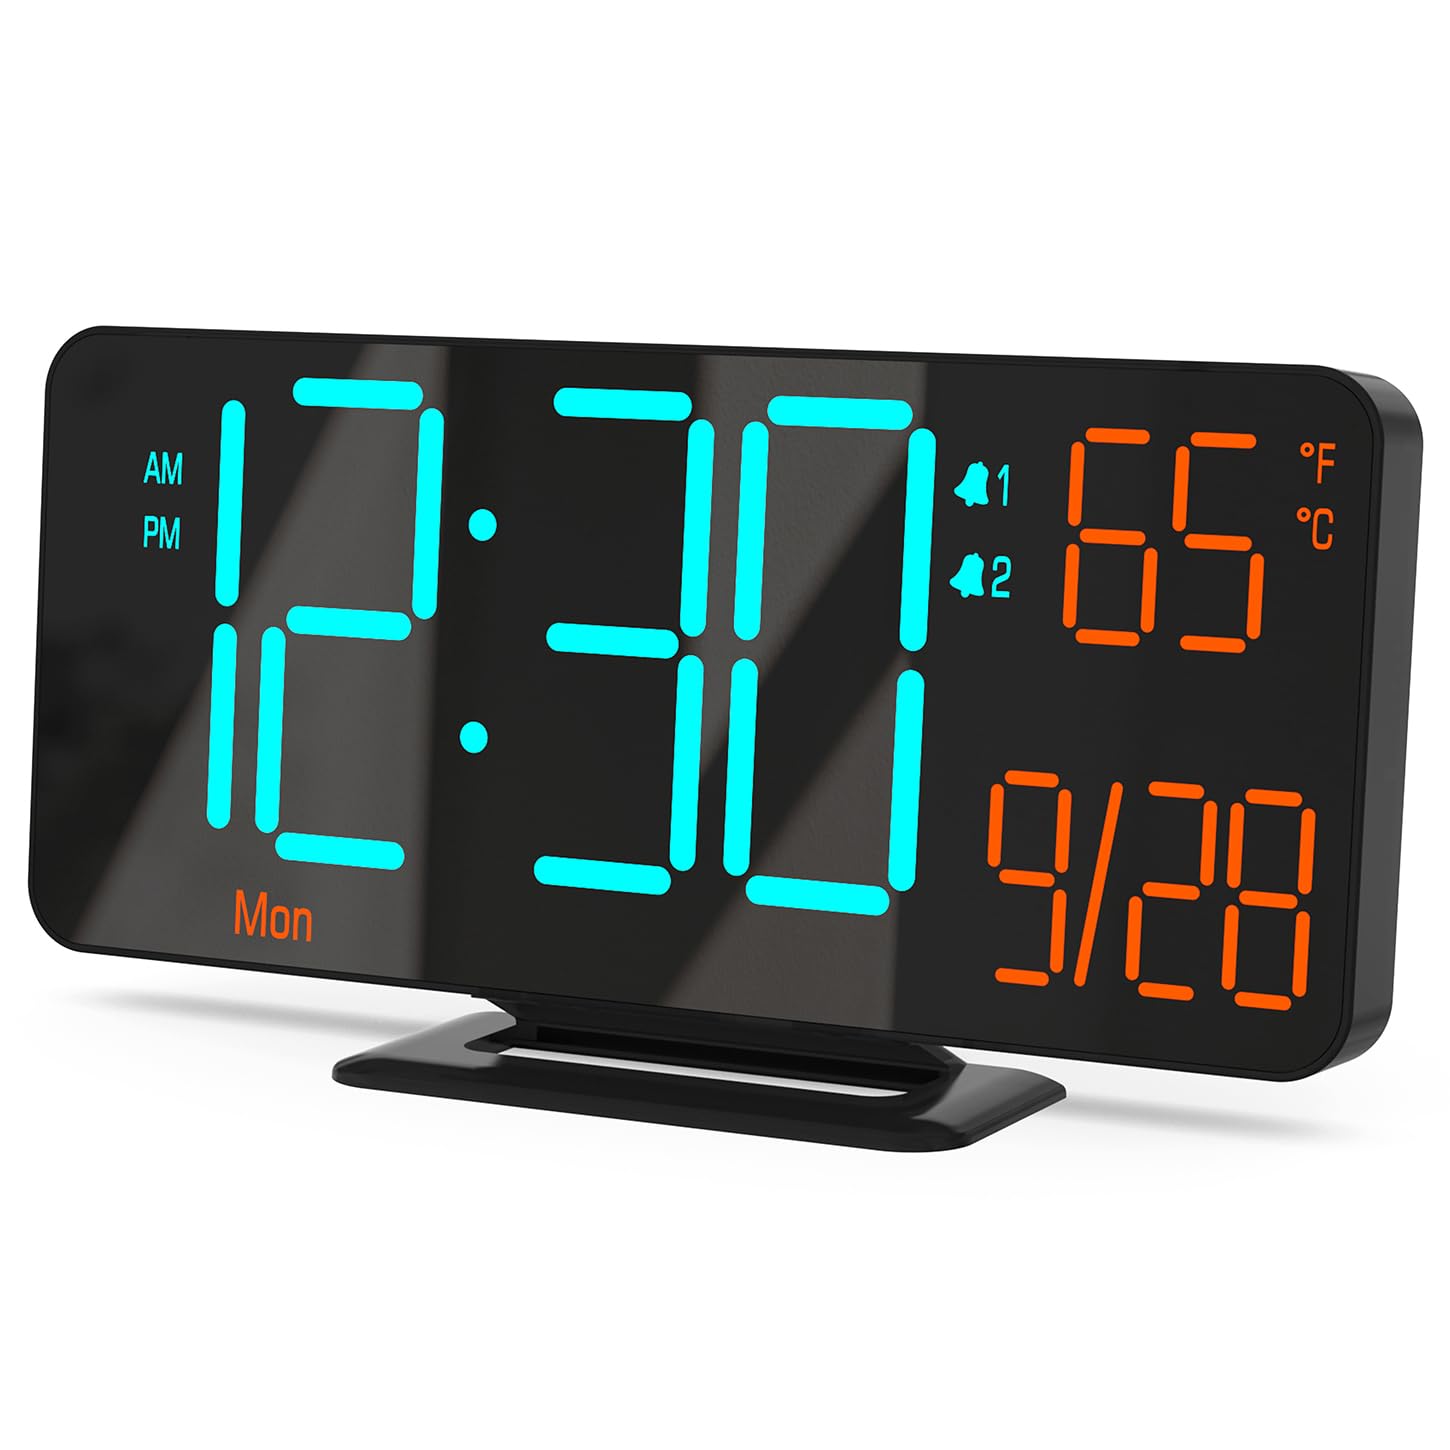
Figure 0: KOSUMOSU Digital Alarm Clock, Model ACD-330.
1. Introduction
This user manual provides detailed instructions for the KOSUMOSU Digital Alarm Clock, Model ACD-330. Please read this manual thoroughly before operating the device to ensure proper use and to understand all features. Keep this manual for future reference.
2. Product Overview
2.1 Key Features
- 6.7-inch LED display with cool blue and orange light digits.
- Automatic and manual dimming capabilities (High, Medium, Low, OFF, Auto).
- Dual alarm clock with snooze function (5-minute snooze).
- Selectable 12/24 hour time format.
- Displays date, day of the week, seconds, and indoor temperature (Fahrenheit/Celsius).
- USB powered (requires 5V/1A AC adapter, not included).
- Includes a button battery for time preservation during power outages.
2.2 Package Contents
- KOSUMOSU Digital Alarm Clock (Model ACD-330)
- USB Power Cable (1.5-meter)
- Lithium Metal Button Battery (pre-installed for backup)
- User Manual (this document)
2.3 Product Diagram

Figure 1: Rear view of the alarm clock with labeled function buttons and dimensions.
- 1. Light Sensor: For automatic dimming.
- 2. Dimming Buttons (-/+): Adjust brightness manually.
- 3. ℉/℃/Sec Button: Toggle between Fahrenheit/Celsius and display seconds.
- 4. SET Button: Enter setting mode for time, date, and alarms.
- 5. Alarm 1 Set Button: Set Alarm 1.
- 6. Alarm 2 Set Button: Set Alarm 2.
- 7. Snooze Button: Activates snooze during an alarm.
- 8. USB-A Power Cable Input: Connects to 5V/1A AC adapter.
- 9. Battery Compartment: For backup button battery.
3. Setup
3.1 Power Connection
Connect the provided USB power cable to the USB-A input port on the back of the alarm clock. Plug the other end of the USB cable into a 5V/1A AC adapter (not included) and then into a wall outlet. The clock display will illuminate.

Figure 2: Power connection setup. An AC adapter is required and not included.
3.2 Battery Backup
The clock includes a pre-installed Lithium Metal button battery. This battery is solely for preserving time settings during a power outage and does not power the display. Ensure the battery is properly seated in its compartment for this function to work.
4. Operating Instructions
4.1 Setting Time and Date
- Press and hold the SET button for approximately 3 seconds to enter time setting mode. The hour digits will flash.
- Use the + or - buttons to adjust the hour.
- Press SET again to confirm the hour and move to minute setting. The minute digits will flash.
- Use the + or - buttons to adjust the minute.
- Press SET again to confirm the minute and move to 12/24 hour format selection.
- Use the + or - buttons to select either 12-hour (with AM/PM indicator) or 24-hour format.
- Press SET again to confirm the format and move to year setting.
- Continue using + or - to adjust the year, month, and day, pressing SET after each adjustment to confirm and proceed.
- After setting the day, press SET one last time to exit setting mode.
4.2 Display Modes (Seconds / Temperature)
The clock can display either seconds or indoor temperature. To switch between these modes, short press the ℉/℃/Sec button.
When displaying temperature, you can toggle between Fahrenheit (℉) and Celsius (℃) by pressing and holding the ℉/℃/Sec button for approximately 3 seconds.

Figure 3: Various display modes including temperature and seconds.
4.3 Brightness Adjustment (Dimming)
The clock offers both manual and automatic dimming features.
- Manual Dimming: Short press the + or - buttons to cycle through brightness levels: High, Medium, Low, and OFF.
- Automatic Dimming: Press and hold the + button for approximately 3 seconds to activate or deactivate auto-dimming. When active, the light sensor on the clock will automatically adjust the display brightness based on ambient light conditions.
Figure 4: Examples of manual and automatic dimming levels.
4.4 Setting Alarms (Alarm 1 & Alarm 2)
The clock features two independent alarms. The setting process is identical for both.
- Press and hold the Alarm 1 Set or Alarm 2 Set button for approximately 3 seconds to enter alarm setting mode. The alarm hour digits will flash.
- Use the + or - buttons to adjust the alarm hour.
- Press the respective Alarm Set button again to confirm the hour and move to minute setting. The alarm minute digits will flash.
- Use the + or - buttons to adjust the alarm minute.
- Press the respective Alarm Set button again to confirm the minute and select the alarm cycle:
- 1-5: Weekdays (Monday-Friday)
- 1-7: Everyday (Monday-Sunday)
- 6-7: Weekends (Saturday-Sunday)
- Press the respective Alarm Set button one last time to save the alarm settings and exit.
4.5 Activating/Deactivating Alarms
To turn an alarm ON or OFF, short press the Alarm 1 Set or Alarm 2 Set button. An alarm icon (1 or 2) will appear on the display when the alarm is active.
4.6 Snooze Function
When an alarm sounds, press the large SNOOZE button on the top of the clock to activate the snooze function. The alarm will pause for 5 minutes and then sound again. The alarm duration is approximately 5 minutes if not snoozed or turned off.
To turn off a sounding alarm completely, press any other button on the back of the clock (e.g., SET, +, -). The alarm will reset for the next scheduled activation.

Figure 5: Illustration of the snooze function.
5. Maintenance
- Clean the clock surface with a soft, dry cloth. Do not use abrasive cleaners or solvents.
- Avoid exposing the clock to extreme temperatures, direct sunlight, or high humidity.
- Do not disassemble the clock. This will void the warranty.
- If the backup battery needs replacement, use a compatible Lithium Metal button battery.
6. Troubleshooting
| Problem | Possible Cause | Solution |
|---|---|---|
| Display is blank. | No power supply. | Ensure the USB cable is securely connected to a 5V/1A AC adapter and the adapter is plugged into a working power outlet. |
| Time is incorrect after power outage. | Backup battery is dead or missing. | Check or replace the Lithium Metal button battery. Reset the time manually. |
| Alarm does not sound. | Alarm is not activated or set incorrectly. | Ensure the alarm icon (1 or 2) is visible on the display. Verify alarm time and cycle settings. |
| Display is too bright/dim. | Manual or auto-dimming settings. | Adjust brightness manually using +/- buttons or toggle auto-dimming by holding the + button. |
| Temperature reading seems inaccurate. | Clock placed near heat source/vent. | Relocate the clock to an area with stable ambient temperature. |
7. Specifications
| Model: | ACD-330 |
| Display Type: | LED |
| Display Size: | 6.7 inches |
| Power Input: | 5V/1A DC (USB powered) |
| Backup Battery: | 1 x Lithium Metal (included) |
| Product Dimensions: | 16.26 x 3.81 x 8.38 cm (6.4 x 1.5 x 3.3 inches) |
| Product Weight: | 131.54 g (0.29 lbs) |
| Special Features: | Auto Dimmable, Calendar Display, Dual Alarm, Snooze, Temperature Display (℉/℃) |
8. Warranty and Support
KOSUMOSU offers a 2-year warranty for this product. If you encounter any problems related to quality or usage, please contact KOSUMOSU customer service for assistance. Contact information can typically be found on the product packaging or the retailer's website where the product was purchased.
For further support or inquiries, please refer to the official KOSUMOSU website or contact their customer support team.