1. Introduction
This manual provides detailed instructions for the installation, operation, and maintenance of your CGOGC Car Android Stereo for Mitsubishi Outlander Sport 2011-2017. Please read this manual thoroughly before use to ensure proper functionality and safety.
2. Product Features
- Compatibility: Suitable for Mitsubishi Outlander Sport 2011-2017.
- Built-in Carplay and Android Auto: Supports wireless and wired connections for superior voice assist control and access to phone functions (music, GPS navigation, calls, notifications, messages).
- Powerful Hardware: Android smart operating system, Octa Core 2.0GHz processor, 2GB RAM, 32GB ROM, 10-inch Super Clear IPS Screen (1280*720 resolution).
- Rich Functions: GPS navigation, FM/AM/RDS radio, Bluetooth, Bluetooth music, USB, multi-format music player, 1080p video player, 5G WiFi, APP download, backup camera support, audio output, AUX audio and video input, external microphone, SWC steering wheel control.
- DSP Digital Processing Audio: Built-in DSP sound effect processing chip with 6 sound settings (Smart Bass, Balance, Emperor, 30-EQ, Loudness, Filter) and TDA7388 power amplifier chip for customized sound.
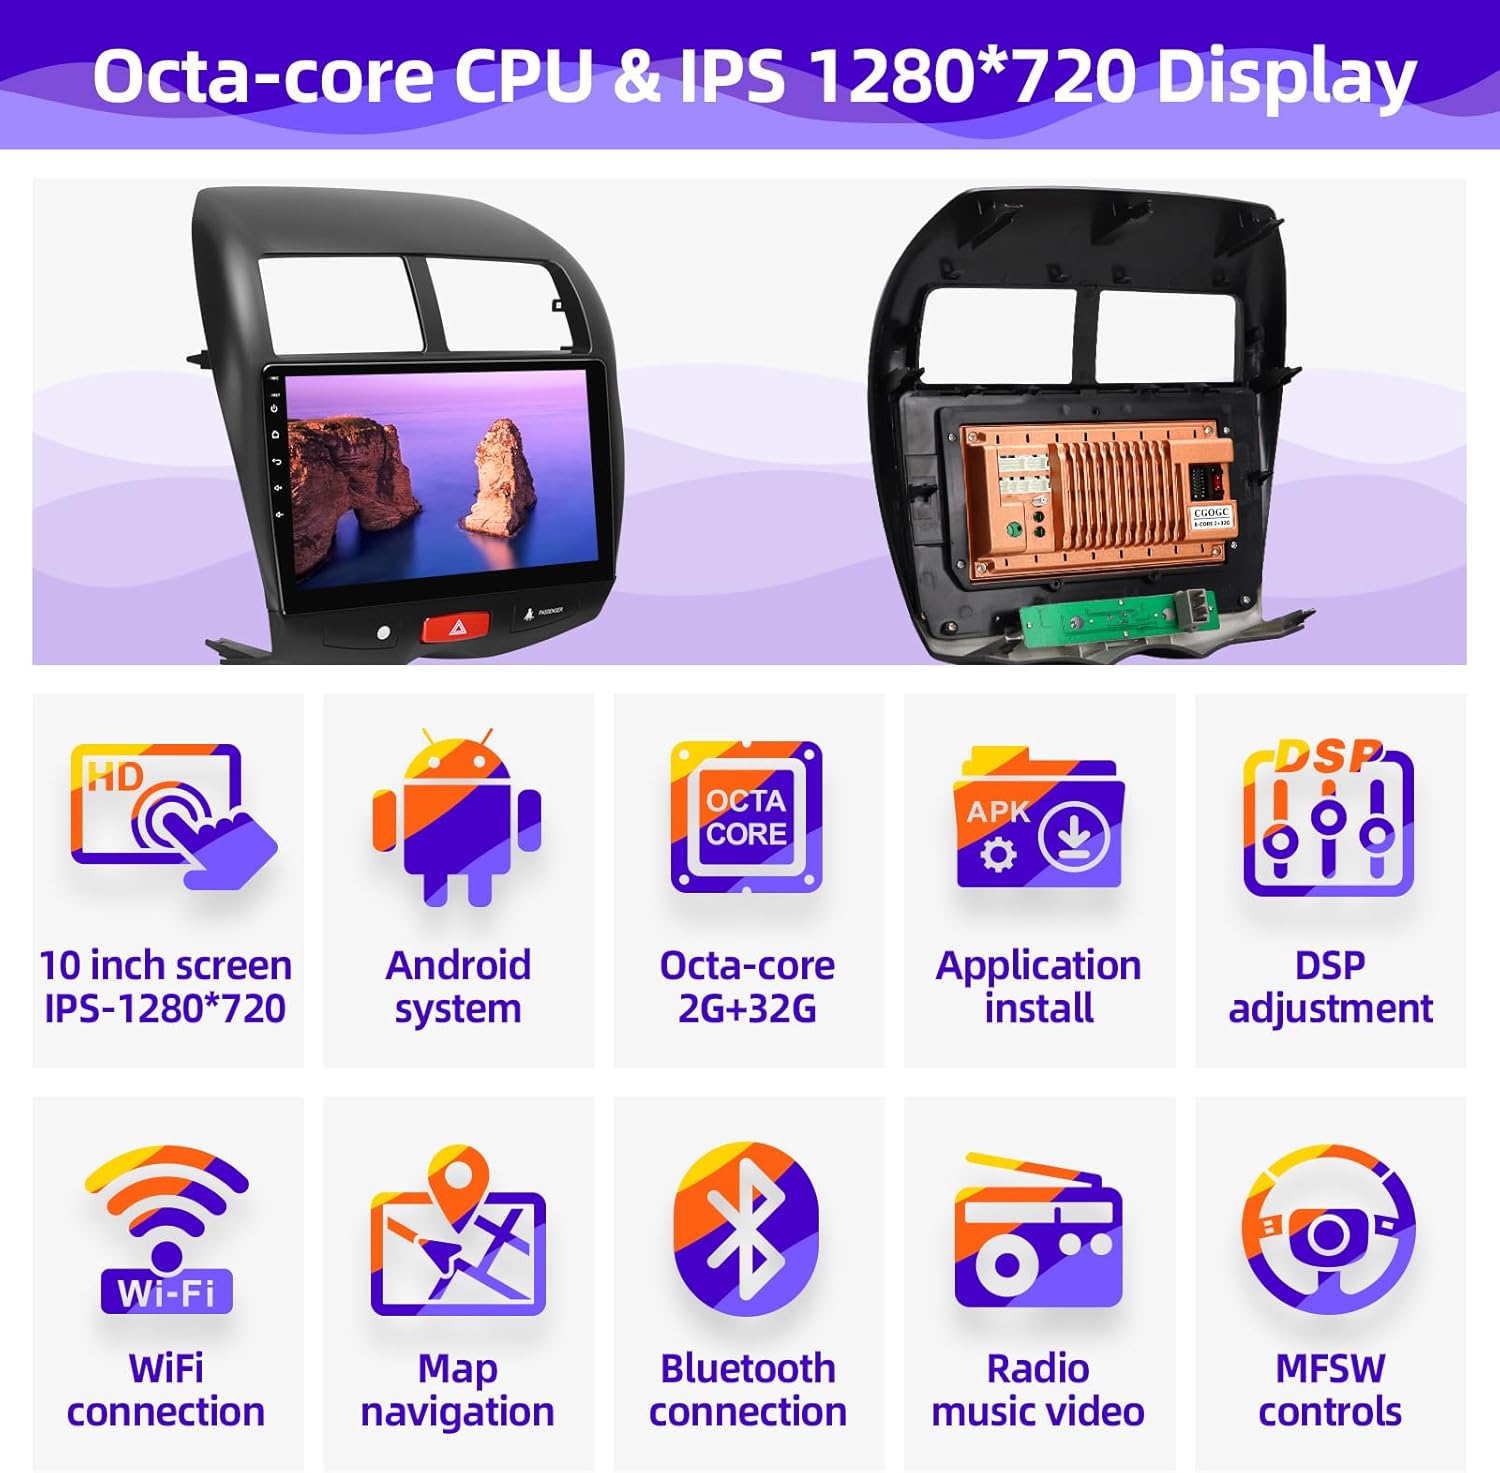
Figure 1: Key Features Overview
3. Package Contents
Verify that all components are present in the package:
- Head Unit (Car Radio)
- Power Cable
- Adapter Cable
- RCA Cable
- Dual USB Cables
- Camera (if included in your package)
- Camera IN Cable
- GPS Antenna
- External Microphone
- Installation Tool

Figure 2: Product Accessory List
4. Installation Guide
4.1 Pre-Installation Check
Before beginning installation, ensure your vehicle is compatible with the unit (Mitsubishi Outlander Sport 2011-2017). Disconnect the vehicle's battery to prevent electrical shorts.
4.2 Removing the Original Radio
Carefully use the provided installation tool to pry open the trim around the original car radio player. Once the trim is loose, remove the screws securing the original unit and gently pull it out.

Figure 3: Before and After Installation Comparison
4.3 Wiring Connections
Connect the harness plugs to the corresponding sockets on the back of the new head unit. Ensure all connections are secure. Refer to the wiring diagram below for detailed connections.
- USB-1 Port
- USB-2 Port
- RCA Cable Connection Plug
- External Microphone Connection Plug
- Radio Antenna Connection Plug
- Power and Speaker Connection Plugs
- Backup Camera
- GPS Antenna
- Backup Camera Video Input Plug
- Backup Camera Detection Cable
- Backup Camera Ground Cable
- Backup Camera Power Supply 12V
- Backup Camera Video Cable

Figure 4: Head Unit Wiring Diagram
4.4 Installing the New Head Unit
Once all connections are made, carefully slide the new head unit into the center console opening until it clicks into place. Secure it with screws if necessary and reattach the trim.
Video 1: Product Installation and Demo. This video demonstrates the step-by-step installation process and showcases various features of the car multimedia player. Note: The video features a Jeep Renegade, but the installation steps and product functionalities are generally applicable.
5. Operating Instructions
5.1 Power On/Off
Press and hold the power button (usually located on the front panel) to turn the unit on or off. A short press typically mutes/unmutes audio.
5.2 Touchscreen Navigation
The unit features a responsive 10-inch IPS touchscreen. Navigate through menus and applications by tapping, swiping, and pinching gestures similar to a smartphone or tablet.
5.3 Steering Wheel Controls (SWC)
The unit supports existing steering wheel controls for convenient operation. Functions such as volume control, track skipping, and mode switching can be mapped through the system settings.

Figure 5: Steering Wheel Control Functionality
6. Media and Connectivity
6.1 Wireless Carplay & Android Auto
Connect your iPhone or Android device wirelessly or via USB to access navigation, music, calls, and messages directly on the stereo display. This feature allows for voice control via Siri or Google Assistant.

Figure 6: Wireless Carplay and Android Auto Interface
6.2 Bluetooth Connection
Pair your smartphone via Bluetooth for hands-free calling and audio streaming. Navigate to the Bluetooth settings on the head unit and your phone to initiate pairing.
6.3 FM/AM/RDS Radio
Access FM and AM radio stations. The RDS (Radio Data System) function provides additional information like station name and song title where available.
6.4 Music and Video Playback
The unit supports various audio and video formats (MP3, APE, FLAC, WAV, MP4, AVI, MKV, WMV). Play media from USB drives or internal storage. Enjoy 1080p video decoding and split-screen display for multitasking.
6.5 Wi-Fi and App Installation
Connect to a Wi-Fi hotspot to download and install applications from the Google Play Store, browse the internet, and stream online content.
7. Sound Settings (DSP)
The built-in DSP chip allows for advanced audio customization. Access the DSP settings to adjust:
- Equalizer: Adjust 30-band EQ settings for various music genres (Flat, Pop, Rock, Jazz, Classic, User).
- Loudness: Control low/high frequency gain and Smart Bass.
- Filter: Adjust high-pass (HPF) and low-pass (LPF) filter frequencies for front and rear speakers.
- Balance: Adjust sound field balance to optimize audio for different seating positions.
- Sound Delay: Adjust the time delay for each speaker based on its distance from the listener.

Figure 7: DSP Sound Settings Interface
8. Navigation
The unit includes GPS navigation with support for online and offline maps. You can install various navigation applications from the Google Play Store to suit your preferences.

Figure 8: GPS Navigation Interface
9. Rear View Camera
The system supports an HD backup camera for enhanced safety during reversing. The display automatically switches to the camera feed when the vehicle is in reverse gear.

Figure 9: HD Backup Camera View
10. Specifications
| Feature | Detail |
|---|---|
| Brand | CGOGC |
| Vehicle Service Type | Car |
| Screen Size | 10 Inches |
| Special Feature | Touchscreen |
| Connectivity Technology | Bluetooth, USB, Wi-Fi |
| Map Type | North America |
| Operating System | Android |
| Memory Storage Capacity | 32 GB |
| Human-Interface Input | Touchscreen |
| Control Method | Touch |
| Supported Satellite Navigation System | GPS |
11. Troubleshooting
This section addresses common issues you might encounter. For more complex problems, please contact customer support.
11.1 Airbag Warning Light After Installation
Issue: The airbag warning light illuminates after installing the stereo.
Solution: This can occur if the factory hazard button circuit board is unplugged and the ignition is turned on before the new stereo and original circuit board are fully reconnected. Ensure the ignition key is out of the ignition until all components, including the original hazard circuit board and the new circuit board, are securely plugged in. If the light is already on, a diagnostic scanner may be required to clear the fault code.
11.2 No Sound from Speakers
Issue: No audio output after installation.
Solution: Double-check all speaker wire connections in the harness. Ensure they are correctly matched and securely plugged in. Verify that the volume is not muted and the audio source is correctly selected.
11.3 Backup Camera Not Displaying
Issue: The backup camera image does not appear when reversing.
Solution: Confirm that the backup camera video input plug, detection cable, and ground cable are all correctly connected to the head unit and the camera. Ensure the camera is receiving power (12V). Some vehicles may require a specific trigger wire to activate the camera display.
12. Maintenance
To ensure the longevity and optimal performance of your car stereo, follow these maintenance guidelines:
- Cleaning: Use a soft, dry cloth to clean the screen and exterior. Avoid abrasive cleaners or solvents.
- Software Updates: Periodically check for software updates through the system settings or the manufacturer's website to ensure you have the latest features and bug fixes.
- Temperature: Avoid exposing the unit to extreme temperatures for extended periods.
13. Warranty and Support
Your CGOGC Car Android Stereo comes with a 1-year warranty from the date of purchase. This warranty covers manufacturing defects and malfunctions under normal use.
For technical support, warranty claims, or any questions regarding your product, please contact CGOGC customer service. You can typically find contact information by clicking "Sold by: CGOGC" on the product page and then "Ask question".

Figure 10: Contact Customer Support