
HITBOX ARC200MINI3
HITBOX ARC200MINI3 Mini Stick Welder User Manual
Model: ARC200MINI3 | Brand: HITBOX
1. Introduction
This manual provides essential instructions for the safe and effective operation of your HITBOX ARC200MINI3 Mini Stick Welder. Please read this manual thoroughly before use and retain it for future reference.
2. Safety Information
Welding operations involve significant risks. Always prioritize safety to prevent injury or damage. This welder includes multiple safety features such as over-heating, over-current, and over-loading protection. However, proper personal protective equipment (PPE) and adherence to safety guidelines are crucial.
General Safety Precautions:
- Wear appropriate personal protective equipment (PPE), including a welding helmet, gloves, and protective clothing.
- Ensure adequate ventilation in the work area to avoid inhaling fumes.
- Keep flammable materials away from the welding area.
- Ensure the work area is dry and free from moisture.
- Do not touch live electrical parts.
- Always disconnect power before performing maintenance or adjustments.
- Use only genuine replacement parts and accessories.
3. Package Contents
Upon unpacking, verify that all items listed below are present and undamaged:

Image: HITBOX ARC200MINI3 Mini Stick Welder with its accessories, including an instruction manual, ground clamp, electrode holder, welding rods, and a cleaning brush.
- HITBOX ARC200MINI3 Mini Stick Welder Unit
- Instruction Manual
- Ground Clamp (4.9 ft)
- Electrode Holder (4.9 ft)
- 5 x Welding Rods (2.0 mm)
- Cleaning Brush
Note: A WP17V TIG torch is required for Lift TIG welding and must be purchased separately.
4. Product Features
The HITBOX ARC200MINI3 is designed for versatility and ease of use, incorporating advanced welding technologies:
- 2-in-1 Welding Capability: Supports both ARC (MMA) and Lift TIG welding functions.
- User-Friendly Interface: Features an LCD display and built-in functions like VRD, Hot Start, Arc Force, and Anti-Stick for easier arc striking and prevention of electrode sticking.
- Outstanding Welding Capability:
- ARC: Compatible with 1.6mm-2.5mm welding rods, welding thickness 1mm-6mm.
- Lift TIG: Compatible with 1.6mm-2.4mm tungsten electrodes, welding thickness 0.8mm-4mm.
- Suitable for carbon steel, iron, galvanized steel, and stainless steel.
- Portable Design: Compact (4.5x5.9x9.2 inches) and lightweight (5.9 lbs) for easy transport.
- IGBT Inverter Technology: Ensures professional-grade welding results.
- Safety Protections: Includes over-heating, over-current, and over-loading protection.

Image: Front view of the HITBOX ARC200MINI3 Mini Stick Welder, showcasing its compact design and control panel.
5. Setup Instructions
5.1. General Connections
Before connecting any cables, ensure the welder is turned off and unplugged from the power source.
5.2. Stick Welding (MMA) Setup
- Connect the electrode lead to the positive (+) output terminal on the front panel.
- Connect the ground clamp to the negative (-) output terminal on the front panel. The other side of the clamp should be securely connected to the metal workpiece.
- Insert the welding electrode into the electrode holder.
- Turn on the power switch. The MMA light on the display should illuminate.
- Adjust the welding current using the control knob to the desired setting for your electrode and material thickness.
Video: Demonstrates the setup and operation of the HITBOX ARC200MINI3 for stick welding, including connecting cables and performing a weld.
5.3. Lift TIG Welding Setup
- Connect the TIG torch to the negative (-) output terminal on the front panel.
- Connect the Argon Cylinder and the gas inlet hose of the TIG torch.
- Connect the ground clamp to the positive (+) output terminal on the front panel. The other side of the clamp should be securely connected to the metal workpiece.
- Turn on the power switch. Press the function button to switch the mode to Lift TIG welding.
- Adjust the welding current using the control knob.

Image: Visual guide showing the connections for both Stick (MMA) and Lift TIG welding modes on the HITBOX ARC200MINI3.
6. Operating Instructions
6.1. General Operation
- Ensure all connections are secure and the workpiece is properly grounded.
- Select the appropriate welding mode (MMA or Lift TIG) using the function button.
- Adjust the welding current based on the material thickness and electrode/tungsten size.
- Always wear a welding helmet and protective gear before striking an arc.
6.2. ARC Welding (MMA)
The Hot Start, Arc Force, and Anti-Stick functions are designed to enhance arc stability and prevent electrode sticking, making it easier for both beginners and experienced welders.

Image: A person performing stick welding with the HITBOX ARC200MINI3, demonstrating the welding process.
6.3. Lift TIG Welding
For Lift TIG welding, gently touch the tungsten electrode to the workpiece and then lift it slightly to initiate the arc. Maintain a consistent arc length and travel speed for optimal results.
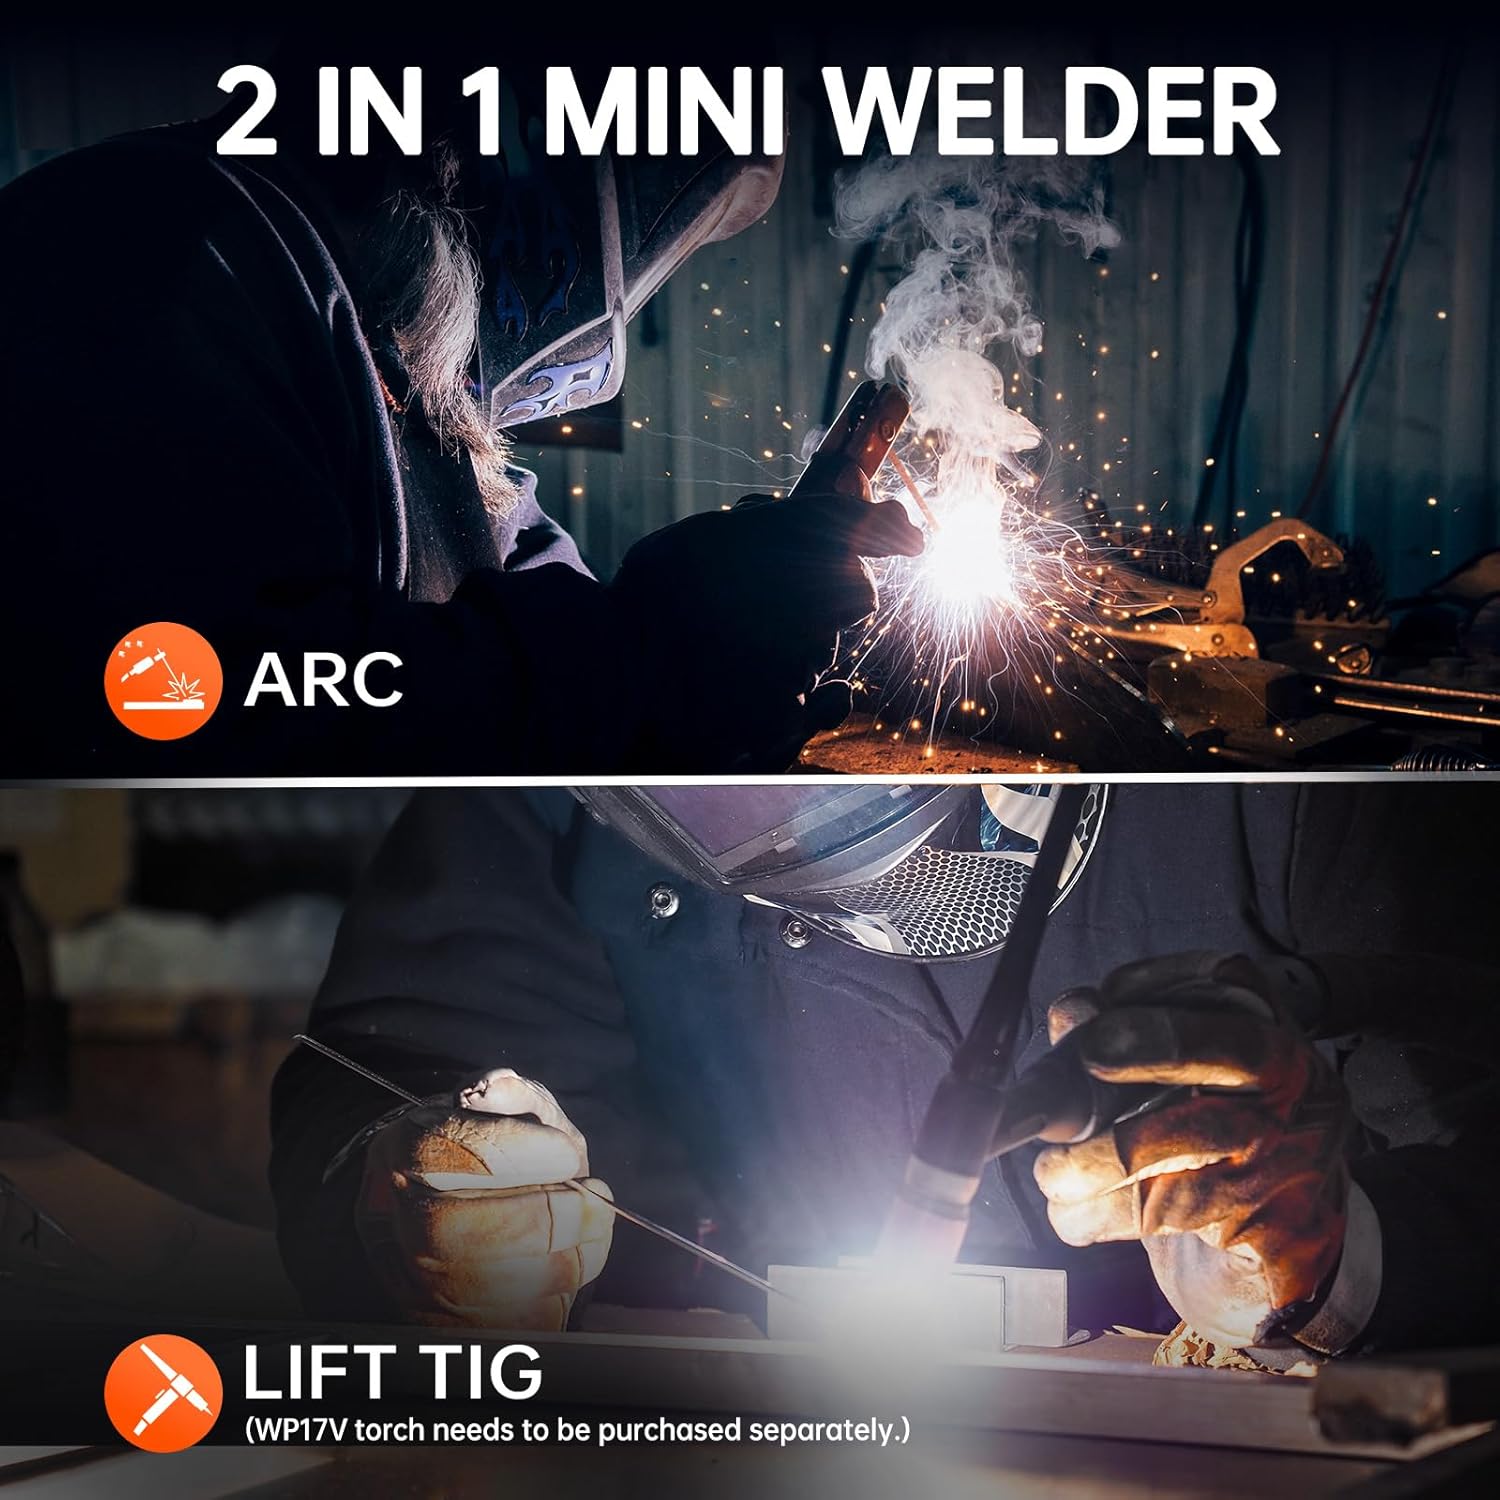
Image: A person performing Lift TIG welding, highlighting the precision and control offered by the HITBOX ARC200MINI3.
7. Maintenance
Regular maintenance ensures the longevity and optimal performance of your welder.
- Cleaning: Periodically clean the exterior of the machine with a dry cloth. Use compressed air to clear dust from ventilation openings.
- Cable Inspection: Regularly inspect all cables, connections, and the electrode holder/TIG torch for wear, damage, or loose connections. Replace damaged components immediately.
- Storage: Store the welder in a dry, dust-free environment when not in use.
8. Troubleshooting
If you encounter issues, refer to the following common problems and solutions:
| Problem | Possible Cause | Solution |
|---|---|---|
| No Arc / Weak Arc | Improper current setting, poor ground connection, damp electrode (MMA), incorrect tungsten (TIG). | Adjust current, ensure secure ground, use dry electrodes, check tungsten type/sharpness. |
| Electrode Sticking (MMA) | Low current, improper arc length, electrode type. | Increase current, maintain proper arc length, use appropriate electrode. |
| Overheat Protection Activated | Exceeded duty cycle, poor ventilation. | Allow machine to cool down, ensure clear ventilation, reduce welding time. |
| "ERR" Displayed | Internal fault, over-voltage/current. | Turn off and restart. If persistent, contact customer support. |
9. Specifications
| Feature | Detail |
|---|---|
| Model Number | ARC200MINI3 |
| Voltage | 110 Volts |
| Item Weight | 5.9 pounds |
| Product Dimensions | 9.25 x 4.5 x 5.9 inches |
| Material | Metal |
| Manufacturer | HITBOX |
| ARC Rod Diameter | 1.6mm-2.5mm |
| ARC Welding Thickness | 1mm-6mm |
| Lift TIG Tungsten Diameter | 1.6mm-2.4mm |
| Lift TIG Welding Thickness | 0.8mm-4mm |
10. Warranty & Support
HITBOX provides 2 years of quality support for this mini stick welder. For technical assistance, warranty claims, or further inquiries, please contact HITBOX customer service through their official channels or visit their website.
For more information, visit the HITBOX Store on Amazon.
Related documentsARC200MINI3


Ask a question about this manual
Ask about setup, troubleshooting, compatibility, parts, safety, or missing instructions. Manuals+ will review the question and use this page’s manual context to help answer it.