
1. Product Overview
The IKOED Z02NOAPP Fingerprint Smart Door Lock offers a secure and convenient keyless entry solution for various residential and commercial settings. This biometric door knob integrates multiple unlocking methods, including fingerprint, passcode, IC card, and traditional mechanical key, providing flexibility and enhanced security.

Image 1.1: IKOED Z02NOAPP Fingerprint Smart Door Lock with included keys and IC cards.
Key Features:
- 4-in-1 Unlocking Methods: Fingerprint, Passcode, IC Card, and Mechanical Key.
- Fast Fingerprint Recognition: Unlocks in approximately 0.2 seconds with a 99% recognition rate.
- Anti-Peep Passcode: Allows entry of random digits before and after the actual passcode to prevent unauthorized viewing.
- Automatic Locking: Configurable auto-lock feature for added security.
- Emergency Power: Equipped with a Type-C interface for temporary emergency charging using a power bank.
- Easy Installation: Designed for most US standard doors, requiring no additional drilling.
2. Safety Information
Please read all safety instructions carefully before installation and use. Failure to follow these instructions may result in product damage, property damage, or personal injury.
- Do not expose the lock to direct sunlight, rain, or corrosive substances.
- Use only specified AAA batteries. Do not mix old and new batteries, or different types of batteries.
- The Type-C port is for emergency power supply only. Do not use it for regular charging, as this may damage the circuit board.
- Keep mechanical keys in a safe location outside the property to be used as a backup.
- Ensure all components are securely fastened during installation to prevent loosening.
3. Package Contents
Verify that all items are present in the package before beginning installation:
- IKOED Z02NOAPP Smart Door Lock (Front and Rear Handles)
- Mortise Latch
- Strike Plate
- Installation Screws and Hardware
- Mechanical Keys (2)
- IC Cards (2)
- User Manual
4. Installation Guide
The IKOED Z02NOAPP Smart Door Lock is designed for straightforward installation on most standard US doors. No additional drilling is typically required. Please follow these general steps:
- Prepare the Door: Ensure your door meets the specified dimensions (backset, door thickness). The lock fits door thicknesses from 1-3/8" (35mm) to 2-1/8" (55mm).
- Install the Mortise Latch: Insert the latch into the door edge and secure it with screws. Ensure the latch direction is correct for your door swing.
- Install the Front Handle: Route the cable through the door hole and attach the front handle.
- Install the Rear Handle: Connect the cable from the front handle to the rear handle. Secure the rear handle to the door using the provided screws.
- Install Batteries: Open the battery cover on the rear handle and insert 4 AAA batteries (not included).
- Test Operation: After installation, test all unlocking methods and ensure the handle operates smoothly.

Image 4.1: Illustrates the ease of installation with a screwdriver.

Image 4.2: Detailed diagram showing compatible door dimensions and lock components.
The lock is compatible with both left-handed and right-handed doors. Refer to the detailed instructions in the included manual for specific adjustments.

Image 4.3: Demonstrates the lock's compatibility with both left and right-handed door configurations.
5. Operation
The IKOED Z02NOAPP offers multiple convenient ways to unlock your door.

Image 5.1: Visual representation of unlocking methods: Key, Fingerprint, Password, and IC Card.
5.1. Unlocking with Fingerprint
The fingerprint sensor provides quick and secure access.
- Registration: Follow the voice prompts on the lock to register new fingerprints. You can store up to 50 unique fingerprints.
- Unlocking: Place your registered finger on the fingerprint sensor. The lock will unlock in approximately 0.2 seconds if the fingerprint is recognized.

Image 5.2: Demonstrates placing a finger on the sensor for quick unlocking.
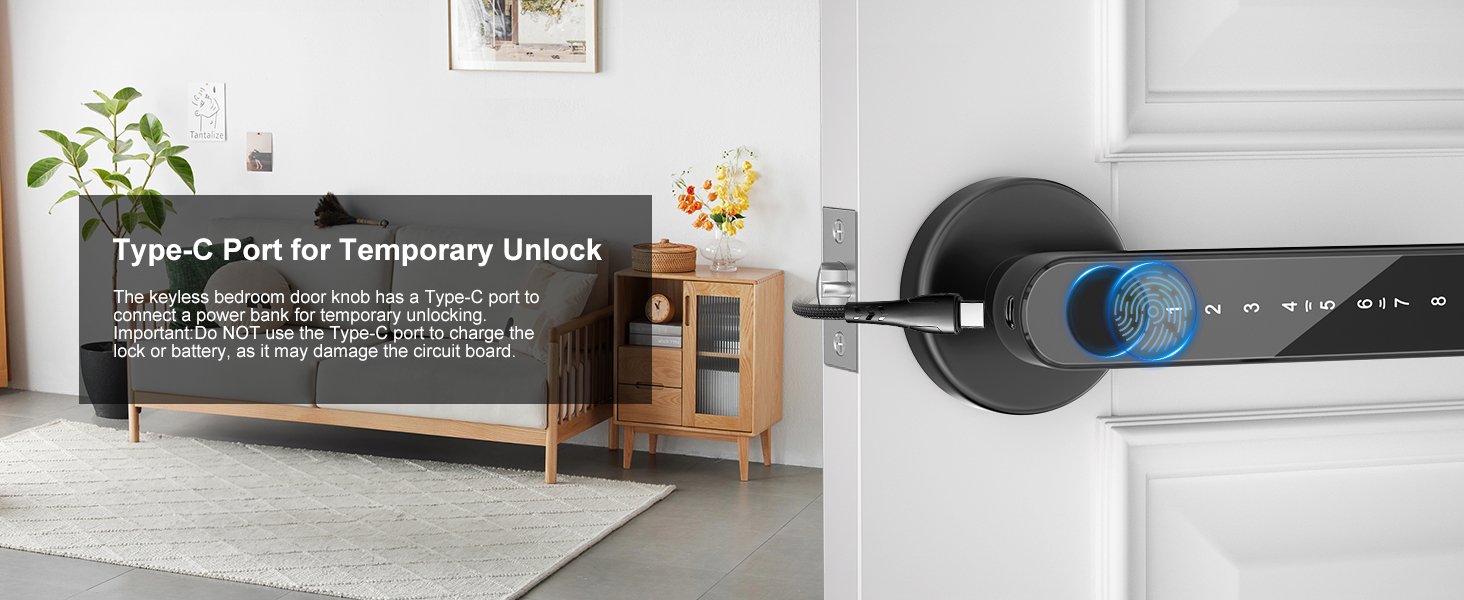
Image 5.3: Highlights the 0.3s recognition speed, <0.01% false acceptance rate, and <99.9% recognition rate.
5.2. Unlocking with Passcode
Use a numerical passcode for entry. The anti-peep feature enhances security.
- Setting Passcode: Follow the voice prompts to set a new passcode. The lock supports up to 100 passcodes.
- Anti-Peep Function: To prevent others from guessing your passcode, you can enter any random digits before or after your actual passcode. For example, if your passcode is 123456, you can enter 789123456012.
- Unlocking: Enter your passcode (with or without random digits) followed by the '#' key.

Image 5.4: Illustrates how to use the anti-peep passcode feature by adding random digits.
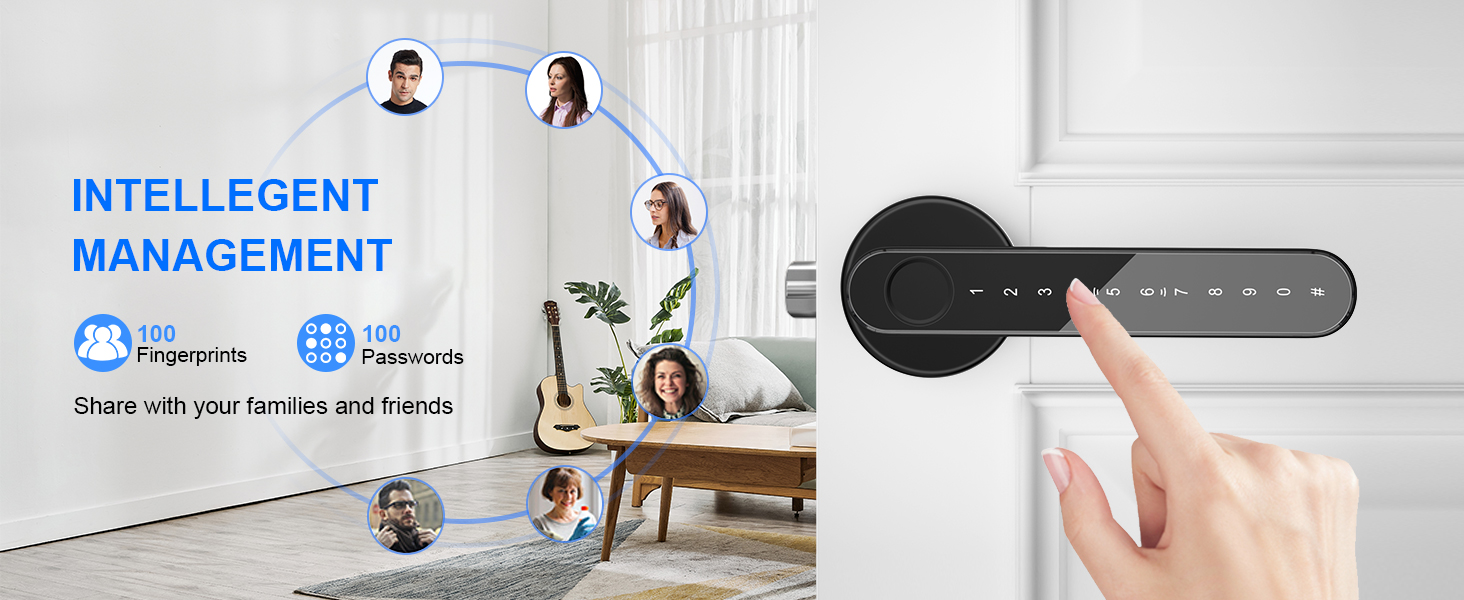
Image 5.5: Explains the anti-peeping keyboard, allowing virtual passwords to be entered before and after the correct password.
5.3. Unlocking with IC Card
The lock supports IC cards for convenient tap-to-unlock access.
- Registration: Follow the voice prompts to register new IC cards.
- Unlocking: Present a registered IC card to the designated sensor area on the lock.
5.4. Unlocking with Mechanical Key
For traditional access or in case of emergency, use the provided mechanical keys.
- Insert the key into the keyhole and turn to unlock.
- It is recommended to keep mechanical keys in a secure, accessible location outside the door.
5.5. Automatic Locking (Auto-Lock)
The lock can be configured to automatically lock after a set period once the door is closed. This feature provides peace of mind, ensuring your door is always secured.
- Refer to the detailed settings in the full user manual for configuring the auto-lock delay.
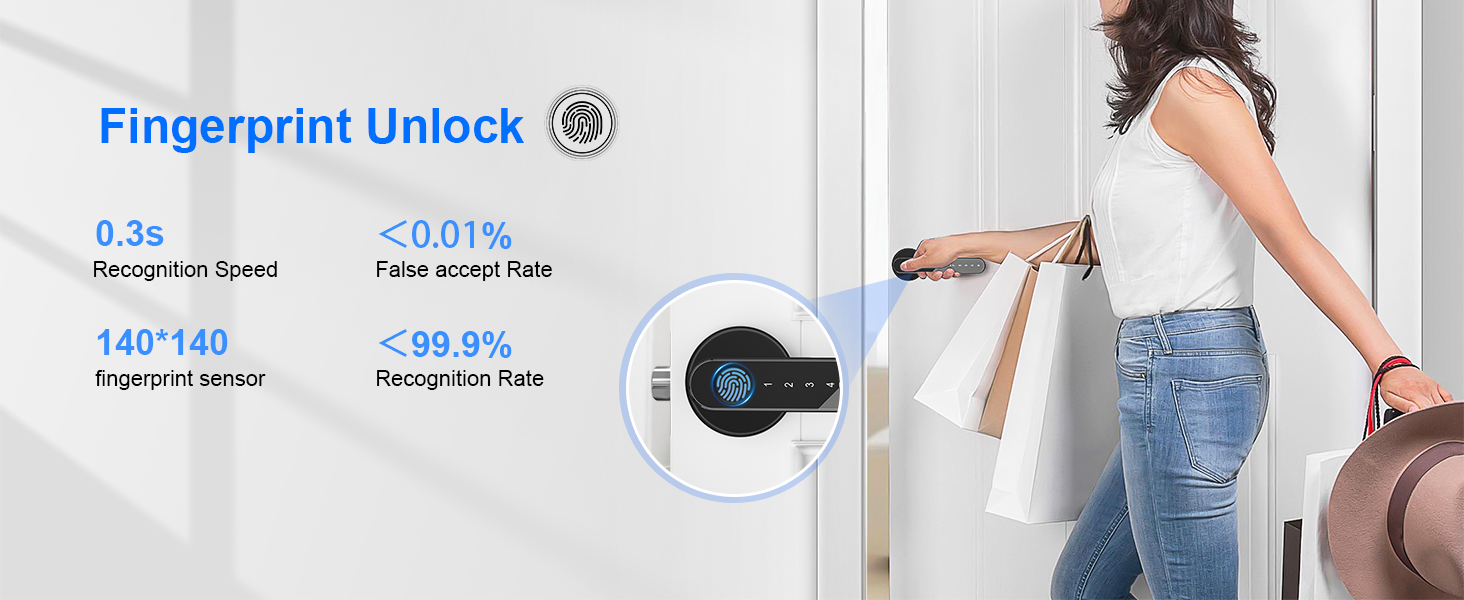
Image 5.6: Illustrates the auto-lock feature, preventing the door from being left unlocked.
5.6. Anti-Lock Function
The one-key anti-lock function, located on the backside lock handle, provides an additional layer of privacy and security. When activated, only administrators can unlock the door from the outside.
5.7. Silent Mode
The Silent Mode allows for quiet entry and exit, ideal for sensitive environments or late-night use. This mode disables audible feedback from the lock.
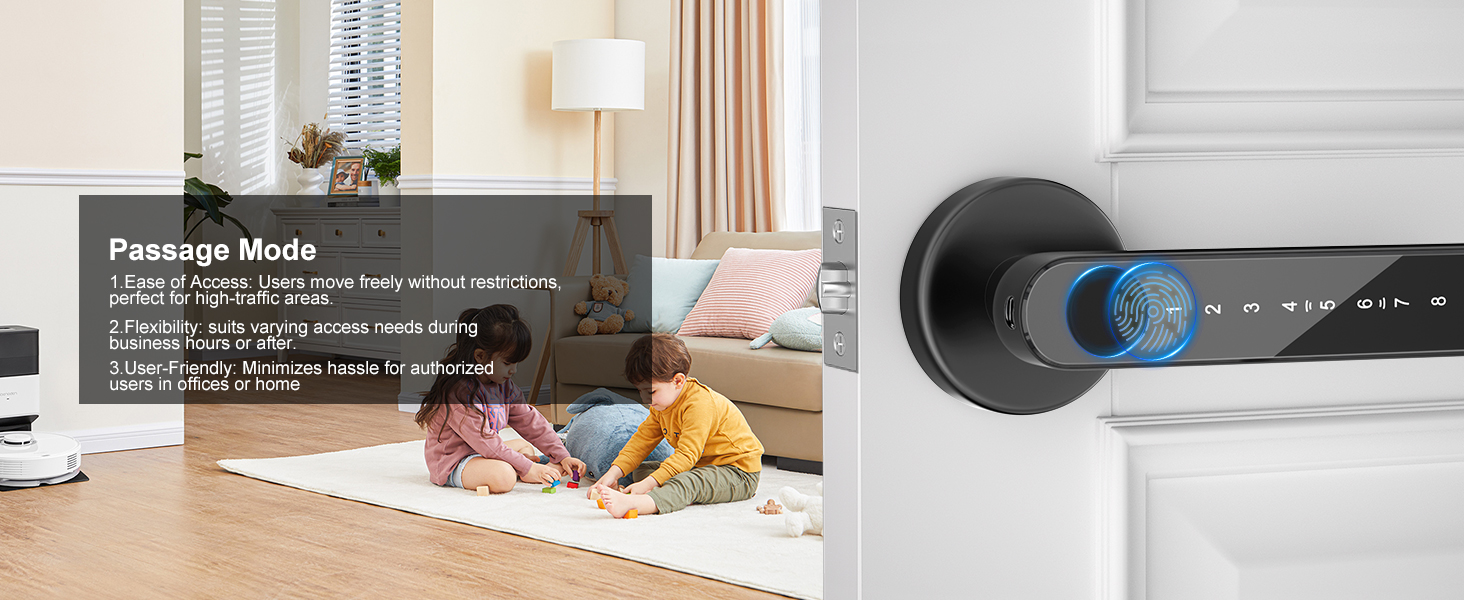
Image 5.7: Depicts the Silent Mode, offering discreet access for quiet environments.
5.8. Passage Mode
Passage Mode allows the door to remain unlocked for continuous access, eliminating the need for repeated unlocking. This is suitable for high-traffic areas during specific times.

Image 5.8: Shows Passage Mode, enabling free movement without restrictions, ideal for busy areas.
5.9. User Management
The lock supports managing multiple users with different access methods.
- Adding Users: Follow the voice prompts to add new fingerprints, passcodes, or IC cards for family members or authorized personnel.
- Deleting Users: Instructions for removing individual users or all users can be found in the full manual.
- The lock can store up to 50 fingerprints and 100 passcodes.
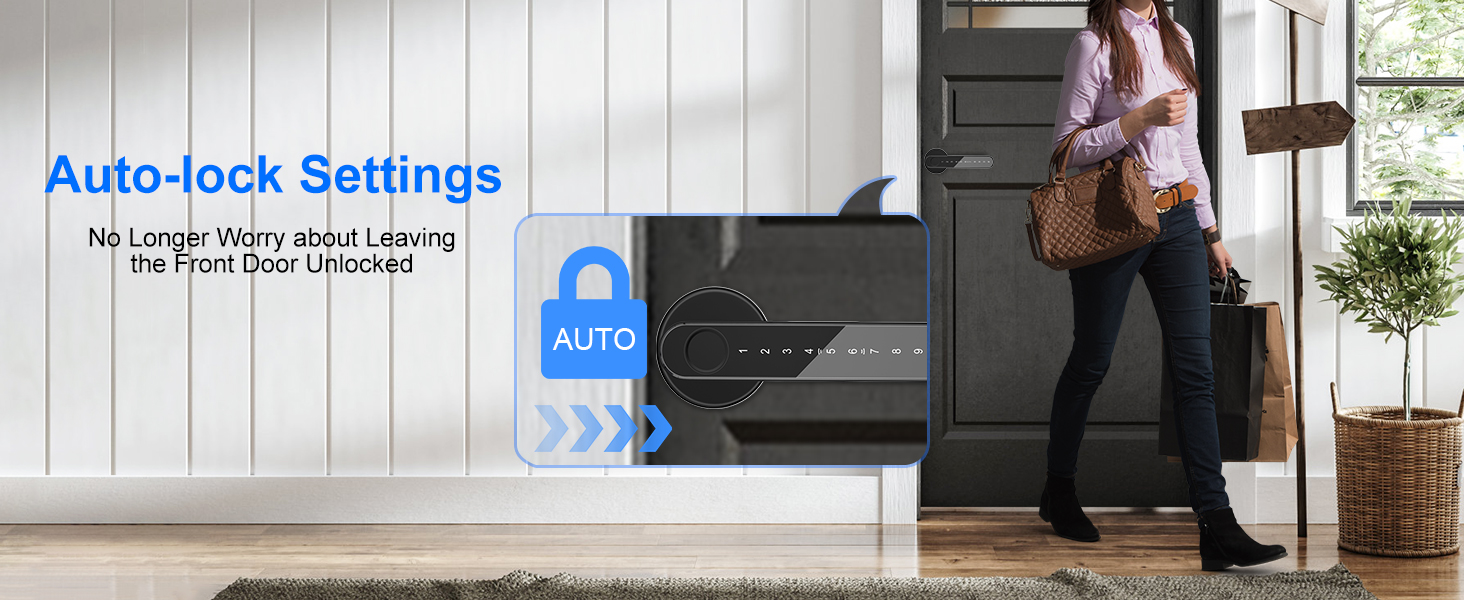
Image 5.9: Illustrates the intelligent management system for up to 100 fingerprints and 100 passwords.
6. Maintenance
6.1. Battery Replacement
The lock requires 4 AAA batteries. It features a low battery reminder function.
- When the low battery warning sounds, replace all 4 AAA batteries promptly.
- To replace, open the battery cover on the interior handle, remove old batteries, and insert new ones, ensuring correct polarity.
6.2. Emergency Charging
In case of complete battery depletion, the lock is equipped with a Type-C port for emergency power.
- Connect a power bank to the Type-C port on the exterior handle to temporarily power the lock and gain access.
- Important: This port is for emergency use only and should not be used for regular charging.
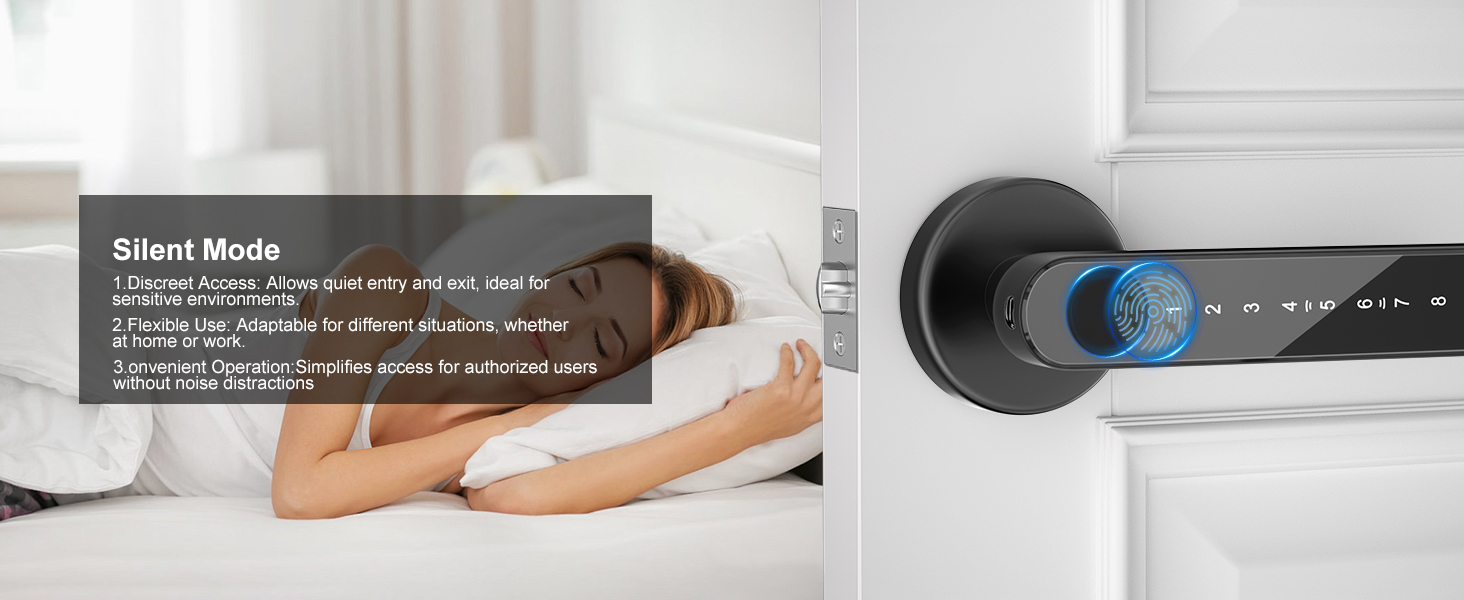
Image 6.1: Shows the Type-C port for temporary emergency power using a power bank.
6.3. Cleaning
Clean the lock's exterior with a soft, dry cloth. Avoid using abrasive cleaners or solvents that could damage the finish or electronic components.
7. Troubleshooting
| Problem | Possible Cause | Solution |
|---|---|---|
| Lock does not respond / No power. | Batteries are depleted or incorrectly installed. | Replace batteries with new AAA batteries, ensuring correct polarity. Use the Type-C emergency power port if necessary. |
| Fingerprint not recognized. | Finger is wet, dirty, or not placed correctly. Fingerprint not registered. | Ensure finger is clean and dry. Place the entire pad of the finger firmly on the sensor. Re-register fingerprint if issue persists. |
| Passcode not working. | Incorrect passcode entered. Passcode not registered. | Verify the passcode. Ensure the '#' key is pressed after the passcode. Re-register the passcode if needed. |
| Lock mechanism is stiff or not engaging. | Improper installation or alignment. | Check installation steps, especially the mortise latch and handle alignment. Ensure no screws are overtightened causing binding. |
| Low battery warning persists after replacement. | Faulty batteries or incorrect battery type. | Ensure new, high-quality AAA alkaline batteries are used. Double-check polarity. |
8. Specifications
| Feature | Detail |
|---|---|
| Brand | IKOED |
| Model Name | Z02NOAPP |
| Lock Type | Biometric |
| Material | Metal |
| Color | Black |
| Item Dimensions (L x W x H) | 8.6 x 7 x 7 inches |
| Item Weight | 1.65 pounds (0.75 Kilograms) |
| Power Source | 4 x AAA Batteries (not included) |
| Emergency Power | Type-C Port |
| Special Features | Self Close, Fingerprint Unlock, Passcode, IC Card, Mechanical Key, Anti-Peep, Auto-Lock, Silent Mode, Passage Mode |
| Recommended Uses | Residential and Commercial Settings (Bedroom, Home, Hotel, Office, Apartment) |
| Door Thickness Compatibility | Min 1-3/8" (35mm), Max 2-1/8" (55mm) |
| Fingerprint Capacity | Up to 50 groups |
| Passcode Capacity | Up to 100 groups |
9. Warranty and Support
IKOED offers a product warranty and customer support to ensure your satisfaction.
- Warranty: At least 1 year product warranty from the date of purchase.
- Customer Support: For any questions, technical assistance, or warranty claims, please contact IKOED customer support through your purchase platform or the official IKOED website.