
1. Introduction
This manual provides detailed instructions for the safe and effective use of your GODOX V1 Pro S Flash Speedlight, model V1Pro-SU, designed for Sony cameras. Please read this manual thoroughly before operation to ensure optimal performance and longevity of your device.
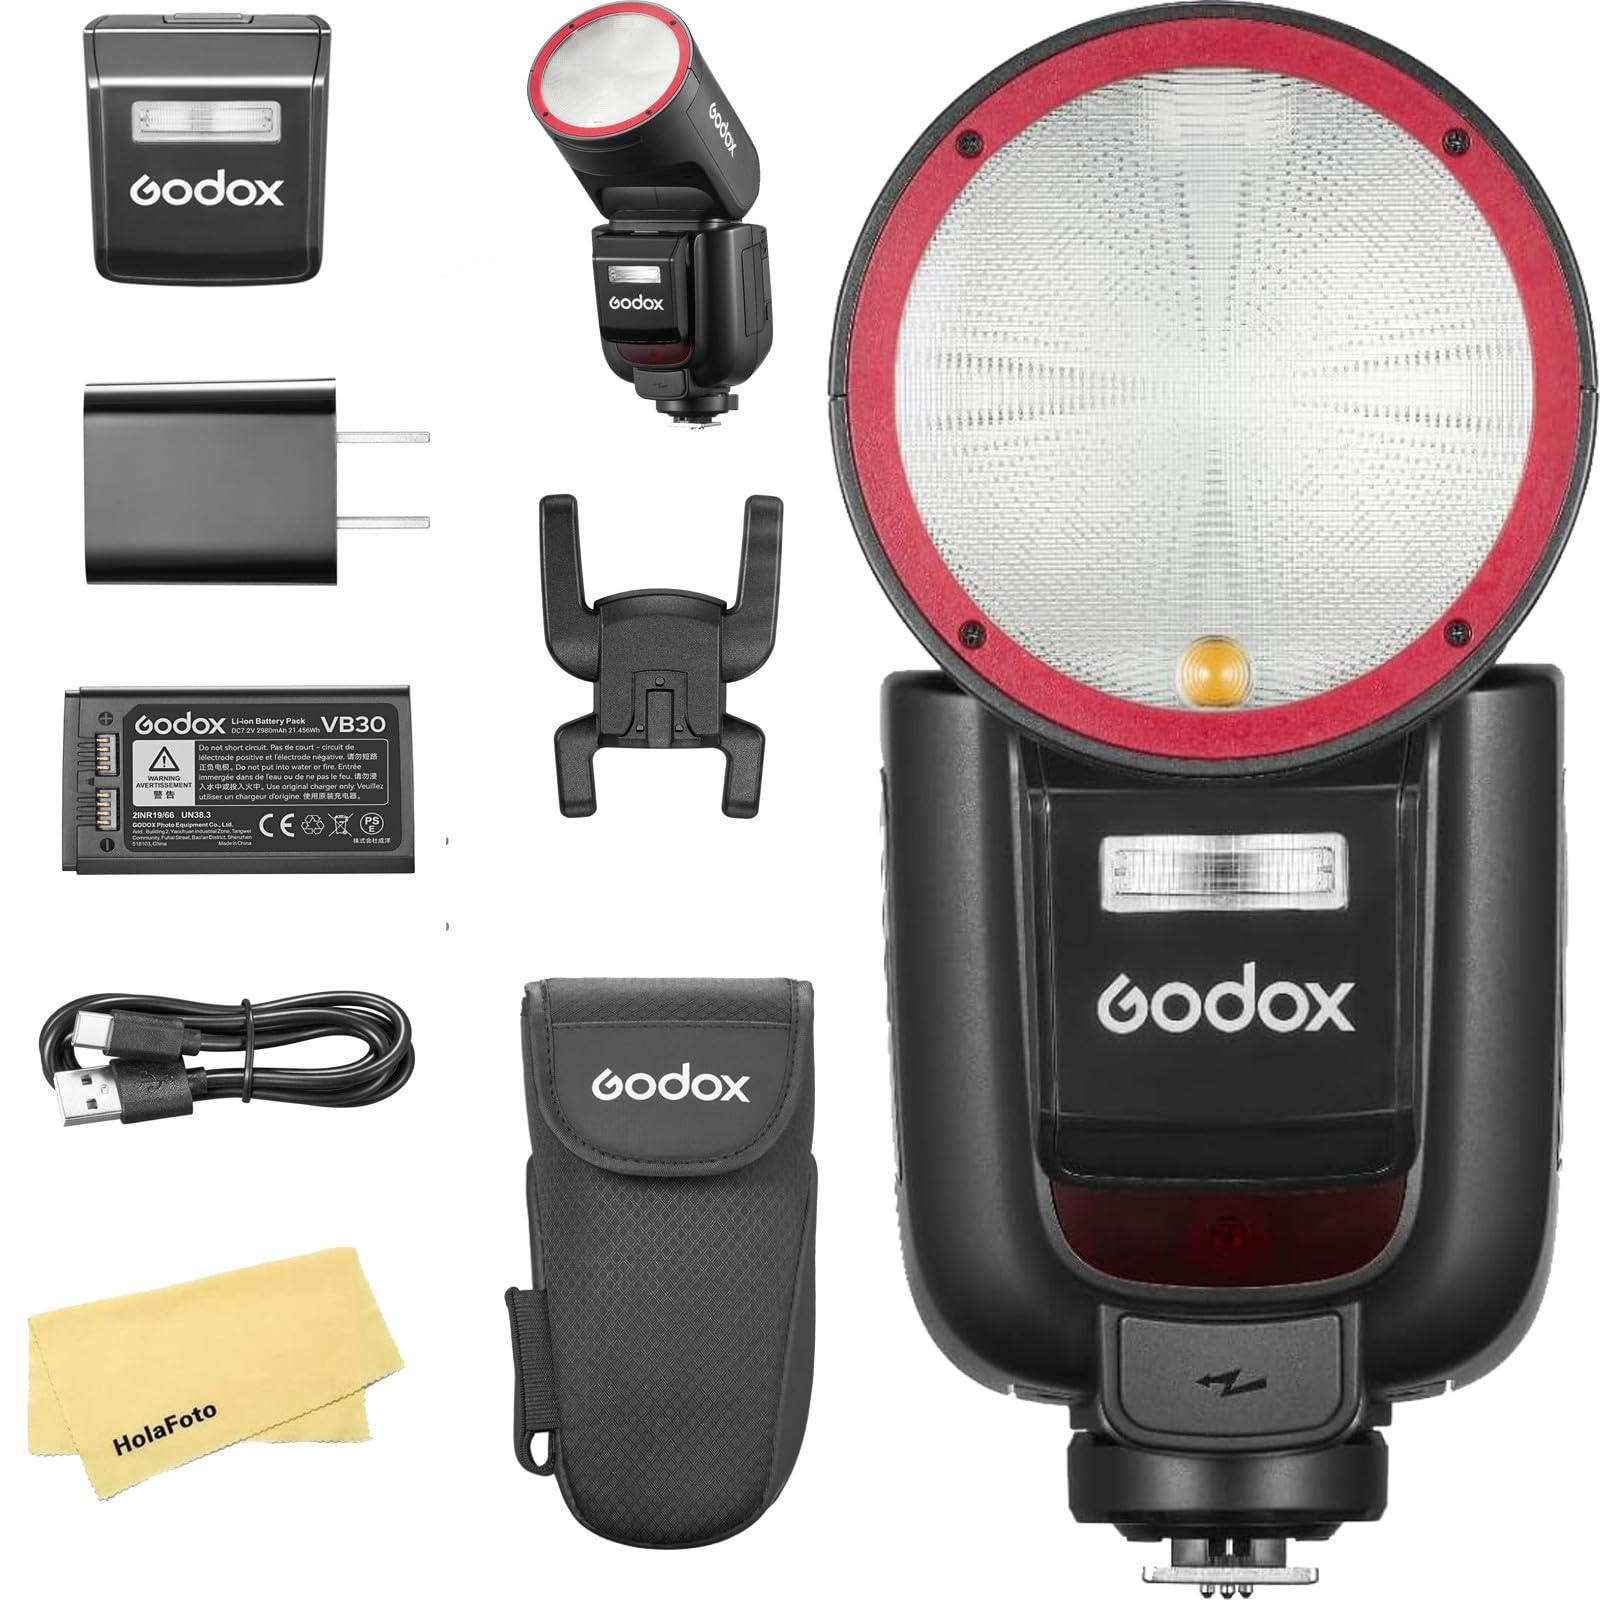
Figure 1: GODOX V1 Pro S Flash Speedlight (V1Pro-SU for Sony).
2. What's in the Box
Upon opening your GODOX V1 Pro S package, you should find the following components:
- 1 x Flash Unit (V1Pro-SU)
- 1 x Lithium Battery (VB30)
- 1 x Charger (VC26)
- 1 x Protection Case
- 1 x USB Cable (Type-C)
- 1 x Instruction Manual
- 1 x Mini Stand
- 1 x USB Battery Charger
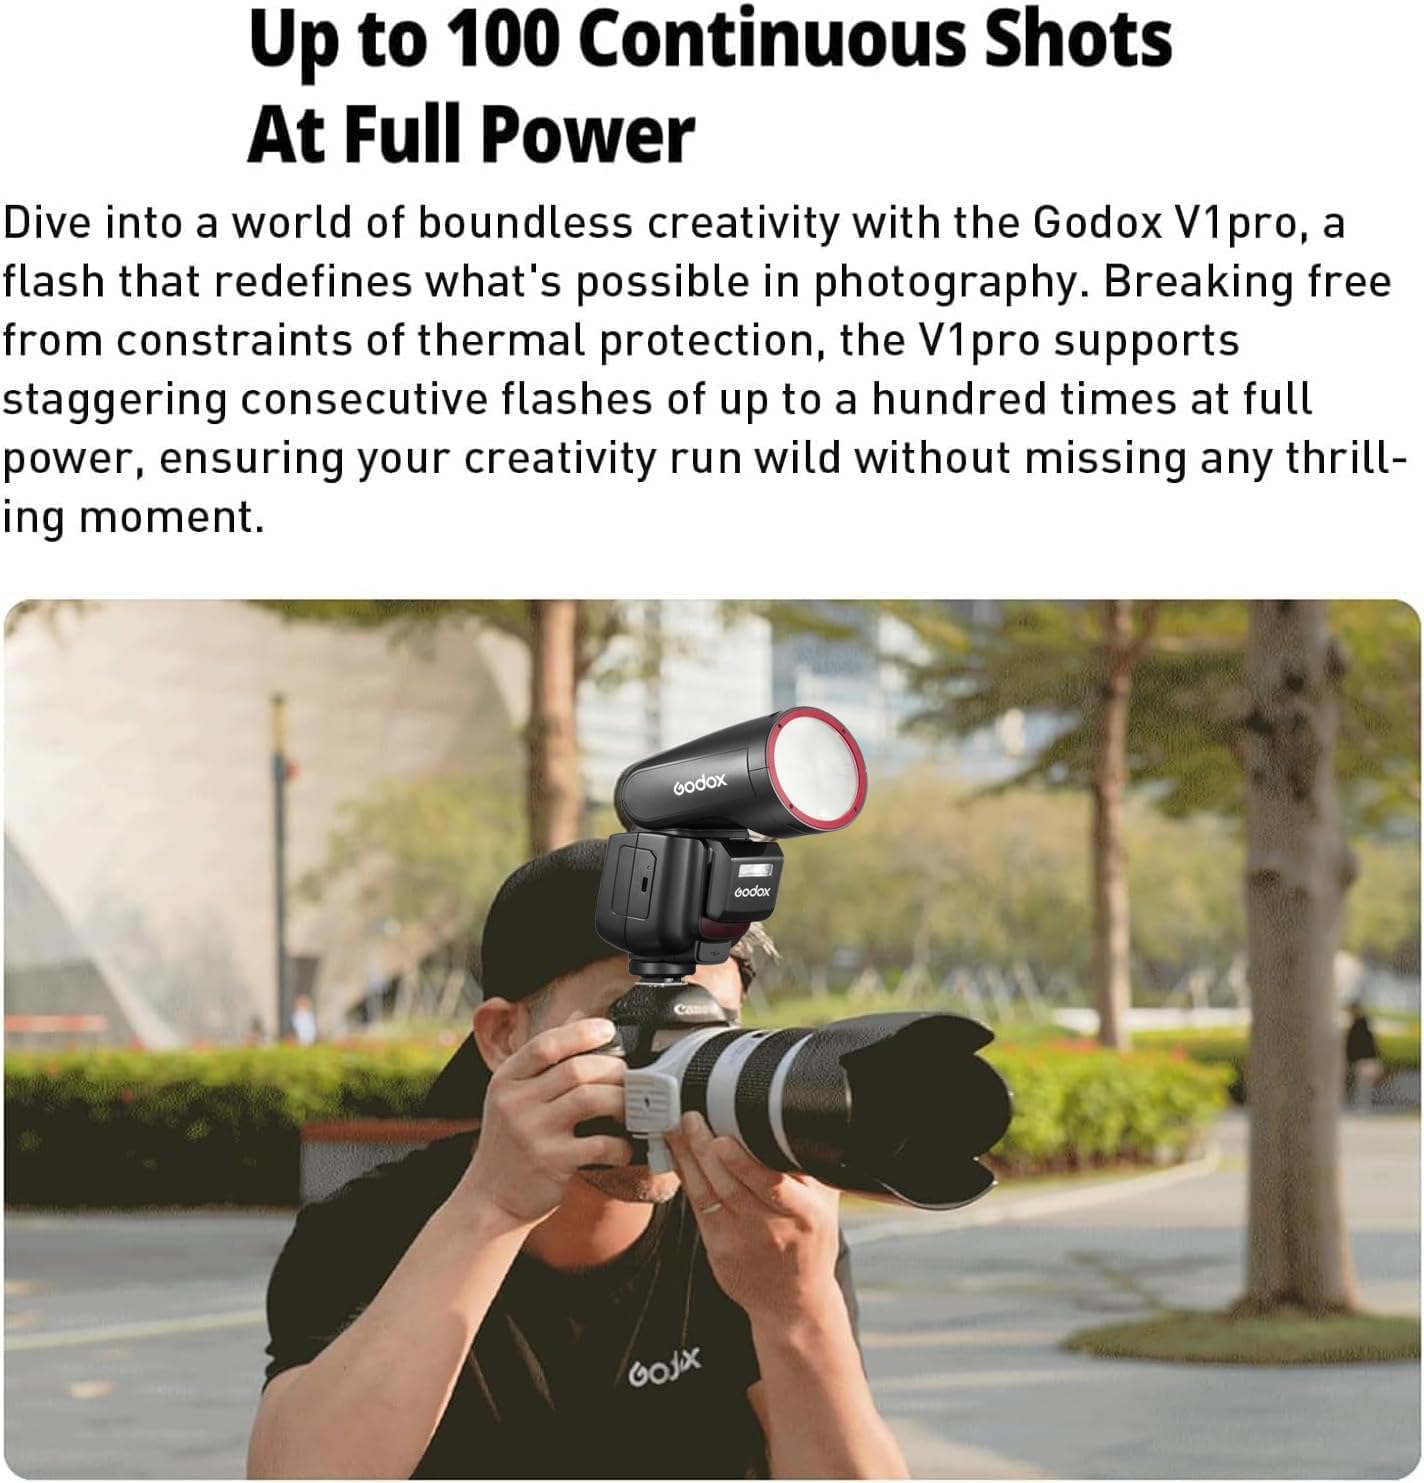
Figure 2: All components included in the GODOX V1 Pro S package.
3. Product Features
- High-Performance Flashes: Supports up to 100 continuous flashes at full power, ensuring consistent output during extended shooting sessions.
- Innovative External Fill Light (SU-1): Features a detachable SU-1 component, allowing the V1Pro-SU to function as both a bounce flash and a direct fill light. This provides versatility and a lighter setup when the fill light is not needed.
- Modern Charging Options: The included lithium battery can be charged via a Type-C USB cable or the dedicated VC26 charger, offering flexible charging solutions.
- One-Click TTL/Manual Switch: Easily switch between TTL (Through-The-Lens) and Manual flash modes with a single button press for quick adjustments in various shooting environments.
- External Power Port: Equipped with an extra power port for connection to external flash power packs, such as the Godox PB960 (sold separately), for enhanced endurance during demanding shoots.
- Even and Soft Light Effect: The round head lens design produces uniform and soft light, maintaining consistent brightness and color temperature.
- Adjustable LED Modeling Light: Features a 10-level adjustable LED modeling light for pre-visualization of lighting effects, improving shooting efficiency.
- 2.4G Wireless Transmission: Supports 2.4G wireless transmission and reception, allowing seamless integration with other Godox flashes for diverse lighting setups.
- Enhanced Durability: The V1Pro-SU features a comprehensive upgrade in its flash head structure for improved reliability and consistent light quality.
- Note on Red Ring: The red ring is plastic and requires self-installation. This is specific to the Godox V1ProS USA Version.
4. Setup
4.1. Battery Installation
- Open the battery compartment cover on the flash unit.
- Insert the VB30 Lithium Battery, ensuring correct polarity.
- Close the battery compartment cover securely.
4.2. Attaching the SU-1 External Fill Light
- Locate the dedicated slot on the front of the V1 Pro S flash head.
- Align the SU-1 external fill light with the slot and slide it in until it clicks securely into place.

Figure 3: The SU-1 external fill light being attached to the main flash unit.
4.3. Mounting on Camera
- Slide the flash unit onto your camera's hot shoe.
- Tighten the locking ring or lever to secure the flash in place.
Video 1: Unboxing and initial setup of the GODOX V1 Pro S, including battery installation and attachment to a camera. This video provides a visual guide to the physical setup of the flash unit and its components.
5. Operating Instructions
5.1. Power On/Off
Press and hold the power button to turn the flash unit on or off. The LCD screen will illuminate upon activation.
5.2. Switching Between TTL and Manual Mode
Use the dedicated one-click switch on the side of the flash unit to toggle between TTL (Through-The-Lens) automatic exposure mode and Manual power control mode.

Figure 4: Location of the TTL/Manual mode switch for quick adjustments.
5.3. Using the LED Modeling Light
The V1 Pro S features a 10-level adjustable LED modeling light. Activate and adjust its brightness via the controls on the flash unit to pre-visualize your lighting setup before taking a shot.

Figure 5: Demonstrating the adjustable LED modeling light for lighting preview.
5.4. Wireless Transmission and Reception
The V1 Pro S supports 2.4G wireless communication. Refer to the detailed wireless settings in the full instruction manual for pairing with other Godox flashes or triggers for off-camera flash setups.

Figure 6: Illustrating the GODOX V1 Pro S participating in a wireless flash system.
5.5. Connecting to an External Power Pack
For extended use and faster recycle times, connect a compatible external power pack (e.g., Godox PB960, sold separately) to the dedicated power port on the flash unit.

Figure 7: The GODOX V1 Pro S connected to an external power pack for enhanced performance.
6. Maintenance
6.1. Cleaning
Regularly clean the flash unit with a soft, dry cloth. For stubborn dirt, use a slightly damp cloth and mild detergent, then wipe dry. Avoid using harsh chemicals or abrasive materials.
6.2. Battery Care and Charging
The VB30 Lithium Battery can be charged using the provided Type-C USB cable or the VC26 charger. Ensure the battery is fully charged before important shoots. Store the battery in a cool, dry place when not in use for extended periods.

Figure 8: The GODOX V1 Pro S battery being charged using both Type-C and the dedicated VC26 charger.
7. Troubleshooting
If you encounter issues with your GODOX V1 Pro S, refer to the following common troubleshooting steps:
- Flash Not Firing: Check if the flash is securely mounted on the camera's hot shoe. Ensure the battery is charged and correctly inserted. Verify that the flash mode (TTL/Manual) and power settings are appropriate for your shooting conditions.
- Inconsistent Flash Output: Ensure the flash head is properly positioned. If using wireless mode, check the distance and line of sight between the flash and trigger.
- Overheating Warning: The V1 Pro S is designed for high continuous output. If an overheating warning appears, allow the unit to cool down before resuming use.
- Wireless Connection Issues: Confirm that both the flash and the trigger are set to the same channel and group. Check for any obstructions that might interfere with the 2.4G signal.
For persistent issues, consult the full instruction manual or contact customer support.
8. Specifications
| Feature | Specification |
|---|---|
| Product Dimensions | 7.68 x 2.95 x 2.32 inches |
| Item Weight | 2.2 pounds |
| ASIN | B0DPMQHTDQ |
| Item Model Number | V1Pro-SU for Sony |
| Brand | GODOX |
| Compatible Mountings | Sony |
| Camera Flash Type | Hotshoe |
| Flash Sync Speed | 1/8000s |
9. Warranty and Support
GODOX products are designed for reliability and performance. For warranty information, please refer to the warranty card included in your product packaging or visit the official GODOX website. For technical support, troubleshooting assistance, or inquiries regarding product quality, please contact the seller or GODOX customer service directly.
Video 2: A brief overview of the GODOX V1 Pro S, highlighting its quality and features. This video can be useful for understanding the product's general feel and operation.