
HENDUN HD03R
HENDUN Door Alarm System Instruction Manual
Model: HD03R
1. Introduction
Thank you for choosing the HENDUN Door Alarm System. This system provides enhanced security for your home, office, or any entry point. Featuring a magnetic sensor and remote control, it can function as a loud alarm or a welcoming doorbell chime. Please read this manual carefully to ensure proper installation and operation.
2. Product Overview
The HENDUN Door Alarm System consists of a main alarm unit, a magnetic strip, and a remote control. When the magnetic strip separates from the main unit (indicating an opening), the alarm will trigger. The system offers multiple modes, including a loud alarm for security and a gentle chime for notification.
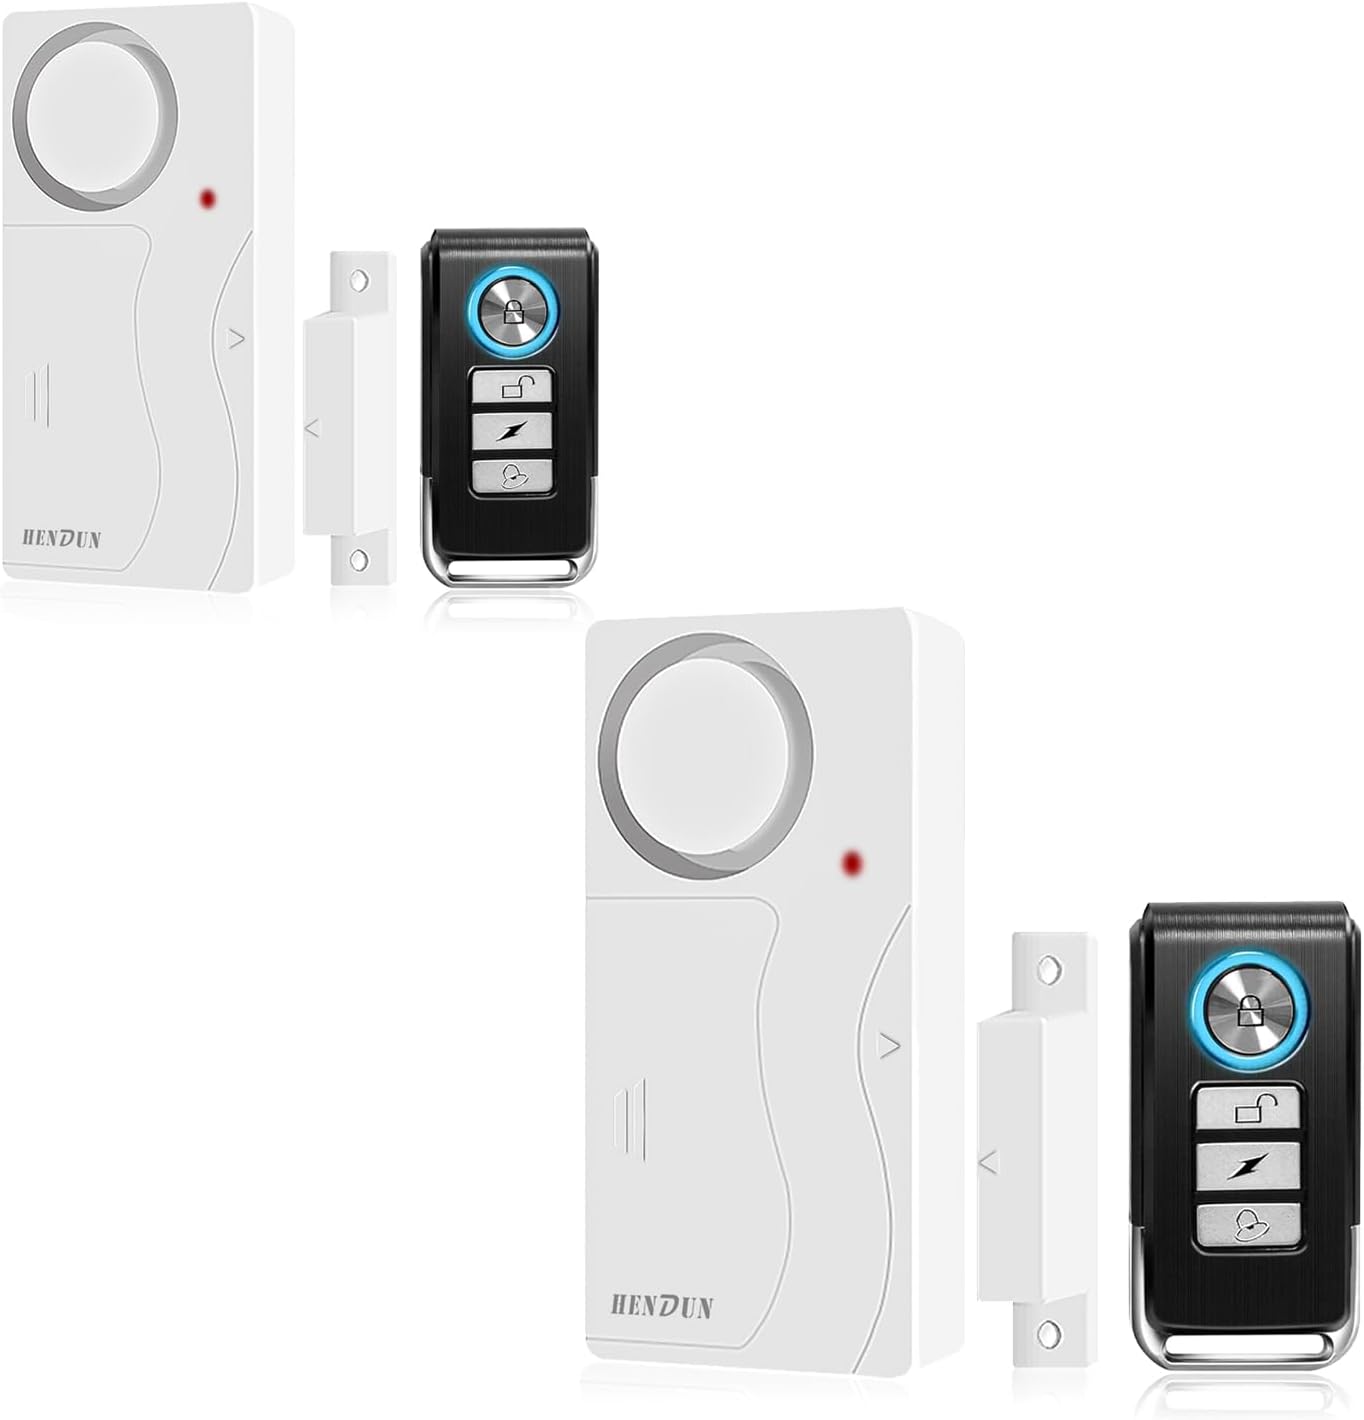
Figure 2.1: HENDUN Door Alarm System (2-pack)
3. Package Contents
- 2 x HENDUN Main Alarm Units
- 2 x Magnetic Strips
- 2 x Remote Controls
- 4 x AAA Batteries (2 per unit, included)
- Adhesive Mounting Tape
- User Manual (this document)
4. Specifications
| Feature | Detail |
|---|---|
| Model Number | HD03R |
| Voltage | 12 Volts (DC) |
| Control Method | Remote |
| Mounting Type | Door Mount |
| Sensor Technology | Contact Sensor |
| Item Weight | 6.4 ounces |
| Product Dimensions | 3.4 x 3.1 x 2 inches |
| Batteries | 2 AAA batteries required (included) |
| Battery Cell Type | Alkaline |
| Average Battery Life | 180 days |

Figure 4.1: Structure and Dimensions of the Alarm Unit and Remote
5. Setup & Installation
Battery Installation: Open the battery cover on the main alarm unit and insert 2 AAA batteries, ensuring correct polarity. Close the cover securely.
Video 5.1: Installation of batteries and basic setup demonstration.
Mounting the Units:
- Identify the desired location for the alarm, such as a door, window, or cabinet.
- Clean the surface thoroughly where the units will be mounted.
- Attach the main alarm unit and the magnetic strip using the provided self-adhesive tape. Ensure they are aligned and within 1 cm (0.4 inches) of each other when the door/window is closed. The small arrow on the main unit should point towards the magnetic strip.
- The device can be installed on the side or top of a door or window, even if the door and frame are not on the same plane.

Figure 5.1: Flexible Installation on Doors and Windows
Pairing Additional Remotes (Optional):
- One magnetic sensor can be paired with up to 8 remote controls.
- One remote control can manage multiple sensors.
- To pair a new remote:
- Press the lock button on a currently paired remote to disarm the system.
- Press and hold the doorbell button on the paired remote for about 10 seconds. Ignore any "Dingdong" sounds. The alarm unit will sound "Bi... Bi..." to indicate it is in learning mode.
- Release the doorbell button.
- Press the arm button on the unpaired remote. The alarm will sound two "Bi.. Bi.." indicating successful pairing.

Figure 5.2: Steps for Pairing an Extra Remote
6. Operating Instructions
The remote control has four main functions:
- Arm (Locked Padlock Icon): Press this button to arm the alarm system. The alarm will sound if the magnetic contact is broken.
- Disarm (Unlocked Padlock Icon): Press this button to disarm the alarm system. The alarm will not sound if the magnetic contact is broken.
- SOS/Panic (Lightning Bolt Icon): Press this button to manually trigger the alarm, even if the system is disarmed. This can be used as a panic button.
- Doorbell (Bell Icon): Press this button to switch the alarm unit to doorbell chime mode. In this mode, opening the door/window will produce a chime sound instead of a loud alarm.

Figure 6.1: Remote Control Functions
The alarm unit features a loud 105dB siren when triggered in alarm mode, designed to alert occupants and deter intruders. In doorbell mode, it provides a softer chime for notifications.
7. Features and Applications
- Multi-purpose Use: Ideal for magnetic door alarms, doorbell chimes, swimming pool sliding door alarms, home security, window alarm sensors, and balcony/patio doors.
- Child Safety: Helps keep children safe by alerting you when a door or window is opened, especially useful for pool gates or restricted areas.

Figure 7.1: Child Safety Application
- Easy Installation: Simple peel-and-stick installation with self-adhesive types, no complex wiring required.
- Remote Control: Conveniently arm, disarm, or trigger a panic alarm from a distance.
- Loud Alarm: Produces a 105dB alarm when triggered, providing a strong deterrent.
8. Troubleshooting
- Alarm not sounding:
- Ensure the system is armed (locked padlock icon on remote).
- Check battery levels. Replace batteries if the low battery indicator (small red light on the unit) is on or if the alarm sounds weak.
- Verify the magnetic strip is correctly aligned with the main unit and separates sufficiently when the door/window opens. The gap should not exceed 1 cm (0.4 inches).
- Alarm sounds continuously or falsely:
- Ensure the magnetic strip and main unit are securely mounted and do not shift.
- Check for any nearby strong magnetic fields that might interfere with the sensor.
- If the alarm triggers when the door is closed, ensure the magnetic strip and main unit are perfectly aligned and in contact.
- Remote control not working:
- Ensure the remote's battery is functional (typically a watch/calculator type battery).
- Confirm the remote is paired with the alarm unit. Refer to Section 5 for pairing instructions.
- Check for obstructions or excessive distance between the remote and the alarm unit.
- Volume is not adjustable: Please note that the volume of this alarm system is fixed and not adjustable. It is designed to be loud (105dB) for effective deterrence.
- Alarm stops when door is re-closed: This system is designed to stop alarming once the magnetic contact is restored (door/window is closed). For continuous alarming regardless of door status, consider alternative security solutions.
9. Maintenance
- Battery Replacement: Replace the 2 AAA batteries in the main alarm unit approximately every 180 days, or when the low battery indicator light illuminates.
- Cleaning: Wipe the units with a soft, dry cloth. Do not use abrasive cleaners or immerse in water.
- Placement: Avoid placing the units in direct sunlight, extreme temperatures, or high humidity, as this may affect performance and battery life.
10. Warranty & Support
HENDUN products are designed for reliability and performance. For any questions, troubleshooting assistance, or warranty information, please visit the official HENDUN store on Amazon or contact customer support through your purchase platform.
Official HENDUN Store: HENDUN Store
Related Documents - HD03R
 |
HENDUN HD-SF21 Power Failure Alarm User Manual User manual for the HENDUN HD-SF21 Power Failure Alarm, detailing its key features, operation, settings, and technical parameters. This device provides alerts for power outages and voltage instability. |
 |
Waterproof Gate/Door Alarm User Guide User guide for the Waterproof Gate/Door Alarm, detailing its features, operation, installation, and parameters. Includes instructions for keypad and remote control usage, password settings, and different alarm modes. |
 |
Haisen UFS Sensor Remote Manual HD03R User manual for the Haisen UFS Sensor Remote Model HD03R, detailing its functions, operation modes, and settings for lighting control. |
 |
HAISEN HD03R: User Guide for Dimmable Sensor Remote with Memory Function This comprehensive guide details the functionality and operation of the HAISEN HD03R remote control for dimmable sensors. Learn how to configure settings such as detection range, hold time, standby dimming, and memory functions for optimal lighting control. |
Ask a question about this manual
Ask about setup, troubleshooting, compatibility, parts, safety, or missing instructions. Manuals+ will review the question and use this page’s manual context to help answer it.