
Introduction
The Kärcher WV 1 Plus Black Edition Window Vacuum Squeegee is designed to simplify and enhance your cleaning experience. This innovative device offers a quick and efficient way to clean smooth surfaces such as windows, mirrors, glass, and countertops, leaving them streak-free and dry. Its rechargeable battery provides cordless freedom, making it a versatile tool for various household cleaning tasks. This manual provides essential information for the safe and effective operation, maintenance, and troubleshooting of your Kärcher WV 1 Plus.
Product Overview and Features
The Kärcher WV 1 Plus Black Edition is engineered for superior performance and ease of use. Key features include:
- Outstanding Performance: The WV 1 Plus's rechargeable, lithium-ion battery provides cordless freedom and features a battery run time of 25 minutes between charges.
- The Kärcher Promise - Cleaner. Quicker: Allows cleaning from top to bottom edges without interruption, while the built-in vacuum eliminates streaks and drips by collecting the dirty water into a reservoir as you clean.
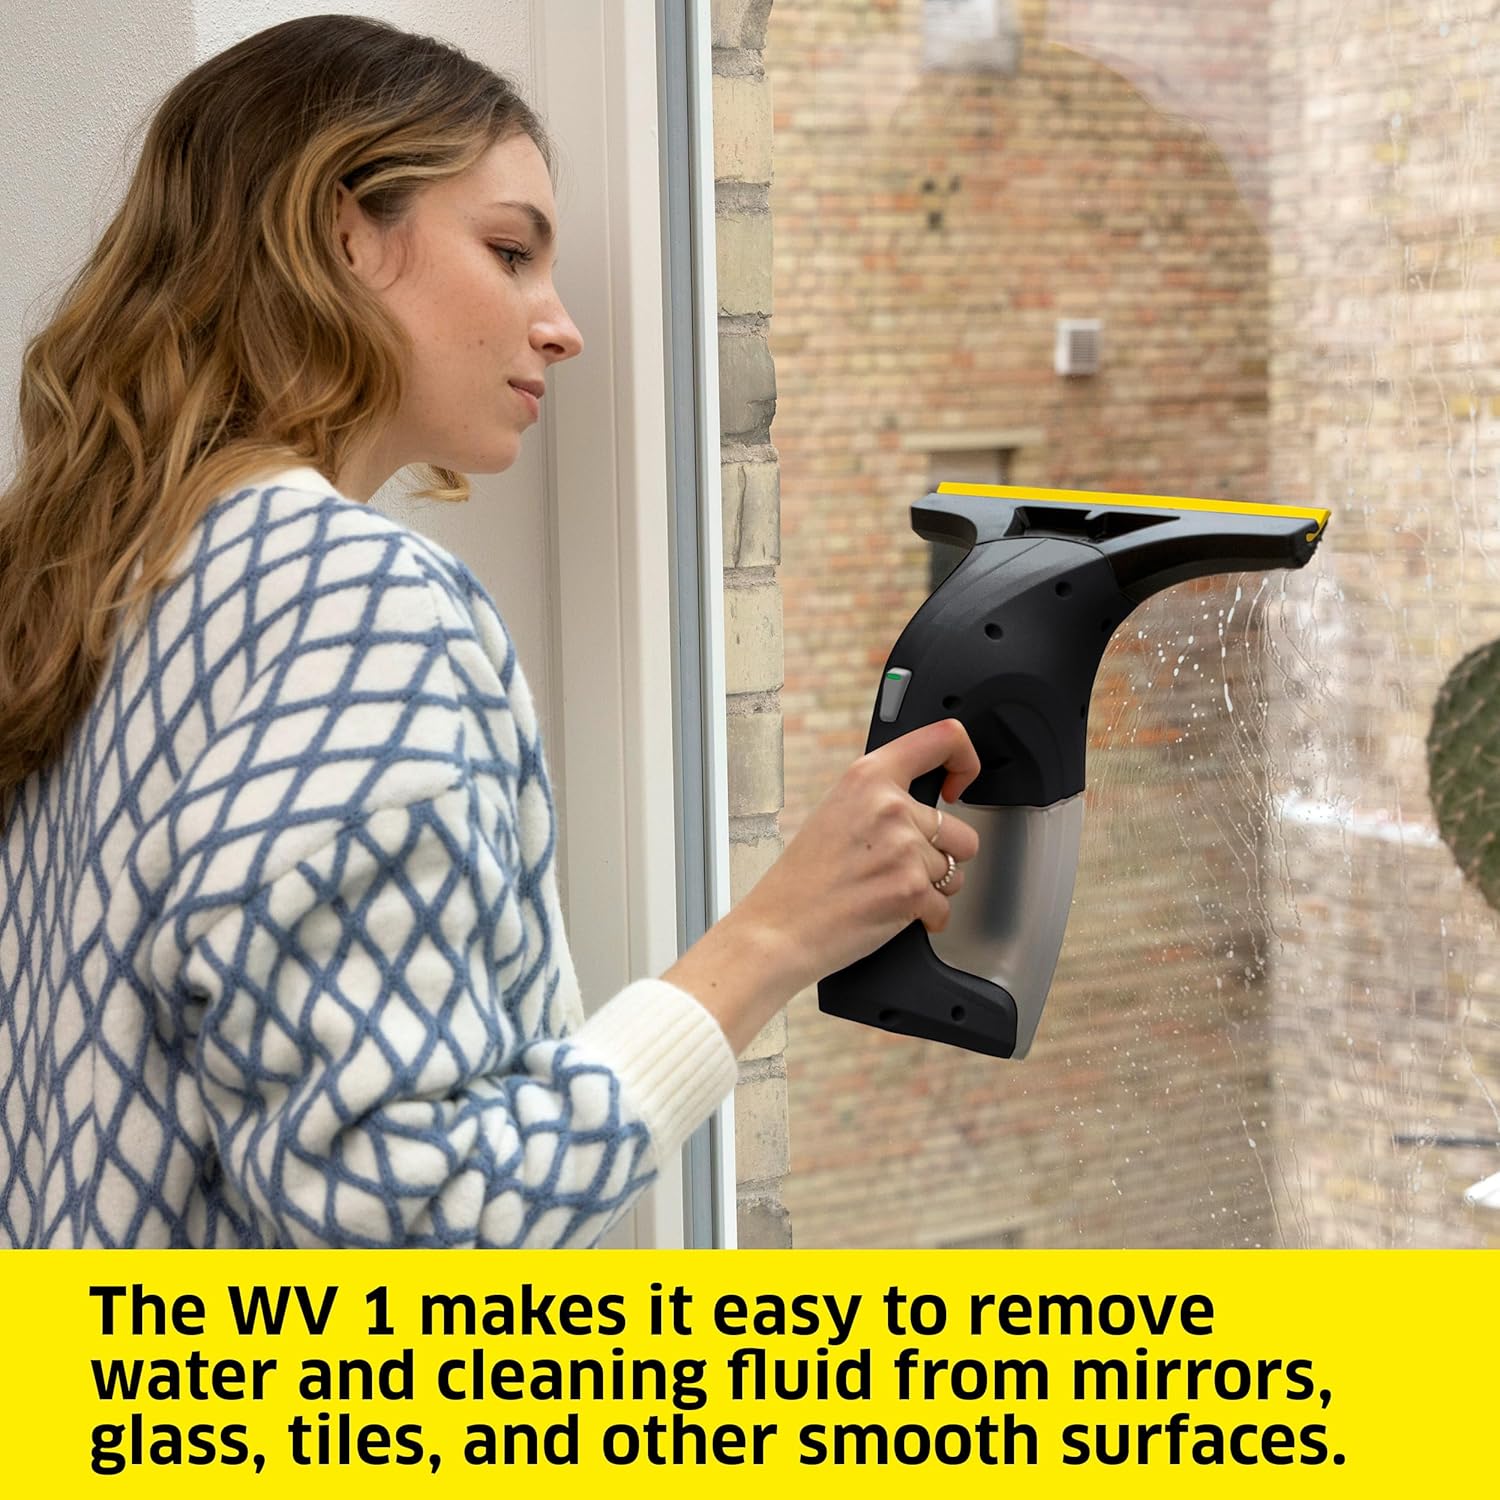
- Easy to Use: Mist the surface using the included spray bottle, wipe away dirt and grime with the attached microfiber pad, and finish by vacuuming up the dirty cleaning solution with the Window Vacuum without leaving any streaks or drips.
- Multi-Surface Cleaner: The Kärcher WV 1 Plus cleans 3 times faster than conventional cleaning methods, and is best used on smooth surfaces such as showers, mirrors, windows, tile, and countertops.
- Complete Cleaning System: Set Includes WV 1 Plus, spray bottle, machine-washable microfiber pad, 16.9 oz concentrated cleaner, and charging cable.


Setup
Before first use, ensure the device is fully charged and assembled correctly.
Charging the Battery
Connect the charging cable to the charging port on the device and plug it into a power outlet. The battery indicator light will show the charging status. A full charge provides approximately 25 minutes of run time.
Assembling the Spray Bottle
The included spray bottle comes with a microfiber pad for applying cleaning solution.
- Attach the spray head to the bottle by aligning and pushing it down until it clicks securely.
- Fully tighten the spray head by twisting it clockwise.
- Fill the spray bottle with the Kärcher window cleaner concentrate mixed with water, up to the 'max' fill line.
- Ensure the microfiber pad is securely attached to the spray bottle's head.

Operating Instructions
Follow these steps for effective cleaning with your Kärcher WV 1 Plus:
- Prepare the Surface: Using the assembled spray bottle, generously mist the surface you intend to clean with the cleaning solution. Ensure the entire area is covered.
- Clean the Surface: Use the microfiber pad on the spray bottle to wipe away dirt and grime from the surface. This step loosens and lifts the dirt.
- Vacuum the Solution: Turn on the Kärcher WV 1 Plus by pressing the power button. Hold the device with the squeegee blade flat against the surface and draw it downwards in a smooth, continuous motion. The built-in vacuum will suction the dirty cleaning solution into the reservoir, leaving the surface dry and streak-free.
- Repeat as Needed: For larger surfaces, overlap your strokes slightly to ensure complete coverage.



Official Product Videos
This video demonstrates the general operation of the Kärcher WV Window Vacuum, showcasing its ease of use on various smooth surfaces.
Learn how to avoid streaks when using your Kärcher Window Vacuum with this instructional video, providing tips for optimal results.
Maintenance
Regular maintenance ensures the longevity and optimal performance of your Kärcher WV 1 Plus.
Emptying and Cleaning the Dirt Water Tank
After each use, or when the tank reaches its maximum fill line, empty the dirty water tank. Detach the tank from the main unit and pour out the contents. Rinse the tank thoroughly with clean water to remove any residue. Ensure it is completely dry before reattaching.
Cleaning the Microfiber Pad
The microfiber pad is machine-washable. Remove it from the spray bottle and wash it according to the care instructions, typically with similar colors and without fabric softener. Allow it to air dry completely before reattaching or storing.
Maintaining the Squeegee Blade
Periodically inspect the rubber squeegee blade for any debris, nicks, or wear. Small particles on the blade can lead to streaks. Wipe the blade with a clean, damp microfiber cloth to ensure it is free of dirt and smooth for optimal performance. If the blade is damaged, replacement blades are available from Kärcher.
Troubleshooting
If you encounter issues with your Kärcher WV 1 Plus, refer to the following common problems and solutions:
| Problem | Possible Cause | Solution |
|---|---|---|
| Streaks left on surface | Insufficient cleaning solution; dirty or damaged squeegee blade; dirty microfiber pad; improper technique. | Ensure generous application of cleaning solution. Clean the squeegee blade and microfiber pad. Replace blade if damaged. Use smooth, overlapping strokes. |
| Device not turning on or low power | Battery is not charged; device malfunction. | Charge the battery fully. If problem persists, contact Kärcher support. |
| Spray bottle leaks | Spray head not tightened properly; damaged seal. | Ensure spray head is fully tightened. Check for any visible damage to the seal or bottle. |
| Poor suction | Dirt water tank full; clogged suction channel; squeegee blade not flush with surface. | Empty and clean the dirt water tank. Check and clear any blockages in the suction channel. Ensure proper contact between blade and surface. |
Specifications
| Attribute | Value |
|---|---|
| Brand | Kärcher |
| Model Number | 1.633-626.0 |
| Color | Black |
| Product Dimensions | 9.8"W x 10.8"H |
| Item Weight | 1.1 Pounds |
| Blade Material | Flexible Rubber |
| Handle Material | Plastic |
| Blade Length | 10 Inches |
| Blade Width | 10 Inches |
| UPC | 886622057192 |
| Batteries | 2 Lithium Ion batteries required (included) |
| Country of Origin | Italy |
Warranty and Support
For warranty information, product registration, or technical support, please visit the official Kärcher website or contact their customer service department. Keep your proof of purchase for warranty claims.
You can find more information and support at the Kärcher Store on Amazon.