
1. Introduction
The REKA Smart Thermostatic Head TRV06 is designed to provide intelligent and efficient control over your home's heating system. This device allows you to manage radiator temperatures with precision, enhancing comfort while optimizing energy consumption. It integrates with smart home ecosystems, offering convenient control options.
This manual provides detailed instructions for the installation, operation, and maintenance of your REKA Smart Thermostatic Head TRV06. Please read it thoroughly before use to ensure proper functionality and safety.
2. Product Overview
The REKA Smart Thermostatic Head TRV06 is a connected device that replaces traditional radiator valves. It features:
- Tuya App Control: Manage temperature settings, schedules, and modes remotely via the Tuya application on your smartphone.
- Voice Assistant Compatibility: Seamlessly integrate with Amazon Alexa and Google Home for hands-free temperature adjustments.
- Open Window Detection: Automatically pauses heating when an open window is detected to prevent energy waste.
- Flexible Programming: Create personalized heating schedules for each day of the week to match your lifestyle.
- Offline Functionality: An integrated buffer memory ensures continuous operation and maintains settings even without an internet connection.
- Universal Compatibility: Includes adapters for common valve types (RA, RAV, RAVL) and M30 x 1.5 mm valves.
Note: This specific product variant (TRV06) does not include a Zigbee gateway. For optimal synchronization and advanced control features, a Zigbee 3.0 gateway is recommended and can be purchased separately. The gateway acts as a central hub, enabling the full range of smart functionalities and ensuring seamless communication between your thermostatic heads and your smart home system.
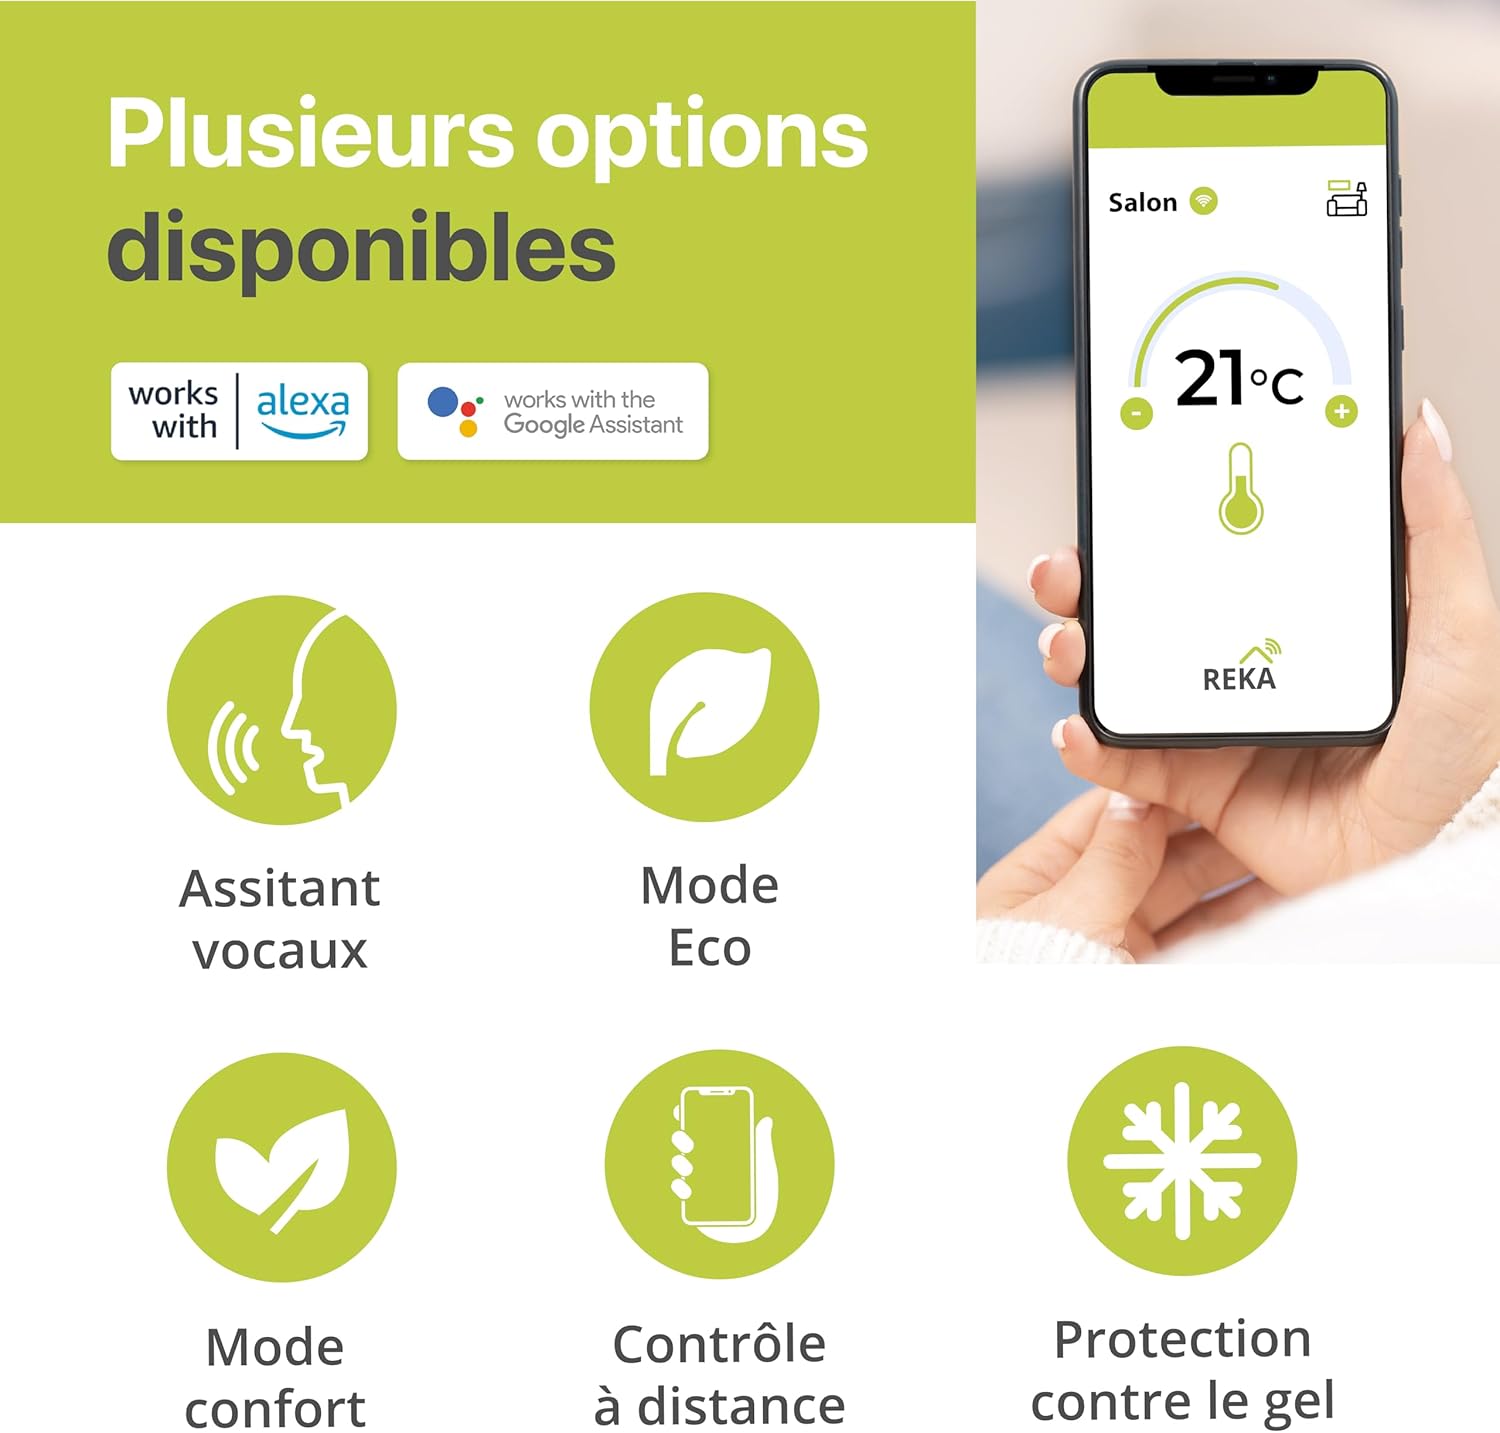
Image: Overview of REKA Smart Thermostatic Head features, including voice control, various modes, remote control, and frost protection.
3. Safety Information
- Do not expose the device to extreme temperatures, direct sunlight, or moisture.
- Keep the device out of reach of children.
- Use only the specified battery type (2 AA batteries). Do not mix old and new batteries or different types of batteries.
- Do not attempt to disassemble or repair the device yourself. Contact qualified personnel for service.
- Ensure proper ventilation around the radiator valve for accurate temperature readings.
4. Package Contents
Verify that all items are present in your package:
- REKA Smart Thermostatic Head (TRV06)
- Universal Adapters (for RA, RAV, RAVL valves)
- User Manual
Batteries (2x AA) are required but not included in the package.
5. Setup
5.1. Battery Installation
- Gently twist and pull off the top cover of the thermostatic head.
- Insert two AA batteries, ensuring correct polarity (+/-).
- Replace the top cover, aligning it properly until it clicks into place.
5.2. Mounting on Radiator Valve
- Remove your existing thermostatic head from the radiator valve.
- Identify the correct adapter for your valve type (RA, RAV, RAVL, or M30 x 1.5 mm).
- Attach the appropriate adapter to the radiator valve if necessary.
- Screw the REKA Smart Thermostatic Head onto the valve or adapter until it is securely fastened. Do not overtighten.

Image: A close-up view of the REKA Smart Thermostatic Head securely installed on a radiator valve.
5.3. Tuya App Installation and Pairing
- Download the Tuya Smart app from your smartphone's app store (iOS or Android).
- Register or log in to your Tuya account.
- Open the app and tap the '+' icon to add a new device.
- Select 'Small Home Appliance' > 'Thermostat' or search for 'Thermostatic Radiator Valve'.
- Follow the on-screen instructions to put the thermostatic head into pairing mode (usually involves a long press on a button or a specific sequence).
- Confirm the device is found and complete the pairing process.

Image: A smartphone screen showing the Tuya app interface, displaying temperature control for a room and multiple REKA Smart Thermostatic Heads.
5.4. Connecting to Voice Assistants (Alexa/Google Home)
Once your REKA Smart Thermostatic Head is paired with the Tuya app, you can link it to your voice assistant:
- Open the Amazon Alexa or Google Home app.
- Navigate to the 'Skills & Games' (Alexa) or 'Works with Google' (Google Home) section.
- Search for and enable the 'Tuya Smart' skill/service.
- Link your Tuya account when prompted.
- Discover devices. Your REKA Smart Thermostatic Head should now appear and be controllable via voice commands.
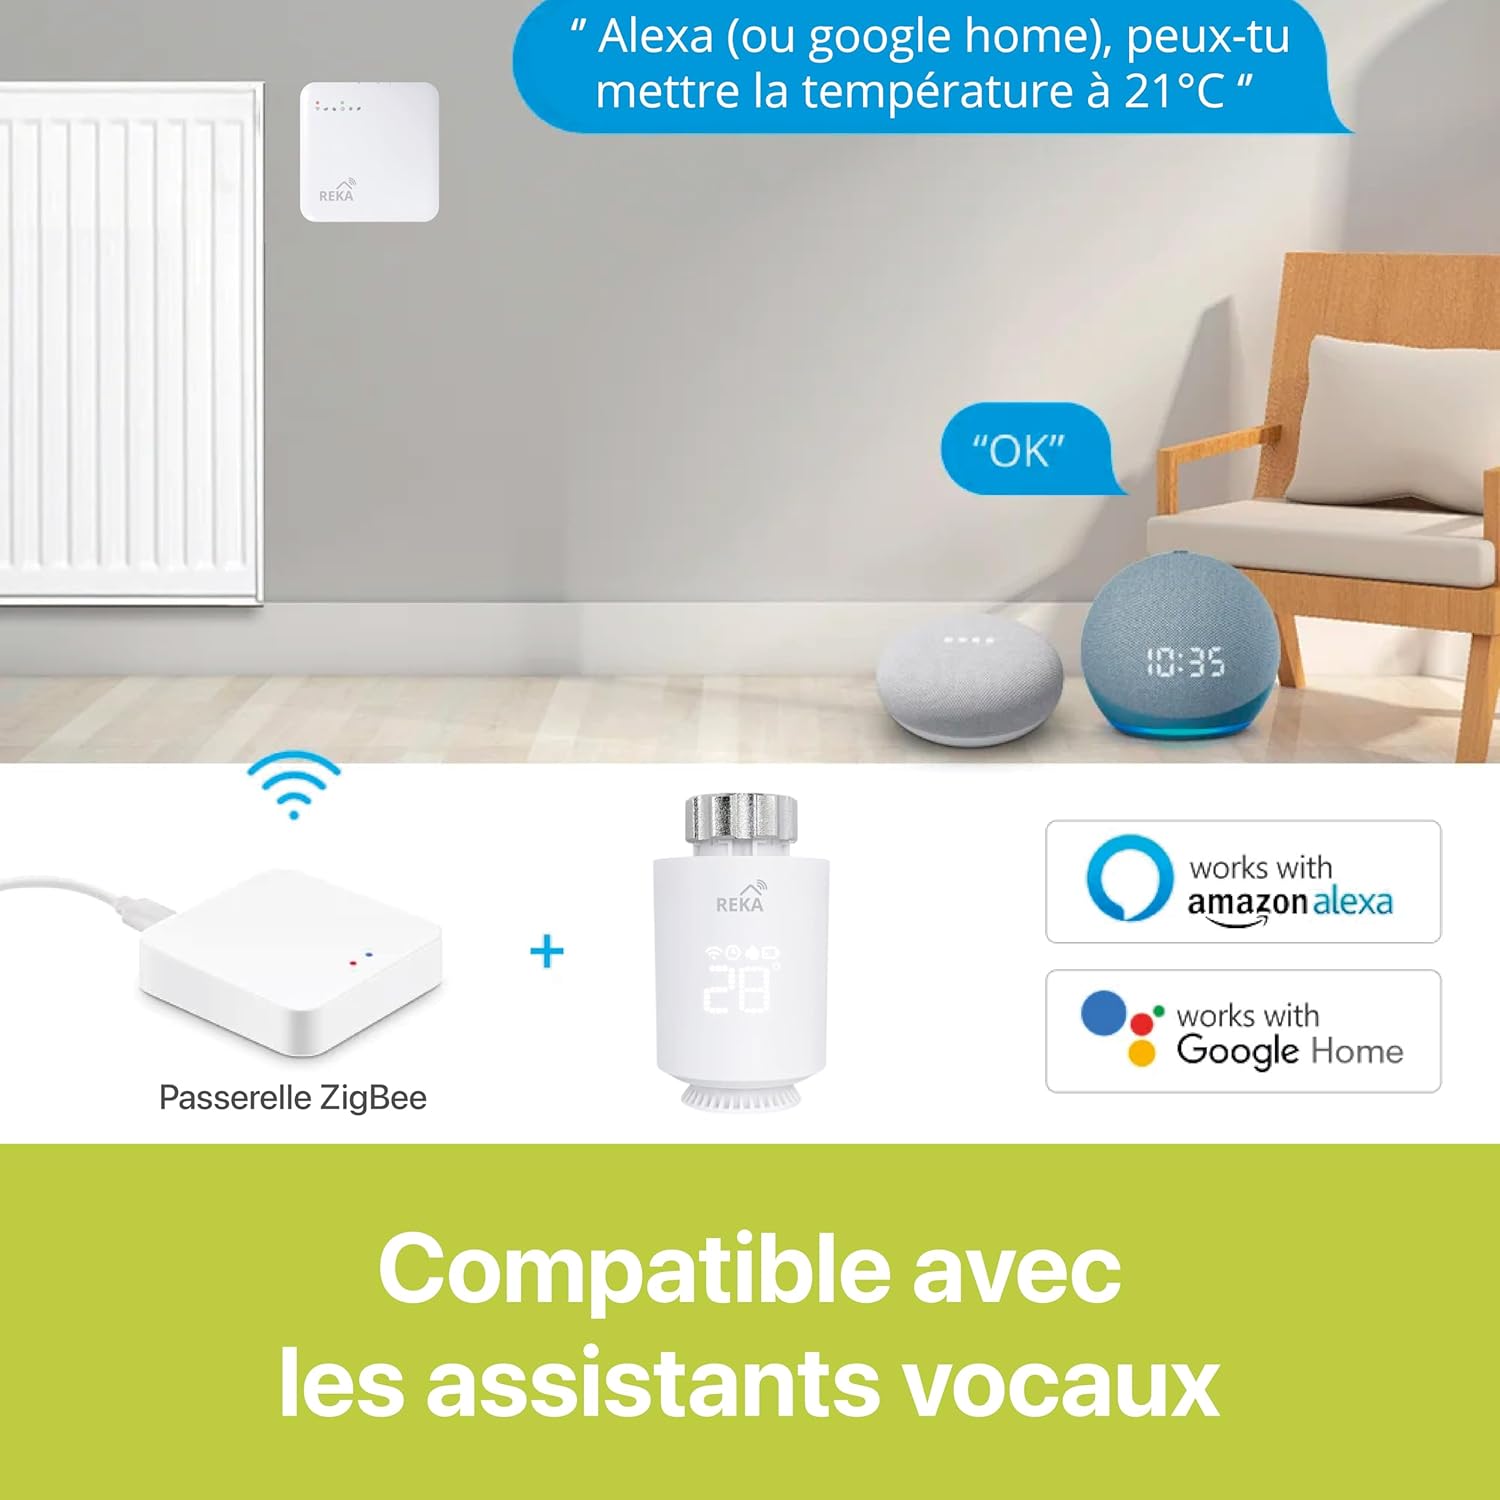
Image: Illustration of the REKA Smart Thermostatic Head's compatibility with Amazon Alexa and Google Home, demonstrating voice control functionality.
6. Operating Instructions
6.1. Manual Control
You can manually adjust the temperature directly on the thermostatic head by rotating the dial. The current temperature setting will be displayed on the screen.
6.2. App Control
The Tuya Smart app provides comprehensive control over your thermostatic head:
- Set Temperature: Adjust the desired temperature for each room or individual thermostatic head.
- Programming Schedules: Create custom heating schedules for different times of the day and days of the week. This allows for automated temperature changes based on your routine.
- Modes: Switch between various modes such as Comfort, Eco, and Frost Protection.
- Multi-Zone Control: If you have multiple REKA thermostatic heads, you can control them individually or group them for multi-zone heating management.

Image: A smartphone screen displaying the Tuya app, illustrating remote, room-by-room temperature control for a home layout.

Image: A smartphone screen showing the programming interface within the Tuya app, allowing users to create personalized heating schedules.
6.3. Voice Control
After linking to Alexa or Google Home, use simple voice commands to adjust your heating. Examples:
- "Alexa, set the living room temperature to 21 degrees."
- "Hey Google, what's the temperature in the bedroom?"
- "Alexa, turn on the heating in the kitchen."
6.4. Open Window Detection
The thermostatic head can detect a sudden drop in temperature, indicating an open window. When detected, it will temporarily pause heating to conserve energy. Heating will resume automatically after a set period or when the temperature stabilizes.
6.5. Child Safety Lock
Activate the child safety lock via the Tuya app to prevent unauthorized manual adjustments on the device itself. This ensures that children cannot accidentally change temperature settings.

Image: A smartphone screen displaying the child safety lock feature within the Tuya app, designed to prevent accidental temperature changes.
7. Maintenance
7.1. Battery Replacement
When the battery indicator on the device screen or in the app shows low power, replace the batteries promptly. Follow the battery installation steps in Section 5.1.
7.2. Cleaning
Wipe the device with a soft, dry cloth. Do not use abrasive cleaners or solvents, as these can damage the surface.
8. Troubleshooting
| Issue | Possible Cause | Solution |
|---|---|---|
| Device not responding / Screen blank | Low or dead batteries | Replace batteries (2x AA). |
| Cannot connect to Tuya app | Device not in pairing mode; Wi-Fi issues; Bluetooth interference | Ensure device is in pairing mode. Check Wi-Fi signal. Restart phone/device. |
| Inaccurate temperature reading | Device obstructed; placed near heat source/draft | Ensure clear airflow around the device. Relocate if necessary. |
| Heating not turning on/off as scheduled | Incorrect schedule settings; device offline | Verify schedules in the Tuya app. Check device connectivity. |
| Voice control not working | Tuya skill not enabled; device not discovered by voice assistant | Ensure Tuya skill is linked. Re-discover devices in Alexa/Google Home app. |
If you encounter issues not listed here or if solutions do not resolve the problem, please contact customer support.
9. Specifications

Image: A diagram illustrating the dimensions (55mm width, 94mm height) and display indicators (battery capacity, heat icon, program mode, Wi-Fi) of the REKA Smart Thermostatic Head.
| Feature | Detail |
|---|---|
| Brand | REKA |
| Model Number | TRV06 |
| Color | White |
| Power Source | 2 AA Batteries (not included) |
| Connectivity Technology | Tuya (requires Zigbee gateway for optimal synchronization and control) |
| Controller Type | App (Tuya), Google Assistant, Amazon Alexa |
| Special Features | Programmable, Geofencing (via app), Energy IQ (via app), Smart Schedules, Open Window Detection |
| Specific Uses | Heating Systems |
| Temperature Control Type | Programmable |
| Included Components | Smart radiator thermostat, adapters, user manual |
| Dimensions (approx.) | Height: 94mm, Width: 55mm |
| Weight | Approximately 1.1 Kilograms (product weight, not shipping) |
| Compliance | NF EN ISO 52120-1, NF EN 12098-3 |
10. Warranty and Support
For warranty information, please refer to the documentation provided at the time of purchase or contact your retailer. If you require technical support or have questions about your REKA Smart Thermostatic Head TRV06, please contact the manufacturer or your seller directly.
You can often find support contact details on the product packaging or the official REKA website.


