1. Important Safety Instructions
Please read and understand all instructions before beginning installation. Failure to follow these instructions may result in electric shock, fire, or serious personal injury.
- Electrical Safety: All electrical connections must be in accordance with local codes, ordinances, or national electrical codes. If you are unfamiliar with wiring, consult a qualified electrician.
- Power Disconnection: Before installation or maintenance, ensure the power is turned off at the circuit breaker or fuse box to prevent electric shock.
- Mounting: The mounting structure must be capable of supporting the weight of the fan (approximately 9.43 pounds).
- Blade Clearance: Ensure there is adequate clearance between the fan blades and any obstructions.
2. Package Contents
Verify that all components are present before installation:
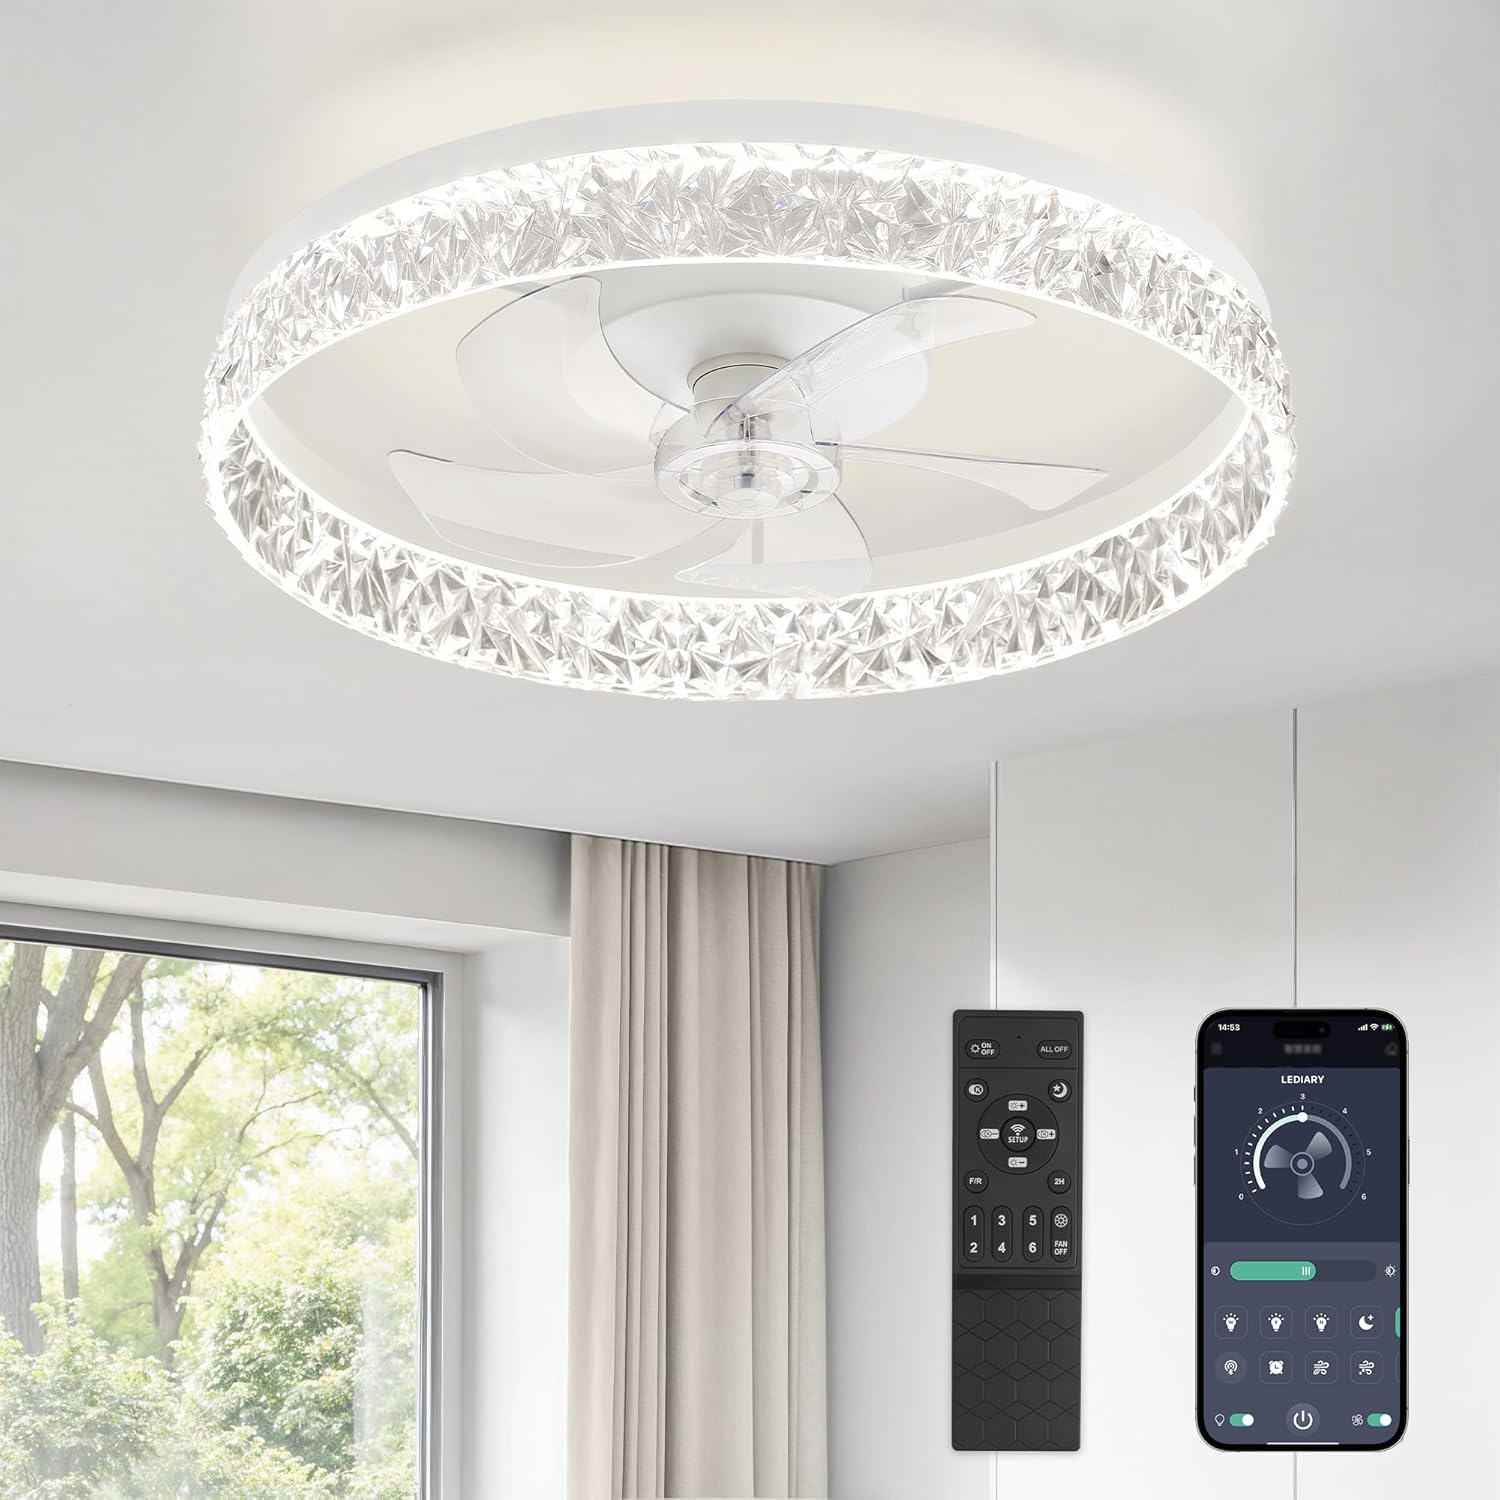
- LEDIARY 22-Inch Ceiling Fan Unit with Integrated LED Light
- Remote Control (2 AAA batteries included)
- Mounting Hardware Kit (screws, wire nuts, etc.)
- Instruction Manual
3. Specifications
| Brand | LEDIARY |
| Model | LEDIARY-CF-22 |
| Size | 22 Inches (Diameter) |
| Dimensions | 22 x 22 x 5.3 inches |
| Weight | 9.43 pounds |
| Material | Acrylic, Metal, Plastic |
| Voltage | 120 Volts |
| Light Source | Integrated LED |
| Light Output | 3130 Lumens (Maximum) |
| Color Temperature | 3000K-6500K (Stepless Change) |
| Dimming | 10%-100% Smooth Dimming |
| Fan Speeds | 6 Speeds |
| Motor | Reversible DC Motor |
| Timer Settings | 2H |
| Control Method | Remote Control, App Control (Bluetooth) |

4. Installation
It is recommended to have a qualified electrician perform the installation. Ensure power is disconnected at the circuit breaker before starting.
4.1 Mounting the Bracket
- Turn off power at the main circuit breaker.
- Attach the mounting bracket securely to the ceiling junction box using the provided screws. Ensure the bracket is firmly fixed and can support the fan's weight.
4.2 Wiring Connections
- Connect the household supply wires to the fan wires according to the wiring diagram in the detailed installation guide (not provided here, refer to product packaging). Typically, connect live to live, neutral to neutral, and ground to ground.
- Secure all wire connections with wire nuts.
4.3 Attaching the Fan Unit
- Carefully lift the fan unit and align it with the mounting bracket.
- Secure the fan unit to the mounting bracket using the designated screws.
- Ensure all connections are tight and the fan is stable.

5. Operating Instructions
5.1 Remote Control Functions
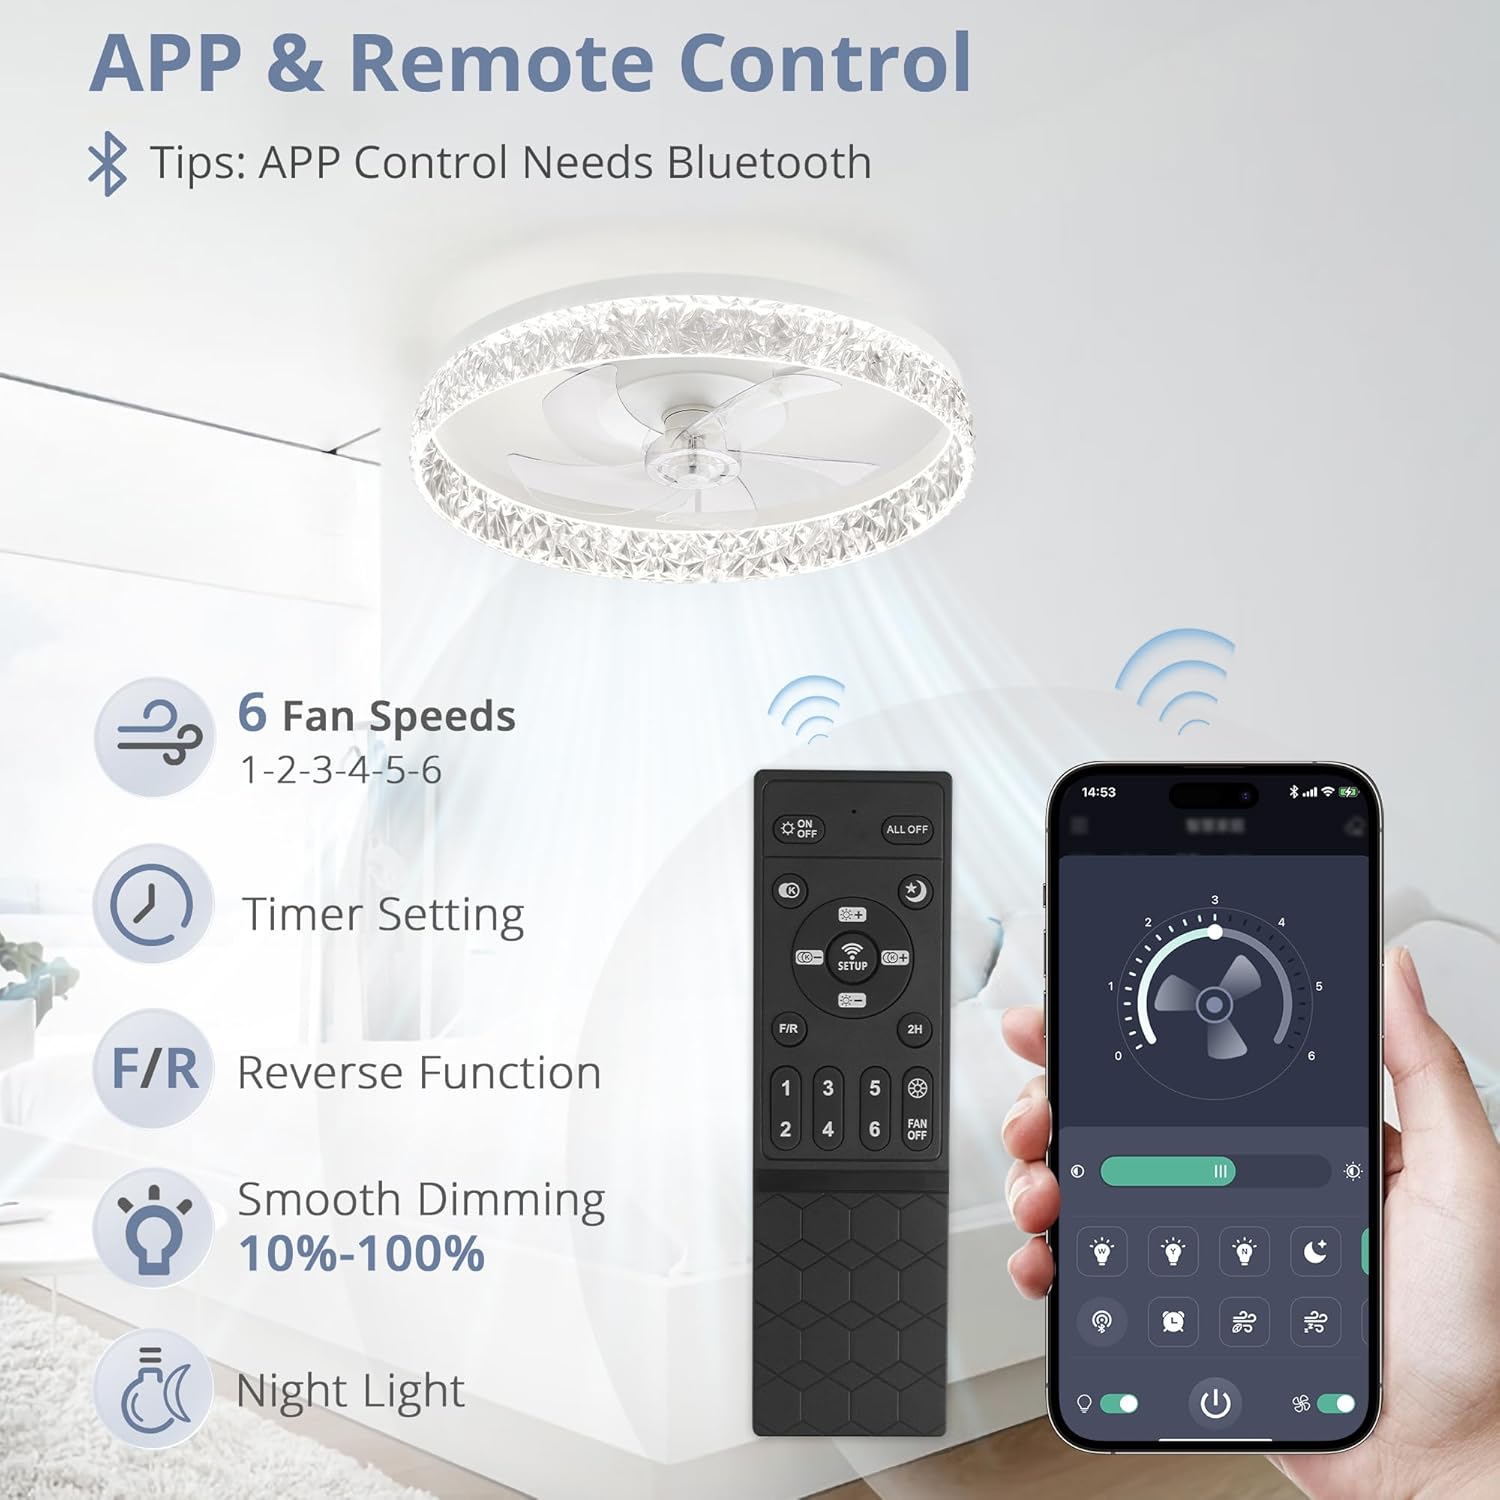
The included remote control allows for convenient operation of all fan and light features.
- Power On/Off: Press the power button to turn the fan and light on or off.
- Fan Speed: Buttons 1-6 control the fan speed, from lowest (1) to highest (6).
- Light Color Temperature: Adjusts the light from warm white (3000K) to cool white (6500K).
- Dimming: Adjusts light brightness from 10% to 100%.
- Reverse Function (F/R): Changes the direction of fan rotation for summer (downdraft) or winter (updraft) modes.
- Timer: Sets the fan to turn off automatically after 2 hours.
- Night Light: Activates a low-brightness light setting.
5.2 App Control
The fan can also be controlled via a smartphone app. Bluetooth connectivity is required for app control. Download the LEDIARY app from your device's app store and follow the in-app instructions for pairing.
5.3 Light Functions
- Stepless Dimming: Adjust the brightness from 10% to 100% to suit your preference.
- Stepless Color Temperature Change: Seamlessly transition between warm white (3000K), neutral white (4000K), and cool white (6500K).
- Memory Function: The fan remembers the last light color temperature and brightness setting when turned off and restores it upon next activation.

5.4 Fan Functions
- 6 Fan Speeds: Choose from six different fan speeds to achieve optimal airflow.
- Reversible Motor: The fan features a reversible DC motor, allowing for two airflow modes:
- Summer Mode (Downdraft): Creates a cooling effect by pushing air downwards.
- Winter Mode (Updraft): Circulates warm air near the ceiling downwards, helping to distribute heat more evenly.
- Quiet Operation: The pure copper motor operates smoothly with a low noise level, typically below 30dB, ensuring a comfortable environment.


Video 1: Demonstration of the modern ceiling fan with adjustable lights and fan speeds.
6. Maintenance
Regular maintenance helps ensure the longevity and optimal performance of your ceiling fan.
- Cleaning: Always turn off the power at the circuit breaker before cleaning. Use a soft, damp cloth to wipe down the fan and light fixture. Avoid using harsh chemicals or abrasive cleaners, as these can damage the finish.
- No User-Serviceable Parts: The LED light source and motor are integrated and not user-serviceable. Do not attempt to disassemble the unit beyond what is described in the installation instructions.
7. Troubleshooting
If you encounter issues with your ceiling fan, refer to the following common troubleshooting steps:
- Fan/Light Not Turning On:
- Check if the power is on at the circuit breaker.
- Ensure all wiring connections are secure.
- Verify that the remote control batteries are correctly installed and not depleted.
- Remote Control Not Responding:
- Replace the remote control batteries.
- Ensure there are no obstructions between the remote and the fan receiver.
- If the issue persists, try re-pairing the remote control (refer to the detailed pairing instructions in the full manual, if applicable).
- Fan Makes Unusual Noise:
- Check that all mounting screws are tight.
- Ensure the fan blades are not hitting any part of the fixture or ceiling.
For further assistance, please contact LEDIARY customer support.
8. Warranty and Support
LEDIARY provides 2-year support for this ceiling fan. If you encounter any issues or require assistance, please contact our customer service team. We are committed to serving you and resolving any concerns you may have.
For contact information, please refer to the product packaging or the official LEDIARY website.


