
NIGOGOR FM2209
NIGOGOR Wireless Meat Thermometer FM2209 User Manual
Model: FM2209
1. Introduction
This manual provides comprehensive instructions for the safe and effective use of your NIGOGOR Wireless Meat Thermometer FM2209. This device is designed to accurately monitor internal meat temperatures and ambient cooking temperatures for various cooking methods, including grilling, BBQ, smoking, and oven use. Please read this manual thoroughly before operating the device.
2. Package Contents
Verify that all items listed below are included in your package:
- Wireless Meat Thermometer Base Unit x 1
- Probes x 2
- USB-C Charging Cable x 1
- User Manual x 1

Image: The complete NIGOGOR Wireless Meat Thermometer system, including the base unit, two probes, and a smartphone showing the accompanying application.
3. Product Overview
3.1 Key Features
- Dual Probes: Monitor internal meat temperature and ambient cooking temperature simultaneously.
- Wireless Operation: 100% wire-free probes for flexible placement.
- Bluetooth 5.2 Connectivity: Long-range remote monitoring up to 432 feet (unobstructed).
- Standalone Base Unit: View temperatures and adjust settings directly on the base without the app.
- Smart App Integration: Free iOS/Android app for real-time tracking, custom settings, and historical data.
- Fast Response: 0.95-second temperature response time.
- Durable Probes: Ceramic handle and stainless steel construction, IPX7 waterproof, dishwasher safe.
- Long Battery Life: Up to 300 hours of operation on a single charge (2000mAh rechargeable probe + base).
3.2 Components
The NIGOGOR Wireless Meat Thermometer system consists of the following main components:
- Base Unit: Displays temperatures, allows setting adjustments, and charges the probes. Features a magnetic back for convenient attachment.
- Probes: Two ultra-thin wireless probes with ceramic handles and stainless steel tips. Each probe measures internal meat temperature (up to 212°F / 100°C) and ambient temperature (up to 572°F / 300°C).
- USB-C Charging Cable: For recharging the base unit and probes.

Image: Detailed view of the thermometer base unit and probes, showing the digital display and control buttons.
4. Setup
4.1 Initial Charging
Before first use, fully charge the base unit and probes. Connect the USB-C charging cable to the base unit and a power source. Insert the probes into their respective slots on the base unit to charge them. A full charge typically takes approximately 6 hours and provides up to 300 hours of operation.
4.2 App Installation (Optional)
For enhanced control and remote monitoring, download the "PROBE PLUS" app from the iOS App Store or Google Play Store. Search for "PROBE PLUS" and follow the on-screen instructions to install.
4.3 Device Activation and Pairing
- Ensure the base unit is charged.
- To activate a probe, simply detach it from the base unit. The probe will automatically power on.
- If using the app, open the "PROBE PLUS" app on your smartphone. The app will automatically search for and connect to the thermometer base unit via Bluetooth.
- Once connected, the app will display real-time temperature readings from the probes.

Image: The "PROBE PLUS" application interface on a smartphone, displaying internal and ambient temperatures, target temperature, and cooking progress.
5. Operating Instructions
5.1 Probe Placement
Insert the probe into the thickest part of the meat, ensuring the probe tip is located in the center and does not touch bone. The ceramic handle should remain outside the food and cooking vessel. The safety line on the probe indicates the minimum insertion depth for accurate internal temperature readings.

Image: A wireless probe correctly inserted into a roasted chicken, illustrating the placement of the internal and ambient temperature sensors.
5.2 Using the Base Unit
The base unit can operate independently of the app. It displays real-time temperatures for both probes. Use the buttons on the base unit to:
- Select meat type (7 presets available).
- Customize doneness levels (5 options).
- View target temperatures.
The magnetic back allows you to attach the base unit to a metal surface near your grill or oven for optimal visibility.
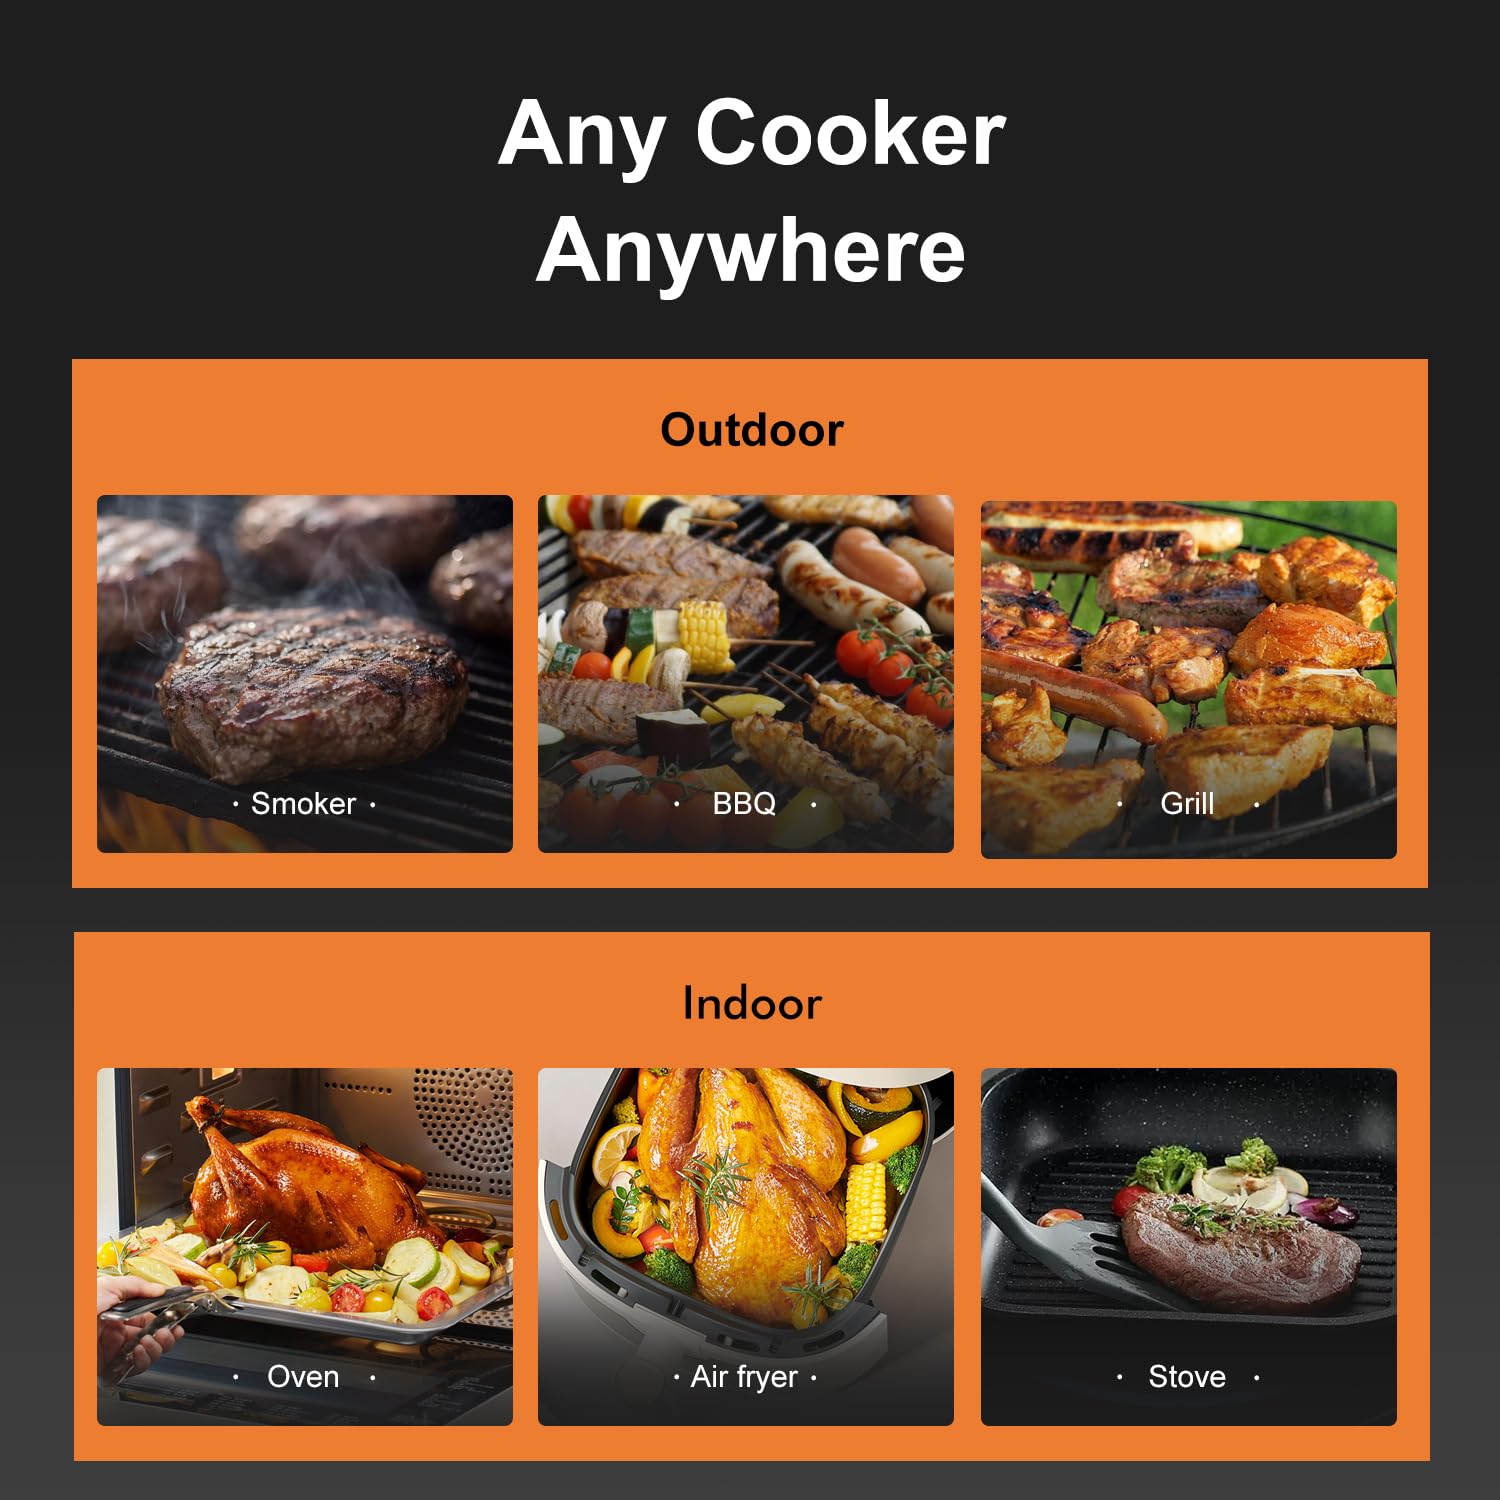
Image: A split image illustrating the use of the standalone base unit for direct temperature monitoring and the smartphone app for remote control.
5.3 Using the "PROBE PLUS" App
The app provides comprehensive control and monitoring features:
- Real-Time Monitoring: View internal and ambient temperatures, cooking progress, and temperature trends.
- Preset Temperatures: Select from recommended temperatures for various meat types (e.g., beef, pork, chicken, turkey, lamb, seafood, duck) and doneness levels (e.g., rare, medium-rare, medium, medium-well, well-done).
- Custom Settings: Save your own preferred temperature and doneness presets.
- Alerts: Receive instant notifications on your smartphone when the target temperature is reached.
- Historical Data: Track and review past cooking sessions.

Image: The "PROBE PLUS" app showing options for selecting different meat types and their corresponding doneness levels.
5.4 Bluetooth Connectivity
The device utilizes Bluetooth 5.2 for a stable connection. For optimal performance:
- Maintain a distance between the base unit and the probes within 10-130 feet (3-40 meters).
- When there are no obstructions, the maximum distance between your phone and the base unit can reach up to 432 feet (130 meters).
- Obstacles such as walls or metal structures can reduce the effective range. If the signal is blocked, move closer to the base unit.

Image: A visual representation of the Bluetooth connection range between the thermometer base, probes, and a smartphone, indicating optimal and maximum distances.
6. Maintenance
6.1 Cleaning
- Probes: The probes are IPX7 waterproof and dishwasher safe. For best results, clean them immediately after use with warm soapy water or place them in the dishwasher. Ensure they are completely dry before storing.
- Base Unit: Wipe the base unit with a soft, damp cloth. Do not immerse the base unit in water or place it in a dishwasher.

Image: A wireless probe being held underwater, illustrating its IPX7 waterproof capability for easy cleaning.
6.2 Storage
Store the thermometer and probes in a cool, dry place when not in use. Ensure probes are fully charged before long-term storage to maintain battery health.
7. Troubleshooting
- No Connection/Signal Loss:
- Ensure the probes are fully charged and detached from the base unit to activate.
- Verify Bluetooth is enabled on your smartphone.
- Move the base unit and smartphone closer to each other.
- Minimize obstructions between the base unit and your phone.
- Restart the app and/or your smartphone.
- Inaccurate Readings:
- Ensure the probe is inserted correctly into the thickest part of the meat, avoiding bone.
- Check that the ceramic handle is not inside the food or cooking vessel.
- Verify the probe is clean and free of debris.
- Probe Not Turning On:
- Ensure the probe is fully charged by inserting it into the base unit.
- Detach the probe from the base unit to activate it.

Image: A troubleshooting guide addressing common issues such as maintaining a stable connection and proper probe insertion.
8. Specifications
| Feature | Detail |
|---|---|
| Model Number | FM2209 |
| Brand | NIGOGOR |
| Connectivity Technology | Bluetooth 5.2 |
| Probe Internal Temperature Range | 32°F - 212°F (0°C - 100°C) |
| Probe Ambient Temperature Range | Up to 572°F (300°C) |
| Response Time | 0.95 seconds |
| Battery Life | Up to 300 hours (probe + base) |
| Charging Time | Approx. 6 hours |
| Waterproof Rating | IPX7 (probes only) |
| Included Components | Base Unit, 2 Probes, USB-C Cable, User Manual |
| Certifications | CE, FCC, RoHS |
9. Warranty and Support
For warranty information or technical support, please refer to the contact details provided on the product packaging or the official NIGOGOR website. Keep your purchase receipt as proof of purchase for any warranty claims.
Ask a question about this manual
Ask about setup, troubleshooting, compatibility, parts, safety, or missing instructions. Manuals+ will review the question and use this page’s manual context to help answer it.