
Hiwill A51
Hiwill Dolby Atmos 5.1CH Sound Bar System User Manual
Model: HiElite A51
Brand: Hiwill
Introduction
Thank you for choosing the Hiwill Dolby Atmos 5.1CH Sound Bar System. This manual provides essential information for setting up, operating, and maintaining your new audio system. Please read it thoroughly before use to ensure optimal performance and safety.
This system is designed to transform your home entertainment with immersive sound, offering crystal-clear dialogue and precise spatial audio, ideal for movies, games, and music. It features Dolby Atmos for a theater-like experience and includes a powerful subwoofer and two wired rear speakers for true surround sound.
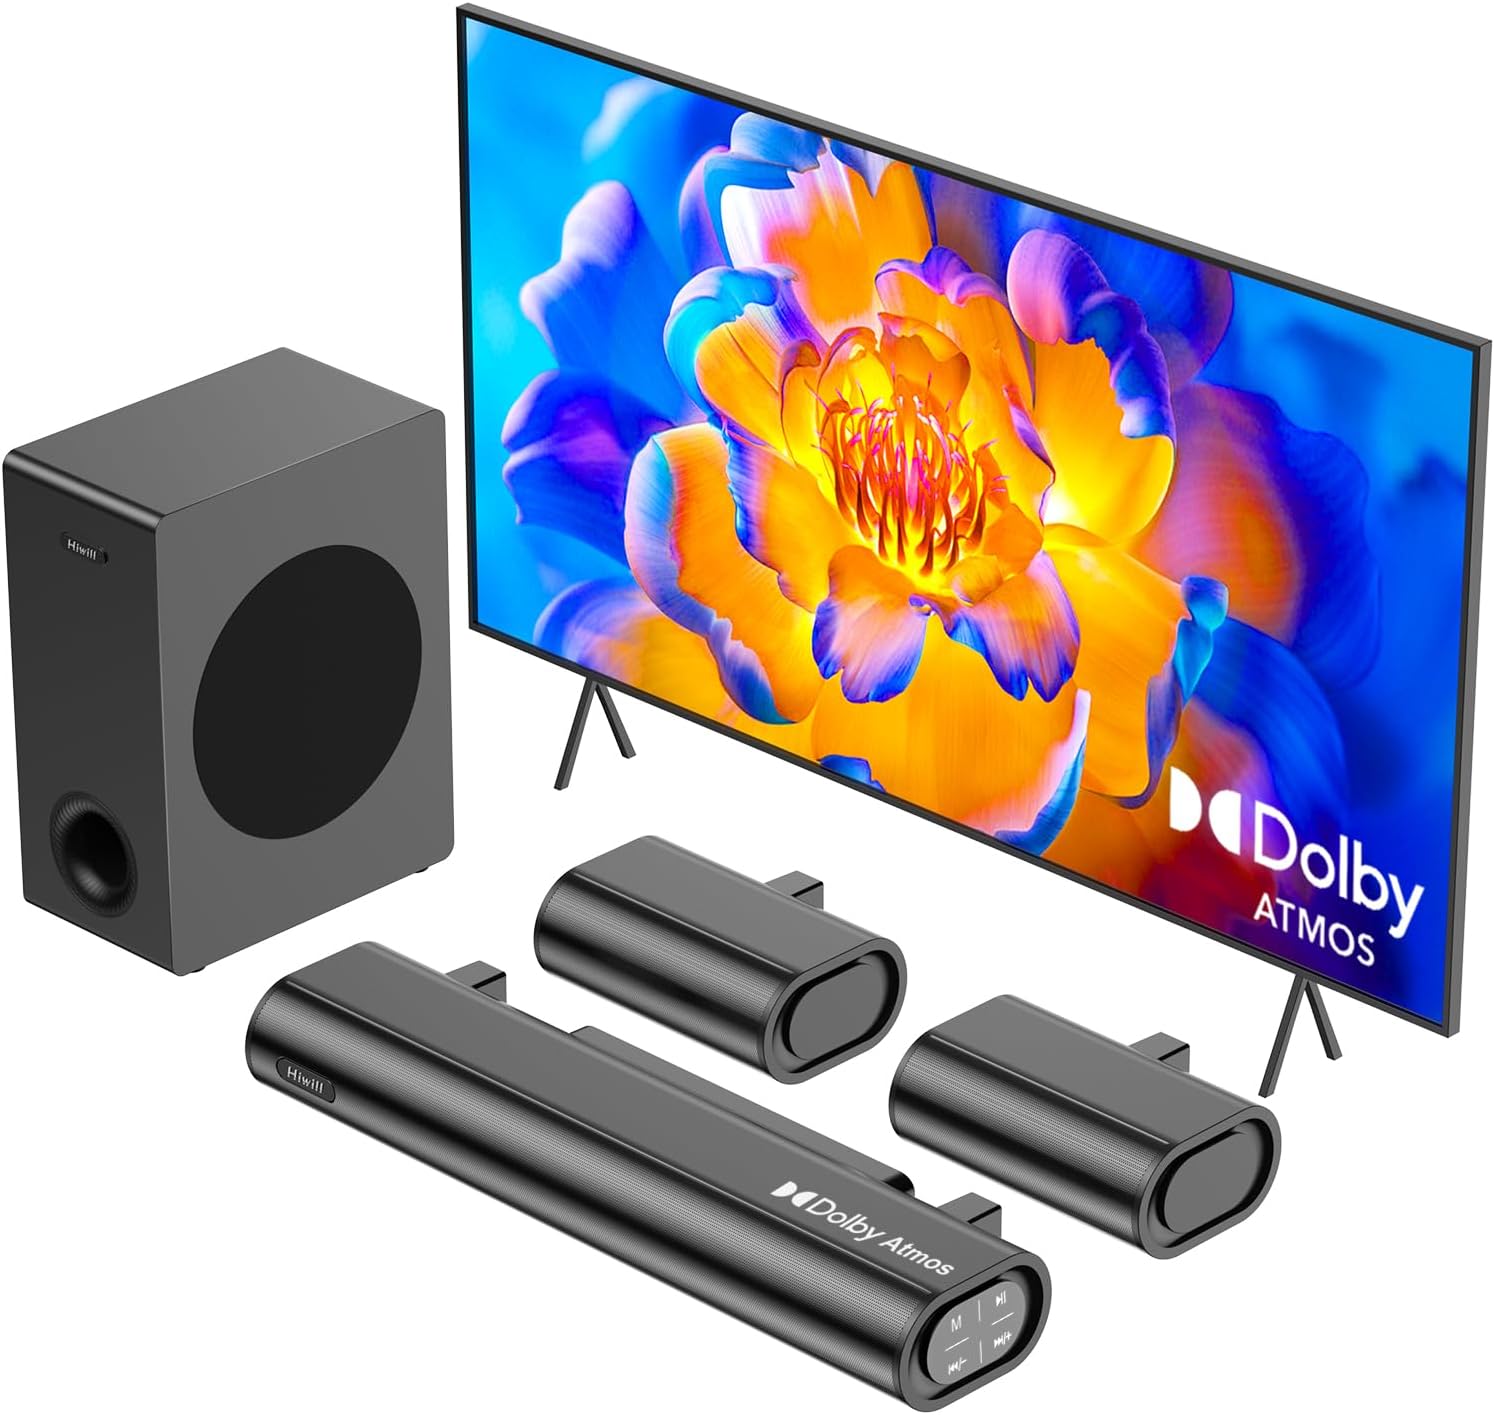
Figure 1: Hiwill Dolby Atmos 5.1CH Sound Bar System components.
What's Included
Please check the contents of your package. If any items are missing or damaged, contact Hiwill customer support.
- Soundbar
- Wired Subwoofer
- Wired Surround Speakers (x2)
- HDMI eARC Cable
- Digital Optical Cable
- Stereo 3.5mm to 3.5mm Audio Cable
- Remote Control
- Remote Control Batteries (One Set)
- Wall Mounted Kit
- User Manual (this document)
- Power Cable
Product Overview
Key Components
- Soundbar: The main unit housing the front channels and central processing.
- Wired Subwoofer: Provides deep bass frequencies for enhanced audio immersion. Features a 5.25-inch woofer.
- Wired Surround Speakers: Two compact speakers designed to deliver rear channel audio, creating a true 5.1 surround sound experience. Connect via 7-meter cables.
Connectivity Ports
The soundbar offers various connectivity options:
- HDMI eARC/ARC: For high-quality audio transmission, including Dolby Atmos.
- Optical: Digital audio input for compatible devices.
- Bluetooth 5.3: Wireless connection for streaming audio from mobile devices.
- AUX: Analog audio input using a 3.5mm cable.
- USB: For firmware updates or media playback (check specific model features).

Figure 2: System setup illustrating 5.1ch 3D Surround Sound.

Figure 3: Remote Control for comprehensive system management.
Setup Guide
1. Physical Placement
For optimal audio performance, consider the following placement guidelines:
- Soundbar: Place the soundbar centrally below your TV. Ensure no objects obstruct the front of the soundbar.
- Subwoofer: Position the subwoofer on the floor, ideally in a corner or near a wall for enhanced bass.
- Rear Speakers: Place the two wired rear speakers behind your primary listening position. The included 7-meter cables provide flexibility. For rooms 10㎡ or larger, RCA extension cables (not included) may be needed.

Figure 4: Recommended rear speaker placement for optimal surround sound.
2. Connecting Components
Connect the soundbar, subwoofer, and rear speakers as follows:
- Connect the wired subwoofer to the soundbar using the dedicated subwoofer cable.
- Connect the two wired rear speakers to the soundbar using their respective 7-meter cables.
- Choose your preferred audio input connection to your TV or other source device:
- HDMI eARC/ARC (Recommended for Dolby Atmos): Connect the HDMI eARC cable from the soundbar's HDMI eARC/ARC port to your TV's HDMI eARC/ARC port. Ensure your TV's audio output is set to external speakers and eARC/ARC is enabled.
- Optical: Connect the Digital Optical Cable from the soundbar's Optical port to your TV's Optical Digital Audio Out port.
- AUX: Connect the Stereo 3.5mm to 3.5mm Audio Cable from the soundbar's AUX port to your device's audio output.
- Bluetooth: For wireless connection, refer to the "Operating" section for pairing instructions.
- Connect the Power Cable to the soundbar and then to a power outlet.

Figure 5: Best Connection Methods and their characteristics.
Operating Instructions
Basic Operation
- Power On/Off: Press the power button on the remote control or the soundbar.
- Volume Control: Use the VOL+ and VOL- buttons on the remote to adjust the master volume.
- Mute: Press the Mute button on the remote to temporarily silence the audio.
Input Selection
Press the "INPUT" button on the remote control to cycle through available input sources (HDMI eARC/ARC, Optical, Bluetooth, AUX, USB).
Bluetooth Pairing
- Switch the soundbar to Bluetooth mode using the "INPUT" button. The display will indicate "BT".
- On your mobile device, enable Bluetooth and search for "Hiwill A51".
- Select "Hiwill A51" to pair. Once connected, the soundbar will indicate successful pairing.
Sound Modes (EQ)
The system offers versatile EQ modes to optimize your listening experience:
- PureSound: For a natural, uncolored audio experience.
- Movie: Enhances dialogue clarity and cinematic effects.
- Music: Optimizes audio for music playback.
- News: Focuses on vocal clarity for news and talk shows.
Press the corresponding EQ mode buttons (Movie, Music, News) on the remote. For PureSound, select the "EQ" button.
Adjusting Bass, Treble, and Surround Sound
Use the dedicated buttons on the remote control to fine-tune your audio:
- Bass Adjustment: Use "BAS+" and "BAS-" buttons to increase or decrease bass levels.
- Treble Adjustment: Use "TRE+" and "TRE-" buttons to increase or decrease treble levels.
- Rear Speaker Volume: Use "R.VOL+" and "R.VOL-" buttons to adjust the volume of the rear surround speakers independently (12-level adjustment).

Figure 6: Bass adjustment and subwoofer detail.
Figure 7: Treble adjustment and remote control layout.
Maintenance
To ensure the longevity and optimal performance of your Hiwill soundbar system, follow these maintenance guidelines:
- Cleaning: Use a soft, dry cloth to clean the surfaces of the soundbar, subwoofer, and speakers. Do not use liquid cleaners or abrasive materials, as they may damage the finish.
- Ventilation: Ensure proper ventilation around all components. Do not block any ventilation openings.
- Power: Disconnect the power cable from the wall outlet if the system will not be used for an extended period.
- Environment: Avoid exposing the system to extreme temperatures, humidity, dust, or direct sunlight.
Troubleshooting
If you encounter issues with your soundbar system, refer to the following common problems and solutions:
| Problem | Possible Cause | Solution |
|---|---|---|
| No Sound |
|
|
| No Bass from Subwoofer |
|
|
| No Sound from Rear Speakers |
|
|
| Bluetooth Pairing Fails |
|
|
| Distorted Sound |
|
|
If the problem persists after trying these solutions, please contact Hiwill customer support for further assistance.
Technical Specifications
| Model Name | A51 |
| Speaker Type | Soundbar with Wired Subwoofer and Wired Surround Speakers |
| Surround Sound Channel Configuration | 5.1 |
| Speaker Maximum Output Power | 380 Watts (Peak) |
| Woofer Diameter | 5.25 Inches |
| Frequency Response | 45 Hz |
| Connectivity Technology | HDMI eARC/ARC, Optical, Bluetooth 5.3, AUX, USB |
| Control Method | Remote Control |
| Product Dimensions (Soundbar) | 16.93"D x 4.45"W x 2.36"H |
| Item Weight | 11 pounds (5 Kilograms) |
| Power Source | Corded Electric |
| Special Features | Dolby Atmos Surround System, HXS Processing (ClearVoice Technology), Adjustable Bass/Treble/Surround, Multiple EQ Modes |

Figure 8: High-quality speaker materials including aluminum-magnesium alloy and copper shorting ring.
Warranty and Support
Limited Warranty
The Hiwill Dolby Atmos 5.1CH Sound Bar System comes with a limited warranty. Please refer to the warranty card included in your package for detailed terms and conditions, including coverage period and limitations. Keep your purchase receipt as proof of purchase for warranty claims.
Customer Support
For technical assistance, troubleshooting, or warranty inquiries, please contact Hiwill customer support. You can find contact information on the Hiwill official website or on the warranty card.
Firmware Updates: New firmware with personalized memory function and improved performance may be available. Contact Hiwill support to inquire about and apply the latest firmware updates.

Figure 9: Benefits of firmware upgrades.
Related documentsA51


Ask a question about this manual
Ask about setup, troubleshooting, compatibility, parts, safety, or missing instructions. Manuals+ will review the question and use this page’s manual context to help answer it.