
1. Product Overview
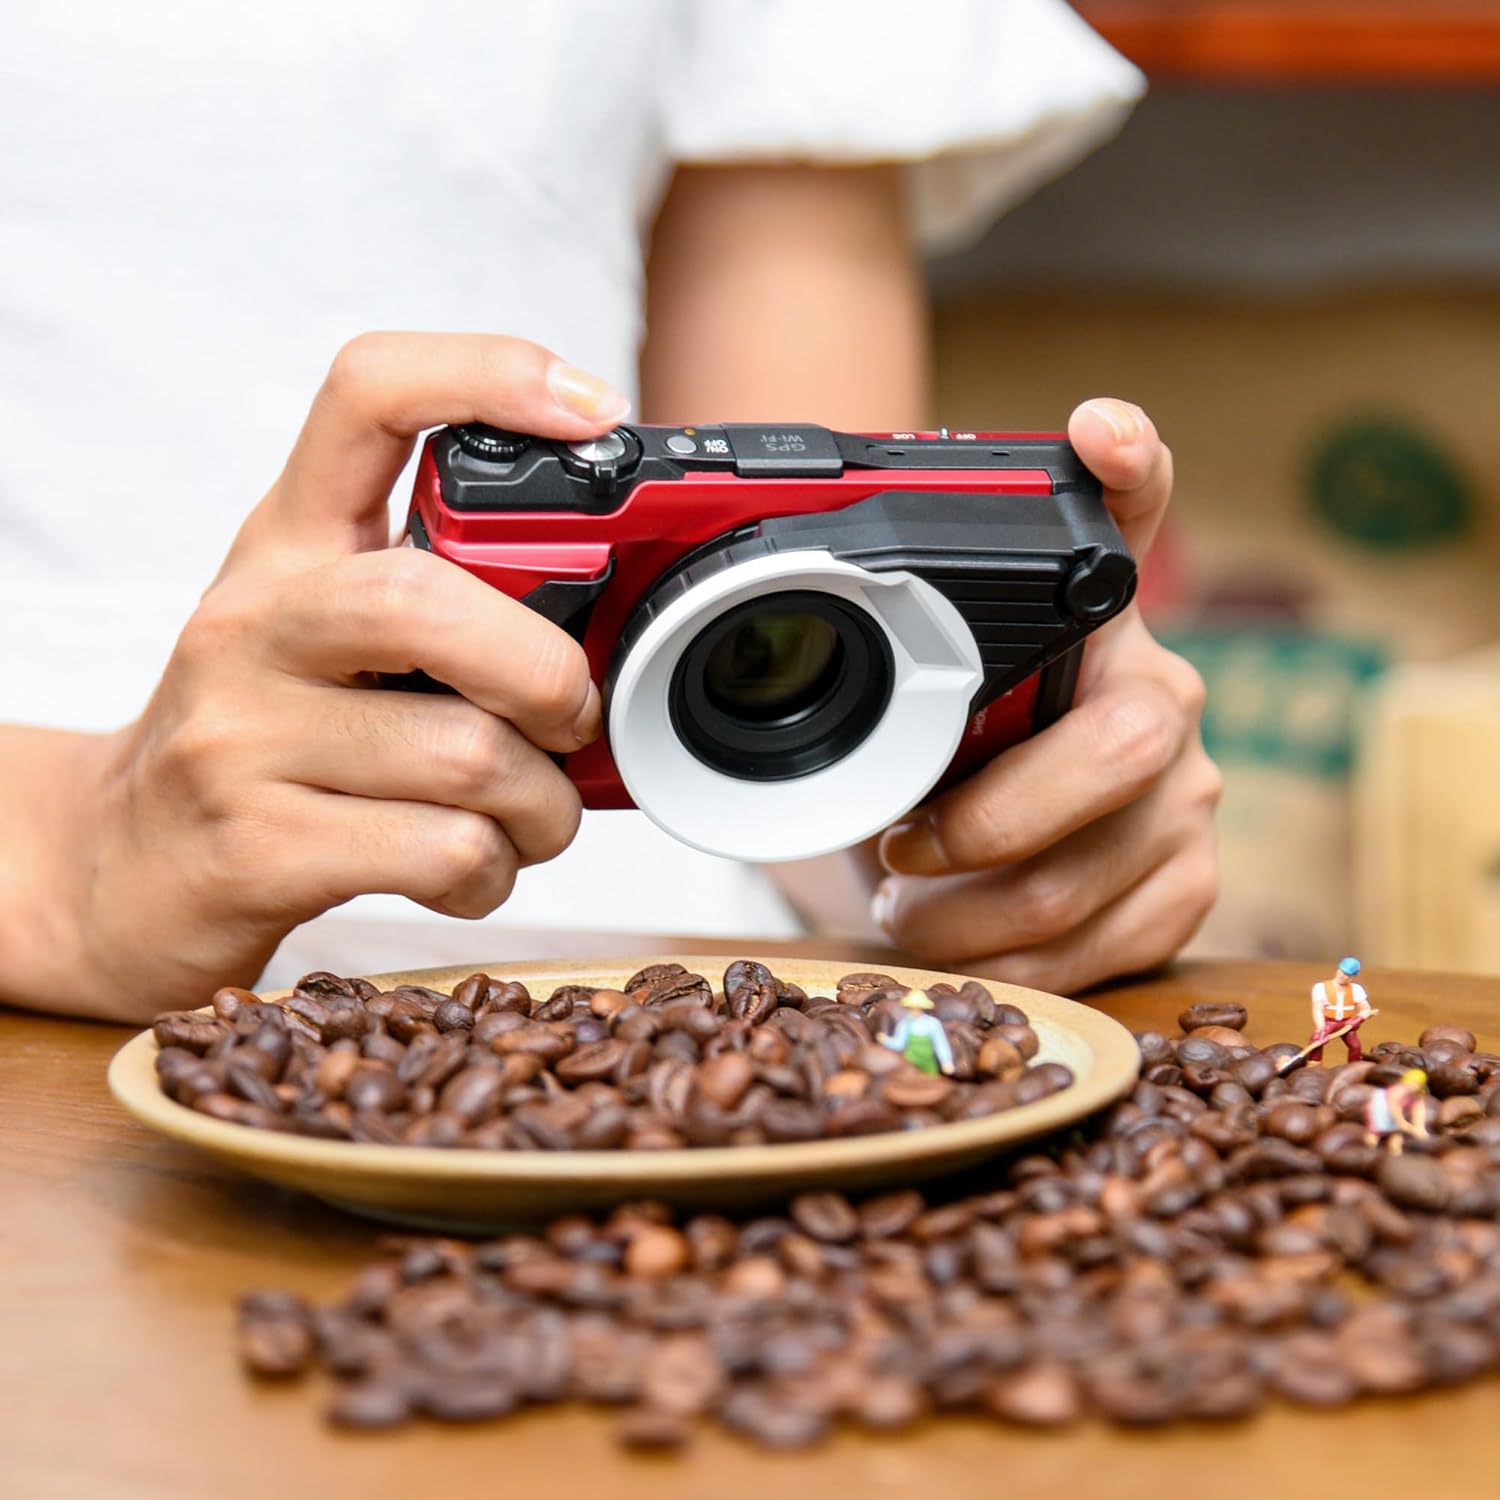
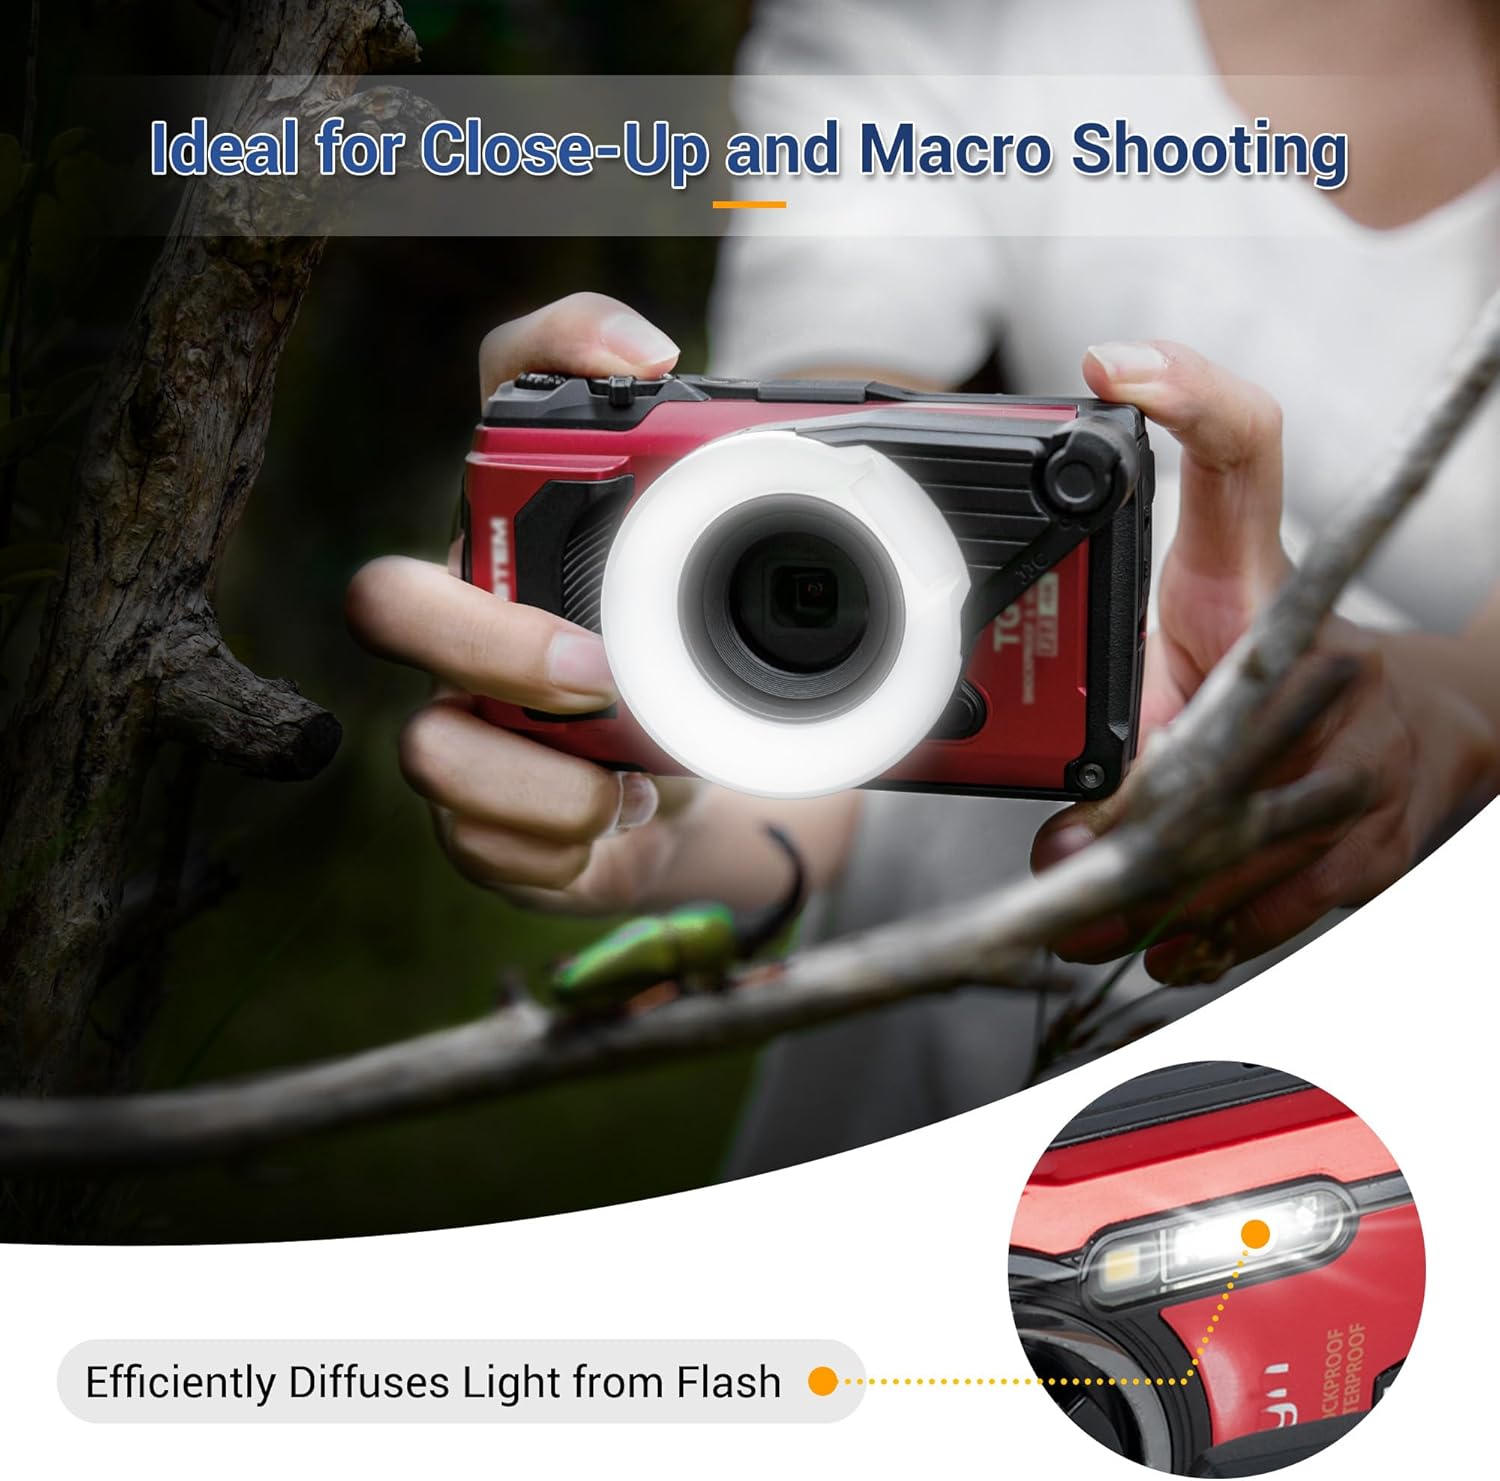
The JJC FD-1 Flash Diffuser is designed to enhance macro photography by distributing light from your camera's built-in flash. It helps to evenly illuminate close-up subjects, reducing harsh shadows and hot spots for more balanced and natural-looking images. This diffuser is also suitable for underwater macro shooting.

2. Compatibility
This flash diffuser is compatible with the following Olympus Tough digital camera models:
- Olympus Tough TG-7
- Olympus Tough TG-6
- Olympus Tough TG-5
- Olympus Tough TG-4
- Olympus Tough TG-3
- Olympus Tough TG-2
- Olympus Tough TG-1
Important Note: When using the diffuser with Olympus Tough TG-4 (firmware version 2.0 or later), TG-3, TG-2, or TG-1 cameras, you may need to access additional camera settings to optimize exposure accuracy. Exposure accuracy issues may occur depending on the specific shooting environment with these older models.
3. Package Contents
The package includes:
- Flash Diffuser ×1
4. Installation Guide
Follow these steps to attach the JJC FD-1 Flash Diffuser to your compatible Olympus Tough camera:
- Remove the Camera's Accessory Ring: Locate the integral accessory ring around your camera's lens. Gently twist and remove it, typically by turning counter-clockwise.
- Align the Diffuser: Take the JJC FD-1 Flash Diffuser and align its mounting mechanism with the camera's lens barrel. Ensure the diffuser is oriented correctly.
- Attach and Lock: Twist the diffuser clockwise until it securely locks into place. No additional tools are required for installation.

5. Operating Instructions
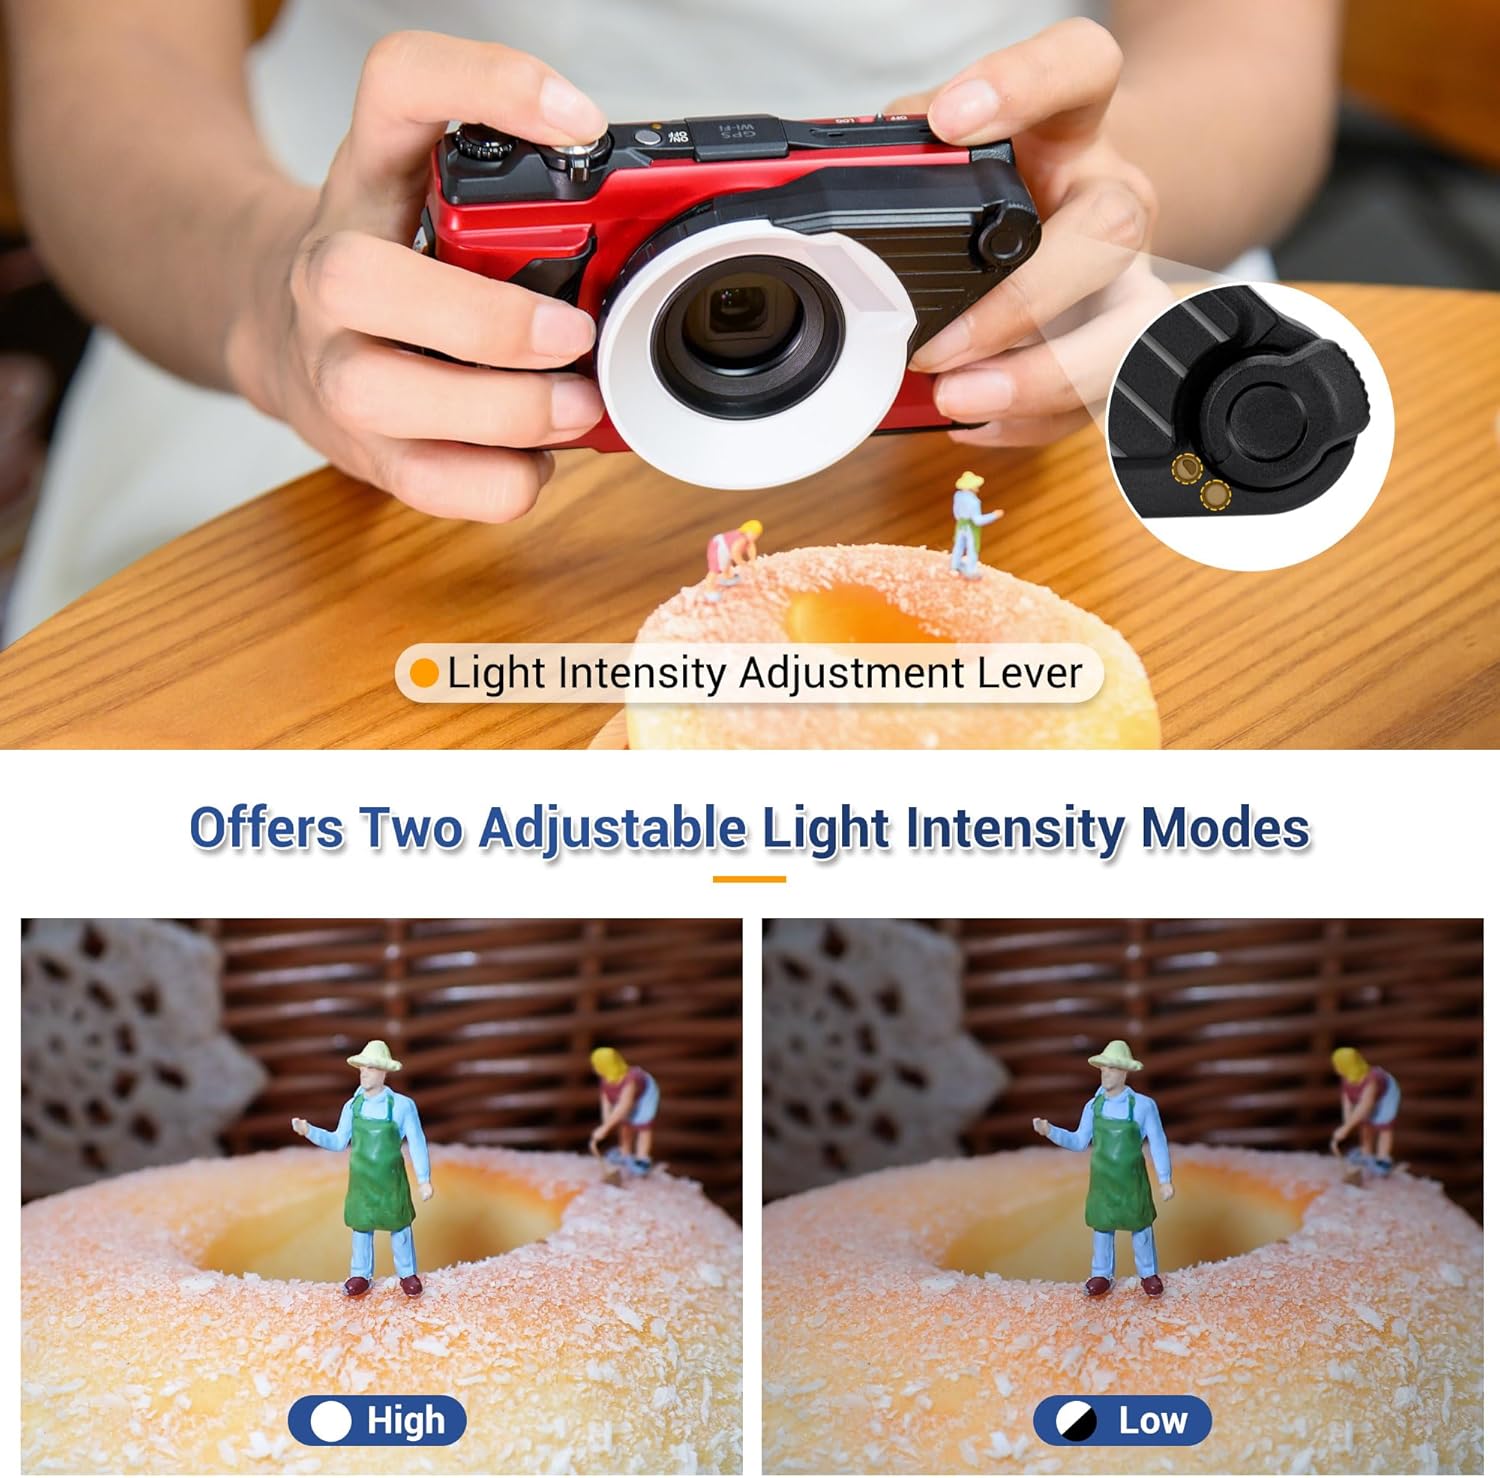
The JJC FD-1 Flash Diffuser features a light intensity adjustment lever, allowing you to control the flash output for optimal results in various shooting conditions.
Light Intensity Adjustment
The diffuser includes a lever with two output settings: High and Low. Adjust this lever to select the appropriate light intensity based on your subject distance and ambient lighting. This flexibility helps achieve better exposure and lighting balance for your macro shots.
Demonstration Video
6. Care and Maintenance
To ensure the longevity and optimal performance of your JJC FD-1 Flash Diffuser, follow these care guidelines:
- Cleaning: Use a soft, dry cloth to wipe the diffuser. For stubborn dirt, a slightly damp cloth can be used, followed by immediate drying. Avoid abrasive cleaners or solvents.
- Storage: Store the diffuser in a clean, dry place away from direct sunlight and extreme temperatures when not in use.
- Handling: Handle the diffuser with care to prevent scratches or damage to the diffusing surface.
7. Troubleshooting
If you encounter issues while using your JJC FD-1 Flash Diffuser, consider the following:
- Uneven Lighting: Ensure the diffuser is securely and correctly attached to the camera lens. Verify that the light intensity adjustment lever is set appropriately for your shooting conditions.
- Exposure Issues (TG-1/TG-2/TG-3/TG-4): As noted in the compatibility section, older Olympus Tough models (TG-1, TG-2, TG-3, and TG-4 with specific firmware) may require manual adjustments to camera settings for optimal exposure when using the diffuser. Consult your camera's manual for advanced flash or exposure compensation settings.
- Diffuser Not Attaching: Double-check that the camera's original accessory ring has been completely removed and that the diffuser is aligned correctly before twisting to lock.
8. Product Specifications
| Brand | JJC |
| Model Number | FD-TG1-U3 |
| Compatible Mountings | Olympus Tough TG-7, TG-6, TG-5, TG-4, TG-3, TG-2, TG-1 Digital Cameras |
| Camera Flash Type | Macro |
| Mounting Type | Internal Mounting |
| Water Resistance Level | Waterproof |
| Included Components | Flash Diffuser ×1 |

9. Warranty and Customer Support
The JJC FD-1 Flash Diffuser comes with a one-year warranty from the date of purchase, covering manufacturing defects.
For technical assistance, warranty claims, or general inquiries, please visit the official JJC Store or contact their customer support through the retailer where the product was purchased.
You can find more information and contact details on the JJC Store on Amazon.