
1. Safety Information
Please read all instructions carefully before installation and use. Retain this manual for future reference.
- Ensure the power supply is disconnected at the circuit breaker before installation, cleaning, or maintenance.
- All electrical connections must be in accordance with local codes and ordinances, and national electrical codes. If you are unfamiliar with electrical wiring, consult a qualified electrician.
- The fan must be mounted to a structurally sound ceiling joist or outlet box capable of supporting the fan's weight (approximately 11.16 lbs).
- Do not insert objects into the fan blades while the fan is operating.
- This appliance is not intended for use by persons (including children) with reduced physical, sensory or mental capabilities, or lack of experience and knowledge, unless they have been given supervision or instruction concerning use of the appliance by a person responsible for their safety.
- Always use the provided remote control for operation.
2. Package Contents
Verify that all components are present and undamaged before beginning installation.
- VOLISUN Ceiling Fan Unit
- Light Kit
- ABS Lampshade
- Remote Control (Batteries not included)
- Fan Blades (5 blades, reversible white/walnut finish)
- Mounting Hardware Kit
- Instruction Manual

Image 2.1: Main components of the VOLISUN 42-inch Ceiling Fan, including the fan body, remote control, and individual fan blades.
3. Product Overview
The VOLISUN 42-inch Low Profile Ceiling Fan (Model 21687ZM) is designed for efficient air circulation and integrated lighting in various indoor and outdoor settings. Key features include:
- Integrated LED Light: Dimmable light with 3 color temperature options (3000K Warm Light, 4500K Natural White, 6000K White Light).
- 6 Wind Speeds: Adjustable fan speeds for customized comfort.
- Reversible Motor: Allows for downward airflow in summer for cooling and upward airflow in winter for heat distribution.
- Memory Function: Recalls the last used light brightness and color temperature settings.
- Timer Function: Set the fan to automatically turn off after 1, 2, or 4 hours.
- Quiet Operation: Operates at approximately 30 decibels, ensuring minimal noise disturbance.
- Double-Sided Blades: Features blades with a white finish on one side and a walnut finish on the other, offering versatile aesthetic options.
- Flush Mount Design: Low profile installation suitable for rooms with lower ceilings.

Image 3.1: Illustration of the fan's customizable lighting, demonstrating warm, natural white, and cool white color temperatures with brightness adjustment.

Image 3.2: Depiction of the 6-speed reversible function, illustrating downward airflow for cooling in summer and upward airflow for circulating warm air in winter.

Image 3.3: Visual representation of the fan's low noise level (30dB) and the available 1, 2, or 4-hour timer settings.
4. Setup and Installation
Professional installation is recommended. Ensure you have all necessary tools and assistance before starting. Installation may require two people.
4.1 Pre-Installation
- Turn off power at the main circuit breaker.
- Identify a suitable mounting location on the ceiling, ensuring it can support the fan's weight and has proper electrical wiring.
- Unpack all components and verify against the package contents list.
4.2 Assembling the Fan Blades
- Decide on the desired blade finish (white or walnut) before attaching them to the motor housing.
- Carefully align the blade holes with the mounting holes on the fan motor. Secure with the provided screws. Ensure all screws are tightened securely.
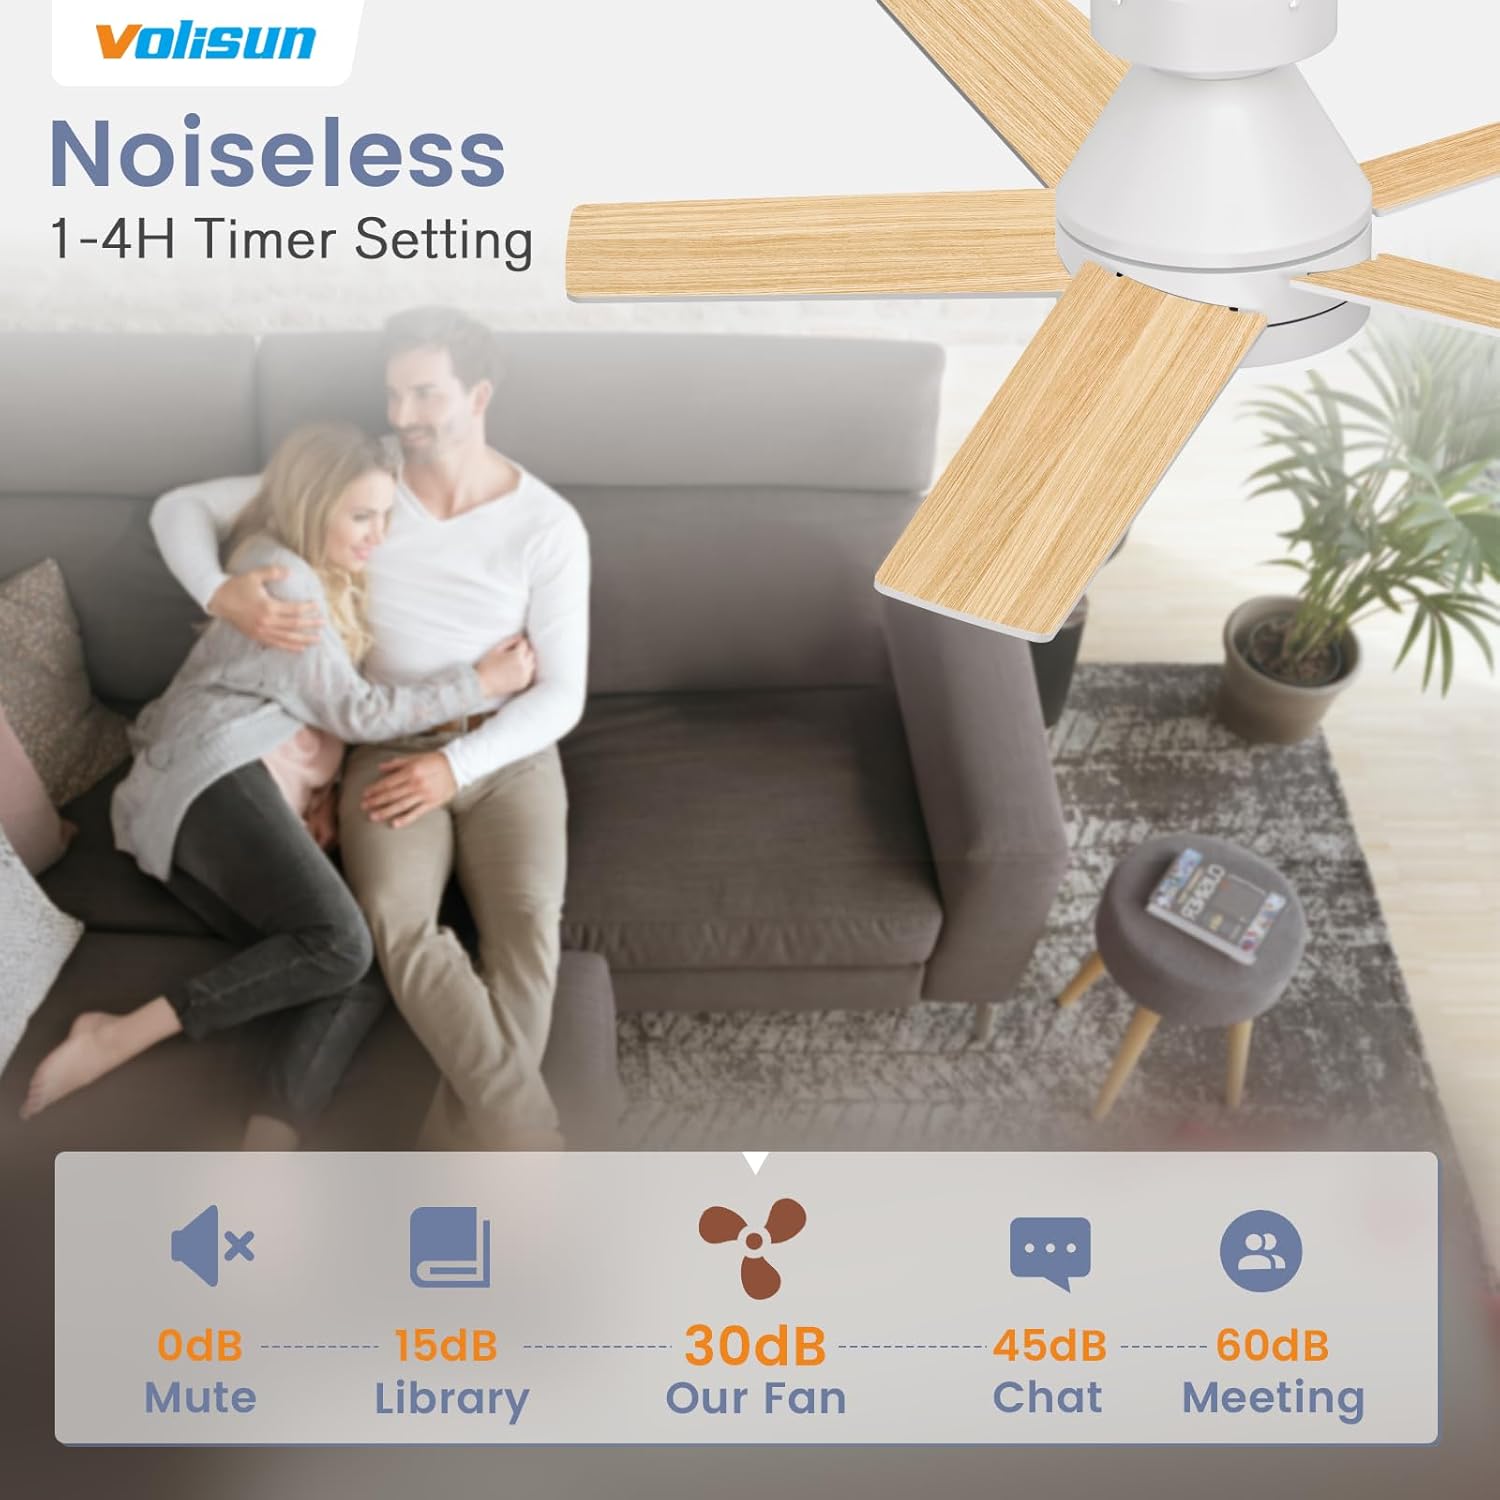
Image 4.1: The fan blades offer two aesthetic options: a clean white finish and a natural wood grain finish.
4.3 Mounting the Fan Unit
- Attach the mounting bracket to the ceiling outlet box using the provided hardware. Ensure it is firmly secured.
- Lift the fan unit and connect the electrical wires according to the wiring diagram in the full instruction manual (Live, Neutral, Ground).
- Carefully position the fan unit onto the mounting bracket and secure it with the designated screws. Ensure the fan is flush with the ceiling.

Image 4.2: Product dimensions showing the 42-inch diameter and 10-inch height of the fan, along with a recommended room size of 10ft x 10ft.
4.4 Attaching the Lampshade
- Once the fan is securely mounted and wired, attach the ABS lampshade to the bottom of the fan unit. Twist or snap into place as per the specific design.
5. Operating Instructions
The VOLISUN ceiling fan is operated primarily via the included remote control.
5.1 Remote Control Functions

Image 5.1: Detailed diagram of the remote control, indicating buttons for fan speeds, light ON/OFF, brightness, color temperature, fan direction, natural wind, and timer settings.
- Fan ON/OFF: Press the dedicated fan power button to turn the fan on or off.
- Fan Speed (1-6): Use the numbered buttons (1-6) to select the desired fan speed. 1-2 for soft wind, 3-4 for natural wind, 5-6 for cool wind.
- Light ON/OFF: Press the light power button to turn the light on or off.
- Light Brightness (+/-): Use the '+' and '-' buttons to adjust the light brightness from 5% to 100%.
- Color Temperature Switch: Press the color temperature button to cycle through 3000K Warm Light, 4500K Natural White, and 6000K White Light.
- Fan Forward/Reverse: Press the reverse button to change the fan's rotation direction for summer or winter mode.
- Natural Wind: Activates a mode that simulates natural breeze by varying fan speeds.
- Timer (1H, 2H, 4H): Press the corresponding button to set the fan to turn off automatically after 1, 2, or 4 hours.

Image 5.2: Visual guide to the 6 wind speed settings, categorized into low (1-2), medium (3-4), and high (5-6) wind for different comfort levels.
5.2 Memory Function
The fan's light features a memory function. After selecting your desired light color temperature and brightness, turn off the light. When you turn it back on (ensure it's off for at least 7 seconds), the light will resume its previous settings.

Image 5.3: Explanation of the light's memory function, detailing how to set and recall preferred brightness and color temperature by ensuring the light is off for more than 7 seconds.
5.3 Reversible Function (Summer/Winter Mode)
The reversible motor allows you to optimize air circulation for different seasons:
- Summer Mode (Downward Airflow): The fan blades rotate counter-clockwise, pushing cool air down to create a refreshing breeze.
- Winter Mode (Upward Airflow): The fan blades rotate clockwise, drawing cool air up and pushing warm air down from the ceiling, helping to distribute heat more evenly.

Image 5.4: Illustration of the fan's reversible function, showing downward airflow for cooling in summer and upward airflow for heat circulation in winter.
6. Maintenance
Regular maintenance helps ensure the longevity and optimal performance of your ceiling fan.
- Cleaning: Periodically wipe the fan blades and motor housing with a soft, damp cloth. Do not use abrasive cleaners or solvents, as they may damage the finish.
- Light Cover: Gently clean the lampshade with a soft, dry cloth.
- Tightness Check: Annually check all screws on the fan blades and mounting hardware to ensure they are securely tightened.
- Power Off: Always ensure the power is turned off at the circuit breaker before performing any cleaning or maintenance.
7. Troubleshooting
If you encounter issues with your fan, refer to the following common problems and solutions:
| Problem | Possible Cause | Solution |
|---|---|---|
| Fan does not start | No power to the fan; Remote control batteries are dead; Incorrect wiring. | Check circuit breaker; Replace remote batteries; Verify wiring connections. |
| Light does not work | No power to the light; Remote control batteries are dead; Loose connection. | Check circuit breaker; Replace remote batteries; Ensure light kit connections are secure. |
| Fan wobbles | Loose mounting screws; Unbalanced blades; Improper installation. | Tighten all mounting screws; Check blade balance (refer to full manual for balancing kit instructions if applicable); Re-check installation steps. |
| Remote control not responding | Dead batteries; Remote not paired with fan; Obstruction. | Replace batteries; Refer to full manual for remote pairing instructions; Ensure clear line of sight to fan receiver. |
| Fan is noisy | Loose screws; Motor issue; Obstruction. | Check and tighten all screws; Ensure no wires or objects are touching the fan blades or motor; If noise persists, contact support. |
If the problem persists after attempting these solutions, please contact VOLISUN customer support.
8. Specifications
| Brand | VOLISUN |
| Model Name | Ceiling Fan with Light |
| Item Model Number | 21687ZM |
| Product Dimensions | 42"D x 42"W x 10"H |
| Item Weight | 11.16 pounds |
| Color | White |
| Electric Fan Design | Ceiling Fan |
| Power Source | Corded Electric |
| Style | Modern |
| Room Type | Kitchen, Bedroom, Living Room, Patio (Indoor/Outdoor) |
| Special Features | 3CCT Dimmable, 6 Wind Speed, Reversible Motor, Memory Function, 1/2/4H Timer, Double-Side Blades |
| Recommended Uses | Air Circulation, Cooling, Drying |
| Noise Level | 30 Decibels |
| Wattage | 22 watts |
| Blade Length | 18 Inches |
| Voltage | 110 Volts |
| Control Method | Remote, App, Touch |
| Number of Power Levels | 6 |
| Installation Type | Flush Mount |
9. Warranty and Support
VOLISUN stands behind its products with a comprehensive warranty and dedicated customer support.
- 2-Year Service: This product is covered by a full 2-year service period, which addresses manufacturing defects or if the fan stops working within this timeframe.
- Customer Support: For any questions, technical assistance, or warranty claims, please contact VOLISUN customer support. Refer to your purchase documentation for specific contact details or visit the official VOLISUN website.