1. Introduction
Thank you for choosing the SUNVIVI 6.5QT 12-in-1 Digital Programmable Multi Slow Cooker Roaster Oven. This versatile appliance is designed to simplify your cooking process with its multiple functions and user-friendly interface. Please read this manual thoroughly before first use to ensure safe and optimal operation.
2. Important Safety Instructions
- Read all instructions before using the appliance.
- Do not touch hot surfaces. Use handles or knobs.
- To protect against electrical shock, do not immerse cord, plugs, or the main unit in water or other liquid.
- Close supervision is necessary when any appliance is used by or near children.
- Unplug from outlet when not in use and before cleaning. Allow to cool before putting on or taking off parts.
- Do not operate any appliance with a damaged cord or plug, or after the appliance malfunctions or has been damaged in any manner.
- The use of accessory attachments not recommended by the appliance manufacturer may cause injuries.
- Do not use outdoors.
- Do not let cord hang over edge of table or counter, or touch hot surfaces.
- Do not place on or near a hot gas or electric burner, or in a heated oven.
- Extreme caution must be used when moving an appliance containing hot oil or other hot liquids.
- Always attach plug to appliance first, then plug cord into the wall outlet. To disconnect, turn any control to “off,” then remove plug from wall outlet.
- Do not use appliance for other than intended use.
3. Product Overview
Components
- Main Unit with Control Panel
- Removable Nonstick Cooking Crock
- Glass Lid with Handle
- Roasting/Steaming Rack

Image: The complete SUNVIVI 6.5QT 12-in-1 Multi Slow Cooker Roaster Oven with its glass lid, showing the control panel and handles.
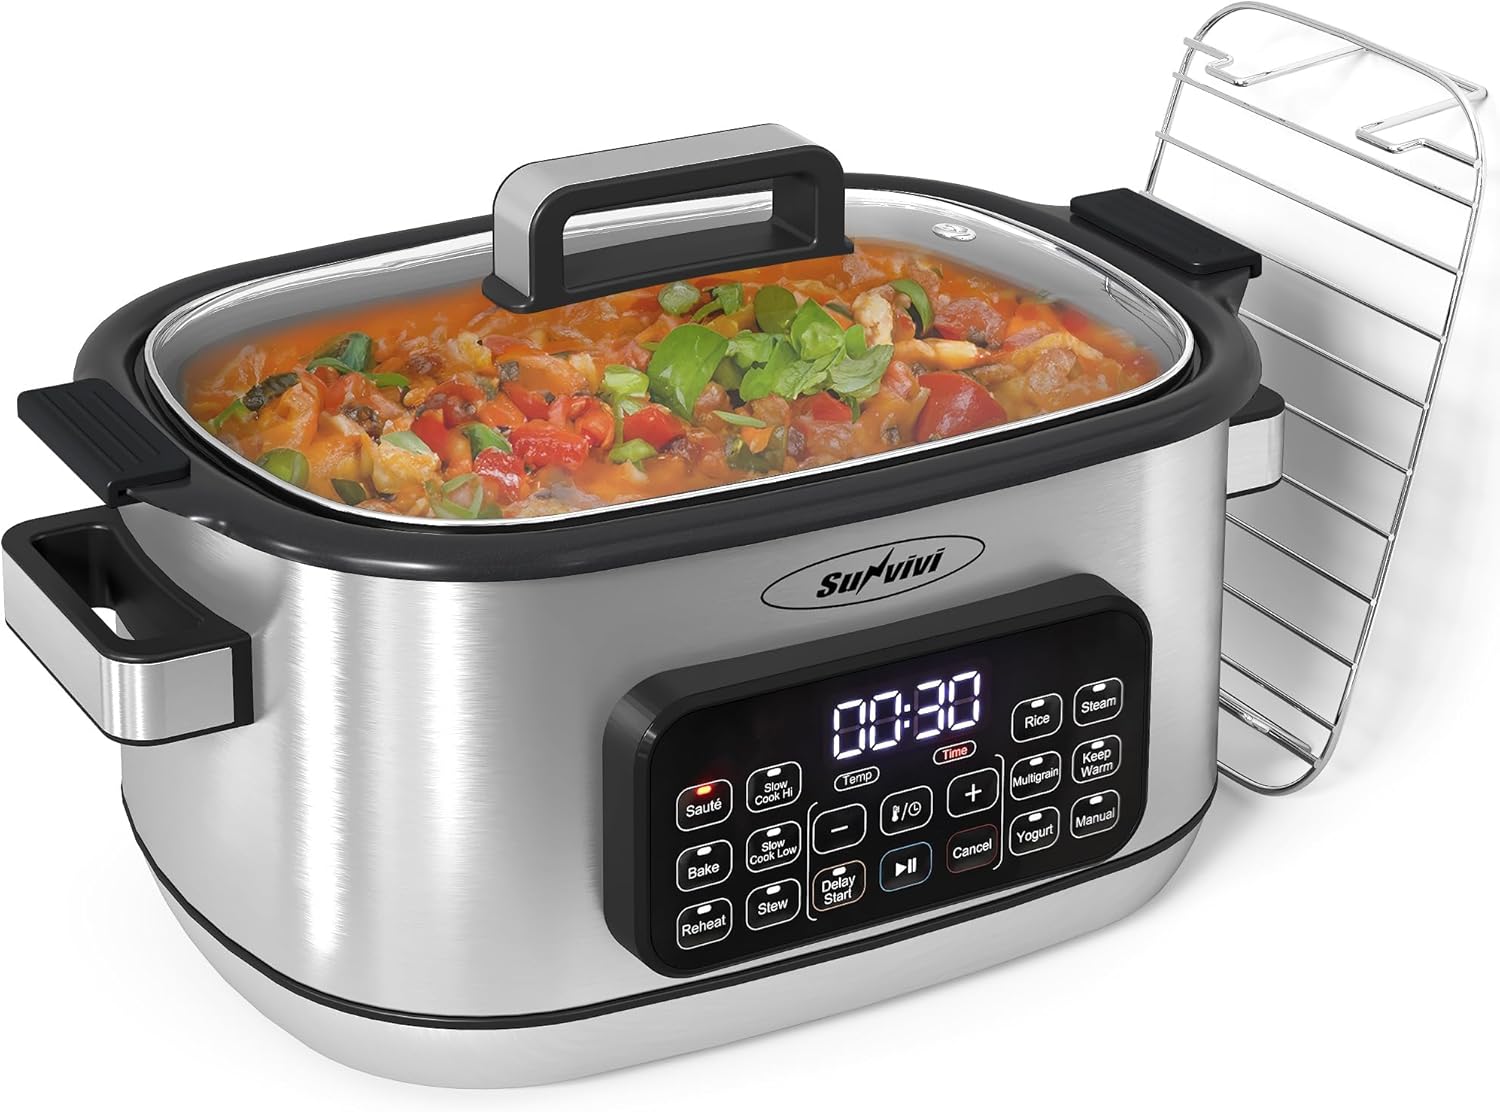
Image: The SUNVIVI Multi Cooker with the roasting rack placed beside it, demonstrating its accessories.
Key Features
- 12-in-1 Versatility: Functions include Sauté, Bake, Reheat, Slow Cook (High/Low), Stew, Rice, Multigrain, Yogurt, Steam, Keep Warm, Manual, and Delay Start.
- Digital Control Panel: High-definition LED display with intuitive touch controls for easy mode selection, temperature, and timer adjustments.
- 6.5 Quart Capacity: Large capacity suitable for family meals or gatherings.
- Nonstick Coating: Upgraded non-stick interior for easy food release and quick cleanup.
- Even Heating: Advanced surround heating technology ensures uniform heat distribution.
- Safety Features: High-temperature resistant glass lid and dual anti-scald cool-touch handles.
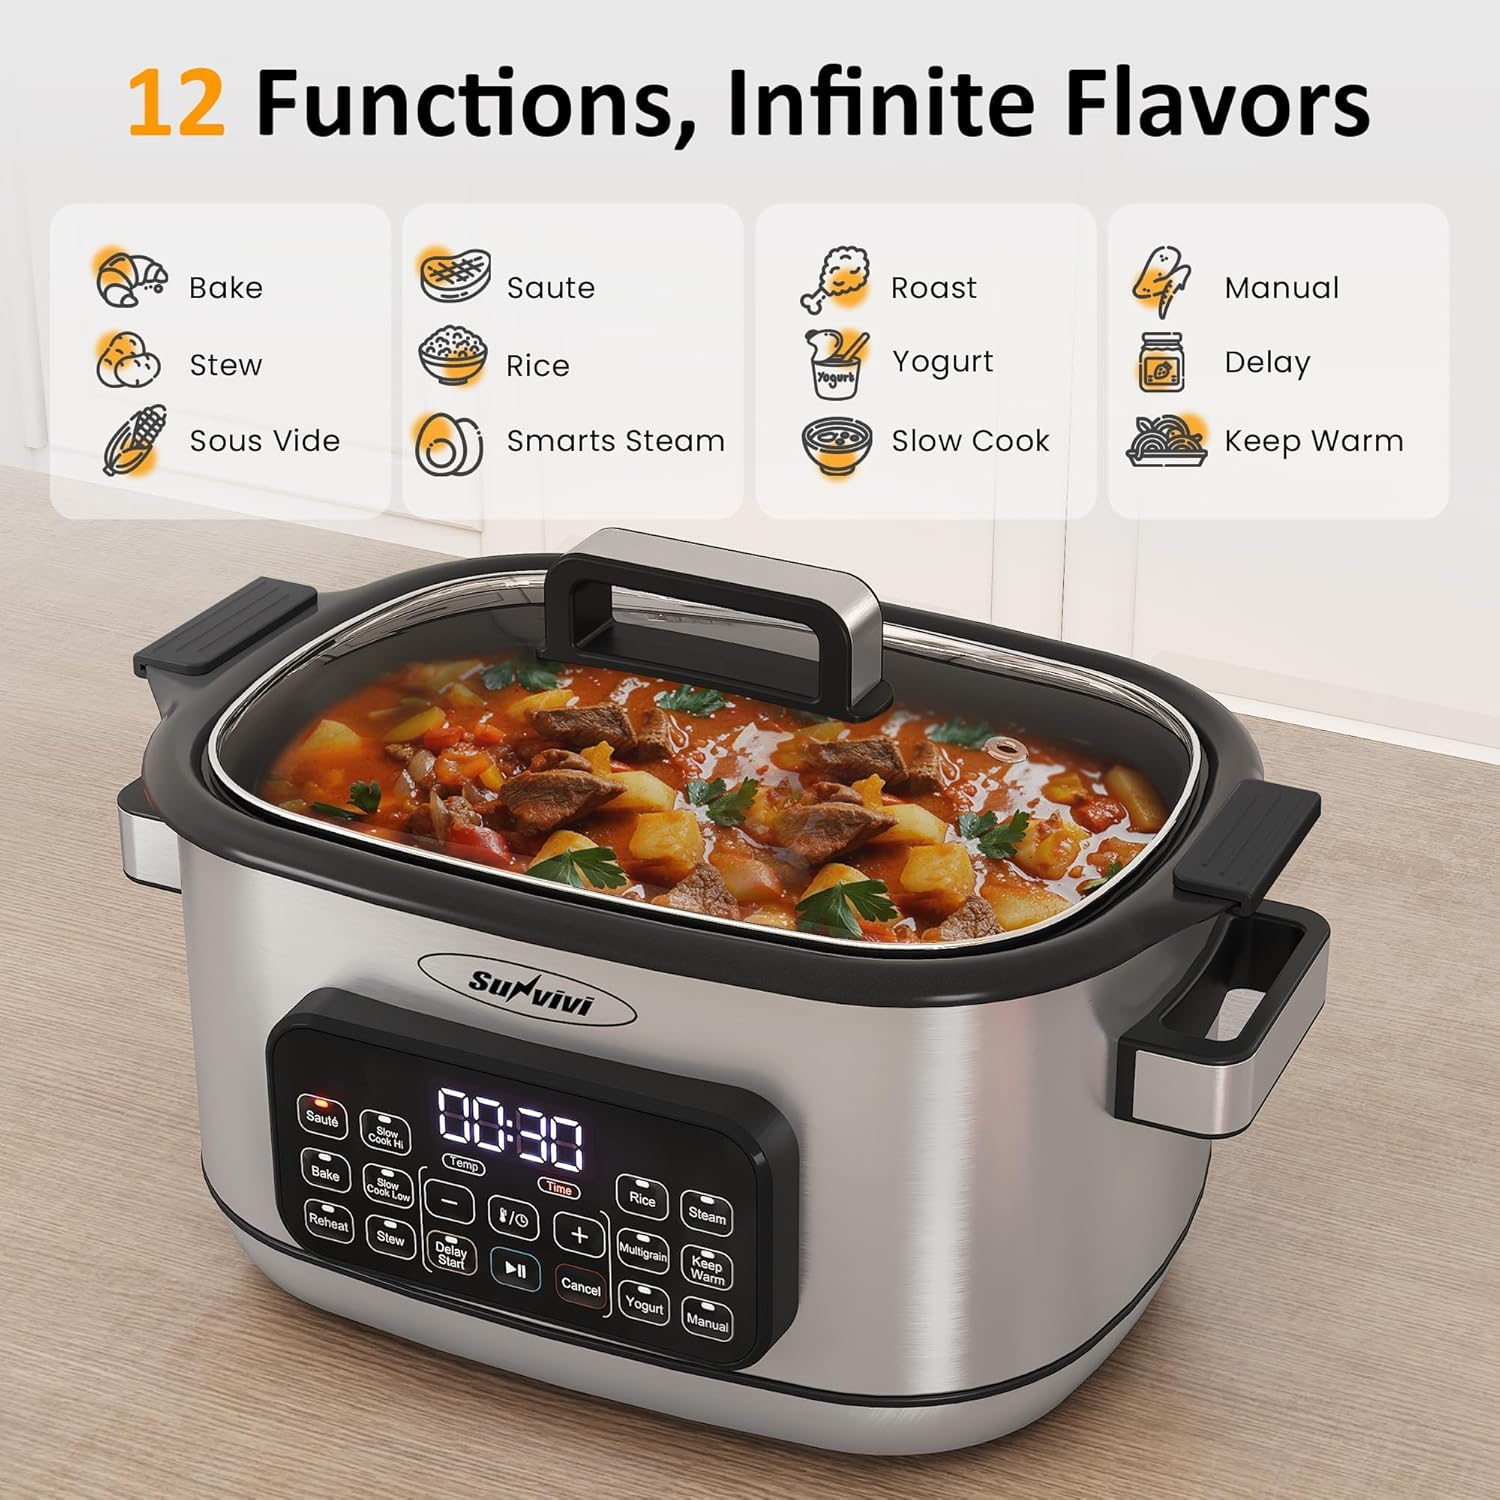
Image: A visual representation of the 12 cooking functions available on the SUNVIVI Multi Cooker, including Bake, Sauté, Roast, Stew, Sous Vide, Yogurt, Smarts Steam, Slow Cook, Manual, Delay, and Keep Warm.

Image: Diagram illustrating the uniform heating technology of the SUNVIVI Multi Cooker, showing heat distribution from the base and sides.
4. Setup
- Unpack: Carefully remove all components from the packaging.
- Clean: Wash the removable cooking crock, glass lid, and rack with warm, soapy water. Rinse thoroughly and dry completely. Wipe the exterior of the main unit with a damp cloth.
- Placement: Place the main unit on a stable, flat, heat-resistant surface, away from walls or other appliances to allow for proper ventilation.
- Assemble: Insert the clean, dry cooking crock into the main unit. Place the glass lid on top.
- Power: Plug the power cord into a grounded electrical outlet. The display will illuminate.
5. Operating Instructions
Control Panel Overview
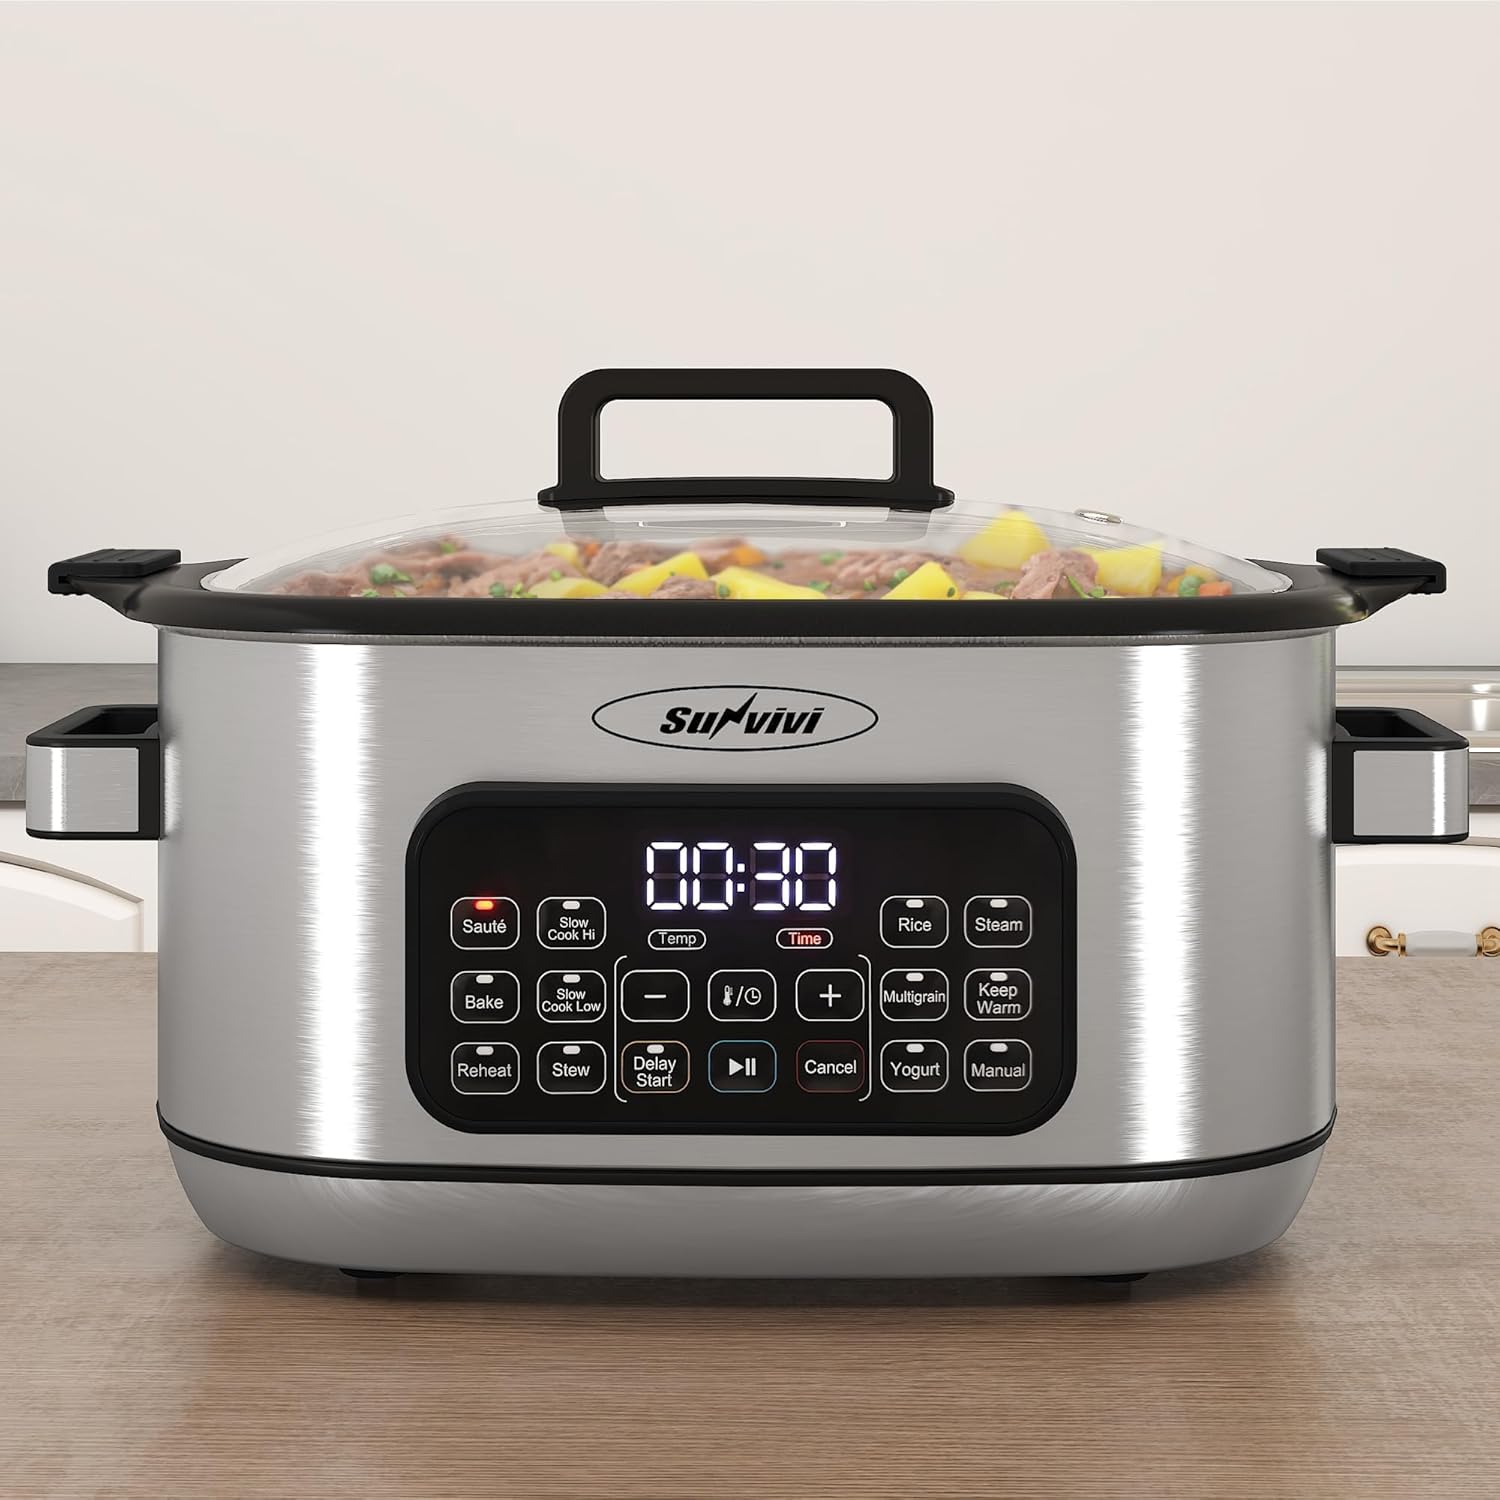
Image: Close-up of the SUNVIVI Multi Cooker's digital control panel, showing buttons for various cooking modes, temperature, and timer settings.
The control panel features an LED display and touch buttons for various cooking functions, temperature adjustment, and time settings.
General Operation
- Power On: Plug in the appliance. The display will show standby mode.
- Select Function: Press the desired function button (e.g., Sauté, Slow Cook High, Bake). The default time and temperature for that function will appear on the display.
- Adjust Time/Temperature: Use the 'Temp' and 'Time' buttons, along with the '+' and '-' buttons, to adjust the cooking temperature and duration as needed.
- Start Cooking: Press the 'Start' button (often represented by a play icon) to begin the cooking process.
- Cancel/Power Off: Press the 'Cancel' button to stop cooking or to turn off the appliance.
Specific Cooking Modes
- Sauté: Ideal for browning meats or sautéing vegetables before slow cooking. Temperature range: 250-425°F, Time: 5 min - 1 hr.
- Slow Cook (High/Low): For traditional slow cooking. Temperature range: 115-205°F, Time: 30 min - 24 hrs.
- Bake: For baking various dishes. Temperature range: 230-420°F, Time: 30 min - 4 hrs.
- Reheat: To warm up cooked food. Temperature range: 210-300°F, Time: 1 min - 20 min.
- Stew: Optimized for stewing. Temperature: 190°F, Time: 15 min - 4 hrs.
- Rice: For cooking rice. Temperature: 212°F.
- Multigrain: For cooking various grains.
- Yogurt: For making homemade yogurt. Time: 4 hrs - 12 hrs.
- Steam: Use with the included rack for steaming. Temperature range: 175-205°F, Time: 1 min - 2 hrs.
- Keep Warm: Automatically activates after some cooking cycles or can be selected manually. Temperature: 150°F, Time: 1 hr - 10 hrs.
- Manual: Allows for custom temperature and time settings. Temperature range: 175-425°F, Time: 5 min - 12 hrs.
- Delay Start: Set a delay before cooking begins. Use the '+' and '-' buttons to set the delay time.
6. Maintenance and Cleaning
Cleaning Instructions
- Unplug and Cool: Always unplug the appliance and allow it to cool completely before cleaning.
- Removable Parts: The removable cooking crock, glass lid, and rack are dishwasher safe. Alternatively, wash them with warm, soapy water using a soft sponge.
- Nonstick Coating Care: Do not scrub the nonstick coating with abrasive materials like steel wool balls, as this can damage the coating and lead to rust.
- Main Unit: Wipe the exterior of the main unit with a damp cloth. Do not immerse the main unit in water or any other liquid.
- Drying: Always dry all parts thoroughly after cleaning to prevent water spots or mineral buildup.
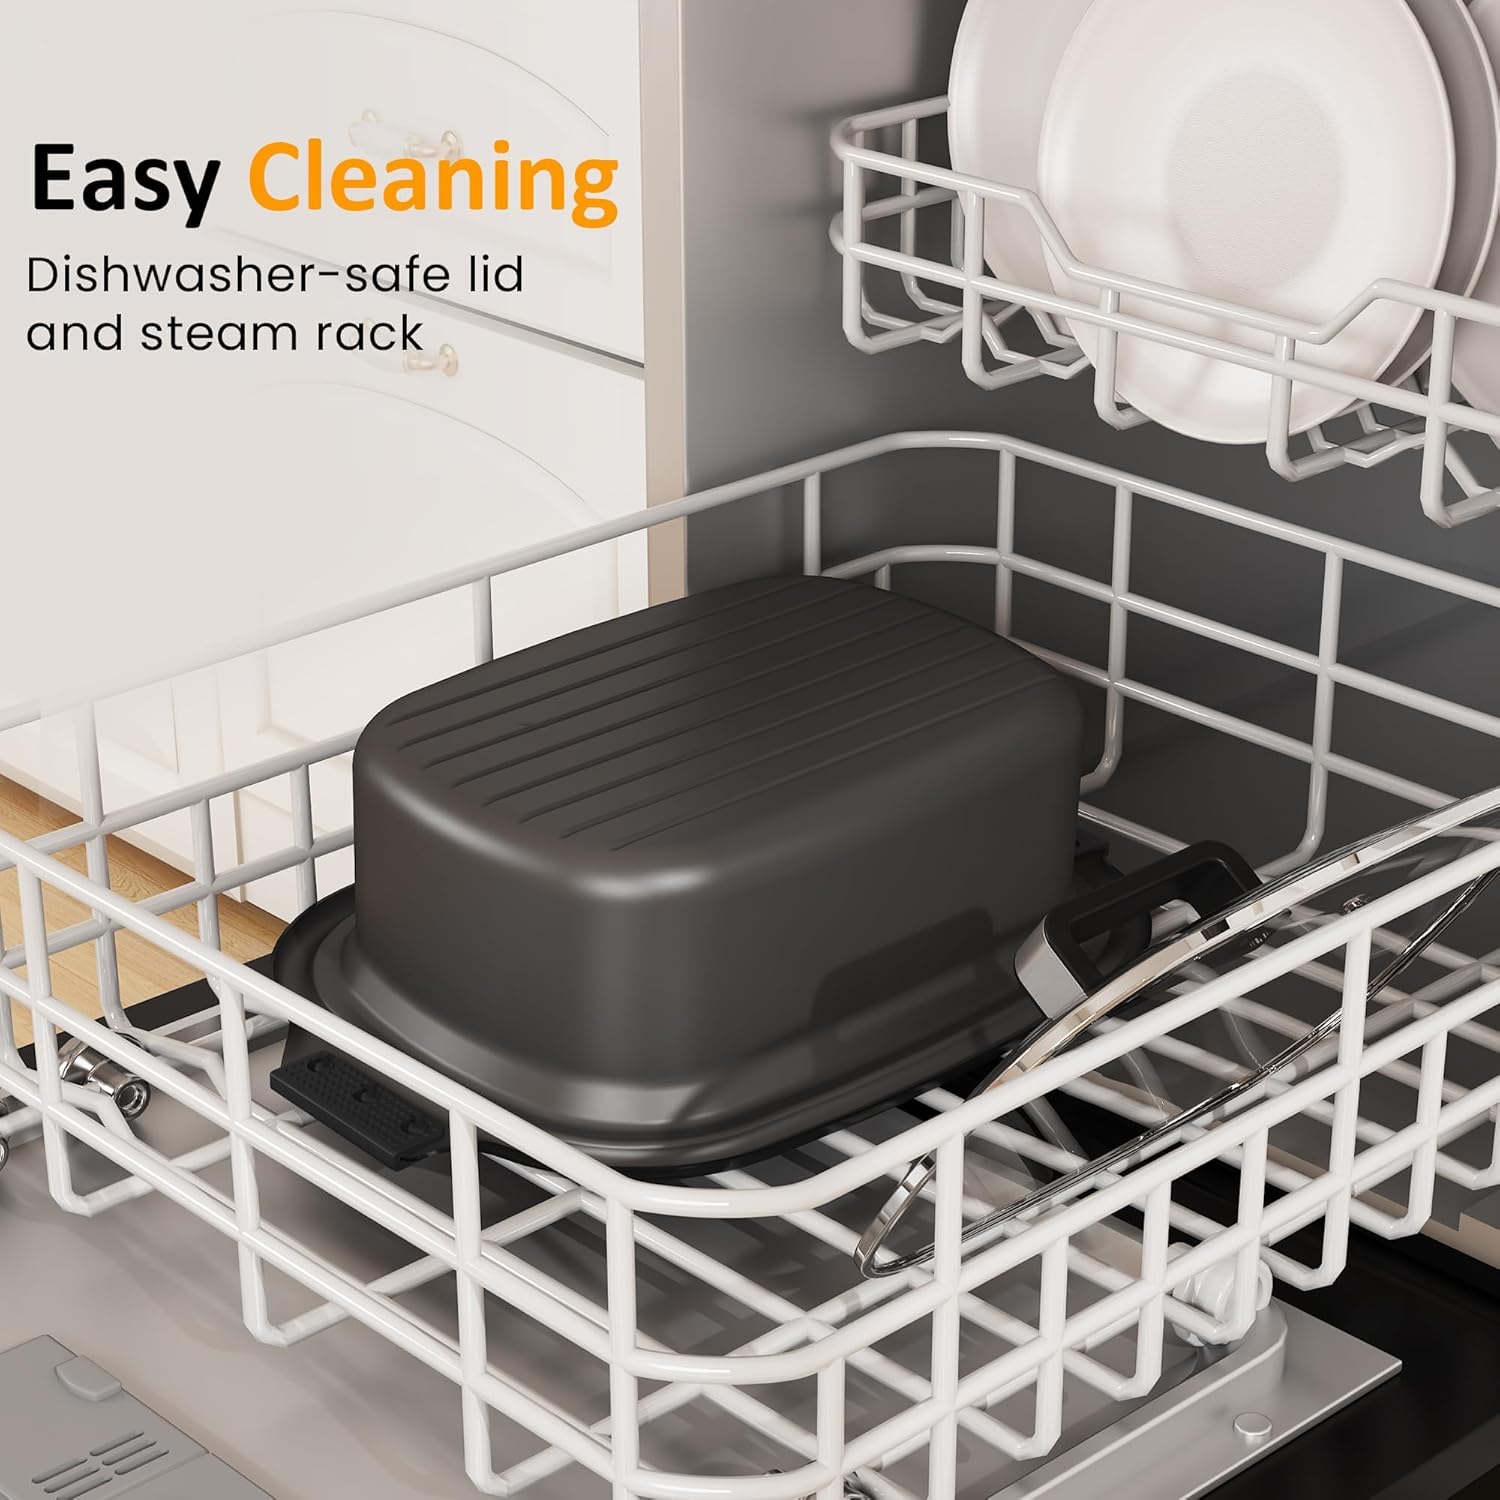
Image: The removable cooking crock and glass lid of the SUNVIVI Multi Cooker shown in a dishwasher rack, indicating they are dishwasher safe.
7. Troubleshooting
If you encounter issues with your SUNVIVI Multi Cooker, please refer to the following common troubleshooting steps:
- Appliance Not Turning On: Ensure the power cord is securely plugged into a functional electrical outlet. Check if the outlet is receiving power.
- Food Not Cooking Evenly: Ensure the cooking crock is properly seated in the main unit. Avoid overfilling the crock. Stir food occasionally if the recipe allows.
- Display Not Responding: Unplug the appliance for a few minutes, then plug it back in to reset the system.
- Lid Not Sealing Properly: Check for any food debris or damage around the rim of the crock or lid that might prevent a tight seal.
For further assistance, please contact customer support.
8. Specifications
| Brand | SUNVIVI |
| Model Number | ZES015SL+016SL |
| Capacity | 6.5 Quarts |
| Wattage | 1250 watts |
| Voltage | 240 Volts |
| Product Dimensions | 16.9"D x 10"W x 11"H |
| Item Weight | 12.47 pounds |
| Material | Metal |
| Control Method | Touch / Push Button |
| Number of Settings | 12 |
| Dishwasher Safe | Yes (Removable parts) |

Image: Diagram showing the dimensions of the SUNVIVI Multi Cooker, including the main unit, lid, rack, and cooking pot.
9. Warranty and Support
The SUNVIVI Multi Slow Cooker Roaster Oven typically comes with a manufacturer's warranty. Please refer to the product packaging or the official SUNVIVI website for specific warranty details and registration information. For technical support, replacement parts, or any inquiries, please contact SUNVIVI customer service through their official channels.


