
Important Safety Instructions
Read all instructions carefully before operating this electric snow blower. Failure to follow these instructions may result in electric shock, fire, and/or serious injury. Keep this manual for future reference.
- Always wear appropriate personal protective equipment, including eye protection and non-slip footwear.
- Ensure the work area is clear of debris, rocks, and other objects that could be thrown by the auger.
- Do not operate the snow blower in wet conditions or rain.
- Keep hands, feet, and clothing away from moving parts.
- Disconnect power before performing any maintenance or clearing blockages.
- Use only UL-rated extension cords suitable for outdoor use and the snow blower's amperage.
- Do not overload the machine by attempting to clear snow beyond its rated capacity.
Package Contents
Verify that all items are present upon unpacking:
- PowerSmart Electric Snow Blower Unit
- Handle Assembly
- Discharge Chute Assembly
- Hardware Pack (bolts, knobs, clips)
- User Manual
Setup
1. Handle Assembly
Attach the upper handle to the lower handle using the provided bolts and knobs. Ensure the handle is securely fastened and comfortable for operation.
2. Discharge Chute Installation
Mount the discharge chute onto the snow blower body. Secure it with the designated fasteners, ensuring it can rotate freely for snow direction control.

This image illustrates the adjustable discharge chute, capable of rotating 180 degrees to direct snow. The chute is black with red adjustment levers.
3. Power Connection
Connect a suitable outdoor-rated extension cord to the snow blower's power inlet. Ensure the connection is secure and protected from moisture. The unit features overload protection for safety.
Operating Instructions
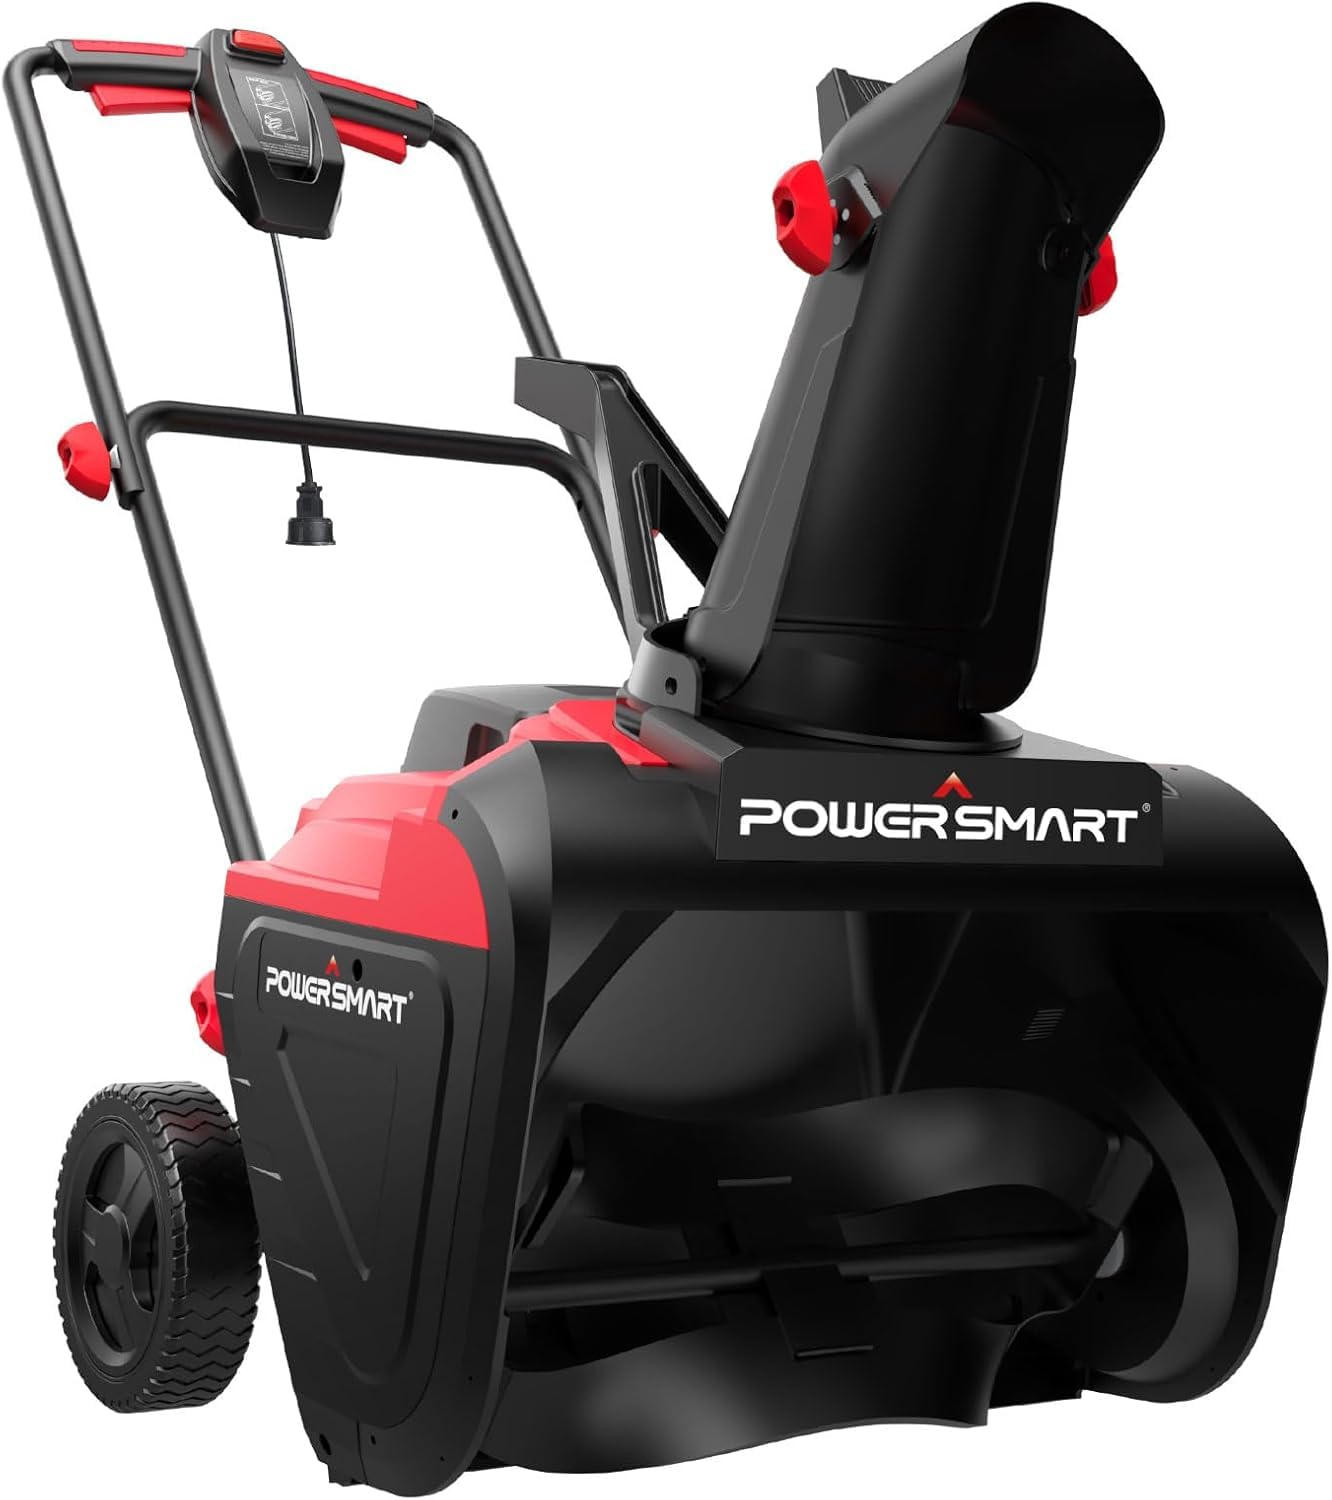
An overview of the PowerSmart 21-inch Electric Snow Blower, showing its main components including the handle, chute, and auger housing.
1. Pre-Operation Check
- Inspect the area to be cleared for any obstacles.
- Check all fasteners for tightness.
- Ensure the power cord is in good condition and properly connected.
2. Starting the Snow Blower
Press and hold the safety button, then squeeze the bail switch to start the motor. Release the safety button once the motor is running.
3. Clearing Snow
Push the snow blower forward at a steady pace. The 21-inch clearing width and 12.5-inch clearing depth allow for efficient snow removal. The 15-amp motor and 2100 RPM auger can handle up to 800 pounds of snow per minute.
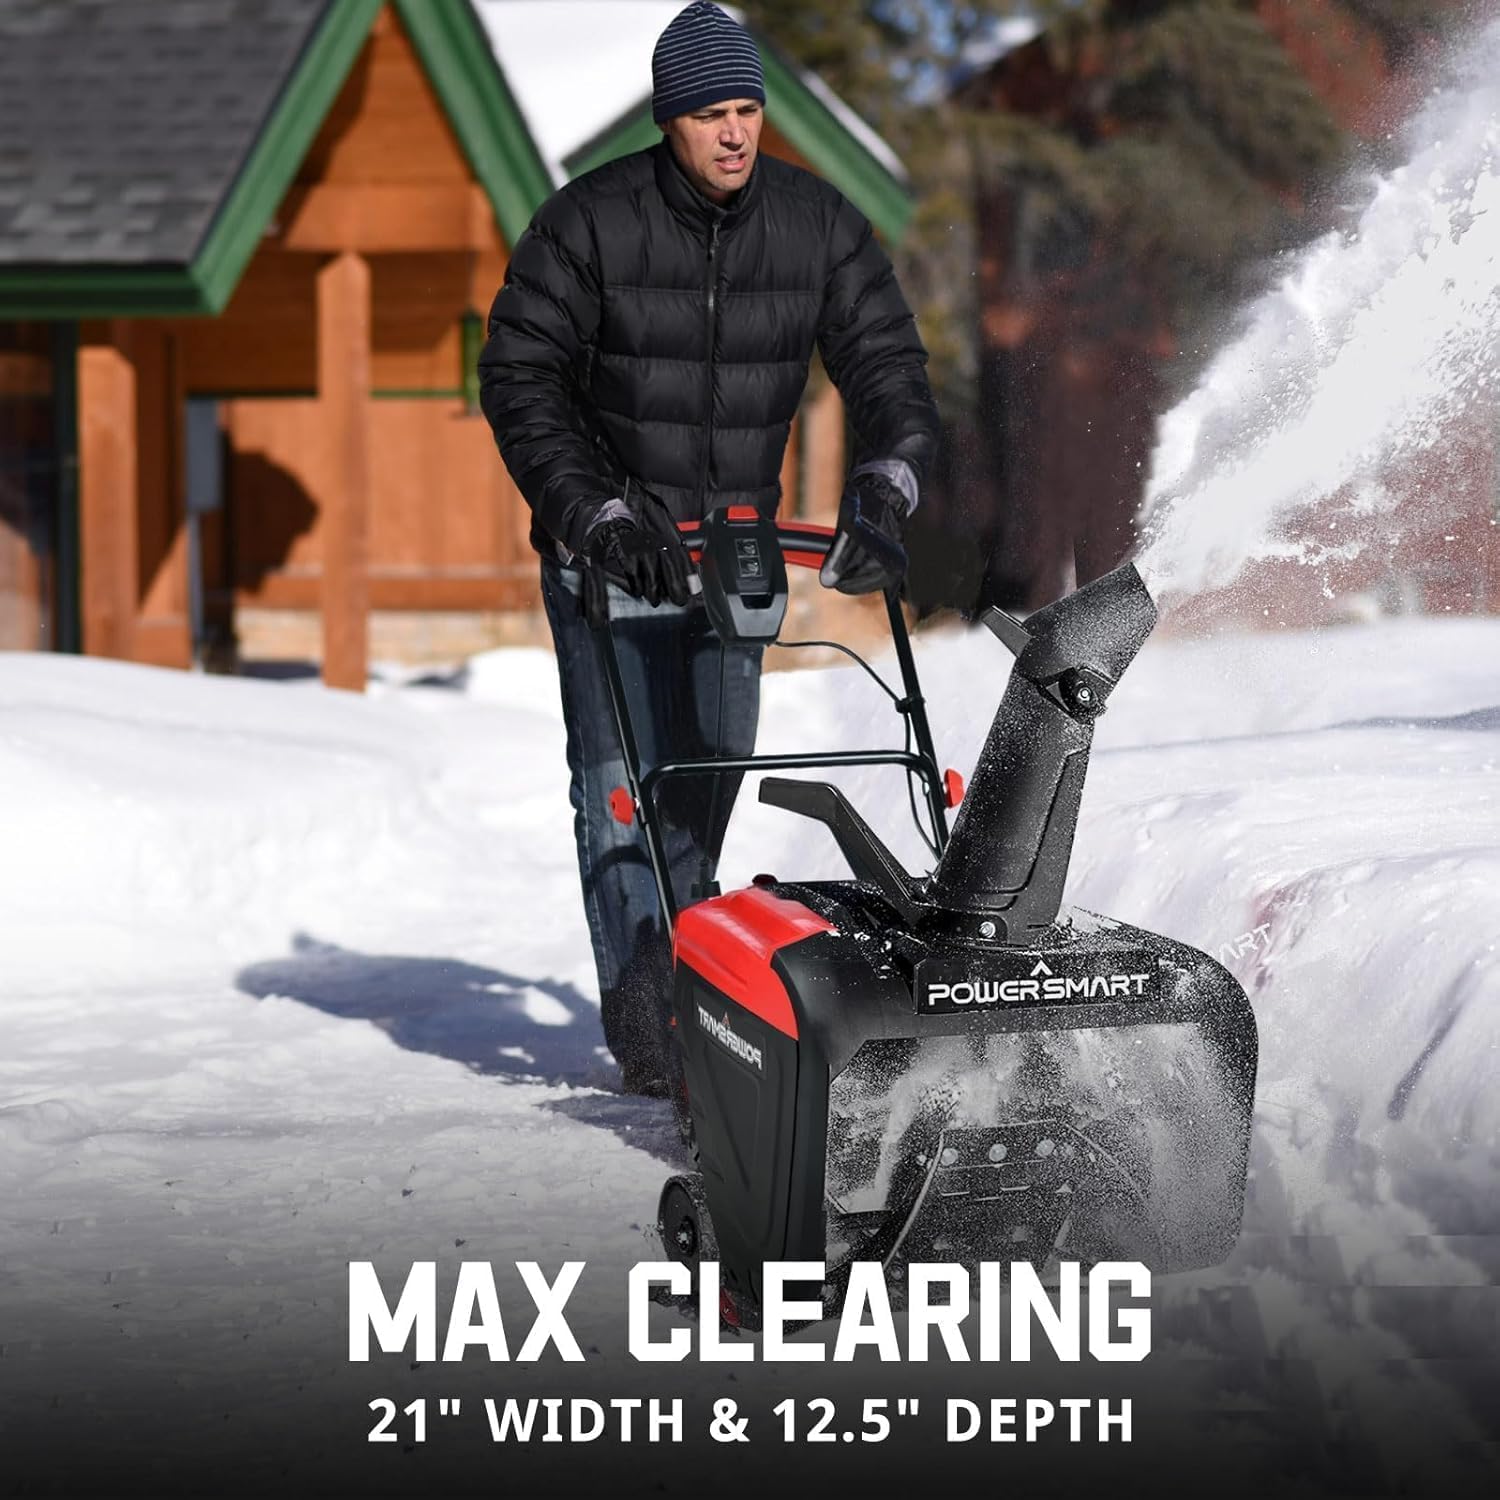
This image shows the snow blower in action, demonstrating its 21-inch clearing width and 12.5-inch clearing depth for maximum efficiency.
4. Adjusting Throw Distance and Direction
Use the adjustable chute deflector and 180-degree rotating chute to control the snow throwing distance (up to 30 feet) and direction. This minimizes repeated passes and optimizes the snow clearing process.

This image illustrates the snow blower's capability to throw snow up to 30 feet away, allowing for efficient clearing of large areas.
5. Using LED Lights
The dual LED lights provide enhanced visibility during operation in low-light conditions, improving safety and convenience.
Maintenance
1. After Each Use
- Disconnect the power cord.
- Clear any remaining snow or ice from the auger housing and chute using a non-metallic tool.
- Wipe down the exterior surfaces with a damp cloth.
2. Periodic Inspection
- Check the auger blades for wear or damage. The reinforced auger is designed for durability.
- Inspect the power cord for cuts, fraying, or exposed wires. Replace if damaged.
- Ensure all nuts, bolts, and screws are tight.
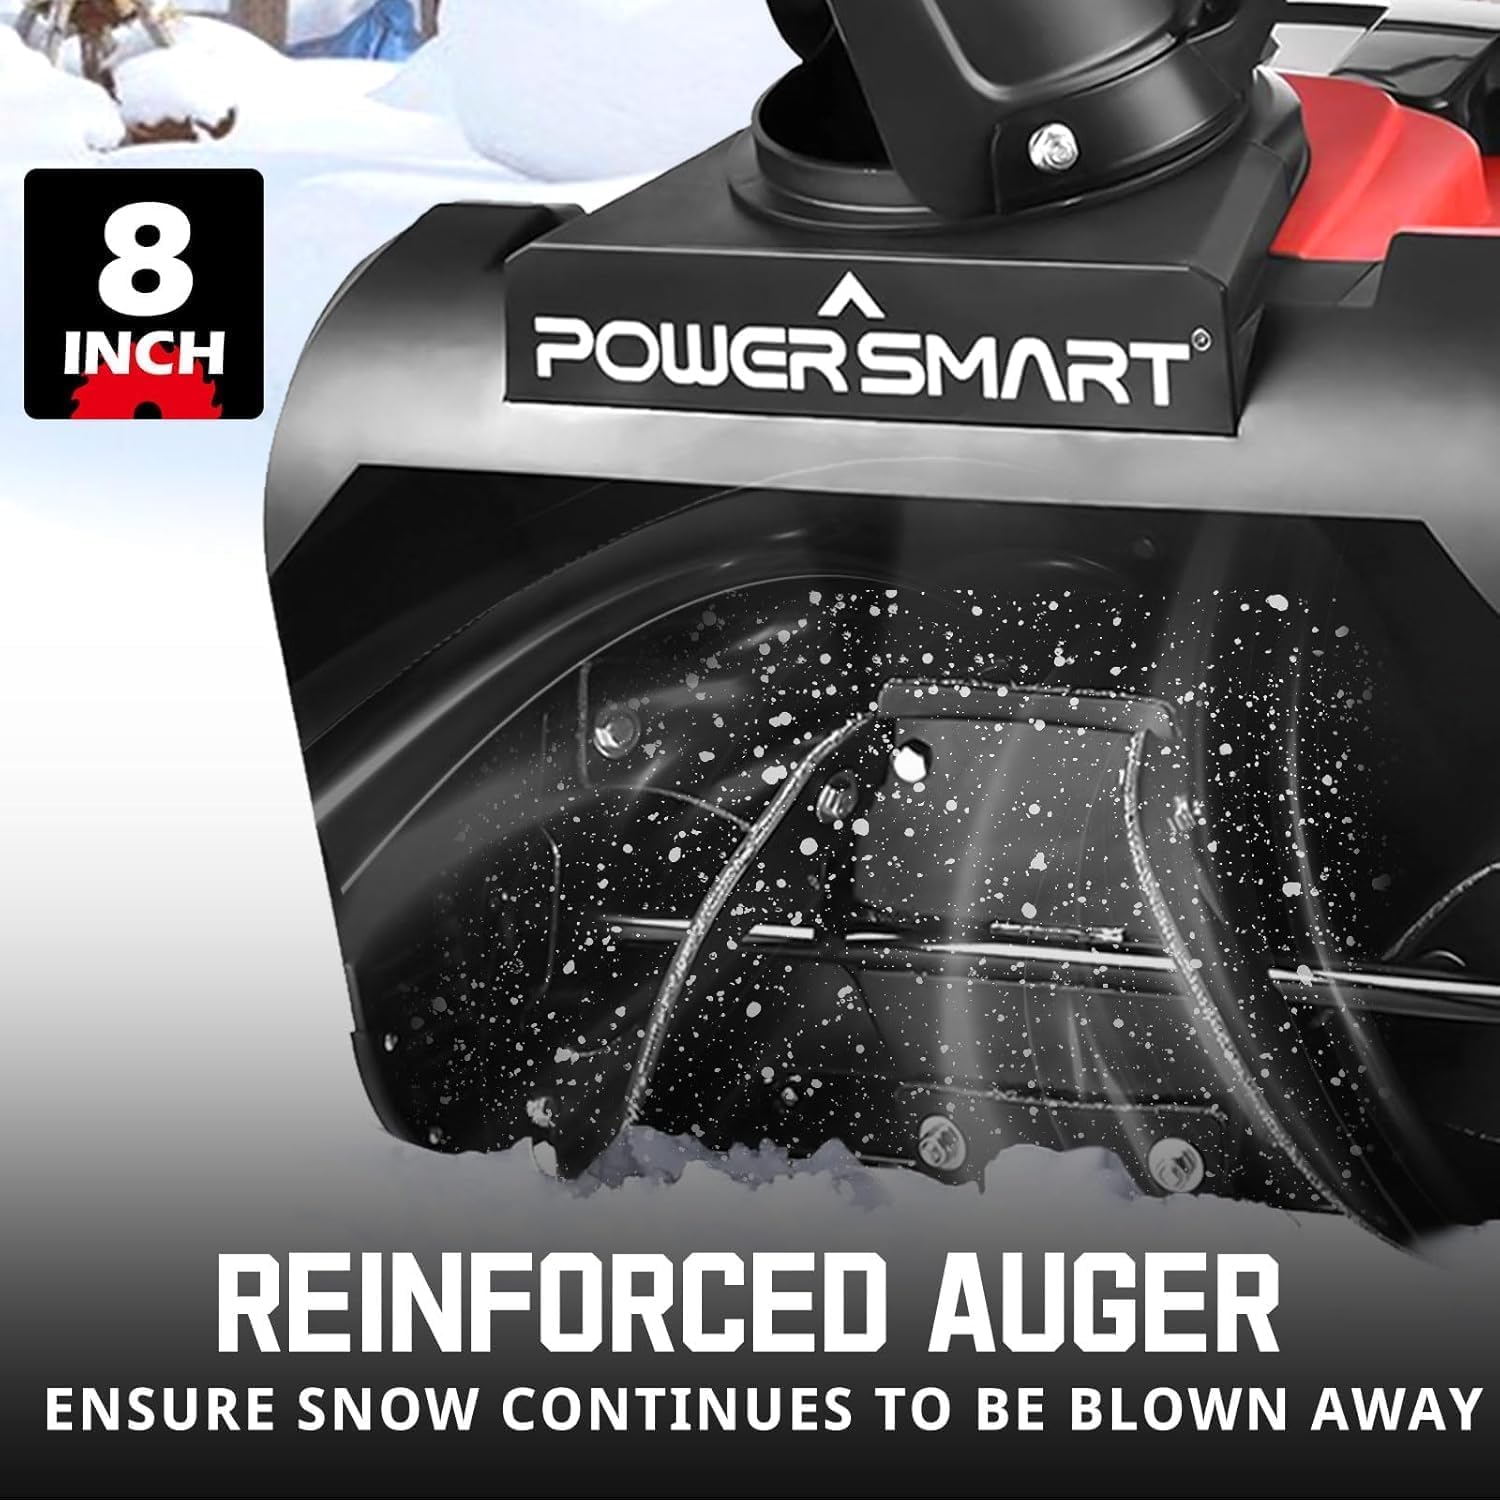
This image highlights the reinforced auger, designed to ensure continuous snow removal and durability.
3. Storage
Store the snow blower in a clean, dry area, away from direct sunlight and moisture. Ensure the power cord is neatly coiled and secured.
Troubleshooting
| Problem | Possible Cause | Solution |
|---|---|---|
| Snow blower does not start. | Power cord not connected; Safety button/bail switch not engaged; Overload protection activated. | Ensure power cord is securely plugged in. Engage safety button and bail switch simultaneously. Disconnect power, wait a few minutes, then try again. Check for blockages. |
| Reduced snow throwing performance. | Chute clogged; Auger worn; Wet, heavy snow. | Disconnect power, then clear chute with a non-metallic tool. Inspect auger for damage. Clear smaller sections of snow. |
| Unit stops during operation. | Overload protection activated; Power interruption; Blockage. | Disconnect power, clear any blockages, wait for motor to cool, then restart. Check power source. |
Specifications
| Feature | Detail |
|---|---|
| Brand | PowerSmart |
| Model Number | DB7521 |
| Manufacturer | Amerisun Inc. |
| Power Source | AC Corded Electric |
| Motor | 15 Amp |
| Auger Speed | 2100 RPM |
| Clearing Width | 21 inches |
| Clearing Depth | 12.5 inches |
| Snow Throwing Distance | Up to 30 feet |
| Product Dimensions | 94 cm (D) x 50.8 cm (W) x 96.5 cm (H) / 37 in (D) x 20 in (W) x 38 in (H) |
| Item Weight | 22.68 kg / 50 lbs |
| Color | Red |
| Special Features | Dual LED Lights, 180-degree Rotating Chute, Adjustable Chute Deflector, Overload Protection |
Warranty and Support
For warranty information or technical support, please refer to the warranty card included with your product or contact PowerSmart customer service. Keep your purchase receipt as proof of purchase.
Contact information for support is typically found on the manufacturer's official website or on the product packaging.


