1. Introduction
This manual provides essential instructions for the safe and effective use, setup, operation, maintenance, and troubleshooting of your SPEDWHEL Kukirin G4 Electric Scooter Charger. Please read this manual thoroughly before using the product and retain it for future reference.
2. Safety Instructions
- Indoor Use Only: This charger is designed for indoor use in dry conditions. Do not expose it to rain, moisture, or extreme temperatures.
- Proper Voltage: Ensure the input voltage matches the specifications on the charger label (100-240V AC).
- Avoid Damage: Do not use the charger if the power cord, plug, or charger unit is damaged. Contact customer support for replacement.
- Ventilation: Ensure adequate ventilation around the charger during operation. Do not cover the charger.
- Children and Pets: Keep the charger out of reach of children and pets.
- Unplug When Not in Use: Disconnect the charger from the power outlet and the scooter when not in use or during cleaning.
- No Disassembly: Do not attempt to disassemble or modify the charger. This may void the warranty and pose a safety risk.
3. Package Contents
Verify that all items are present in your package:
- SPEDWHEL Kukirin G4 Electric Scooter Charger Unit
- AC Power Cord (with US plug)
4. Product Overview

Figure 4.1: This image displays the SPEDWHEL Kukirin G4 electric scooter charger, a rectangular black unit with a textured surface. It includes the attached output cable with a barrel connector and a separate AC power cord with a standard US two-prong plug.

Figure 4.2: A detailed view of the charger's information label. It clearly shows the model number LP-6020, input specifications (100-240V~, 3A MAX, 50-60Hz), and output specifications (67.2V === 2A). The label also indicates the meaning of the LED indicator lights: red for charging and green for full charge or disconnected.
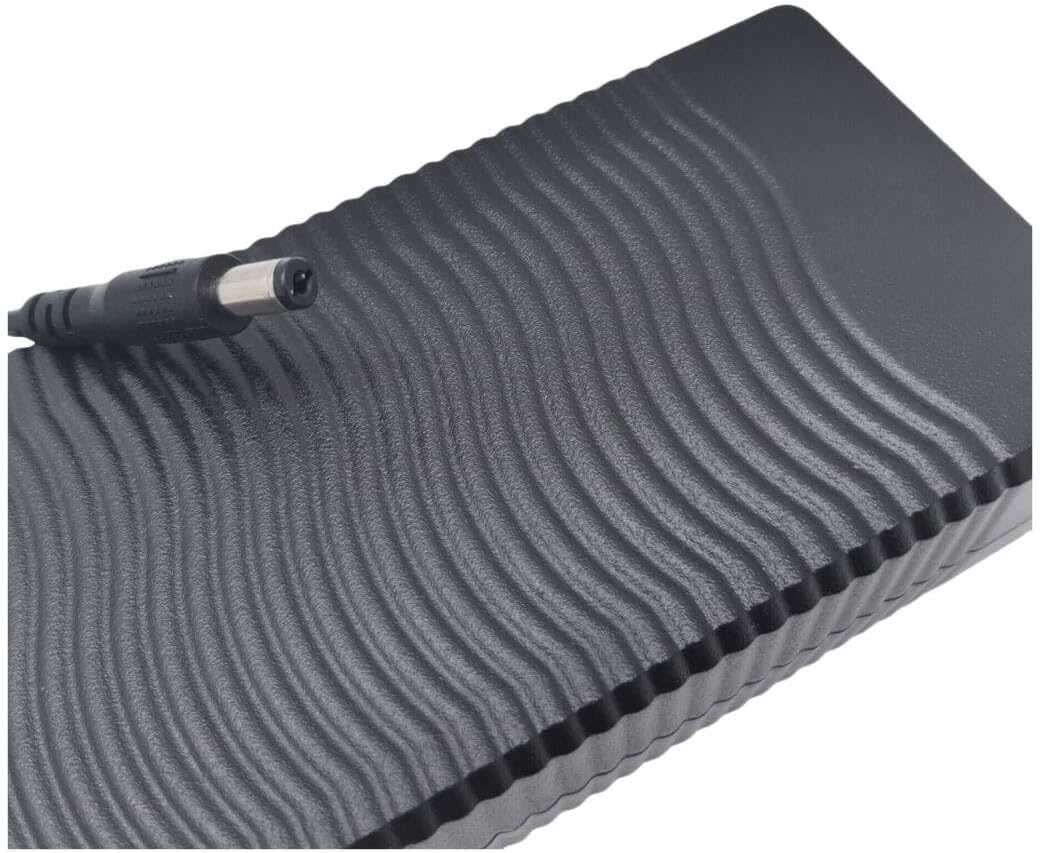
Figure 4.3: This image provides a top-down view of the charger, highlighting its wave-patterned textured surface. The attached output cable with its barrel connector is visible extending from one end of the unit.

Figure 4.4: An angled perspective of the charger, illustrating both the AC power input port (figure-8 connector) on one end and the DC output cable with its barrel connector extending from the other end.
5. Setup
- Connect AC Power Cord: Insert the figure-8 connector of the AC power cord firmly into the corresponding input port on the charger unit.
- Plug into Wall Outlet: Plug the other end of the AC power cord into a standard wall power outlet (100-240V AC).
- Prepare Scooter: Ensure your Kukirin G4 electric scooter is turned off before connecting the charger. Locate the charging port on your scooter.
6. Operating Instructions (Charging)
- Connect to Scooter: Insert the barrel connector of the charger's output cable into the charging port of your Kukirin G4 electric scooter.
- Monitor Indicator Light: Observe the LED indicator light on the charger unit.
- Red Light: Indicates that the scooter battery is currently charging.
- Green Light: Indicates that the battery is fully charged or the charger is disconnected from the scooter.
- Charging Time: Charging time will vary depending on the battery's current charge level. Refer to your scooter's manual for typical charging durations.
- Disconnect Charger: Once the indicator light turns green, indicating a full charge, first disconnect the charger from the scooter, then unplug the AC power cord from the wall outlet.
7. Maintenance
- Cleaning: Disconnect the charger from all power sources before cleaning. Use a soft, dry cloth to wipe the exterior of the charger. Do not use liquid cleaners or solvents.
- Storage: Store the charger in a cool, dry place away from direct sunlight and moisture when not in use. Coil the cables loosely to prevent damage.
- Cable Inspection: Regularly inspect the AC power cord and the output cable for any signs of wear, cuts, or damage. Replace immediately if damage is found.
8. Troubleshooting
| Problem | Possible Cause | Solution |
|---|---|---|
| Charger indicator light does not turn on. | No power from outlet; loose connection; faulty charger. | Check wall outlet with another device. Ensure AC power cord is securely connected to both charger and outlet. Ensure output cable is connected to scooter. If problem persists, charger may be faulty. |
| Charger light remains green when connected to scooter. | Scooter battery is already full; poor connection to scooter; faulty scooter charging port. | Confirm scooter battery is not already full. Ensure output cable is firmly inserted into the scooter's charging port. If the scooter's battery is low and the light remains green, the scooter's charging port or battery may have an issue. |
| Charger unit feels excessively hot. | Poor ventilation; internal fault. | Ensure the charger is in a well-ventilated area and not covered. Discontinue use immediately if overheating occurs and contact support. |
9. Specifications
- Model: LP-6020
- Input: 100-240V~, 3A (MAX.), 50-60Hz
- Output: 67.2V === 2A
- Item Weight: Approximately 1.5 pounds (0.68 kg)
- Color: Black
10. Warranty and Support
For warranty information or technical support, please refer to the purchase documentation or contact your retailer or the manufacturer directly. Keep your proof of purchase for warranty claims.


