1. Introduction
This manual provides essential instructions for the installation, operation, and maintenance of your CUIPPWRJ FPV camera. These cameras are designed for racing drones and are available in several variants: Ratel 2, Baby Ratel 2, Caddx Ant, and Caddx Ant Lite. Please read this manual thoroughly before using your camera to ensure proper function and longevity.
2. Package Contents
Verify that all items are present in your package. Contents may vary slightly depending on the specific model purchased.
BABY RATEL 2 Package:
- Camera x1
- Screw pack x1
- Menu Board x1
- 2pin Silicon cable x1
- 3Pin Silicon cable x1
- 14mm-19mm Bracket x1
- 1.5mm Allen Wrench x1
RATEL 2 Package:
- Camera x1
- Menu Board x1
- 2pin Silicon cable x1
- 3Pin Silicon cable x1
- 1.5mm Allen Wrench x1
- Screw set x1
Caddx Ant Package:
- Camera x1
- 19mm Case x1
- Screws x4
- 3pin cable x1
Caddx Ant Lite Package:
- Camera x1
- 3pin cable x1
3. Product Features
- High Resolution: Features 1200TVL for clear and detailed visuals, enhancing your FPV racing experience.
- Wide Field of View (FOV): Offers a broad 165° FOV, providing an expansive view of the racing environment.
- Versatile Lens Options: Available with 1.8mm or 2.1mm lenses, allowing customization for various viewing angles and preferences.
- Lightweight Design: Compact and engineered for minimal weight, optimizing flight performance on your RC drone.
- Multiple Models: Choose from Ratel 2, Baby Ratel 2, Caddx Ant, and Caddx Ant Lite variants to suit specific drone builds and requirements.
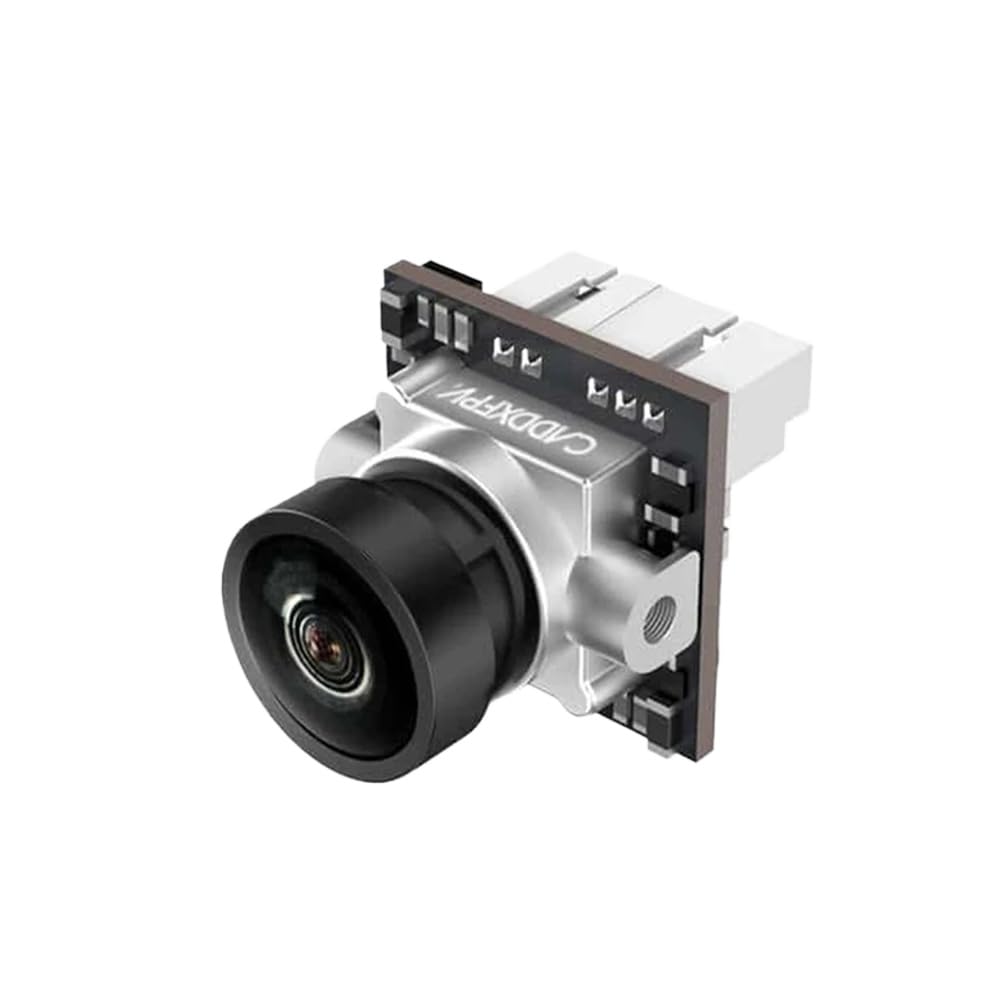
Image 1: CUIPPWRJ FPV Camera. This image shows a compact FPV camera, typically used in racing drones, highlighting its small form factor and lens.
4. Setup Instructions
Proper installation is crucial for optimal performance. Refer to your drone's flight controller or video transmitter (VTX) manual for specific wiring diagrams.
- Mounting the Camera:
Secure the camera to your drone's frame using the provided bracket (if applicable) and screws. Ensure the camera is firmly attached and positioned to provide a clear, unobstructed view.
- Wiring Connections:
Connect the camera to your flight controller or VTX using the supplied silicon cables. Typically, FPV cameras require three connections:
- VCC (Power): Connect to a stable power source (e.g., 5V or 12V, depending on camera specifications and VTX output).
- GND (Ground): Connect to the common ground of your system.
- Video Out: Connect to the video input of your VTX.
Note: Always double-check polarity before powering on to prevent damage to the camera or other components.
- OSD (On-Screen Display) Connection (if applicable):
If your camera model includes a menu board, connect it temporarily to adjust settings. Some cameras may also support OSD control via the flight controller. Consult your flight controller's manual for OSD integration.
5. Operating Instructions
Once the camera is correctly installed and powered, it will begin transmitting video. Use the menu board to customize camera settings.
- Power On:
Apply power to your drone. The camera will power on simultaneously with your VTX.
- Accessing the OSD Menu:
If your camera came with a menu board, connect it to the camera's OSD port. Use the buttons on the menu board to navigate and adjust settings such as brightness, contrast, saturation, and other image parameters. Disconnect the menu board after configuration.
- Video Feed:
Ensure your FPV goggles or monitor are tuned to the correct frequency of your VTX to receive the video feed from the camera.
6. Maintenance
Regular maintenance helps ensure clear video and extends the lifespan of your camera.
- Lens Cleaning:
Gently clean the camera lens with a microfiber cloth and a specialized lens cleaning solution. Avoid abrasive materials that could scratch the lens.
- Connection Check:
Periodically inspect all wiring connections for looseness or damage. Secure any loose connections.
- Environmental Protection:
While FPV cameras are robust, avoid exposing them to excessive moisture, dust, or extreme temperatures when not in use. Store the camera in a dry, cool place.
7. Troubleshooting
If you encounter issues with your camera, refer to the following common problems and solutions:
| Problem | Possible Cause | Solution |
|---|---|---|
| No video signal | Incorrect wiring, no power, VTX/goggle frequency mismatch, damaged cable. | Check all wiring connections (VCC, GND, Video Out). Ensure camera is receiving power. Verify VTX and goggle frequencies match. Inspect cables for damage. |
| Poor image quality (blurry, distorted) | Dirty lens, incorrect focus, electrical noise, damaged camera. | Clean the lens. Check if the lens is securely tightened and focused (some lenses are adjustable). Ensure power supply is clean and free of interference. |
| OSD menu not appearing | Menu board not connected, faulty menu board, camera OSD disabled. | Ensure the menu board is correctly connected. Test with another menu board if available. Check camera settings if accessible via flight controller OSD. |
8. Specifications
Detailed technical specifications for the CUIPPWRJ FPV Camera (Model CUIPPWRJ123 and variants).
- Model Name: CUIPPWRJ123
- Brand: CUIPPWRJ
- Resolution: 1200TVL
- Field of View (FOV): 165°
- Lens Options: 1.8mm, 2.1mm
- Item Weight: Approximately 14.1 ounces (400 Grams)
- Package Dimensions: 1.18 x 0.79 x 0.39 inches
- Manufacturer Recommended Age: 36 months - 18 years (Note: This is a general recommendation; product is for FPV drone enthusiasts.)
9. Warranty and Support
For warranty information, please refer to the documentation provided with your purchase or contact the seller directly. For technical support, please reach out to the CUIPPWRJ manufacturer or your authorized dealer.
This manual is subject to change without prior notice.