
1. General Safety Instructions
Always read and understand all safety warnings, instructions, illustrations, and specifications provided with this power tool. Failure to follow all instructions listed below may result in electric shock, fire, and/or serious injury.
- Work Area Safety: Keep the work area clean and well-lit. Cluttered or dark areas invite accidents. Do not operate power tools in explosive atmospheres, such as in the presence of flammable liquids, gases, or dust.
- Electrical Safety: Power tool plugs must match the outlet. Never modify the plug in any way. Avoid body contact with earthed or grounded surfaces.
- Personal Safety: Always wear eye protection. Use hearing protection when operating the tool for extended periods. Wear a dust mask if operations create dust. Dress properly; avoid loose clothing or jewelry.
- Tool Use and Care: Do not force the power tool. Use the correct power tool for your application. Disconnect the plug from the power source before making any adjustments, changing accessories, or storing power tools.
- Kickback and Related Warnings: Kickback is a sudden reaction to a pinched or snagged rotating wheel. Always maintain a firm grip on the grinder and position your body and arm to allow you to resist kickback forces.
2. Product Overview
The AVID POWER AG640-B angle grinder is a versatile tool designed for cutting and grinding various materials. Familiarize yourself with its components for safe and effective operation.

Figure 2.1: Labeled components of the AVID POWER AG640-B Angle Grinder, including the spindle lock, wheel guard, 7-speed controller, side button with lock-on, On/Off paddle switch, texturized rubber over-mold grip, and adjustable handle positions.
Package Contents:

Figure 2.2: The package includes the 8.0 Amp Angle Grinder, 2 Cutting Wheels, 2 Metal Grinding Wheels, 1 Lock Nut Wrench, 1 Side Handle, and 1 Pair of Carbon Brushes.
- 1 x 8.0 Amp Angle Grinder
- 2 x Cutting Wheels
- 2 x Metal Grinding Wheels
- 1 x Lock Nut Wrench
- 1 x Side Handle
- 1 Pair x Carbon Brush
3. Setup
Attaching the Side Handle:
The side handle can be attached to either side of the gear housing for optimal control and comfort, suitable for both left-handed and right-handed users.

Figure 3.1: The side handle can be screwed into either of the two threaded holes on the grinder head for user preference.
Installing/Changing Grinding or Cutting Wheels:
Always ensure the tool is unplugged from the power source before changing wheels.
- Press and hold the spindle lock button.
- Use the provided lock nut wrench to loosen and remove the flange nut.
- Place the desired grinding or cutting wheel onto the spindle, ensuring it is seated correctly.
- Replace the flange nut and tighten it firmly with the wrench while continuing to press the spindle lock button.

Figure 3.2: Visual guide for installing a wheel disc: 1) Press spindle lock and remove flange nut, 2) Load wheel and put flange nut, 3) Tighten flange nut while pressing spindle lock.
Correct Flange Installation for Different Wheels:
Ensure the flange is installed correctly based on the type of wheel being used.

Figure 3.3: Proper flange orientation for various wheel types: Grinding Wheel (flat side up), Cutting Wheel (convex side up), Wood Carving Wheel (convex side up), and Flap Wheel (convex side up).
Adjusting the Wheel Guard:
The wheel guard protects against sparks and debris. Adjust its position to ensure maximum protection for your specific application. Loosen the guard screw, rotate the guard to the desired position, and then securely tighten the screw.
4. Operating Instructions
Power On/Off and Continuous Operation:
The grinder features a paddle switch for momentary operation and a lock-on button for continuous use.

Figure 4.1: Detail of the paddle switch and the side button for lock-on functionality.
- To Start (Momentary): Squeeze and hold the On/Off paddle switch.
- To Stop (Momentary): Release the paddle switch.
- To Start (Continuous Operation): Squeeze and hold the paddle switch, then depress the side lock-on button. Release both the switch and button to keep the tool running.
- To Stop (Continuous Operation): Squeeze the paddle switch again.
Variable Speed Control:
This angle grinder is equipped with a 7-variable-speed controller, allowing you to adjust the no-load speed from 3,000 RPM to 11,500 RPM. Select the appropriate speed for your material and application.
Grinding Techniques:
For grinding, hold the tool at an angle of approximately 15-30 degrees to the workpiece. Apply moderate pressure and move the grinder smoothly across the surface. Avoid excessive pressure, which can reduce efficiency and damage the wheel.
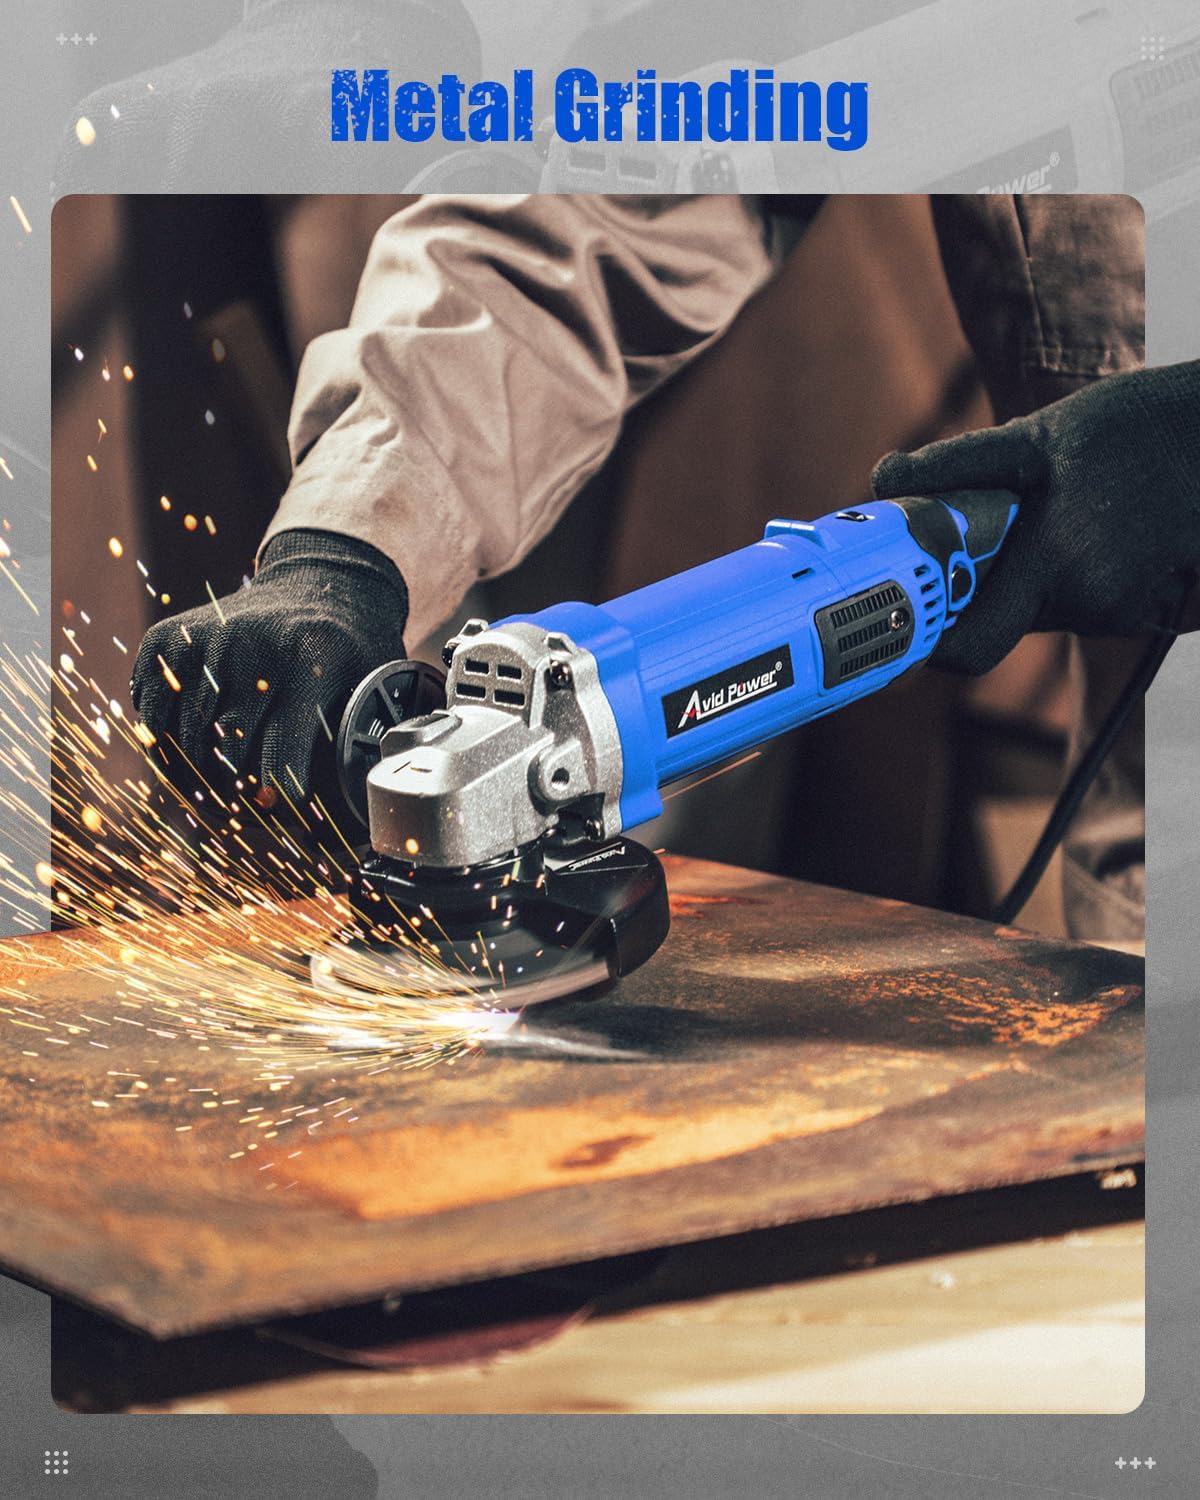
Figure 4.2: Proper technique for metal grinding, showing sparks generated during operation.
Cutting Techniques:
When cutting, hold the tool perpendicular to the workpiece. Allow the wheel to do the work; do not force it. Ensure the workpiece is securely clamped to prevent movement during cutting.

Figure 4.3: Demonstrating metal cutting on a pipe, highlighting the sparks produced.
5. Maintenance
Regular maintenance ensures the longevity and safe operation of your angle grinder. Always unplug the tool before performing any maintenance.
Cleaning:
- Keep the ventilation openings clean and free of obstructions to prevent overheating.
- Wipe the tool housing with a damp cloth. Do not use harsh chemicals or abrasive cleaners.
- Periodically clean dust and debris from the wheel guard and around the spindle area.
Carbon Brush Replacement:
The carbon brushes are wear items and should be inspected periodically. Replace them when they are worn down to approximately 1/4 inch (6mm) or if the motor performance decreases significantly. A spare pair of carbon brushes is included with your grinder.
- Locate the brush caps on the sides of the motor housing.
- Unscrew the brush caps using a screwdriver.
- Remove the old carbon brushes.
- Insert the new carbon brushes, ensuring they are oriented correctly.
- Securely screw the brush caps back into place.
Storage:
Store the angle grinder in a dry, secure location out of reach of children. Ensure the power cord is neatly coiled and not kinked.
6. Troubleshooting
| Problem | Possible Cause | Solution |
|---|---|---|
| Tool does not start | No power supply Faulty power cord/plug Worn carbon brushes | Check power outlet and circuit breaker Inspect cord for damage; replace if necessary Replace carbon brushes |
| Reduced power/performance | Worn carbon brushes Overheating Incorrect speed setting | Replace carbon brushes Allow tool to cool down; ensure ventilation is clear Adjust to a higher speed setting |
| Excessive vibration | Damaged or improperly installed wheel Loose components | Inspect wheel for damage; ensure correct installation Check all screws and fasteners for tightness |
| Sparks from motor housing | Normal brush wear Severely worn carbon brushes | Minor sparking is normal Replace carbon brushes if sparking is excessive or performance is affected |
7. Specifications
| Feature | Specification |
|---|---|
| Brand | AVID POWER |
| Model Number | AG640-B |
| Power Source | Corded Electric |
| Voltage | 120 volts AC |
| Wattage | 1000 watts |
| Amperage | 8.0 Amp |
| Maximum Rotational Speed | 11500 rpm |
| Variable Speeds | 7 (3,000 - 11,500 RPM) |
| Disc Diameter | 4-1/2 Inch |
| Item Weight | 1.9 kg |
| Product Dimensions (L x W x H) | 34.5L x 7.5W x 10H centimetres |
| Material | Acrylonitrile Butadiene Styrene |
| Switch Type | Paddle Switch with Lock-on Button |
8. Warranty and Support
For warranty information, technical support, or service inquiries, please contact AVID POWER customer service. Refer to the product packaging or the official AVID POWER website for the most current contact details.
Manufacturer: Avid Power
Manufacturer Contact Information: AVID POWER