
Gavdhe GCA-02
Gavdhe GCA-02 Smart Fingerprint Door Lock Instruction Manual
Model: GCA-02
1. Introduction
This manual provides detailed instructions for the installation, setup, operation, and maintenance of your Gavdhe GCA-02 Smart Fingerprint Door Lock. Please read this manual thoroughly before installation and use to ensure proper function and safety. Keep this manual for future reference.
2. Safety Information
- Do not attempt to disassemble or repair the lock yourself. Contact customer support for assistance.
- Use only specified AAA alkaline batteries. Do not mix old and new batteries or different types of batteries.
- Keep at least one physical backup key in a secure, easily accessible location outside the locked area.
- Protect your passcodes and fingerprints from unauthorized access.
- Ensure the door is properly aligned and the latch operates smoothly before installing the lock.
3. Package Contents
Verify that all components are present before beginning installation:
- 1 x Front Lever
- 1 x Rear Lever
- 1 x Adjustable Latch
- 1 x Strike Plate and Reinforcer
- 2 x Keys
- 1 x Pin
- 2 x Fob Cards (IC Cards)
- 1 x Spindle
- 2 x Threaded Pillar Screws
- Screws (various sizes)
- 1 x Type-C Cable (for emergency power)
- 1 x User Manual (this document)
- 1 x Drill Template
- 1 x Spare Package (additional small parts)
4. Product Overview
The Gavdhe GCA-02 Smart Fingerprint Door Lock offers multiple access methods and smart features for enhanced security and convenience.

Image: The Gavdhe GCA-02 Smart Fingerprint Door Lock, showing the main unit, smartphone app interface, two physical keys, and two fob cards.
Key Features:
- 5-in-1 Access: Unlock using fingerprint, IC card, keypad code, smartphone app, or traditional key.
- Fast Biometric Unlocking: One-second fingerprint recognition.
- Anti-Peep Code: Enter random digits before or after your actual passcode to prevent onlookers from guessing your entry code.
- Auto-Lock Functionality: Automatically locks the door after a set period.
- Low Battery Alerts: Notifies you when batteries are running low.
- Emergency Power: Type-C port for temporary power via a power bank (sold separately) if batteries are depleted.
- Smart App Control: Manage users, view access logs, generate temporary passcodes, and control settings via the Tuya Smart App.
- Voice Control (with Gateway): Compatible with Alexa and Google Assistant when paired with a Gavdhe Gateway (sold separately).

Image: Illustration of the five unlocking methods: App Unlock, Key Fob Unlock, Fingerprint Unlock, Password Unlock, and Backup Key Unlock.
5. Installation Guide
The Gavdhe GCA-02 is designed for easy installation on U.S. standard doors. Follow these steps carefully.
5.1 Door Preparation
- Ensure your door thickness is compatible (typically 1-3/8" to 2" or 35mm to 50mm).
- Check the backset measurement (distance from door edge to center of bore hole) is 2-3/8" (60mm) or 2-3/4" (70mm).
- Verify the bore hole diameter is 2-1/8" (54mm).
- The latch plate area on the door edge should be chiseled for a flush fit.

Image: Diagram showing door dimensions for installation, including backset, bore hole diameter, and the requirement for a chiseled latch plate area. Also shows the adjustable latch, strike plate, and strike reinforcer.
5.2 Installation Steps
- Install the Latch: Insert the adjustable latch into the door edge. Ensure the latch bolt faces the door frame. Secure with screws.
- Install the Strike Plate: Attach the strike plate and reinforcer to the door frame, aligning with the latch bolt. Secure with screws.
- Install the Front Lever: Pass the spindle through the latch. Position the front lever (with keypad and fingerprint sensor) on the exterior side of the door.
- Install the Rear Lever: Connect the cable from the front lever to the rear lever. Align the threaded pillars and secure the rear lever to the front lever using the provided screws. Ensure the levers are horizontal and the lock operates smoothly.
- Insert Batteries: Open the battery cover on the rear lever and insert 4 new AAA alkaline batteries. Observe polarity.
6. Setup
After physical installation, configure your lock using the Tuya Smart App.
6.1 App Pairing
- Download the Tuya Smart App from the App Store or Google Play.
- Create an account or log in.
- Enable Bluetooth on your smartphone.
- In the app, tap '+' to add a device. Select 'Lock' or 'Smart Lock' and follow the on-screen instructions to pair your GCA-02 lock.

Image: A smartphone screen showing the Tuya Smart App with options to manage users, enable silent mode, generate passcodes remotely, set auto-lock, view history, and set access methods (fingerprint, code, key fob).
6.2 User Management (via App)
The lock supports up to 100 fingerprints, 100 IC cards, and 100 passcodes.
- Adding Fingerprints: In the app, navigate to 'User Management' or 'Fingerprint Management'. Follow the prompts to register new fingerprints by placing your finger on the sensor multiple times.
- Adding Passcodes: Select 'Passcode Management' in the app. You can create permanent, timed, or one-time passcodes.
- Adding IC Cards: In 'IC Card Management', tap to add a new card. Present the IC card to the lock's sensor when prompted.

Image: A hand entering a password on the lock's keypad, demonstrating the anti-peeping feature where random digits can be entered before or after the actual password.
7. Operating Instructions
7.1 Unlocking the Door
- Fingerprint: Place a registered finger on the fingerprint sensor. The lock will unlock if recognized.
- Passcode: Enter your registered passcode on the keypad, followed by '#'. You can use the anti-peep feature by entering random digits before and/or after your actual code.
- IC Card: Tap a registered IC card against the card reader area on the lock.
- App: Open the Tuya Smart App, select your lock, and tap the unlock icon.
- Key: Insert the physical key into the keyhole and turn to unlock.
7.2 Locking the Door
- Automatic Locking: If auto-lock is enabled in the app, the door will lock automatically after a set delay once closed.
- Manual Locking: Press and hold the '#' key on the keypad for a few seconds, or use the app to lock.
7.3 Special Modes
- Passage Mode: This mode keeps the door unlocked for continuous access, ideal for high-traffic periods. Activate/deactivate via the Tuya Smart App.
- Silent Mode: Disables all sound prompts from the lock for discreet operation. Activate/deactivate via the Tuya Smart App.
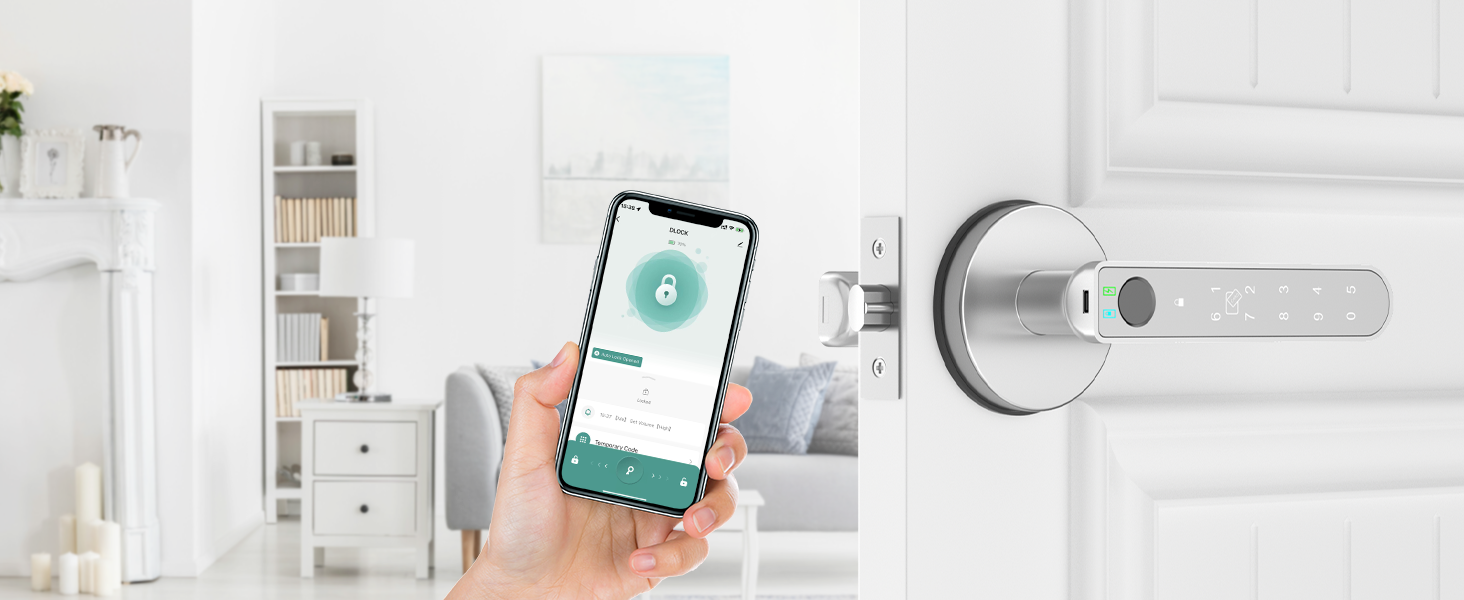
Image: An illustration explaining Passage Mode, highlighting ease of access, flexibility for varying needs, and user-friendliness for authorized users.
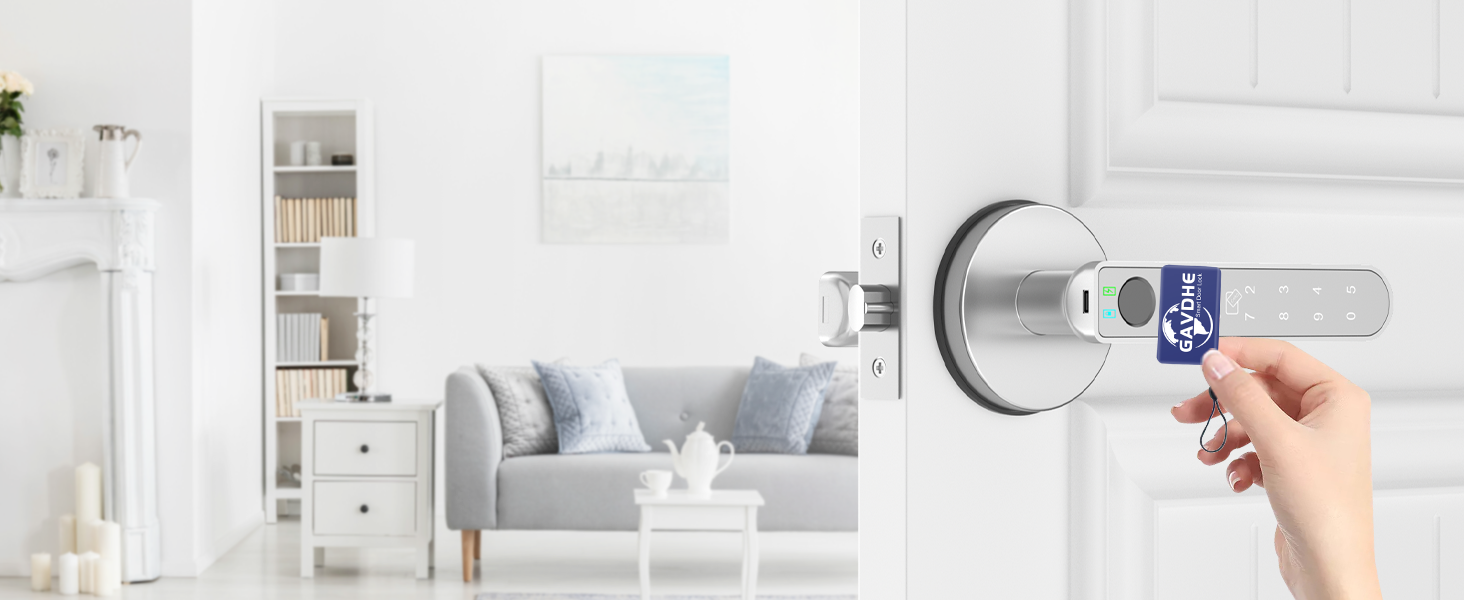
Image: An illustration explaining Silent Mode, emphasizing discreet access, flexible use, and convenient operation without noise distractions.
7.4 Emergency Power
If the batteries are completely depleted, the lock can be temporarily powered using a power bank (sold separately) connected to the Type-C port on the front lever. This allows you to unlock the door and replace the batteries.

Image: Details on battery requirements (4 AAA alkaline, not included), 10-12 month battery life, the importance of keeping a spare key, and the emergency Type-C port for temporary power.
7.5 Voice Control (Requires Gavdhe Gateway)
To enable voice control with Alexa or Google Assistant, a Gavdhe Gateway (sold separately) is required. Pair the gateway with your lock via the Tuya Smart App, then link your Tuya Smart account to your Alexa or Google Home app.

Image: An illustration showing the Gavdhe GCA-02 lock connected wirelessly to a Gavdhe Gateway, which in turn connects to Amazon Alexa and Google Assistant devices for voice control.
8. Maintenance
- Battery Replacement: Replace all 4 AAA alkaline batteries when a low battery alert is issued. Do not wait for complete depletion.
- Cleaning: Wipe the lock's surface with a soft, dry cloth. Avoid abrasive cleaners or solvents that may damage the finish or electronic components.
- Sensor Care: Keep the fingerprint sensor and keypad clean and free of debris for optimal performance.
9. Troubleshooting
| Problem | Possible Cause | Solution |
|---|---|---|
| Lock does not respond. | Dead batteries. | Replace batteries. Use emergency Type-C power if needed. |
| Fingerprint not recognized. | Fingerprint sensor dirty; unregistered fingerprint; dry/wet finger. | Clean sensor. Re-register fingerprint. Ensure finger is clean and dry. |
| Keypad not responding. | Incorrect passcode; keypad dirty. | Verify passcode. Clean keypad. |
| App cannot connect to lock. | Bluetooth off; lock out of range; app not paired. | Ensure Bluetooth is on. Move closer to the lock. Re-pair the lock in the app. |
| Lock mechanism not engaging/disengaging. | Misalignment during installation; internal malfunction. | Check door alignment and latch installation. If issue persists, contact customer support. |
10. Specifications
| Feature | Detail |
|---|---|
| Model | GCA-02 |
| Brand | Gavdhe |
| Lock Type | Fingerprint Door Lock with App Control |
| Material | Aluminum |
| Dimensions (L x W x H) | 5.6 x 2.75 x 2.75 inches |
| Item Weight | 1.72 pounds (0.78 Kilograms) |
| Power Source | 4 x AAA Alkaline Batteries (not included) |
| Battery Life | 10-12 months (depending on usage) |
| Emergency Power | Type-C Port |
| User Capacity | 100 Fingerprints, 100 IC Cards, 100 Passcodes |
| Control Method | App, Biometric, Keypad, IC Card, Key, Voice (with Gateway) |
| App Compatibility | Tuya Smart App |
| Voice Assistant Compatibility | Alexa, Google Assistant (requires Gavdhe Gateway, sold separately) |
| Recommended Use | Home, Office, Bedroom, Indoors |
11. Warranty and Support
For warranty information or technical support, please refer to the contact details provided with your purchase or visit the official Gavdhe website. Keep your purchase receipt as proof of purchase for warranty claims.
Related documentsGCA-02

Ask a question about this manual
Ask about setup, troubleshooting, compatibility, parts, safety, or missing instructions. Manuals+ will review the question and use this page’s manual context to help answer it.