
1. Introduction
The Gavdhe GCA-02 Smart Fingerprint Door Lock provides advanced security and convenient access for your home, bedroom, or office. This lock offers multiple unlocking methods including fingerprint, IC card, keypad code, smartphone app, and traditional key. Designed for easy installation and seamless integration into modern living, it enhances security with features like anti-peep code protection and auto-lock functionality.

Image: The Gavdhe GCA-02 Smart Fingerprint Door Lock, showcasing its sleek design, app control, and included keys/fobs.
2. Package Contents
Please verify that all items listed below are included in your package:
- 1x Front Lever Assembly
- 1x Rear Lever Assembly
- 1x Adjustable Latch
- 1x Strike Plate and Reinforcer
- 2x Mechanical Keys
- 1x Reset Pin
- 2x IC Fob Cards
- 1x Spindle
- 2x Threaded Pillars
- Screws (various sizes for installation)
- 1x Type-C Cable (for emergency power)
- 1x User Manual (this document)
- 1x Drill Template
- 1x Spare Package
3. Product Specifications
| Feature | Detail |
|---|---|
| Model Name | GCA-02 |
| Brand | Gavdhe |
| Lock Type | Biometric (Fingerprint) |
| Material | Aluminum |
| Dimensions (L x W x H) | 5.6 x 2.75 x 2.75 inches |
| Item Weight | 1.79 pounds (0.81 Kilograms) |
| Unlocking Methods | Fingerprint, IC Card, Keypad Code, Smartphone App, Mechanical Key |
| User Capacity | Up to 100 Fingerprints, 100 IC Cards, 100 Passwords |
| Power Source | 4x AAA Alkaline Batteries (not included) |
| Battery Life | 10-12 months (depending on usage) |
| Emergency Power | Type-C Port (for power bank, sold separately) |
| Connectivity | Bluetooth (for direct app control), Wi-Fi (with Gavdhe Gateway, sold separately) |
| Voice Control | Alexa, Google Assistant (requires Gavdhe Gateway) |
| Recommended Use | Home, Bedroom, Office, Indoor Spaces |
4. Installation Guide
The Gavdhe GCA-02 is designed for easy self-installation on U.S. standard doors. Follow these steps carefully.
4.1. Prepare Your Door
- Check Door Dimensions: Ensure your door thickness and bore hole dimensions match the lock's requirements. Refer to the diagram below.
- Remove Old Lock: Carefully remove any existing door hardware.

Image: Door preparation diagram illustrating required measurements (2-3/8" or 2-3/4" backset, 2-1/8" bore hole) and proper latch plate shape.
4.2. Install the Latch
- Insert the adjustable latch into the door edge. Ensure the bevel of the latch bolt faces the door frame.
- Secure the latch with the provided screws.
4.3. Install the Exterior Assembly
- Feed the cable and spindle through the latch hole from the exterior side of the door.
- Align the exterior lever assembly with the latch and secure it.
4.4. Install the Interior Assembly
- Connect the cable from the exterior assembly to the interior assembly.
- Align the interior lever assembly with the spindle and secure it using the threaded pillars and screws.
- Insert 4 AAA alkaline batteries into the battery compartment.
4.5. Install Strike Plate and Reinforcer
- Install the strike plate and reinforcer on the door frame, aligning them with the latch bolt.
- Secure with screws.
4.6. Test the Lock
- Test the mechanical keys to ensure the lock operates smoothly.
- Ensure the levers turn freely and retract the latch bolt.
5. Initial Setup & App Integration
To unlock the full potential of your Gavdhe GCA-02, integrate it with the Tuya Smart App.
5.1. Download the Tuya Smart App
- Search for "Tuya Smart" in the Apple App Store or Google Play Store.
- Download and install the app.
- Register for an account or log in if you already have one.

Image: The Tuya Smart App interface for managing the door lock, showing options like user management, silent mode, and auto-lock.
5.2. Pair the Lock with the App (Bluetooth)
- Ensure Bluetooth is enabled on your smartphone and you are within close proximity to the lock.
- Open the Tuya Smart App and tap the "+" icon to add a device.
- Select "Lock" or search for the Gavdhe GCA-02.
- Follow the on-screen instructions to pair the lock. This usually involves pressing a button on the lock or entering a default administrator code.
5.3. Add Administrator Fingerprint/Code
- After successful pairing, the app will guide you to set up the initial administrator fingerprint and/or passcode.
- Follow the prompts to register your fingerprint multiple times for accuracy.
- Set a strong administrator passcode.
5.4. Gavdhe Gateway (Optional for Wi-Fi & Voice Control)
To enable remote management, real-time access logs, and voice control via Alexa or Google Assistant, a Gavdhe Gateway (sold separately) is required.
- Plug in the Gavdhe Gateway and connect it to your home Wi-Fi network via the Tuya Smart App.
- Link your lock to the gateway within the app.
- Follow app instructions to connect with Alexa or Google Assistant.

Image: Illustration of the Gavdhe Smart Lock integrating with a Gateway for voice control via Alexa and Google Assistant.
6. Operating the Lock
The Gavdhe GCA-02 offers multiple ways to unlock and manage access.
6.1. Unlocking Methods
- Fingerprint: Place your registered finger on the fingerprint sensor. The lock will unlock in approximately one second.
- IC Card: Tap the registered IC card against the card reader area on the lock.
- Keypad Code: Enter your registered passcode on the keypad, followed by the '#' key.
- Smartphone App: Open the Tuya Smart App and tap the unlock icon when connected via Bluetooth or Gateway.
- Mechanical Key: Insert the physical key into the keyhole and turn to unlock.

Image: Visual guide to the five access methods: App, Key Fob, Fingerprint, Password, and Backup Key.
6.2. User Management (via App)
The Tuya Smart App allows you to manage users, add/delete fingerprints, passcodes, and IC cards.
- Add Fingerprint: Navigate to 'User Management' in the app, select 'Add Fingerprint', and follow the prompts to register new fingerprints.
- Add Passcode: Generate temporary or permanent passcodes through the app. You can set validity periods for temporary codes.
- Add IC Card: Register new IC cards by tapping them on the lock when prompted by the app.
- View Access Logs: If connected to a Gavdhe Gateway, view real-time access logs to see who entered and when.
6.3. Special Modes
- Passage Mode: This mode keeps the door unlocked for continuous access, ideal for high-traffic periods. Activate/deactivate via the app.
- Silent Mode: Disables all sound prompts from the lock for discreet entry/exit. Activate/deactivate via the app.
- Auto-Lock: The lock will automatically re-lock after a set period (configurable in the app) once unlocked.
- Anti-Peep Code: When entering a passcode, you can input random digits before and after your actual code to prevent others from guessing it. Example: XXX + [Your Code] + XXX.
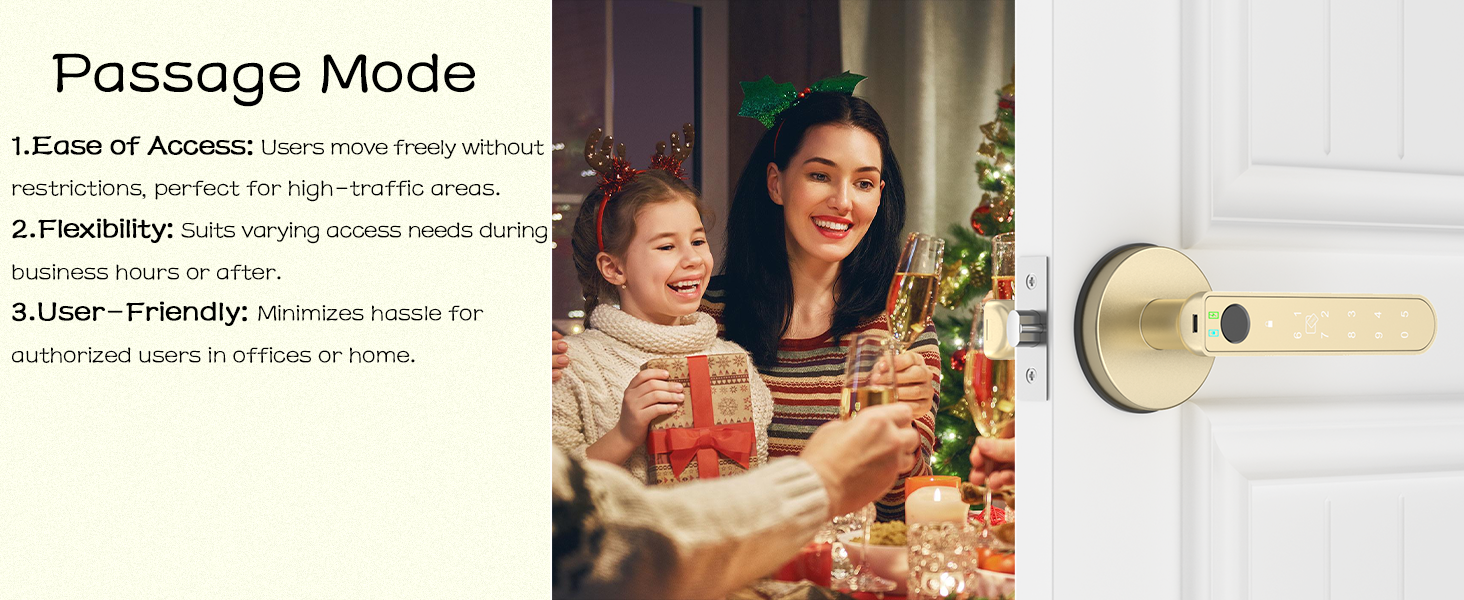
Image: Passage Mode allows the door to remain unlocked for convenience during gatherings or busy periods.
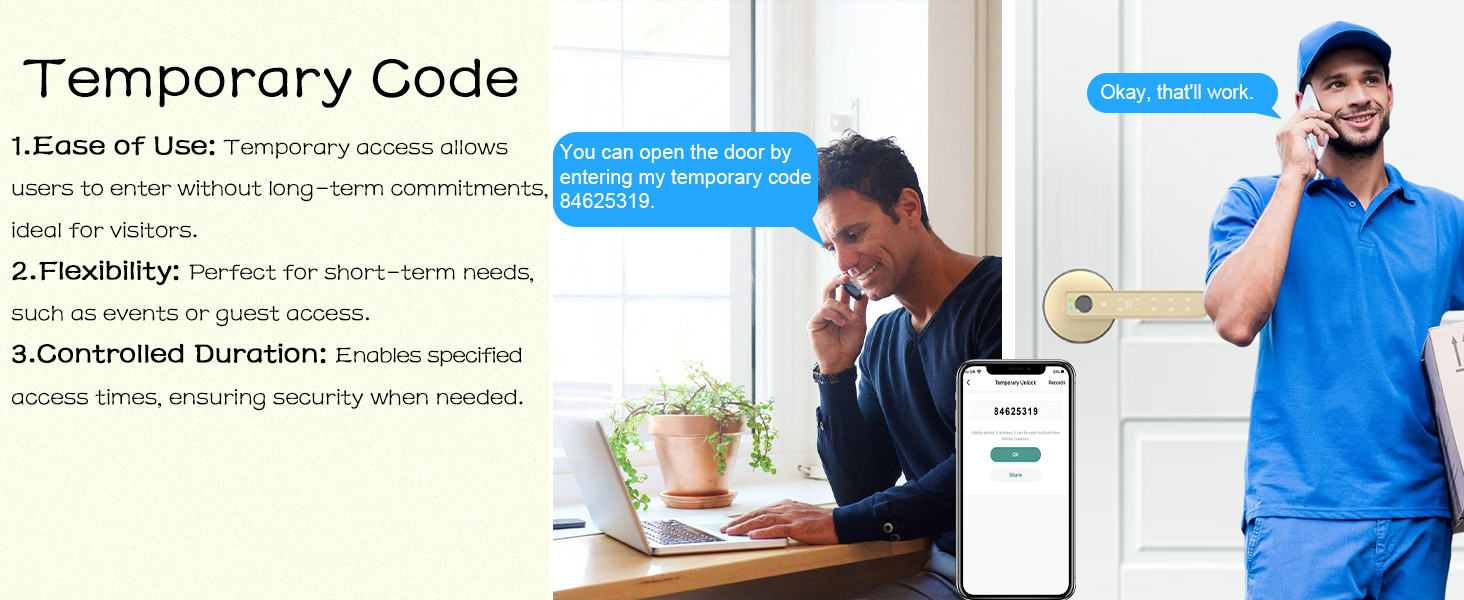
Image: Temporary Code feature allows granting time-limited access to visitors or service providers.

Image: Silent Mode ensures quiet operation, ideal for sensitive environments like bedrooms or nurseries.

Image: Anti-Peeping Keypad Smart Lock feature, demonstrating how to enter random digits before and after your actual password for enhanced security.
7. Maintenance
7.1. Battery Replacement
The lock is powered by 4 AAA alkaline batteries. When the battery level is low, the lock will provide an audible alert and a notification in the app. Replace all four batteries simultaneously with new, high-quality alkaline batteries.
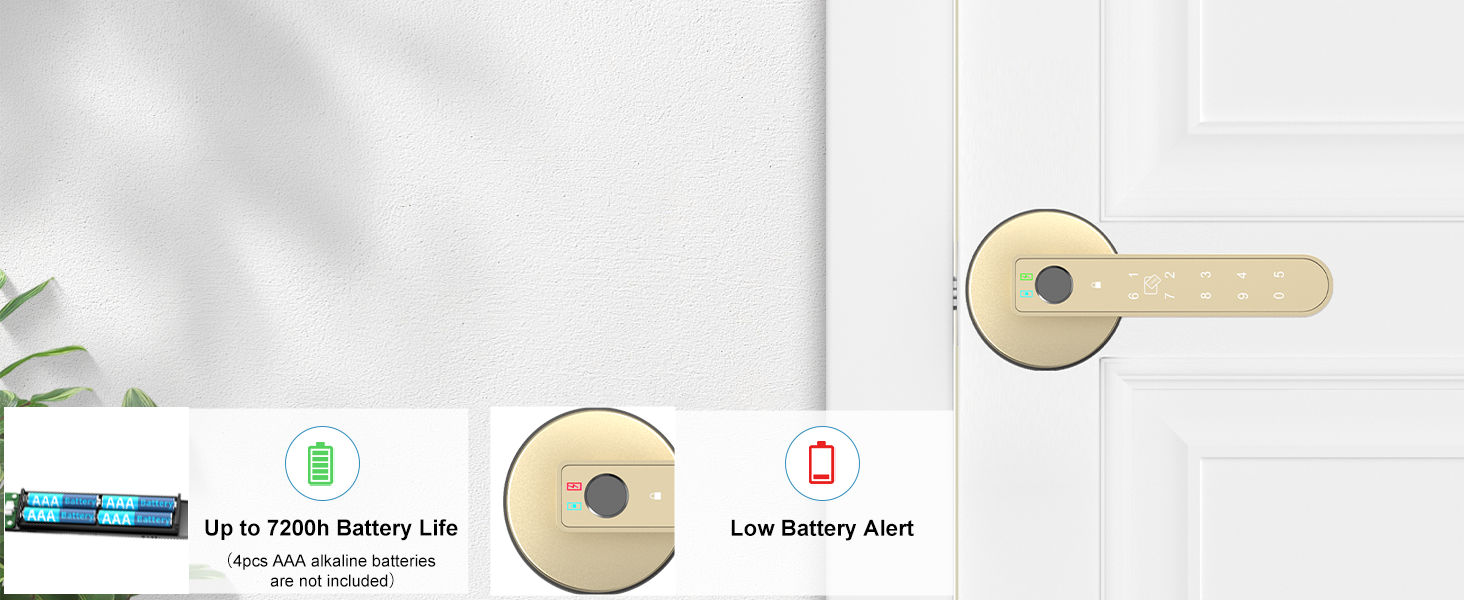
Image: Battery life indicators and low battery alert for timely replacement.
7.2. Emergency Power
In case of complete battery depletion, the lock features a Type-C emergency port. Connect a power bank (sold separately) to this port to temporarily power the lock and gain access.

Image: Emergency Type-C port for temporary power via a power bank, ensuring access even with dead batteries.
7.3. Cleaning
Clean the lock's exterior with a soft, dry cloth. Avoid abrasive cleaners or solvents that could damage the finish or electronic components.
7.4. Backup Keys
Always keep at least one mechanical backup key in a secure, easily accessible location outside the locked area for emergencies.
8. Troubleshooting
| Problem | Possible Cause | Solution |
|---|---|---|
| Lock does not respond. | Dead batteries. | Replace batteries or use emergency Type-C power. |
| Fingerprint not recognized. | Finger is dirty/wet, sensor is dirty, fingerprint not registered correctly. | Clean finger and sensor. Re-register fingerprint in the app, ensuring full coverage. |
| Keypad code not working. | Incorrect code, code expired (for temporary codes). | Verify the code. Check code validity in the app. Ensure '#' is pressed after the code. |
| App cannot connect to the lock. | Bluetooth off, too far from lock, app glitch. | Ensure Bluetooth is on. Move closer to the lock. Restart the app. If using Gateway, check Gateway connection. |
| Lock is loose after installation. | Screws not tightened sufficiently. | Re-tighten all mounting screws. |
| Lock makes unusual noises. | Misalignment, internal component issue. | Check alignment of latch and strike plate. If issue persists, contact support. |
9. Warranty and Support
Gavdhe products are manufactured to high-quality standards. For specific warranty details, please refer to the warranty card included with your product or visit the official Gavdhe website.
If you encounter any issues or require technical assistance, please contact Gavdhe customer support through the following channels:
- Email: Refer to your product packaging or the Gavdhe website for the latest contact information.
- Website: Visit the Gavdhe official website for FAQs, support resources, and contact forms.
Please have your model number (GCA-02) and purchase date ready when contacting support.
