Introduction
This manual provides detailed instructions for the safe and efficient operation, installation, and maintenance of your NIORSUN LED 50cm Ceiling Fan with Light. Please read this manual thoroughly before installation and use, and retain it for future reference.
The NIORSUN LED Ceiling Fan combines a powerful ceiling fan with a super bright LED light, designed for optimal air circulation and illumination in various indoor spaces such as living rooms, bedrooms, and kitchens. It features adjustable color temperature, dimmable brightness, and multiple fan speeds for personalized comfort.
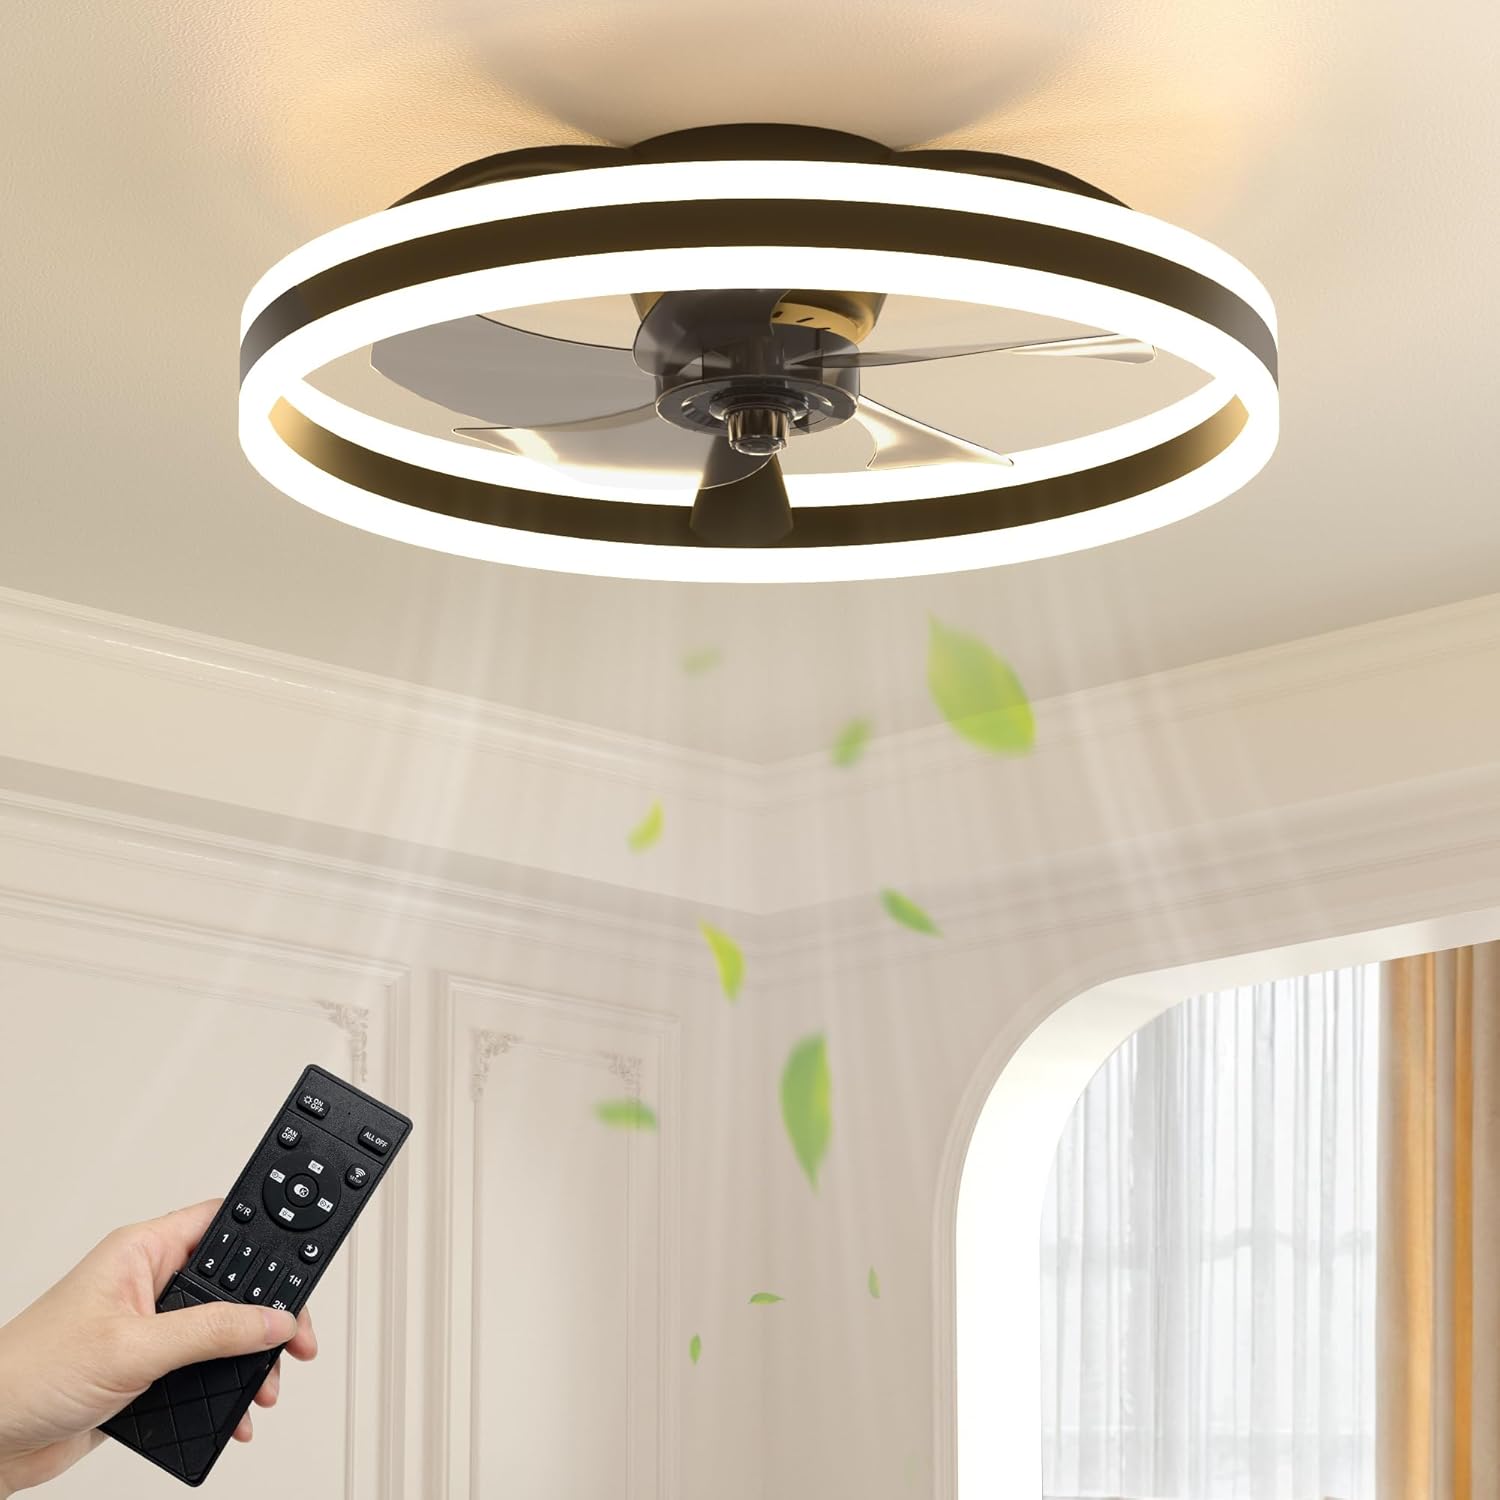
Image: The NIORSUN LED 50cm Ceiling Fan with Light, showcasing its modern design and the included remote control.
Safety Information
Always follow basic safety precautions when installing and operating electrical appliances to reduce the risk of fire, electric shock, and personal injury.
- Ensure the power is turned off at the circuit breaker before installation or maintenance.
- Installation must be performed by a qualified electrician in accordance with all local and national electrical codes.
- The mounting structure must be capable of supporting the weight of the fan (approximately 2.4 kg).
- Do not insert fingers or any objects into the fan blades while the fan is operating.
- This appliance is for indoor use only.
- Keep the remote control and mobile devices away from water.
Package Contents
Please check the package contents carefully to ensure all parts are present and undamaged. If any parts are missing or damaged, contact customer support.
- NIORSUN LED Ceiling Fan Unit
- Remote Control
- Mounting Hardware (screws, anchors, etc.)
- User Manual (this document)
Setup and Installation
Before beginning installation, ensure you have all necessary tools and that the power supply is disconnected. It is recommended to have two people for installation.
- Prepare the Mounting Location: Choose a suitable ceiling location that can support the fan's weight and allows for proper air circulation. Ensure there are no obstructions within the fan's rotation path.
- Install the Mounting Bracket: Securely attach the mounting bracket to the ceiling junction box using the provided screws and anchors. Ensure it is firmly fixed.
- Wire the Fan: Connect the electrical wires from the ceiling fan to the household wiring according to standard electrical codes (Live to Live, Neutral to Neutral, Ground to Ground). Use wire nuts to secure connections.
- Attach the Fan Unit: Carefully lift the fan unit and attach it to the mounting bracket. Ensure all connections are secure and the fan is properly seated.
- Secure the Canopy: Slide the canopy up to the ceiling and secure it with the provided screws, covering the wiring connections.
- Test Operation: Restore power at the circuit breaker and test the fan and light functions using the remote control or mobile app.

Image: Recommended room size for optimal performance, 15-25 square meters.
Operating Instructions
Remote Control Operation
The included remote control allows for convenient operation of all fan and light functions from a distance of up to 40 feet, even through walls.

Image: Remote control for the ceiling fan, demonstrating its use.
- Power On/Off: Press the ON/OFF button to turn the fan and light on or off.
- Fan Speed Control: Use the speed buttons (1-6) to adjust the fan speed. There are 6 ultra-quiet wind speed options.
- Light On/Off: Press the dedicated light button to toggle the light.
- Color Temperature Adjustment: Cycle through 3 color temperatures (3000K Warm White, 4500K Natural White, 6000K Cool White) using the color temperature button.
- Brightness Adjustment: Use the dimming buttons to adjust brightness from 5% to 100%.
- Timer Function: Set the fan to turn off automatically after 1 or 2 hours using the timer buttons (1H/2H).
- Forward/Reverse Airflow: Use the F/R button to switch between downward (cooling) and upward (air circulation) airflow modes.
Mobile Application Control
The fan can also be controlled via a dedicated mobile application. Bluetooth connection is required for app control.

Image: Mobile application interface for controlling the fan, highlighting various features.
- Download the App: Scan the QR code in the product packaging or search for the "NIORSUN Fan" app in your device's app store.
- Pair with Fan: Ensure Bluetooth is enabled on your mobile device. Open the app and follow the on-screen instructions to pair with your ceiling fan.
- Control Functions: The app provides comprehensive control over fan speed, light brightness, color temperature, timer settings, and airflow direction, similar to the remote control.
Detailed Features
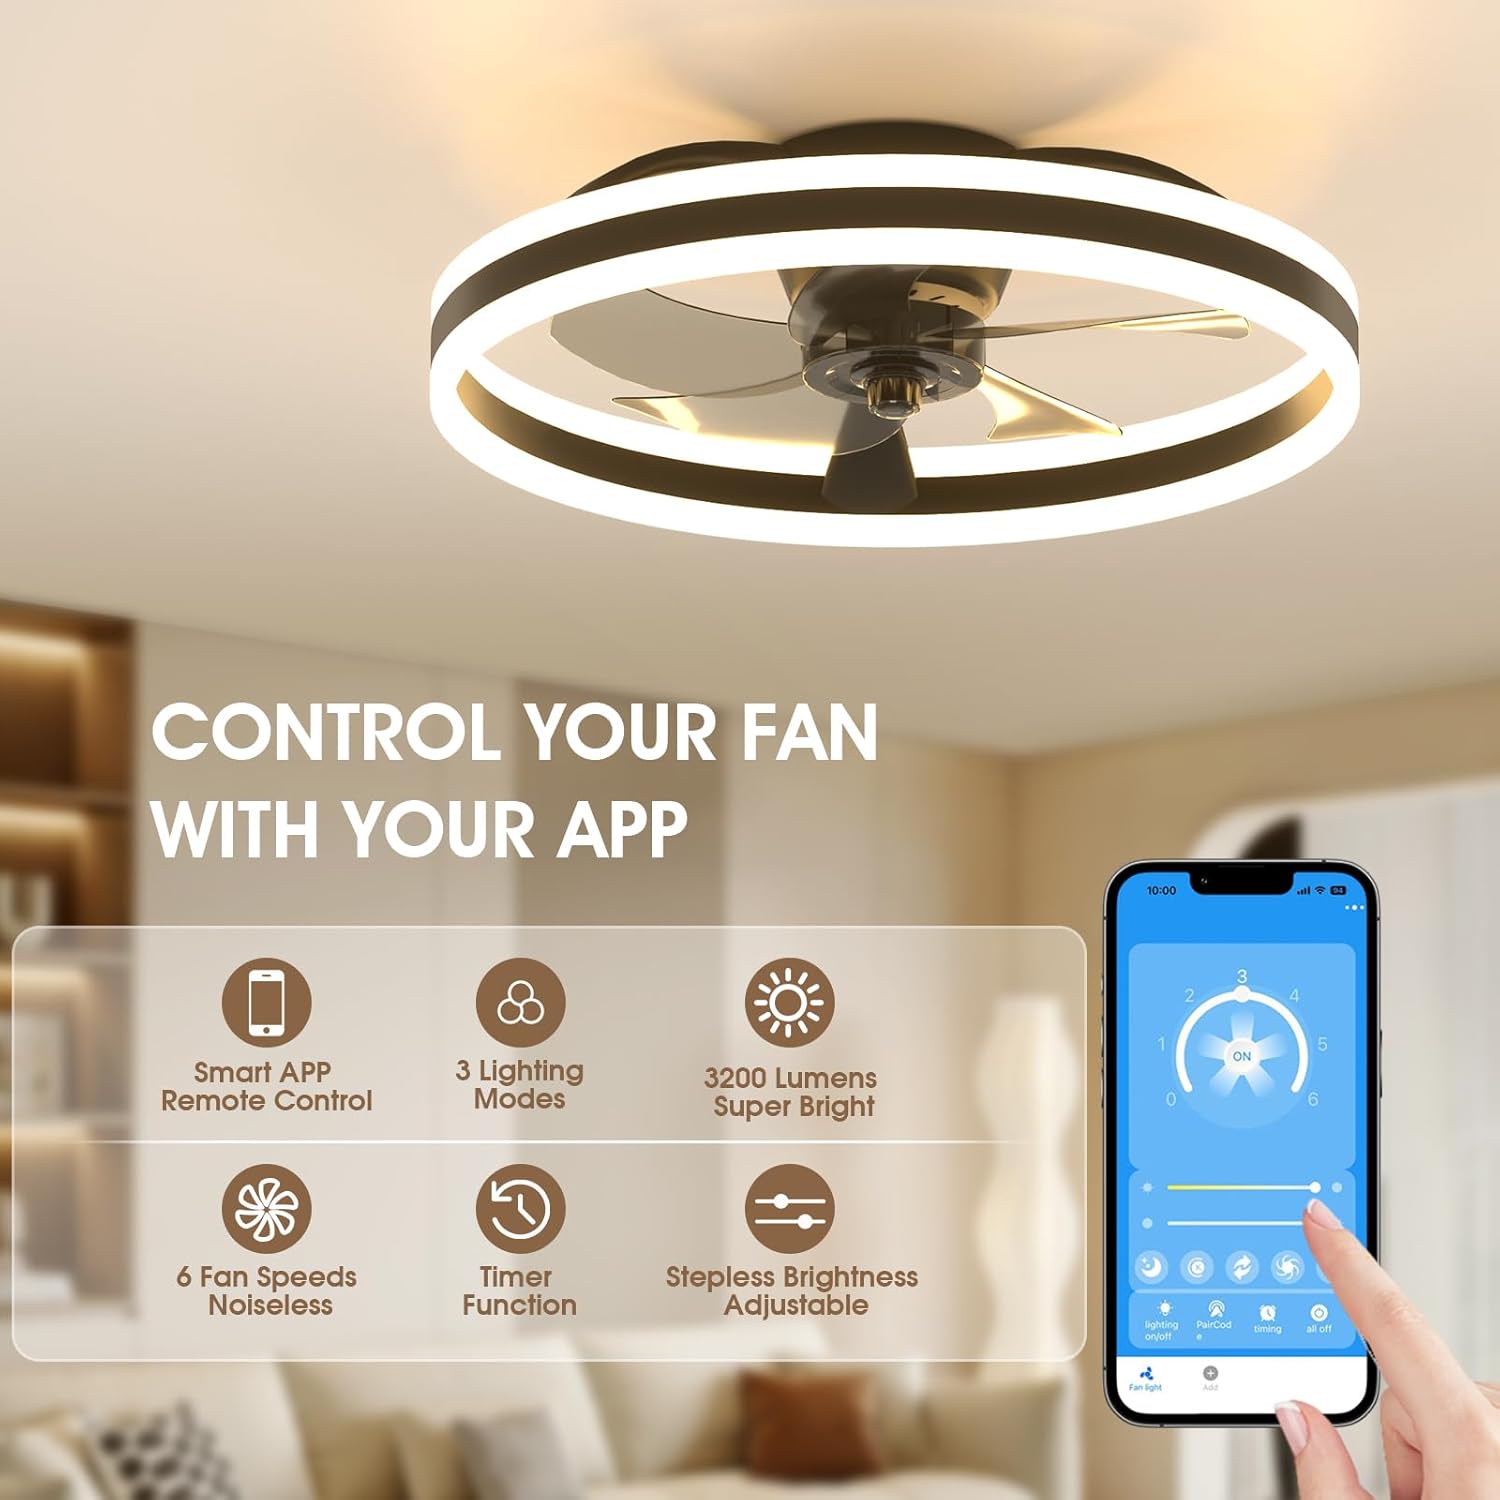
Image: Demonstration of 3 selectable color temperatures and stepless brightness adjustment.
- 3 Color Temperatures & Stepless Dimming: Choose between 3000K (Warm White), 4500K (Natural White), and 6000K (Cool White). Brightness is adjustable from 5% to 100% to create the perfect ambiance.
- 6 Ultra Quiet Wind Speeds:
- 1-2 Gear: Soft Wind for Sleeping (Ultra quiet, below 35dB).
- 3-4 Gear: Natural Wind for Working.
- 5-6 Gear: Super Strong Wind for Fitness.

Image: Visual representation of different fan speed settings for various activities.

Image: Illustration of the fan's ultra-quiet operation, ideal for night use.
- Timer Memory Function: The fan can be set to turn off after 1 or 2 hours. When switched off via the remote control, the fan will retain the last lighting mode and wind speed settings.

Image: Demonstration of the 2-hour timer function for comfortable sleep, also showing product dimensions (19.7 inches diameter, 5.7 inches height).
- Forward and Reverse Airflow:
- Downward Airflow (Forward Mode): Cools down the room and improves air quality. Ideal for warmer seasons.
- Upward Airflow (Reversal Mode): Warms up the room by circulating warm air trapped near the ceiling and helps maintain comfort. Ideal for cooler seasons.
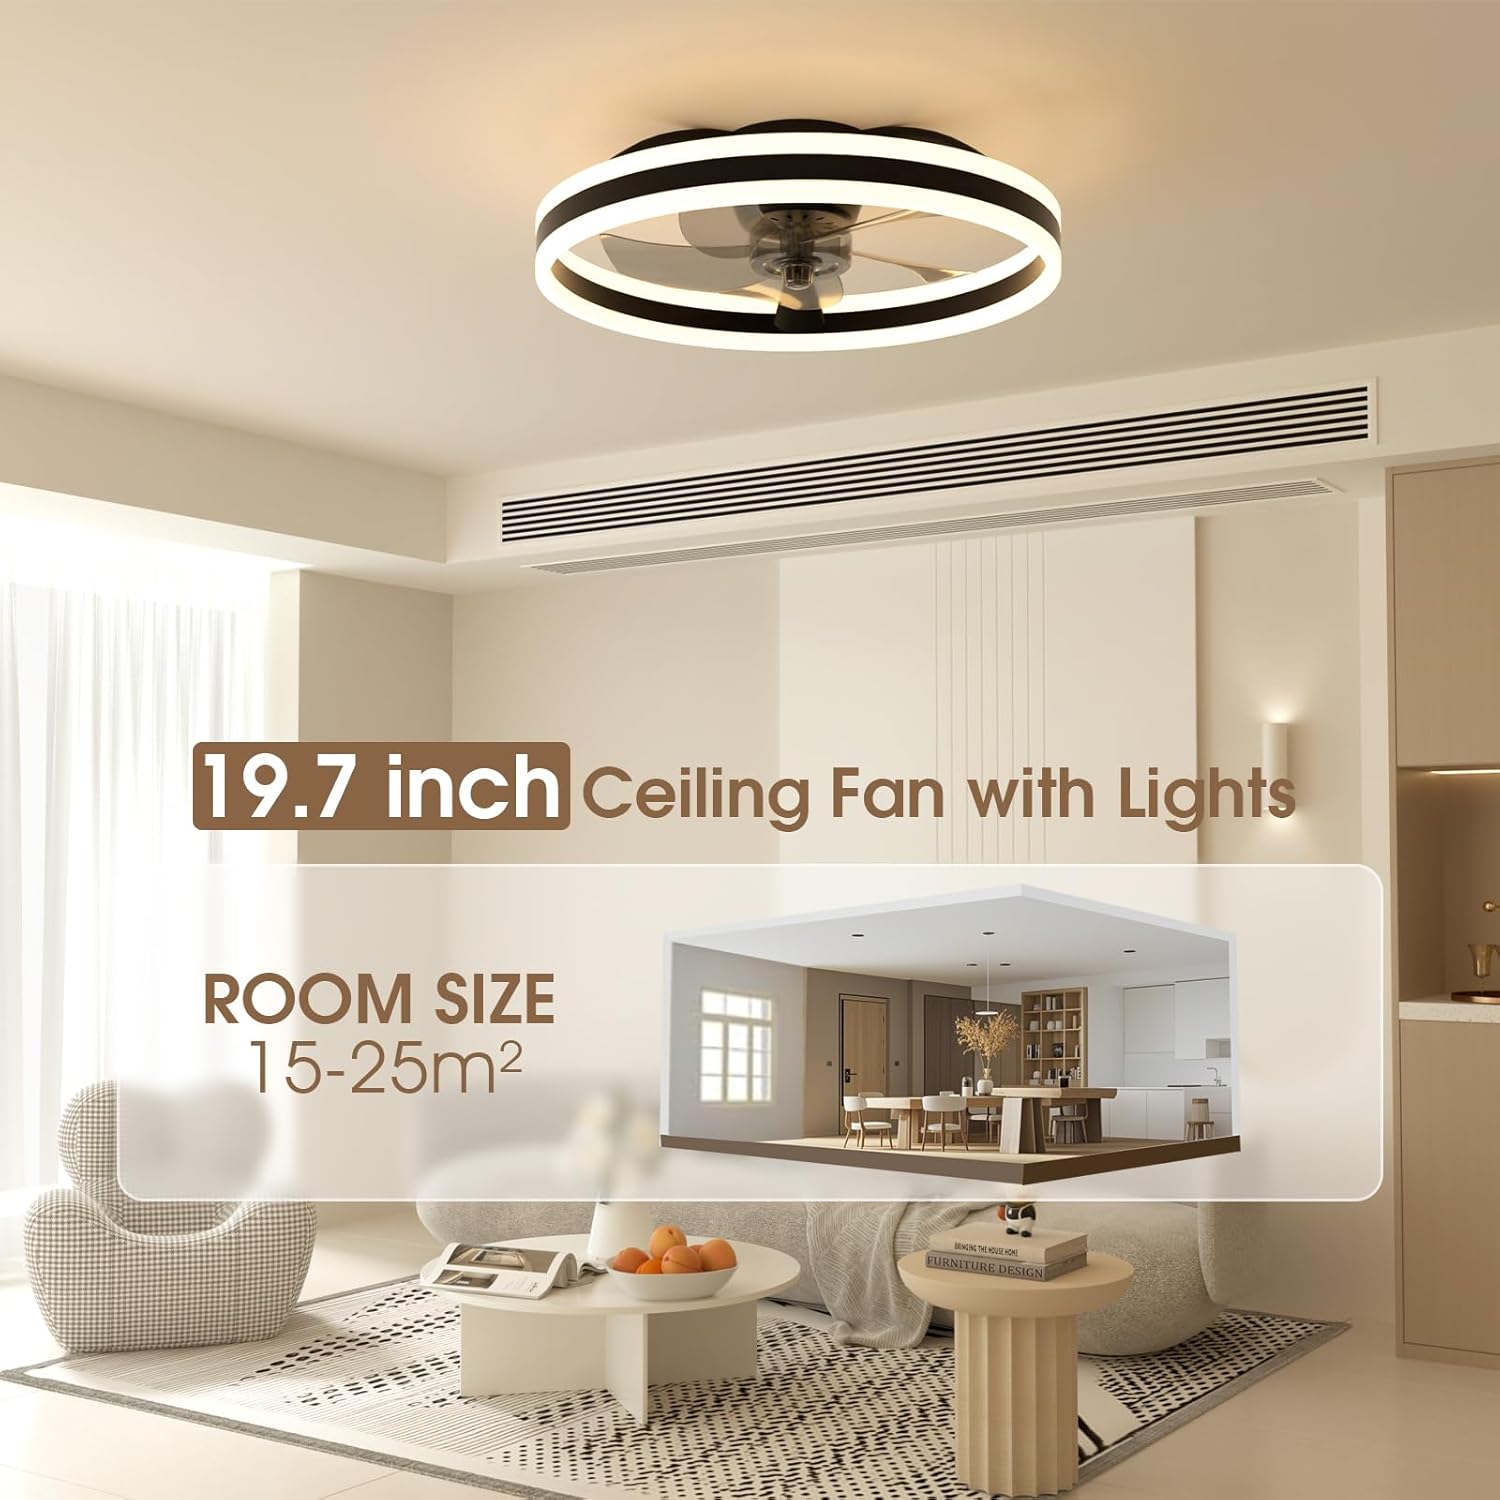
Image: Illustration of downward and upward airflow modes and their benefits.
Maintenance
Regular maintenance ensures the longevity and optimal performance of your ceiling fan.
- Cleaning: Before cleaning, ensure the power is turned off. Use a soft, damp cloth to wipe down the fan blades and light fixture. Do not use abrasive cleaners or solvents.
- Dusting: Regularly dust the fan and light to prevent accumulation, which can affect performance and appearance.
- Blade Balance: If the fan wobbles, check that all blade screws are tightened and that the blades are clean and free of debris.
- Light Source: The LED light source is integrated and designed for long life. Do not attempt to replace individual LEDs.
Troubleshooting
If you encounter issues with your NIORSUN LED Ceiling Fan, refer to the following common problems and solutions:
| Problem | Possible Cause | Solution |
|---|---|---|
| Fan does not operate | No power; Loose wiring; Remote control battery low. | Check circuit breaker; Ensure all wires are securely connected; Replace remote control battery. |
| Light does not turn on | No power to light; Loose wiring; Light function off. | Check power supply; Verify light wiring; Ensure light is turned on via remote/app. |
| Fan wobbles | Loose mounting screws; Unbalanced blades. | Tighten all mounting and blade screws; Clean blades; Check for bent blades. |
| Remote control not working | Battery low/dead; Remote not paired. | Replace battery; Refer to pairing instructions in the app or product guide (if available). |
| App connection issues | Bluetooth off; Fan not in pairing mode; App error. | Ensure Bluetooth is on; Restart fan and app; Re-pair the device. |
Specifications
Detailed technical specifications for the NIORSUN LED 50cm Ceiling Fan with Light.
| Attribute | Detail |
|---|---|
| Brand | NIORSUN |
| Model Number | 8267-3B |
| Product Dimensions | 50 x 50 x 14.5 cm |
| Item Weight | 2.4 kg |
| Colour | Black |
| Shape | Round |
| Material | Acrylonitrile Butadiene Styrene |
| Finish Type | Painted |
| Number of Lights | 1 (Integrated LED) |
| Voltage | 230 Volts |
| Wattage | 32 Watts |
| Type of Bulb | LED |
| Switch Installation Type | Ceiling Mount / Semi Flush Mount |
| Energy Efficiency Rating | C |
| FCC Compliant | Yes |
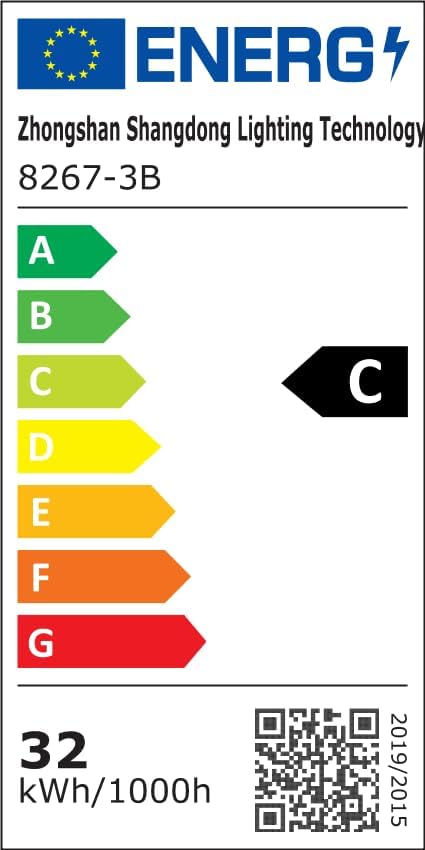
Image: Energy efficiency label for model 8267-3B, indicating class C.
For more details, refer to the EPREL database.
Warranty and Support
NIORSUN products are manufactured to high-quality standards. For warranty information or technical support, please refer to the contact details provided with your purchase documentation or visit the official NIORSUN website.
Please retain your proof of purchase for any warranty claims.


