Introduction
The Starlink Mini Satellite Internet Kit, engineered by SpaceX, provides high-speed, low-latency internet access in remote and rural locations worldwide. This compact and portable kit is designed for internet connectivity on the go, easily fitting into a backpack. It features an integrated Wi-Fi router, reduced power consumption, DC power input, and delivers download speeds exceeding 100 Mbps.
This manual provides essential information for setting up, operating, and maintaining your Starlink Mini kit.

Important Notice: Outside region fees may apply. There may be a one-time charge for activation depending on the region or your zone of activation of the service.
What's in the Box
Your Starlink Mini Kit includes all necessary components to get online. Please verify that all items listed below are present in your package:
- Starlink Mini Antenna and Integrated Router
- Kickstand
- Pipe Adapter
- DC Power Cable
- Power Supply

Image: All components included in the Starlink Mini Kit.
Setup Instructions
Setting up your Starlink Mini is a straightforward process designed for quick deployment.
- Download the Starlink App: Before beginning, download the official Starlink App from your device's app store. This app will assist you in finding an unobstructed view of the sky, determining the best installation location, and managing your account.
- Assemble the Kit:
- Attach the kickstand to the Starlink Mini antenna for temporary ground placement.
- Alternatively, use the pipe adapter to mount the antenna to a pole or other suitable structure for more permanent installations.
- Connect Power: Connect the DC power cable to the Starlink Mini antenna and then to the power supply. Plug the power supply into an appropriate power source.
- Position the Antenna: Place the Starlink Mini antenna in an area with a clear, unobstructed view of the sky. Any obstructions (trees, buildings, etc.) can interfere with the satellite signal and impact performance. The Starlink App can help identify clear sky areas.
- Power On: Once connected to power, the Starlink Mini will automatically begin searching for satellites. This process may take a few minutes.
- Connect to Wi-Fi: On your device (smartphone, laptop, etc.), connect to the Starlink Wi-Fi network. The network name (SSID) and password can be found on the label of your Starlink Mini or within the Starlink App during initial setup.
- Activate Service: Follow the prompts in the Starlink App to activate your service plan. A service plan is required for operation.
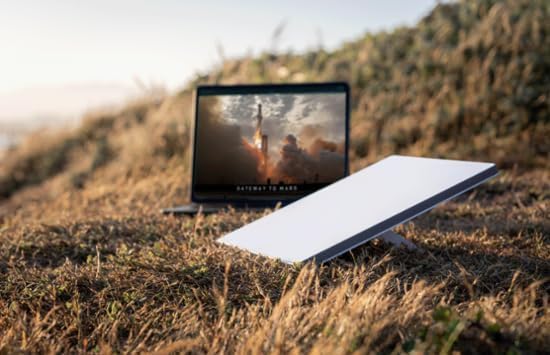
Image: Starlink Mini deployed in an open area, ready for use.

Image: Starlink Mini mounted on a vehicle, demonstrating portable use.
Operating Instructions
Once your Starlink Mini is set up and connected, operating it is simple.
- Connectivity: The Starlink Mini provides Wi-Fi 5 connectivity. It also includes an Ethernet port for connecting third-party routers or mesh systems if desired.
- Power Consumption: The device operates with a low power consumption, averaging 25-40 watts, making it suitable for portable and off-grid applications.
- Service Plan: Ensure your Starlink service plan is active and appropriate for your usage needs. Service plans can be managed through the Starlink App.
- Portability: The compact design allows for easy transport. When moving the unit, ensure it is powered off and securely packed to prevent damage.
- No Long-Term Contracts: Starlink service can be canceled at any time without long-term contractual obligations.
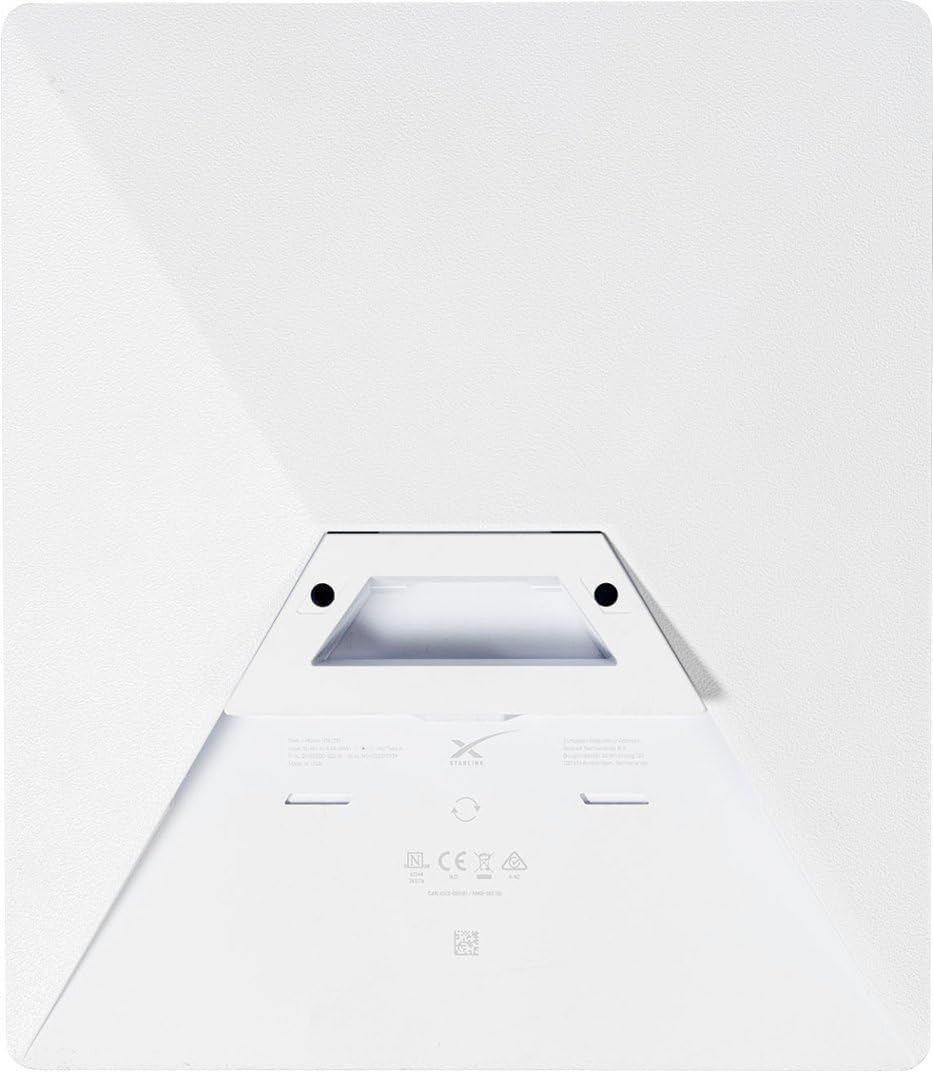
Image: Rear view of the Starlink Mini, highlighting its compact design and integrated features.
Maintenance
To ensure optimal performance and longevity of your Starlink Mini, follow these maintenance guidelines:
- Clear View: Regularly check that the antenna maintains a clear, unobstructed view of the sky. Accumulation of snow, ice, or debris can interfere with the signal.
- Cleaning: Gently clean the antenna surface with a soft, damp cloth if it becomes dirty. Avoid using harsh chemicals or abrasive materials.
- Cable Management: Ensure all cables are securely connected and free from kinks or damage. Protect cables from environmental hazards and physical stress.
- Weather Protection: The Starlink Mini is designed to be weatherproof. However, during extreme weather conditions (e.g., severe thunderstorms, heavy snowfall), it is advisable to monitor its performance and ensure it remains securely positioned.
Troubleshooting
If you encounter issues with your Starlink Mini, refer to the following troubleshooting steps:
- No Internet Connection:
- Verify that the Starlink Mini has a clear view of the sky. Use the Starlink App to check for obstructions.
- Ensure all cables are properly connected and the power supply is functioning.
- Restart the Starlink Mini by unplugging it from power for 30 seconds and then plugging it back in.
- Check the Starlink App for any service outages or account issues.
- Slow Speeds:
- Confirm there are no obstructions blocking the antenna's view of the sky.
- Ensure your service plan is active and suitable for your usage.
- Minimize the number of devices connected to the Wi-Fi network or consider using the Ethernet port for critical devices.
- Wi-Fi Connectivity Issues:
- Ensure your device is within range of the Starlink Mini's Wi-Fi signal.
- Try forgetting and rejoining the Starlink Wi-Fi network on your device.
- If using a third-party router, ensure it is configured correctly and functioning.
- Activation Errors: If you receive an "Equipment Already Assigned" error during activation, this indicates the unit may have been previously activated. Contact Starlink Support directly for assistance with transferring service or resolving activation issues.
Specifications
| Model Name | SL-mini-kit |
| Product Dimensions | 14 x 4 x 17 inches |
| Item Weight | 7 pounds |
| Special Feature | Weatherproof |
| Frequency Band Class | Dual-Band |
| Wireless Communication Standard | Wi-Fi 5 |
| Compatible Devices | Personal Computer, Printer, Smartphone |
| Recommended Uses | Hiking, Home, Travel |
| Included Components | Starlink Mini Antenna, Kickstand, Pipe Adapter, DC Power Cable, Power Supply |
| Connectivity Technology | Ethernet, Wifi5 |
| Color | Silver |
| Average Power Consumption | 25-40 watts |
| Manufacturer | SpaceX |
Warranty Information
Specific warranty details for the Starlink Mini Kit are typically provided at the time of purchase or can be found within your Starlink account portal. Please refer to the official Starlink website or your purchase documentation for the most accurate and up-to-date warranty terms and conditions.
Note: Warranty coverage may vary based on region and retailer. Keep your proof of purchase for warranty claims.
Support
For further assistance, technical support, or account management, please utilize the following resources:
- Starlink App: The Starlink App is your primary resource for managing your service, checking system status, and accessing support articles.
- Official Starlink Website: Visit the official Starlink website for comprehensive FAQs, support documentation, and contact options.
- Customer Service: If you require direct assistance, contact Starlink Customer Service through the methods provided on their official website or within the Starlink App.


