
1. Introduction
This manual provides essential information for the installation, operation, and maintenance of your new Ftoghe 9-inch Android 13 Car Stereo Radio. Designed specifically for Honda HR-V models from 2016 to 2019, this unit integrates advanced features such as Wireless CarPlay, Android Auto, Bluetooth, WiFi, GPS Navigation, and a Backup Camera to enhance your driving experience. Please read this manual thoroughly before installation and use to ensure proper functionality and safety.
2. Package Contents
Verify that all items listed below are included in your package:
- 9-inch Car Stereo Unit
- Power Cable
- RCA Input/Output Cables
- 2 USB Cables
- Camera Input Cable
- GPS Antenna
- Instruction Manual
- USB Adapter Cable
- Canbus Box (if applicable for your vehicle model)
- HD Backup Camera

3. Key Features
- Wireless CarPlay & Android Auto with Voice Control: Seamlessly integrate your smartphone for navigation, calls, music, and messaging using voice commands.
- Bluetooth & DSP & WiFi & Dual Navigation: Enjoy hands-free calling, customizable DSP surround sound, WiFi connectivity for app downloads and offline maps, and precise GPS satellite positioning.
- Powerful Android 13 System: Features a 9-inch IPS Touch Screen, 2GB RAM + 32GB ROM for smooth operation, supporting various multimedia formats and steering wheel controls.
- HD Backup Camera: Equipped with a 1080P waterproof rear camera that automatically displays the rear view when reversing, aiding safe parking.
4. Installation Guide
Proper installation is crucial for optimal performance. It is recommended to seek professional assistance if you are unfamiliar with car audio system installations. Always disconnect the car battery before beginning any electrical work.
4.1. Removing the Factory Radio
- Disconnect Battery: Use a wrench to disconnect the negative terminal of your car battery.
- Open Glove Box: Open the glove box to access the panel.
- Pry Off Dashboard Panel: Carefully use a pry tool (or similar plastic tool) to unclip the large dashboard panel that covers the factory radio and air vents. Start from the passenger side and work your way around. Be gentle to avoid damaging clips.
- Disconnect Hazard Light Connector: Once the panel is loose, disconnect the electrical connector for the hazard lights.
- Unscrew Factory Radio: Locate and remove the Phillips head screws securing the factory radio. There are typically three screws: one on each side and one deeper in the center.
- Pull Out Factory Radio: Carefully pull the factory radio unit forward.
- Disconnect Wiring Harnesses: Disconnect all wiring harnesses and the antenna cable from the back of the factory radio. Note the position of each connector.
4.2. Connecting the New Stereo
- Identify Connectors: Refer to the wiring diagram in your instruction manual. Match the provided wiring harnesses from the new stereo to the corresponding connectors from your vehicle.
- Connect Power Cable: Connect the main power cable harness to the new stereo and then to the vehicle's power connector.
- Connect Steering Wheel Control (SWC) Cable: Connect the SWC cable to the new stereo and the vehicle's SWC connector.
- Connect Radio Antenna: Connect the radio cable from the new stereo to the vehicle's antenna.
- Connect GPS Antenna: Plug the GPS antenna into the designated port on the new stereo. Position the antenna in a location with a clear view of the sky, typically on the dashboard.
- Connect USB Cables: Connect the USB cables to the new stereo. These can be routed to the glove box or center console for easy access.
- Connect Backup Camera: Connect the camera input cable to the new stereo. Route the camera cable to the rear of the vehicle and connect it to the HD backup camera. Ensure the camera's power wire is connected to the reverse light circuit.
- Connect RCA Cables (Optional): If installing external amplifiers or other audio/video accessories, connect the appropriate RCA input/output cables.
4.3. Testing and Reassembly
- Reconnect Battery: Reconnect the negative terminal of your car battery.
- Initial Power On: Turn on your vehicle's ignition. The stereo should power on and display the Android boot screen.
- Test Basic Functions: Test the radio, volume control, Bluetooth connectivity, and backup camera functionality.
- Reinstall Dashboard Panel: Once all functions are verified, carefully push the dashboard panel back into place, ensuring all clips engage securely. Reconnect the hazard light connector.
5. Operating Instructions
Your Ftoghe car stereo runs on Android 13, offering a user-friendly interface similar to a tablet. Navigate through apps and settings using the touchscreen.
5.1. Basic Navigation
- Home Screen: Access frequently used apps and widgets.
- App Drawer: Swipe up or tap the app icon to view all installed applications.
- Settings: Access system settings for network, display, sound, general, original car settings, reverse camera, voice control, and personal preferences.
6. Connectivity (CarPlay, Android Auto, Bluetooth, WiFi)
6.1. Wireless CarPlay & Android Auto
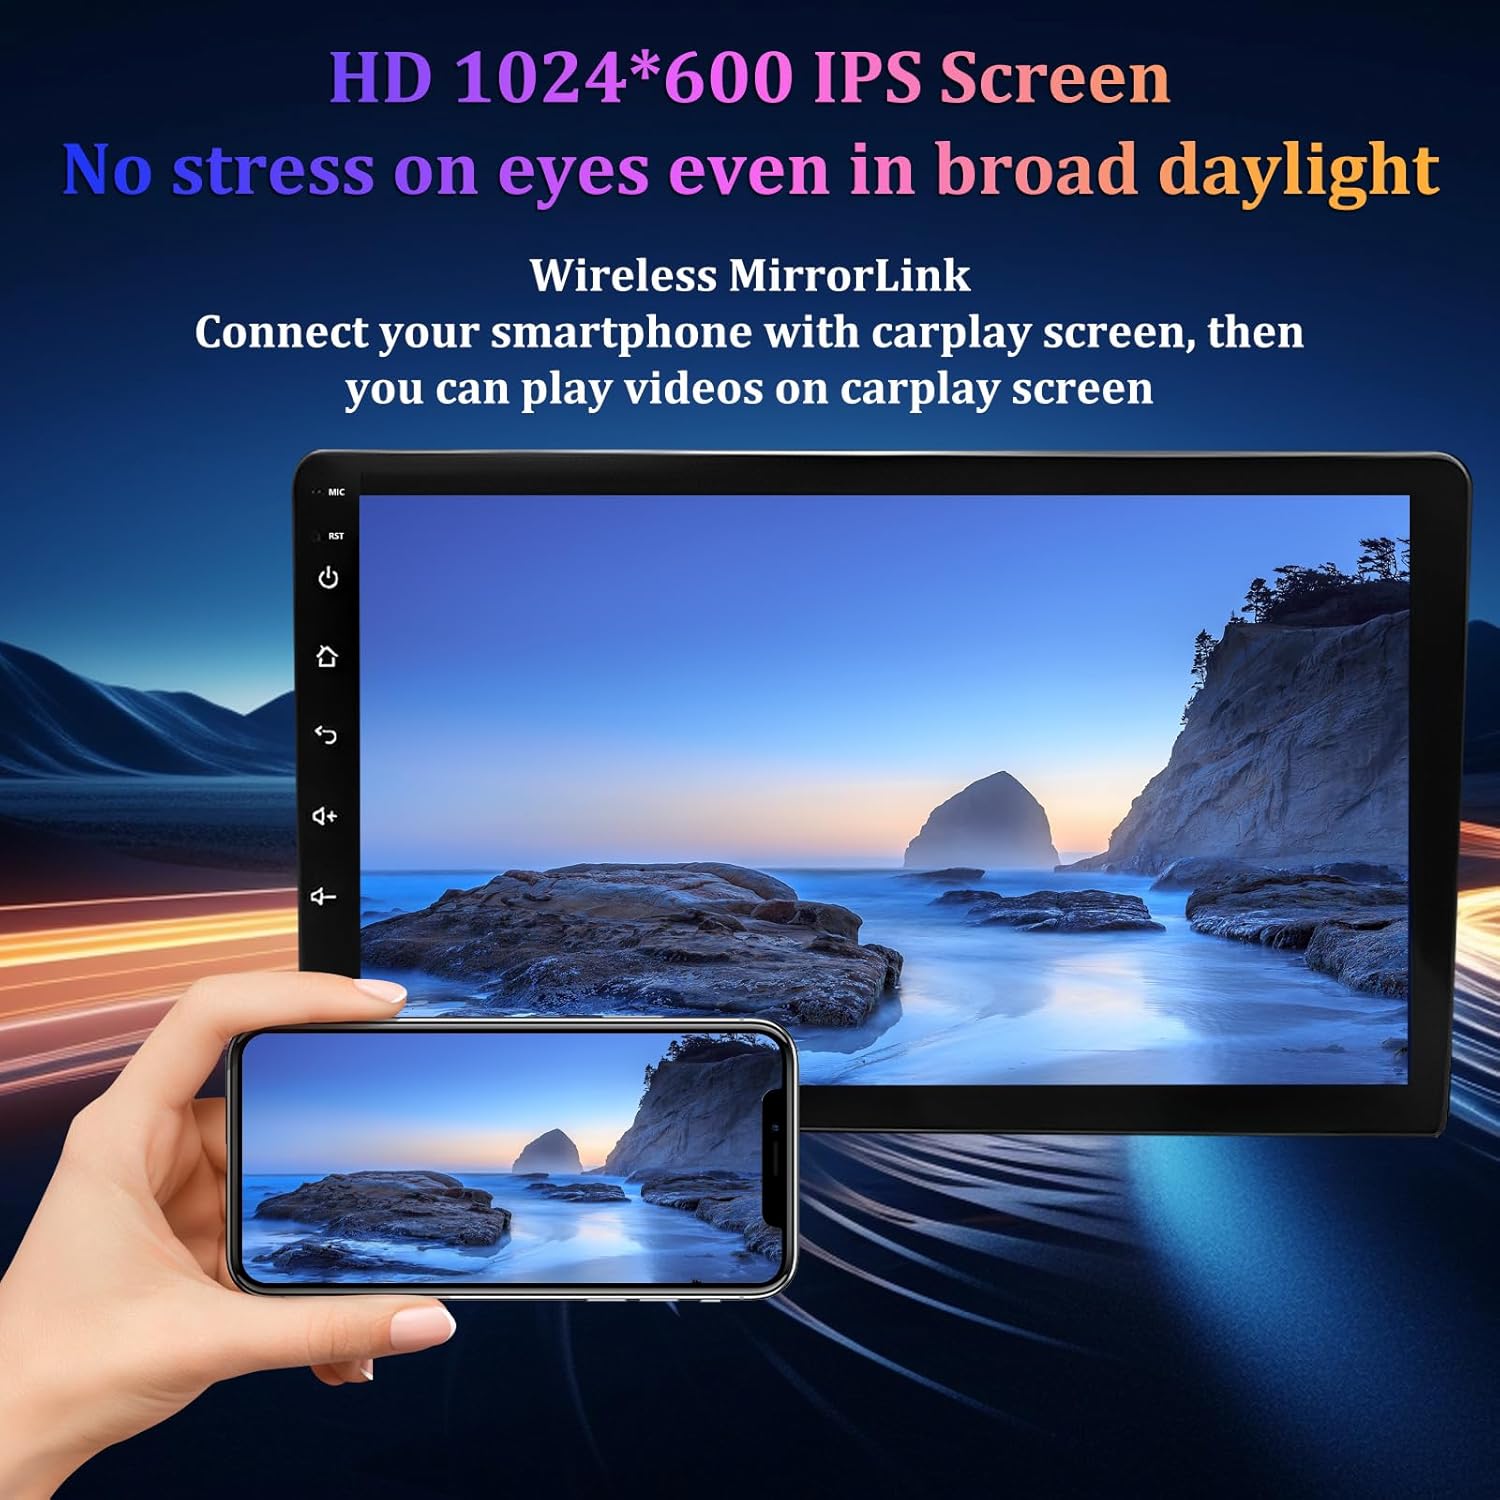
Connect your smartphone wirelessly to access apps, maps, calls, and music directly from the stereo's touchscreen. Voice control is supported for safer operation.
- Bluetooth Connection: Ensure your phone's Bluetooth is on and paired with the car stereo.
- ZLINK Connection: Open the 'ZLINK' app on the stereo. Follow the on-screen prompts to connect your smartphone.
- Manual WiFi Connection (if needed): If the ZLINK connection is unsuccessful, manually connect the stereo to your phone's WiFi hotspot. After connecting, delete the WiFi history record on the stereo and try ZLINK again.
6.2. Bluetooth
For hands-free calling and audio streaming, pair your phone via Bluetooth:
- Go to 'Settings' > 'Bluetooth' on the stereo.
- Enable Bluetooth on your smartphone and search for 'CarBT'.
- Pair your phone using the default PIN '0000' (if prompted).
6.3. WiFi
Connect to a WiFi network or your phone's hotspot to download apps, stream content, and update maps.
- Go to 'Settings' > 'Network' > 'WiFi'.
- Enable WiFi and select your desired network. Enter the password if required.
7. GPS Navigation
The stereo supports both online and offline GPS navigation. The included GPS antenna ensures precise satellite positioning.
- Use pre-installed navigation apps or download your preferred app from the Play Store.
- Download offline maps for navigation without an internet connection.
- Voice control can be used to set destinations and get directions.

8. Backup Camera
The included HD backup camera provides a clear view of the area behind your vehicle, automatically activating when you shift into reverse.
- The camera features a 1080P resolution and IP67 waterproofing for durability.
- Adjustable parking assistance lines are displayed on the screen to guide you.

9. Audio Settings
Customize your audio experience with the built-in DSP Equalizer and FM radio.
- DSP Equalizer: Utilize the 9-band audio customization to fine-tune sound output for different seating positions and music genres.
- FM Tuner: Access a triple FM tuner (87.5-108MHz) for clear radio reception.
- Supported audio formats include FLAC, APE, WAV, MP3, and AAC.

10. Maintenance
To ensure the longevity and optimal performance of your car stereo, follow these maintenance guidelines:
- Cleaning the Screen: Use a soft, lint-free cloth to gently wipe the touchscreen. For stubborn smudges, slightly dampen the cloth with water or a screen-safe cleaner. Avoid harsh chemicals.
- Software Updates: Periodically check for software updates via WiFi to ensure you have the latest features and bug fixes.
- Cable Connections: Ensure all cables are securely connected and not pinched or damaged.
- Environmental Conditions: Avoid exposing the unit to extreme temperatures, direct sunlight for prolonged periods, or excessive moisture.
11. Troubleshooting
If you encounter issues with your car stereo, refer to the following common troubleshooting steps:
- No Power: Check battery connections and ensure the stereo's power cable is properly connected. Verify vehicle fuses.
- No Sound: Check speaker connections, volume levels, and DSP settings. Ensure the correct audio source is selected.
- Bluetooth Not Connecting: Ensure Bluetooth is enabled on both devices. Try unpairing and re-pairing. Clear Bluetooth history on the stereo if necessary.
- CarPlay/Android Auto Issues: Verify strong WiFi and Bluetooth connections. Ensure the ZLINK app is updated. Try restarting both the phone and the stereo.
- Backup Camera Not Displaying: Check the camera input cable connection at the stereo and the camera itself. Ensure the camera's power is correctly wired to the reverse light.
- GPS Signal Loss: Ensure the GPS antenna is securely connected and positioned with a clear view of the sky.
- Touchscreen Unresponsive: Try restarting the stereo. If the issue persists, a factory reset might be necessary (refer to settings).
12. Specifications
| Feature | Detail |
|---|---|
| Item Weight | 3.97 pounds |
| Package Dimensions | 14.96 x 9.45 x 5.51 inches |
| Display Size | 9 Inches |
| Voice Command | Touchscreen |
| Operating System | Android 13 |
| RAM | 2GB |
| ROM | 32GB |
| Connectivity Technology | Bluetooth, Wi-Fi |
| Special Features | Bluetooth, Touchscreen, Wireless CarPlay and Android Auto, DSP Equalizer, GPS Navigation, HD Backup Camera |
| Vehicle Service Type | Car (Honda HR-V 2016-2019) |
| Audio Output Mode | Stereo |
| Mounting Type | Dashboard Mount |
13. Warranty and Support
For warranty information and technical support, please refer to the warranty card included in your package or contact Ftoghe customer service directly. Keep your purchase receipt as proof of purchase.
Online resources and FAQs may also be available on the manufacturer's website.