
calonny C402
calonny C402 4G LTE WiFi 6 Router User Manual
Model: C402
1. Introduction
This manual provides detailed instructions for the setup, operation, and maintenance of your calonny C402 4G LTE WiFi 6 Router. The C402 is designed to offer reliable mobile connectivity, serving as an alternative to traditional ADSL or fiber connections, ideal for various environments including homes, offices, and mobile setups like caravans.

Figure 1: The compact design of the C402 Router makes it ideal for staying connected on the go.
2. Package Contents
Verify that all items are present in your package:
- calonny C402 4G LTE WiFi 6 Router
- 2 x External 5dBi Antennas
- USB-C Power Cable
- RJ45 Ethernet Cable
- User Manual (this document)
3. Product Overview
3.1. Front View

Figure 2: Front view of the calonny C402 Router, showing the status indicators and brand logo.
The front panel features LED indicators for power, 4G signal strength, and Wi-Fi status, providing a quick visual reference for the device's operational state.
3.2. Rear View and Ports

Figure 3: Rear view of the calonny C402 Router, highlighting the various ports and buttons.
- TYPE-C Port: Used for power input (5V/1A).
- SIM Card Slot: Insert your 4G SIM card here.
- Reset Button: Press and hold to restore factory settings.
- WPS Button: For quick and secure Wi-Fi connection setup.
- LAN Port: Gigabit Ethernet port for wired connections to devices like PCs, NAS, or IP cameras. Can also function as a WAN port for extender mode.
- Antenna Connectors: Two connectors for attaching the external 5dBi antennas to enhance signal reception.
4. Setup
4.1. Installing the SIM Card
- Ensure the router is powered off.
- Locate the SIM card slot on the rear of the device.
- Insert your 4G SIM card into the slot until it clicks into place. Ensure the SIM card is activated and does not require a PIN for operation.
4.2. Attaching Antennas
If your antennas are not pre-attached, carefully screw the two external 5dBi antennas onto their respective connectors on the rear of the router. Adjust their orientation for optimal signal reception.
4.3. Powering On the Router
- Connect the provided USB-C power cable to the TYPE-C port on the router.
- Connect the other end of the USB-C cable to a 5V/1A power source (e.g., a wall adapter, power bank, or car charger).
- The router will automatically power on. Observe the LED indicators on the front panel. The 4G signal indicator should light up, and the Wi-Fi indicator should become active.
5. Operating Instructions
5.1. Connecting Devices via Wi-Fi
- Once the router is powered on and the Wi-Fi indicator is active, search for available Wi-Fi networks on your device (smartphone, laptop, tablet).
- Select the network name (SSID) broadcast by your calonny C402 router. The default SSID and password are usually found on a label on the router.
- Enter the Wi-Fi password when prompted.
- Your device should now be connected to the internet. The router supports Wi-Fi 6 (802.11ax) for high-efficiency connections.

Figure 4: The C402 Router providing Wi-Fi 6 connectivity for multiple devices simultaneously.
5.2. Connecting Devices via LAN Port
Use the provided RJ45 Ethernet cable to connect devices such as desktop computers, network-attached storage (NAS), or IP cameras directly to the router's LAN port for a stable wired connection.
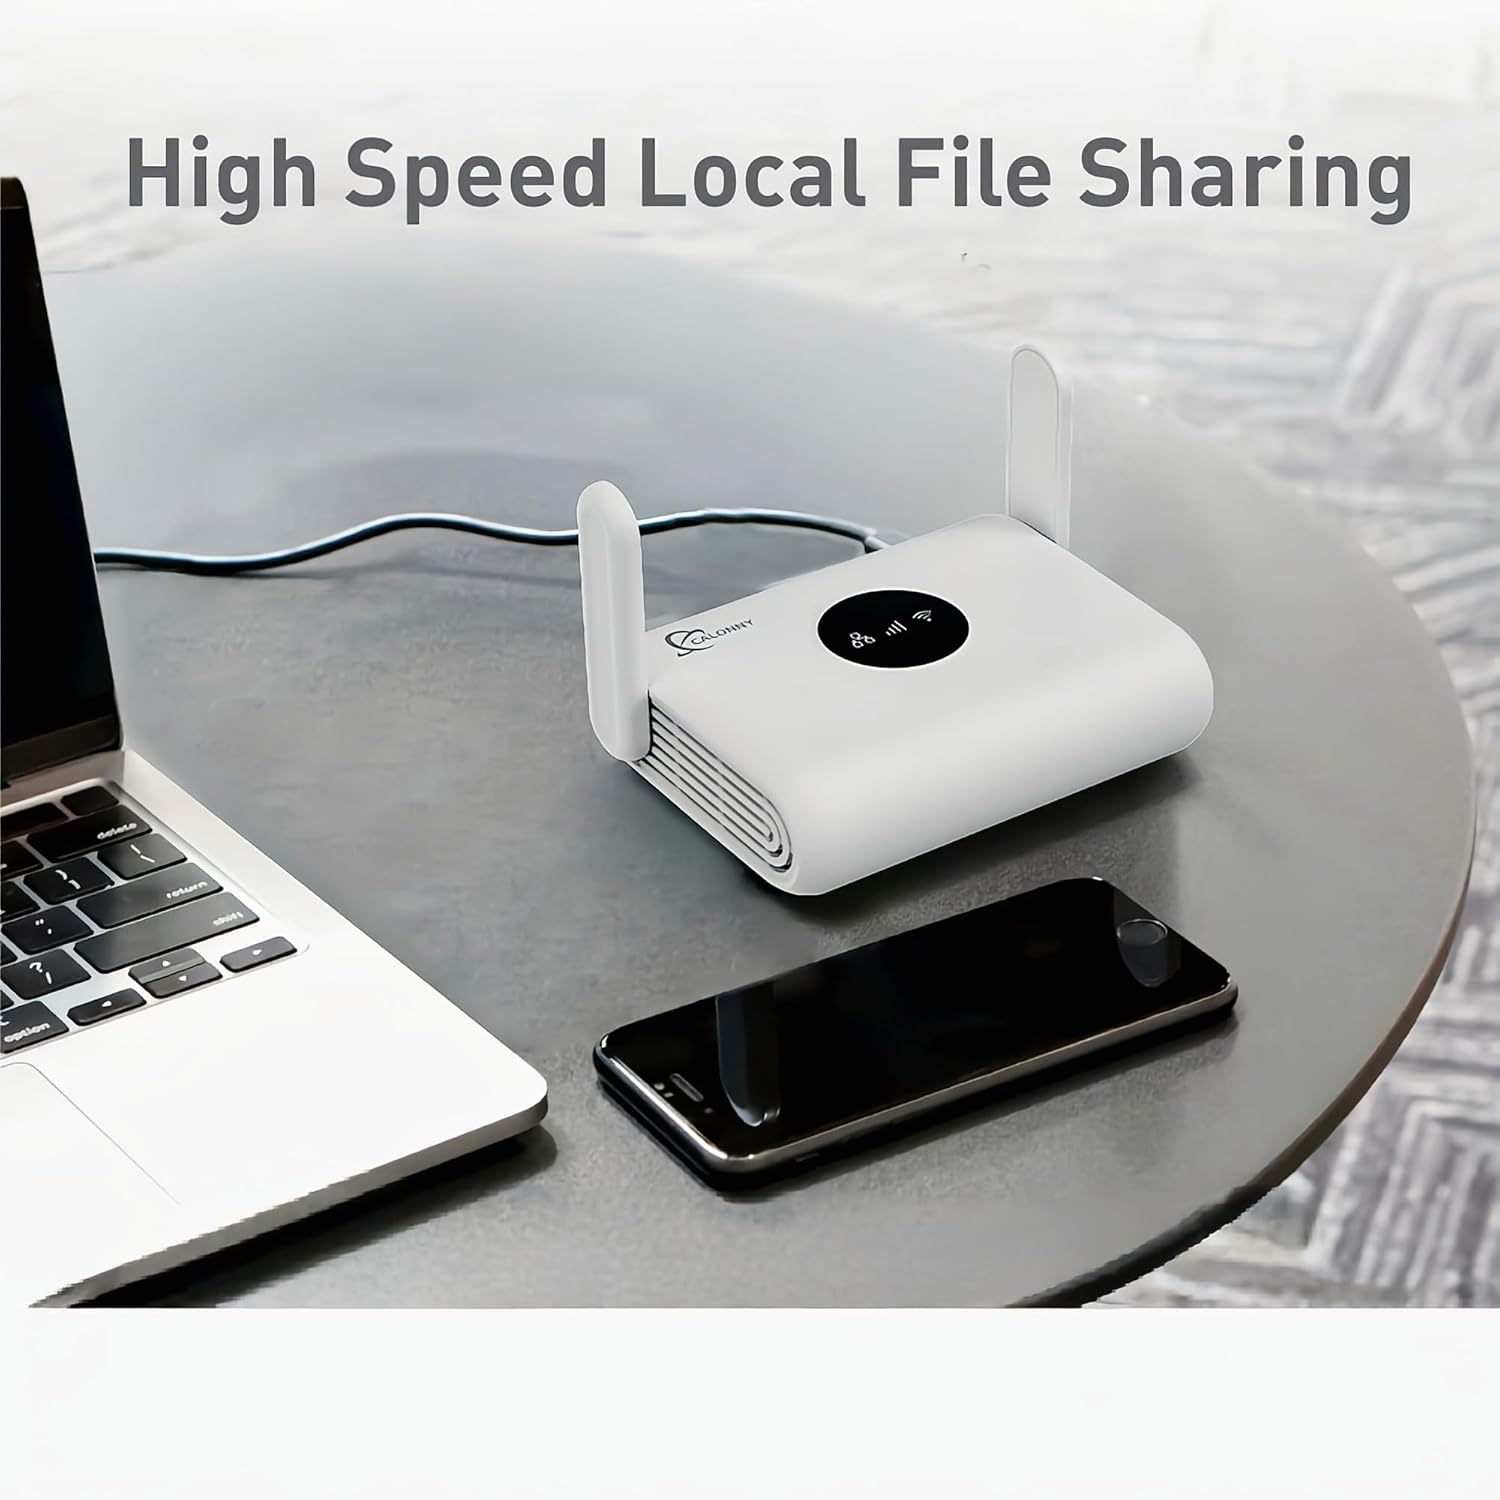
Figure 5: The C402 Router facilitating high-speed local file sharing via its LAN port.
5.3. Accessing the Web Management Interface
- Connect your device to the router via Wi-Fi or Ethernet.
- Open a web browser and enter the default IP address: 192.168.1.1
- Log in using the default username and password (usually found on the router's label or in the quick start guide).
- From the web interface, you can monitor data usage, change Wi-Fi settings (SSID, password, security type like WPA3), configure network settings, and manage connected devices.
6. Maintenance
6.1. Firmware Updates
The router supports Over-The-Air (OTA) updates for operator settings and firmware. Regularly check the web management interface for available updates to ensure optimal performance and security.
6.2. Factory Reset
If you encounter persistent issues or forget your login credentials, you can perform a factory reset. With the router powered on, use a pin to press and hold the Reset button on the rear panel for approximately 10 seconds until the indicators flash. The router will restart with default settings.
7. Troubleshooting
- No Internet Connection:
- Ensure the SIM card is correctly inserted and activated.
- Check the 4G signal indicator on the front panel. If it's weak or off, try repositioning the router or adjusting the antennas.
- Access the web management interface (192.168.1.1) to verify APN settings. The router typically auto-detects APN, but manual configuration might be needed for some operators.
- Slow Internet Speed:
- Check 4G signal strength. A stronger signal generally means better speed.
- Reduce the number of connected devices or bandwidth-intensive activities.
- Ensure the router is placed in an open area, away from obstructions and interference sources.
- Cannot Connect to Wi-Fi:
- Verify the Wi-Fi password.
- Ensure Wi-Fi is enabled on the router (check indicators or web interface).
- Try restarting the router and your device.
8. Specifications
| Feature | Detail |
|---|---|
| Brand | calonny |
| Model | C402 |
| Dimensions | 13 x 10 x 5 cm |
| Weight | 180 g |
| Wireless Standard | 802.11ax (Wi-Fi 6) |
| Frequency Band | 2.4 GHz |
| Data Transfer Rate | Up to 300 Mbps |
| 4G LTE Bands Supported | FDD-LTE B1/B3/B7/B8/B20/B28 |
| Antennas | 2 x External 5dBi |
| Ports | 1 x USB-C (Power), 1 x LAN (Gigabit Ethernet) |
| Power Input | 5V DC |
| Security Features | WPA3, Network Isolation for Guests |
| Compatible Devices | Printer, Laptop, Smartphone, Tablet |
9. Safety Information
- Do not expose the device to water or moisture.
- Do not attempt to disassemble or repair the device yourself.
- Use only the provided or recommended power adapter (5V/1A).
- Keep the device away from heat sources and direct sunlight.
- Ensure proper ventilation around the device to prevent overheating.
10. Warranty and Support
For warranty information, please refer to the purchase documentation or contact your retailer. For technical support, you may contact calonny shop directly. Technical support in Italian is available via WhatsApp.
Related documentsC402

Ask a question about this manual
Ask about setup, troubleshooting, compatibility, parts, safety, or missing instructions. Manuals+ will review the question and use this page’s manual context to help answer it.